
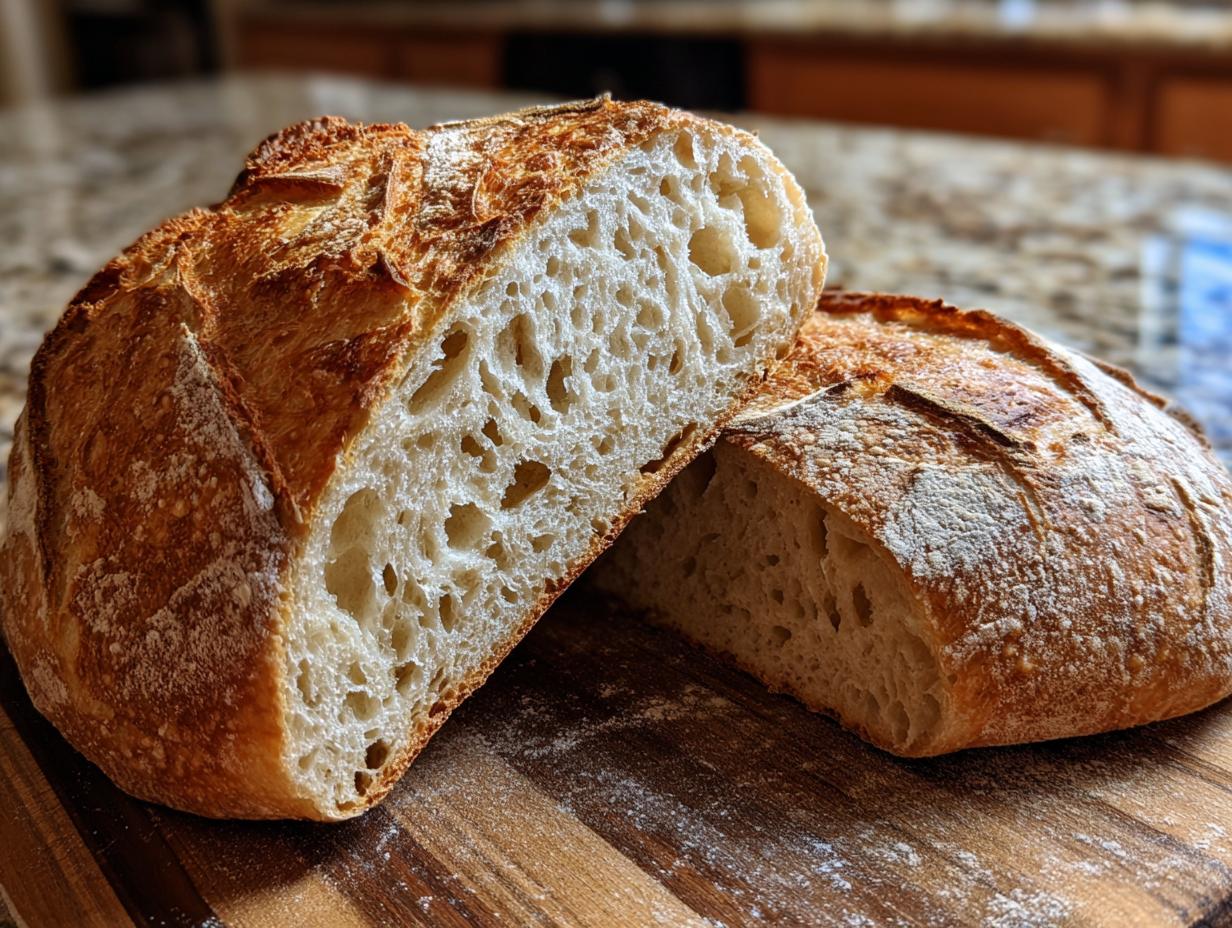
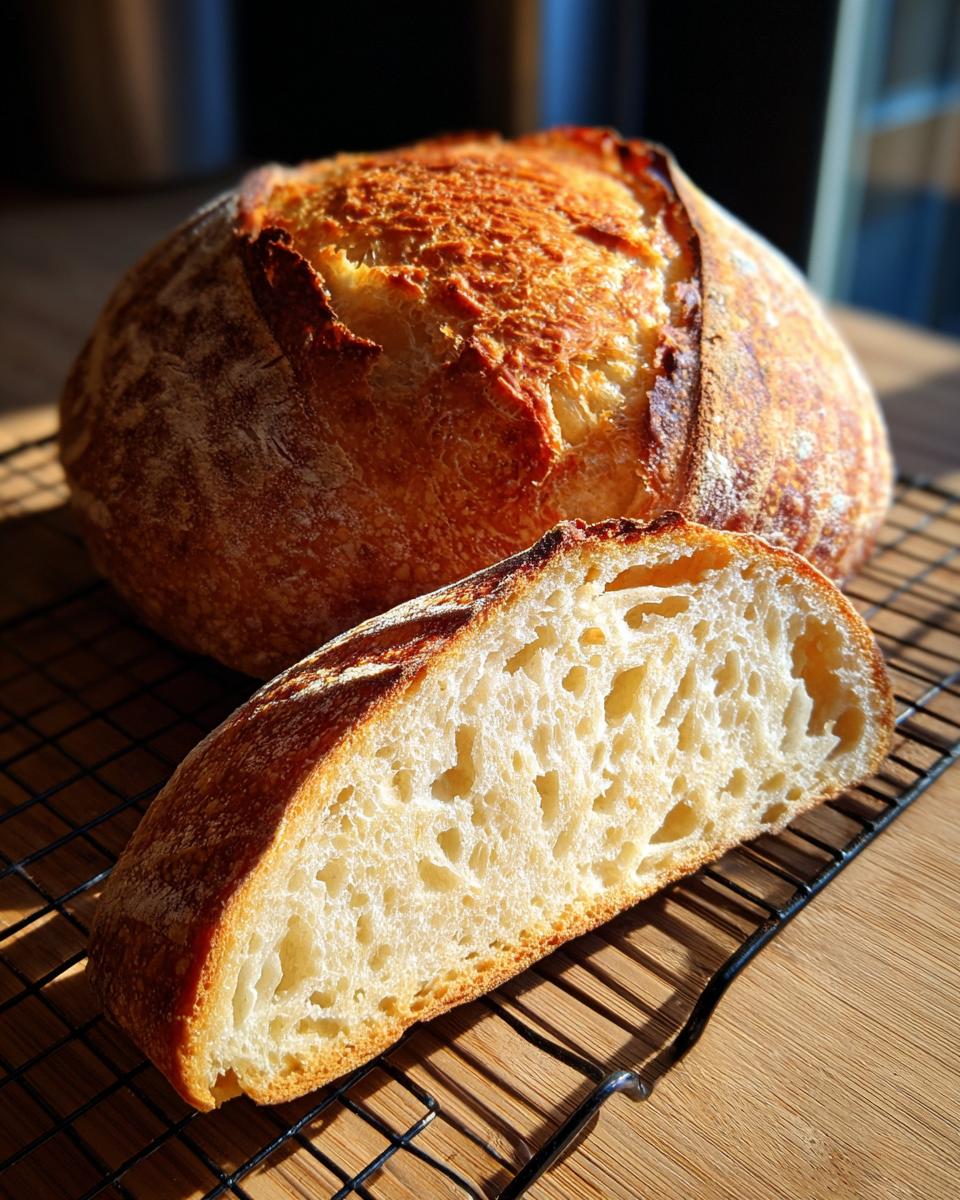
There’s something truly magical about a loaf of sourdough bread. It’s more than just bread, though, isn’t it? It’s the crackle of the crust, the soft, airy crumb inside, and that distinct tangy flavor that just can’t be beat. Honestly, the first time I pulled a perfectly baked sourdough boule from my oven, smelling that deep, yeasty aroma filling my whole kitchen, I felt like I’d accomplished a culinary feat worthy of a medieval baker! This recipe is all about demystifying that process, helping you create your own crusty artisan loaf with a beautiful, open crumb, all thanks to the magic of a natural yeast starter. Trust me, once you get the hang of it, you’ll be hooked.
- Why You'll Love This Sourdough Bread Recipe
- Understanding Your Natural Yeast Starter
- Gathering Ingredients for Your Sourdough Bread
- Step-by-Step Guide to Baking Sourdough Bread
- Tips for Sourdough Bread Success
- Troubleshooting Common Sourdough Issues
- Nutritional Information (Estimated)
- Frequently Asked Questions About Sourdough Bread
- Share Your Sourdough Creations!
Why You’ll Love This Sourdough Bread Recipe
This isn’t just any sourdough recipe; it’s designed to give you that gorgeous, bakery-worthy loaf at home. You’ll love it because:
- It’s simpler than you think, even for beginners!
- You get that wonderfully chewy interior and crackly crust every time.
- The flavor is out-of-this-world with that signature sourdough tang.
- There’s just nothing like the satisfaction of baking your own bread from scratch.
Understanding Your Natural Yeast Starter
So, let’s talk about the heart and soul of sourdough: the natural yeast starter! This isn’t some mysterious ingredient; it’s literally just a happy, living culture of wild yeast and bacteria that you create from scratch using flour and water. They hang out together, ferment, and give sourdough its incredible rise and that signature tangy flavor. Think of it like your pet microbe! You absolutely need an active starter—one that’s full of life and bubbles like a freshly poured soda—before you even think about mixing your dough. My personal trick? I always give my starter a good feeding right before bed, and it’s usually perfectly ready by morning. It’s this lively starter that makes all the difference for that beautiful crumb.
Feeding Your Sourdough Starter
Getting your starter ready for baking is super important, and it’s really not complicated. About 4 to 12 hours before you plan to mix your dough, you’ll want to feed it. You usually do this by discarding about half of the starter, then feeding the remaining portion with fresh flour and water – usually equal parts by weight. What you’re looking for is activity! A fed starter should get nice and bubbly, almost doubling in size, and it should smell pleasantly tangy, not like nail polish remover (that means it’s overdue!). It should float if you drop a tiny bit into water. If it’s not quite there yet, just give it a little more time at room temperature.
Gathering Ingredients for Your Sourdough Bread
Alright, let’s get down to business! To make a truly fantastic loaf of sourdough bread, you don’t need a whole lot of fancy stuff. We’re talking just four main players. You’ll need 100g of that active, bubbly sourdough starter we just talked about – make sure it’s ready to go! Then, 350g of warm water to get things going. For the flour, 500g of bread flour is my absolute go-to. It has the protein we need for a good structure. And finally, 10g of fine sea salt to make all those flavors sing.
Ingredient Notes and Substitutions
Bread flour is really the star here because its high protein content helps build that strong gluten network we want for a chewy, airy crumb. Seriously, it makes a difference! If you *absolutely* can’t find bread flour, you could try all-purpose, but you might need to adjust the water a bit, and your loaf might be a little less airy. For the salt, I always prefer fine sea salt because it dissolves cleanly and evenly. Avoid coarse salt unless you really want little pockets of saltiness. And that starter? Make sure it’s nice and active, like I said before – that’s the real secret sauce!
Step-by-Step Guide to Baking Sourdough Bread
Okay, buckle up, because we’re about to make some magic happen! This is where your gorgeous sourdough bread comes to life. It’s a journey, but a super rewarding one. First things first, after your dough has had its initial rest (that’s the fancy ‘autolyse’ bit where flour and water get acquainted), it’s time to get that salt in there. Just sprinkle it over the top and wet your hands a bit. Then, pinch and fold the dough, right in the bowl, until the salt is totally mixed in. My trick here is to really get my hands in there and feel the dough; you want it to feel uniform, not sticky or patchy. For other bread adventures, you might want to check out our easy garlic naan bread recipe!
The Autolyse and Salt Incorporation
So, you’ve mixed your flour, water, and starter and let it sit for about 30 minutes. That’s the autolyse – it just lets that flour really soak up the water, making the dough easier to work with. Now, when you add the salt, don’t just dump it in! Sprinkle it evenly over the dough. Then, gently pinch and fold it in. I usually do this with slightly damp hands so it doesn’t stick everywhere. Just keep folding and squishing until you can’t see or feel any salt pockets. It’s a crucial step for flavor and structure!
Mastering Stretch and Folds
This is where the real gluten development happens! For the next couple of hours, you’re going to do these ‘stretch and folds’ every 30 minutes. It sounds fancy, but it’s really simple. Get your hands a little wet so the dough doesn’t stick, grab one side of the dough, gently stretch it up like a bungee cord, and then fold it over the center of the dough. Rotate the bowl 90 degrees and do it again. Repeat this four times in total. It feels like you’re not doing much, but you’re building strength in that dough, which means a better rise and that amazing open crumb you’re after!
Shaping Your Homemade Sourdough Loaf
Once your dough has proofed and looks all puffy and alive, it’s time for shaping your homemade sourdough loaf! Gently turn it out onto a very lightly floured surface. You don’t want too much flour here, or it won’t have grip. We want to create some surface tension, like giving the dough a nice, snug hug. Gently coax it into a round (a boule) or an oval (a batard) shape. The key is to be gentle but firm, keeping that precious airy structure intact. It takes a little practice, but the result is so worth it!
The Cold Ferment for Sourdough Bread
This next step is my secret weapon for flavor and easier handling: the cold ferment! Carefully place your beautifully shaped dough into a well-floured proofing basket or a bowl lined with a floured tea towel. Cover it up and pop it into the fridge. I usually let mine hang out there for at least 12 hours, sometimes even up to 24. This slow, cold fermentation develops a wonderfully complex flavor in your sourdough bread and makes the dough much firmer and easier to score right before baking. For more sourdough inspiration, check out this sourdough pumpkin bread!
Baking Your Crusty Artisan Bread
Now for the grand finale! Get your oven screaming hot, around 475°F (245°C), and make sure your Dutch oven is in there preheating for at least 30 minutes. Trust me, a screaming hot pot is key for that explosive oven spring and amazing crusty artisan bread. Carefully take that super-hot Dutch oven out, gently turn your cold dough into it (watch out, it’s hot!), and then, the fun part: scoring! Use a sharp knife or a lame to make a few quick, decisive cuts on top. Bake it covered for about 20 minutes, then take the lid off and let it bake another 20-25 minutes until it’s a deep, gorgeous golden brown. You want that crust to sing!
Tips for Sourdough Bread Success
Making sourdough bread is a journey, and like any good journey, a few trail markers can make all the difference. My biggest tip? Start with a super active, happy starter. Seriously, if your starter isn’t bubbly and ready to go, your loaf just won’t have that oomph. Also, don’t be afraid of the dough! It might seem sticky and a little unruly at first, but those stretch and folds are your best friend for developing structure. Also, patience is key – the cold ferment in the fridge is your secret weapon for incredible flavor and handling. For more on our philosophy and kitchen confidence, check out our about page!
Troubleshooting Common Sourdough Issues
Don’t you worry if your first few loaves aren’t absolutely perfect! Sourdough baking is a learning curve, and we all have those moments. If your loaf comes out looking a little flat and sad, it could be that your starter wasn’t quite active enough, or maybe it needed a bit more time to bulk ferment. For a dense crumb, try being a bit gentler with your shaping, and make sure you’ve done those stretch and folds properly to build up that gluten. And if your starter just seems sluggish, feed it twice a day for a couple of days – it usually perks right up!
Nutritional Information (Estimated)
Just a heads-up, the nutrition for homemade sourdough bread can vary a bit depending on the exact flour and how you measure things! But, for a typical slice, you’re looking at about:
- Calories: Around 250
- Fat: Roughly 1g (mostly unsaturated!)
- Protein: About 8g
- Carbohydrates: Approximately 50g
- Fiber: Around 2g
- Sodium: Around 400mg
This is just a general ballpark, of course. Enjoy every delicious bite!
Frequently Asked Questions About Sourdough Bread
Got questions about making your own sourdough bread? I totally get it! It can seem a little daunting at first, but once you get the hang of it, it’s pure joy. Here are a few things folks often ask:
What makes sourdough bread tangy?
That awesome tang comes from the lactobacilli and wild yeasts in your starter working their magic during fermentation. They produce lactic and acetic acids, which give sourdough its signature flavor!
How long does it take to make sourdough bread?
Real talk: it’s a multi-day process if you count starter feeding and the cold ferment. But the active hands-on time is surprisingly short – maybe an hour or two spread across two days. The rest is just waiting (and the anticipation!).
Can I use all-purpose flour for sourdough?
While bread flour is definitely my preference for that ideal gluten structure and airy crumb, you *can* use all-purpose flour in a pinch for your sourdough. Just know your loaf might be a bit denser. You might need to adjust the water a tad too!
Share Your Sourdough Creations!
Alright, bakers, I’ve spilled all my secrets for making amazing sourdough bread! Now it’s YOUR turn. Did you try this recipe? How did your loaf turn out? I’d absolutely LOVE to hear all about your triumphs – or even your funny little oopsies! Drop a comment below with your results, your tips, or any questions you’re still pondering. If you want to get in touch directly, feel free to reach out via my contact page!
PrintArtisan Sourdough Bread Recipe
Learn to bake a crusty artisan sourdough loaf with a natural yeast starter and airy crumb.
- Prep Time: 30 min
- Cook Time: 45 min
- Total Time: 18 hr 15 min
- Yield: 1 loaf 1x
- Category: Bread
- Method: Baking
- Cuisine: American
- Diet: Vegetarian
Ingredients
- 100g active sourdough starter
- 350g warm water
- 500g bread flour
- 10g fine sea salt
Instructions
- Feed your sourdough starter 4-12 hours before you plan to mix the dough. It should be bubbly and active.
- In a large bowl, combine the active sourdough starter and warm water. Stir until the starter is mostly dissolved.
- Add the bread flour to the bowl. Mix with your hands or a spatula until just combined and no dry flour remains. The dough will be shaggy.
- Cover the bowl and let the dough rest for 30 minutes (autolyse).
- Sprinkle the salt over the dough. Wet your hands slightly and pinch and fold the salt into the dough until fully incorporated.
- Perform a series of stretch and folds every 30 minutes for the next 2 hours. To do this, wet your hands, grab one side of the dough, stretch it up, and fold it over the center. Rotate the bowl and repeat 3 more times.
- After the stretch and folds, let the dough rest, covered, at room temperature for 4-6 hours, or until it has increased in volume by about 50-75% and looks puffy.
- Gently turn the dough out onto a lightly floured surface. Shape it into a round (boule) or oval (batard).
- Place the shaped dough into a floured proofing basket or a bowl lined with a floured tea towel. Cover and refrigerate for 12-24 hours for a cold ferment.
- Preheat your oven to 475°F (245°C) with a Dutch oven inside for at least 30 minutes.
- Carefully remove the hot Dutch oven from the oven. Gently turn the cold dough out of the proofing basket into the Dutch oven. Score the top of the loaf with a sharp knife or lame.
- Cover the Dutch oven and bake for 20 minutes.
- Remove the lid and bake for another 20-25 minutes, or until the crust is deep golden brown and the internal temperature reaches 205-210°F (96-99°C).
- Carefully remove the bread from the Dutch oven and let it cool completely on a wire rack before slicing.
Notes
- For a tangier flavor, extend the cold ferment time in the refrigerator.
- If you don’t have a Dutch oven, you can bake the bread on a baking stone or steel, creating steam by placing a pan of water on the bottom rack of your oven.
- Ensure your sourdough starter is active and bubbly before using it in the recipe.
Nutrition
- Serving Size: 1 slice
- Calories: 250
- Sugar: 1g
- Sodium: 400mg
- Fat: 1g
- Saturated Fat: 0g
- Unsaturated Fat: 1g
- Trans Fat: 0g
- Carbohydrates: 50g
- Fiber: 2g
- Protein: 8g
- Cholesterol: 0mg