
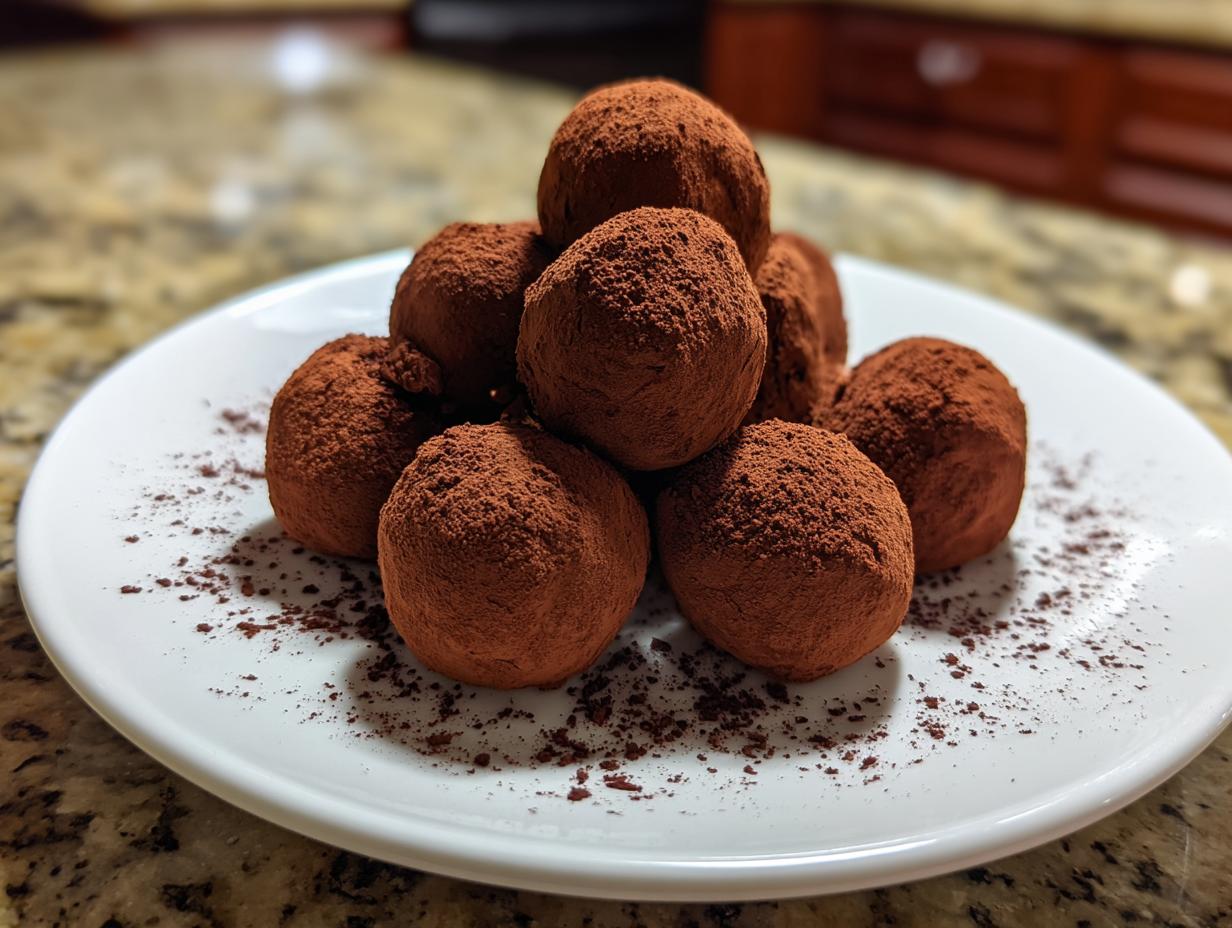
There’s just something magical about a perfectly crafted chocolate truffle, isn’t there? That moment when you pop one of those little decadent bites into your mouth, and it just melts away into pure bliss. It feels like such a luxurious thing, like something you’d get from a fancy chocolatier or a really thoughtful gift. And guess what? You can totally make them yourself, right there in your own kitchen! Seriously, these homemade chocolate truffles are ridiculously easy to whip up, and they taste *so* good, you’ll feel like a total pro. I remember when I first started translating those chef secrets for the blog, and learning how to make a velvety smooth ganache that turned into these amazing little treats was a huge game-changer. Making your own chocolate truffles is a little bit of kitchen magic that’s totally within your reach, and honestly, it’s one of the most satisfying things to make!
- Why You'll Love These Chocolate Truffles
- Ingredients for Perfect Chocolate Truffles
- Simple Steps to Make Chocolate Truffles
- Tips for the Best Chocolate Truffles
- Easy Truffle Variations to Try
- Storing Your Rich Bite-Sized Candies
- Frequently Asked Questions About Chocolate Truffles
- Estimated Nutritional Information
- Share Your Homemade Chocolate Truffles!
Why You’ll Love These Chocolate Truffles
Seriously, these little gems pack a serious flavor punch without all the fuss. Here’s why you’re going to be obsessed:
- Super Easy to Make: No fancy equipment, no complicated steps. If you can melt chocolate and stir, you’re basically halfway there!
- Incredibly Rich Flavor: We’re talking pure chocolatey goodness that just melts in your mouth. It’s like a little burst of heaven.
- So Versatile: Love cocoa powder? Nuts? Sprinkles? You can coat them in whatever your heart desires. They’re your canvas!
- Total Satisfaction: There’s just something incredibly rewarding about making something so decadent completely from scratch. Plus, they make the *best* gifts!
Ingredients for Perfect Chocolate Truffles
Alright, so for these amazing little bites of happiness, you really only need a few simple things. The quality of your chocolate makes a difference, but don’t stress too much – even good quality everyday chocolate works beautifully here. Trust me, it’s all about the perfect balance:
- 8 ounces semi-sweet or dark chocolate, finely chopped (I like to chop mine pretty small so it melts super evenly!)
- 1 cup heavy cream (the full fat stuff is key for that luscious texture)
- 1 tablespoon unsalted butter, softened (just a little makes it extra smooth)
- 1 teaspoon vanilla extract (pure vanilla always wins!)
- Cocoa powder, chopped nuts (like walnuts, almonds, or pistachios!), or sprinkles for rolling (get creative here!)
Simple Steps to Make Chocolate Truffles
Okay, so making these amazing chocolate truffles is like a little culinary adventure, but I promise it’s super straightforward. We’re going to build this incredible chocolatey base and then transform it into these perfect little bites. Just follow along, and you’ll be a truffle-making pro in no time!
Creating the Chocolate Ganache Base
First things first, get your finely chopped chocolate into a heatproof bowl. Then, we’re going to warm up that heavy cream. Just pop it in a small saucepan over medium heat until you see tiny little bubbles starting to form around the edges – think a gentle simmer, nothing crazy like a rolling boil. Pour that hot cream right over your chocolate. Now, the important part: let it just sit there for about 5 minutes. Don’t stir it yet! This lets the heat from the cream gently start melting all that beautiful chocolate. After those 5 minutes, give it a gentle whisk, starting from the center and working your way out. Keep going until it’s all smooth, glossy, and looks like silky chocolate heaven. So pretty!
Chilling and Shaping Your Chocolate Truffles
Once your ganache is super smooth, whisk in that softened butter and the vanilla extract until it’s all combined. Now, cover the bowl directly with plastic wrap – press it right onto the surface of the ganache so no yucky skin forms. Pop this into the fridge. You want to chill it for at least a couple of hours, or until it’s firm enough to scoop. It should feel like thick, pliable playdough, not liquidy at all. Once it’s chilled, use a spoon or a small cookie scoop to scoop out little portions. Then, gently roll them between your palms to make smooth, round balls. If your hands get too warm and the ganache starts getting melty, just pop them back in the fridge for 10-15 minutes to firm up again. These steps are crucial for getting those perfect chocolate truffles!
Coating Your Homemade Chocolate Ganache Balls
Now for the really fun part – decorating! Place your rolled balls onto a baking sheet lined with parchment paper. You can roll them in whatever you like! A classic is good old unsweetened cocoa powder – it gives them a lovely, non-sticky finish. Finely chopped nuts like toasted almonds, pistachios, or even walnuts add a nice crunch. Or go wild with colorful sprinkles! Just place your coating of choice in a shallow bowl and gently roll each truffle around until it’s nicely coated. A little tip: if you find your hands are getting too warm while rolling, you can quickly rinse them under cold water and dry them thoroughly before continuing. This really helps with shaping your homemade chocolate ganache balls!
You can see the linked article about easy weeknight dinners for more quick recipes!
Tips for the Best Chocolate Truffles
Okay, so making these chocolate truffles is pretty forgiving, but a couple of little things can make them extra-special. First off, use the best chocolate you can get your hands on! Seriously, for chocolate truffles, the chocolate is the star, so good quality semi-sweet or dark chocolate makes a huge difference. And remember that ganache needs to chill! Don’t rush it. A properly chilled ganache is way easier to roll. If your kitchen is warm, or your hands are, just pop the ganache back in the fridge for a bit. It’s all about patience and letting the chocolate do its thing. You can learn more about my kitchen philosophy over on the About page!
Easy Truffle Variations to Try
Honestly, part of the fun with these chocolate truffles is how easy they are to play with! Once you’ve got the basic ganache down, the possibilities for easy truffle variations are endless. Feeling zesty? Add a little orange zest or a splash of peppermint extract to the ganache before it chills – yummy! A pinch of cinnamon or a tiny bit of cayenne pepper can give it a warm, spicy kick. You could even fold in some finely chopped dried cranberries or a few mini chocolate chips after the chocolate and cream have melted. Experimenting is half the fun, and it’s how you discover your new favorite combo!
If you’re looking for more simple recipe ideas, check out my easy apple crumble recipe!
Storing Your Rich Bite-Sized Candies
So, you’ve got these gorgeous little chocolate truffles, and you want them to stay perfect, right? Easy peasy. Pop them into an airtight container. I usually put a little parchment paper between layers if I’m stacking them, just so they don’t stick together. Then, stash them in the fridge. They’ll keep beautifully for about a week. The only thing is, right out of the fridge, they can be a bit firm. So, just take them out about 20 minutes before you plan to serve or eat them. That way, they’ll soften up just right and give you that perfect melt-in-your-mouth experience. These rich bite-sized candies deserve a little patience!
Frequently Asked Questions About Chocolate Truffles
Got questions swirling around your mind about these delightful chocolate truffles? I totally get it! Making them is simple, but a few things can pop up. Here are some common things people ask about getting these perfect:
Can I use milk chocolate instead of dark for my chocolate truffles?
You sure can! Milk chocolate will give you a creamier, sweeter truffle. Just be aware that milk chocolate has more sugar and milk solids, so it might not firm up quite as much as dark chocolate, and you might need to chill it a bit longer.
Why are my chocolate truffles not firm enough to roll?
This usually happens if the ganache wasn’t chilled long enough, or if your kitchen is really warm. Make sure it’s chilled until it’s really firm, like cookie dough. If it’s still too soft, just pop it back in the fridge for another 30 minutes or so. Sometimes chilling your hands under cold water before rolling helps too!
How long do homemade chocolate truffles last?
Stored properly in an airtight container in the fridge, these chocolate truffles are usually good for about a week. They’re best enjoyed within the first 3-4 days for that ultimate melt-in-your-mouth texture, though!
Troubleshooting Common Chocolate Truffle Issues
Sometimes, things don’t go perfectly, and that’s okay! If your ganache looks a little split or oily, try whisking in a tablespoon of cold heavy cream or a tiny bit of milk very slowly until it comes back together. If your truffles are just melting like crazy while you’re rolling them, it’s usually because it’s too warm. Pop the whole tray back into the fridge for 10-15 minutes to firm them up before you continue!
Need more help or want to share your truffle triumphs? Feel free to reach out on my contact page!
Estimated Nutritional Information
Just a friendly reminder that these numbers are approximate, okay? How much fat, sugar, or calories can really change depending on the exact chocolate you use and how generous you are with the coatings! But for one of these lovely little chocolate indulgence bites, you’re generally looking at around:
- Calories: 120
- Fat: 9g
- Protein: 1g
- Carbohydrates: 10g
- Sugar: 10g
So, enjoy them guilt-free (mostly)!
Share Your Homemade Chocolate Truffles!
Alright, so now it’s your turn to make some magic! I’d absolutely LOVE to see your creations. Drop a comment below and tell me how your chocolate truffles turned out, or maybe what fun coatings you went with. If you snap a pic, tag us on social media – I can’t wait to see them! And hey, if you loved this recipe, a quick rating helps a ton. You can also peek at our privacy policy if you’ve got questions.
PrintAmazing Chocolate Truffles: Pure Indulgence

Learn to make rich, decadent chocolate truffles at home with this simple recipe. Perfect for gifts or special occasions.
- Prep Time: 20 min
- Cook Time: 5 min
- Total Time: 2 hr 25 min
- Yield: 24 truffles 1x
- Category: Dessert
- Method: No-Bake
- Cuisine: American
- Diet: Vegetarian
Ingredients
- 8 ounces semi-sweet or dark chocolate, finely chopped
- 1 cup heavy cream
- 1 tablespoon unsalted butter, softened
- 1 teaspoon vanilla extract
- Cocoa powder, chopped nuts, or sprinkles for coating
Instructions
- Place the chopped chocolate in a heatproof bowl.
- Heat the heavy cream in a small saucepan over medium heat until it just begins to simmer around the edges. Do not boil.
- Pour the hot cream over the chopped chocolate. Let it sit for 5 minutes without stirring.
- Gently whisk the chocolate and cream together until the mixture is smooth and glossy.
- Whisk in the softened butter and vanilla extract until fully combined.
- Cover the bowl with plastic wrap, pressing it directly onto the surface of the ganache to prevent a skin from forming.
- Chill the ganache in the refrigerator for at least 2 hours, or until firm enough to scoop.
- Scoop the chilled ganache into small balls using a spoon or a small cookie scoop.
- Roll the balls between your palms to form smooth spheres. If the ganache becomes too soft, chill it again briefly.
- Roll the truffle balls in your desired coating, such as cocoa powder, finely chopped nuts, or sprinkles.
- Place the finished truffles on a parchment-lined baking sheet.
- Store the truffles in an airtight container in the refrigerator for up to 1 week. Bring to room temperature for about 20 minutes before serving for the best texture.
Notes
- For a richer truffle, use dark chocolate with a higher cocoa content.
- Experiment with different flavor extracts like peppermint or orange for variations.
- You can also dip the rolled truffles in melted chocolate for an extra layer of indulgence.
- Chill your hands under cold water before rolling the truffles to prevent them from melting too quickly.
Nutrition
- Serving Size: 1 truffle
- Calories: 120
- Sugar: 10g
- Sodium: 5mg
- Fat: 9g
- Saturated Fat: 5g
- Unsaturated Fat: 4g
- Trans Fat: 0g
- Carbohydrates: 10g
- Fiber: 1g
- Protein: 1g
- Cholesterol: 20mg