
You know those moments? You need something rich, something sweet, something that tastes like pure comfort, and you need it *right now*. Forget complicated candy making; I’m handing you the ultimate cheat code for incredible **peanut butter fudge**. This isn’t some rock-hard block your grandma frowned at; this is the melt-in-your-mouth texture everyone is secretly chasing. Back when I was learning the kitchen lingo in that busy bistro, I realized most home recipes miss one simple step that separates the good from the legendary. This recipe is my translation of that insider secret—a foolproof, quick, decadent sweet snack that comes together faster than you can decide what to watch next on TV.
- Why This Creamy Peanut Butter Fudge Recipe Works
- Ingredients for the Best Homemade Fudge
- How to Make Perfect Peanut Butter Fudge Step-by-Step
- Tips for Success with Your Peanut Butter Fudge
- Variations on Classic Peanut Butter Fudge
- Storing Your Decadent Peanut Butter Treat
- Serving Suggestions for Peanut Butter Fudge
- Frequently Asked Questions About Peanut Butter Fudge
- Sharing Your Homemade Candy Recipes
Why This Creamy Peanut Butter Fudge Recipe Works
Listen, fudging—that’s the professional term for making fudge—can go wrong fast. People think using melted butter saves time, but that’s the first trap! My secret to this being the absolute best homemade fudge is sticking to room-temperature, softened butter. It creates the structure, trust me. This is the perfect **no bake peanut butter dessert** because it hits every sweet spot you’re looking for.
- It genuinely takes under 10 minutes of hands-on time.
- There is zero baking involved—just mixing and chilling.
- The texture is rich, dense, and doesn’t crumble when you cut it.
- It’s forgiving enough for a beginner, making it a fantastic easy fudge recipe.
Achieving That Melt In Your Mouth Fudge Consistency
Graininess is the enemy, right? It ruins the whole experience. You want that decadent, smooth creaminess that just dissolves as soon as it hits your tongue. That happens because we treat the powdered sugar right. You absolutely must sift it. Think of it as removing tiny roadblocks before they can ruin the ride. Also, please, please use softened, not melted, butter. When you cream the soft butter first, you are building tiny air pockets. Those pockets keep the final product that signature texture you’re looking for in true **melt in your mouth fudge**.
Ingredients for the Best Homemade Fudge
This is where the magic starts, and honestly, it’s shockingly simple. I love this recipe because it proves you don’t need a spice cabinet full of extracts or weird additions for killer flavor. We are keeping it lean because we want that pure, unadulterated peanut butter flavor to shine through. This is the definition of an **easy fudge recipe**; you probably have everything sitting in your pantry right now.
My one non-negotiable demand? Read the notes below the list before you start beating anything. If you skip the prep work here, you’ll end up with a grainy mess, and we worked too hard for that!
- 1 cup (that’s two full sticks!) unsalted butter, softened (must be softened! Don’t even think about melting it.)
- 1 cup creamy peanut butter (I prefer Jif or Skippy for this texture—the stabilizers help keep things smooth.)
- 4 cups powdered sugar, sifted (Yes, you have to stand there and sift it. Do not skip this step, or you’ll be fishing out lumps later.)
- 1 teaspoon vanilla extract (Use the good stuff if you have it; it brightens everything up.)
That’s it! Four things make this phenomenal, **rich sweet square dessert**. The key is temperature. Make sure your butter has been sitting out long enough so it gives slightly when you gently press it. If it’s melting or greasy, put it back in the fridge for ten minutes before you start beating.
How to Make Perfect Peanut Butter Fudge Step-by-Step
Okay, we’ve got our star players ready on the counter—soft butter, creamy peanut butter, and that mountain of sifted sugar. Now we move fast. This whole process is what makes this a true **quick fudge recipe**; if you stay focused, you’ll be done prepping in about ten minutes flat! We rely on the mixer here, not the stove, which keeps things steady and smooth. Remember, we built our structure by creaming the butter earlier, so we treat the sugar gently now. Next time you’re looking for a dip that’s just as fast, check out my thoughts on brownie batter dip—same principles of fast mixing apply!
First thing’s first: grab your 8×8 pan. Lining it with parchment paper, leaving those little lips hanging over the sides, is essential. That overhang acts like built-in handles later. Grease the paper lightly, just in case. Then, we start beating the butter and peanut butter together until they’re completely unified; you want one smooth, homogenous base. Scrape those sides down!
Mixing Technique for Smooth Peanut Butter Fudge
This is where you need to be careful! Once you start adding the sifted powdered sugar, knock that electric mixer down to the absolute lowest speed. I mean it—low—otherwise, you’ll have a white cloud decorating your entire kitchen! Add that sugar one cup at a time. You only mix until the sugar *just* disappears into the wet ingredients, then stop, scrape the bowl again, and add the next cup. Overmixing the sugar activates its starch and that’s how you get that dry, crumbly texture. We are aiming for the creamiest fudge possible, so gentle incorporation is key for truly **creamy peanut butter fudge**.
Setting and Cutting Your Smooth Peanut Butter Squares
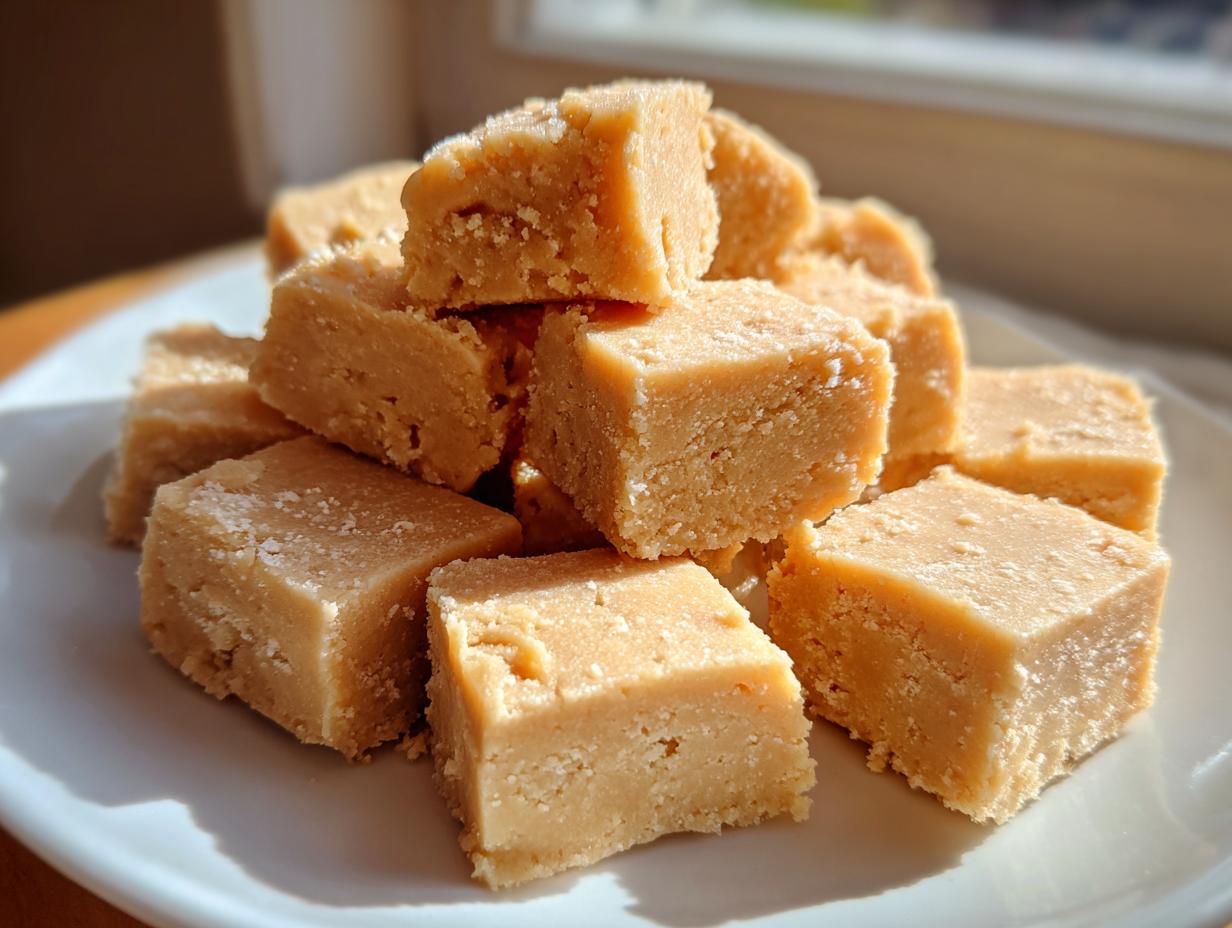
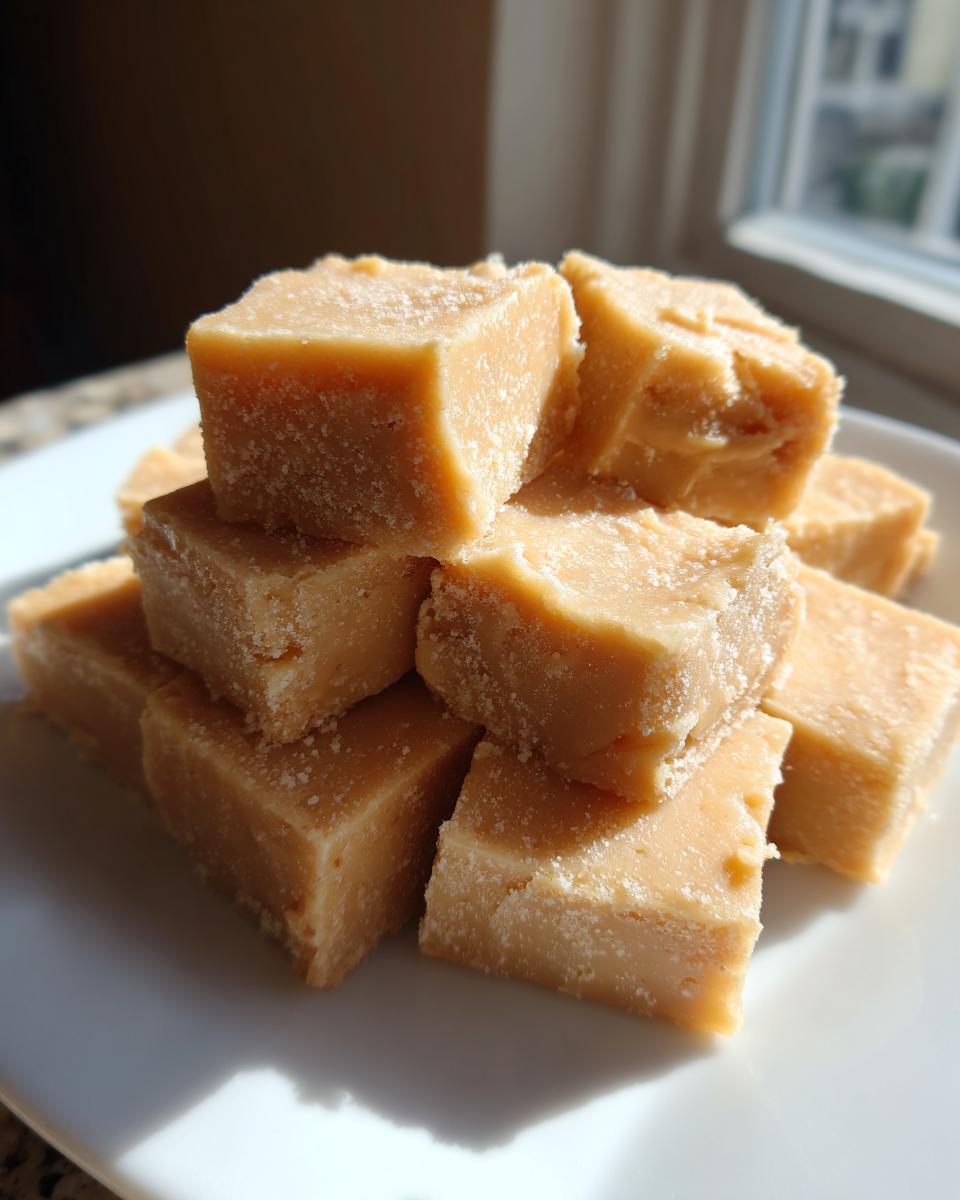
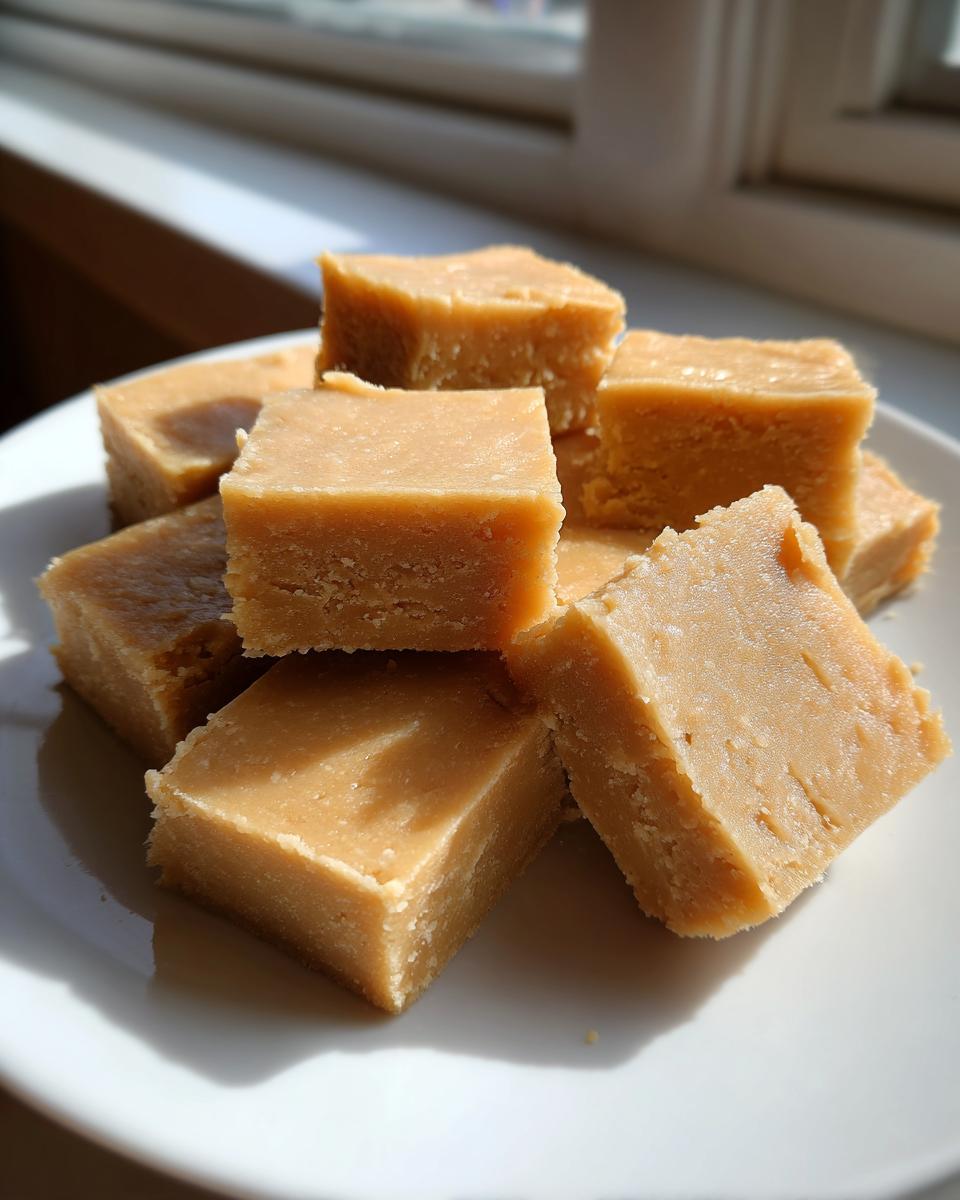
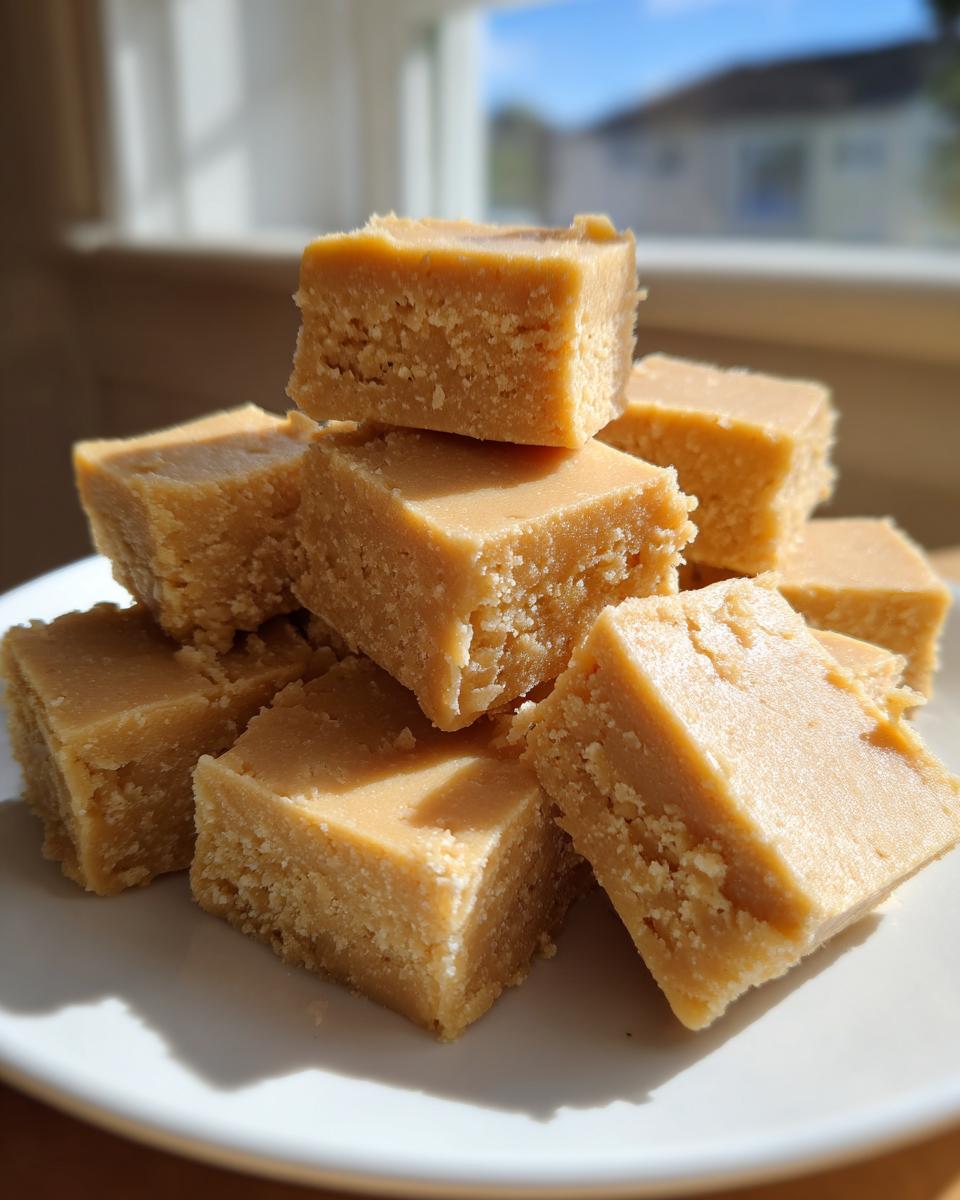
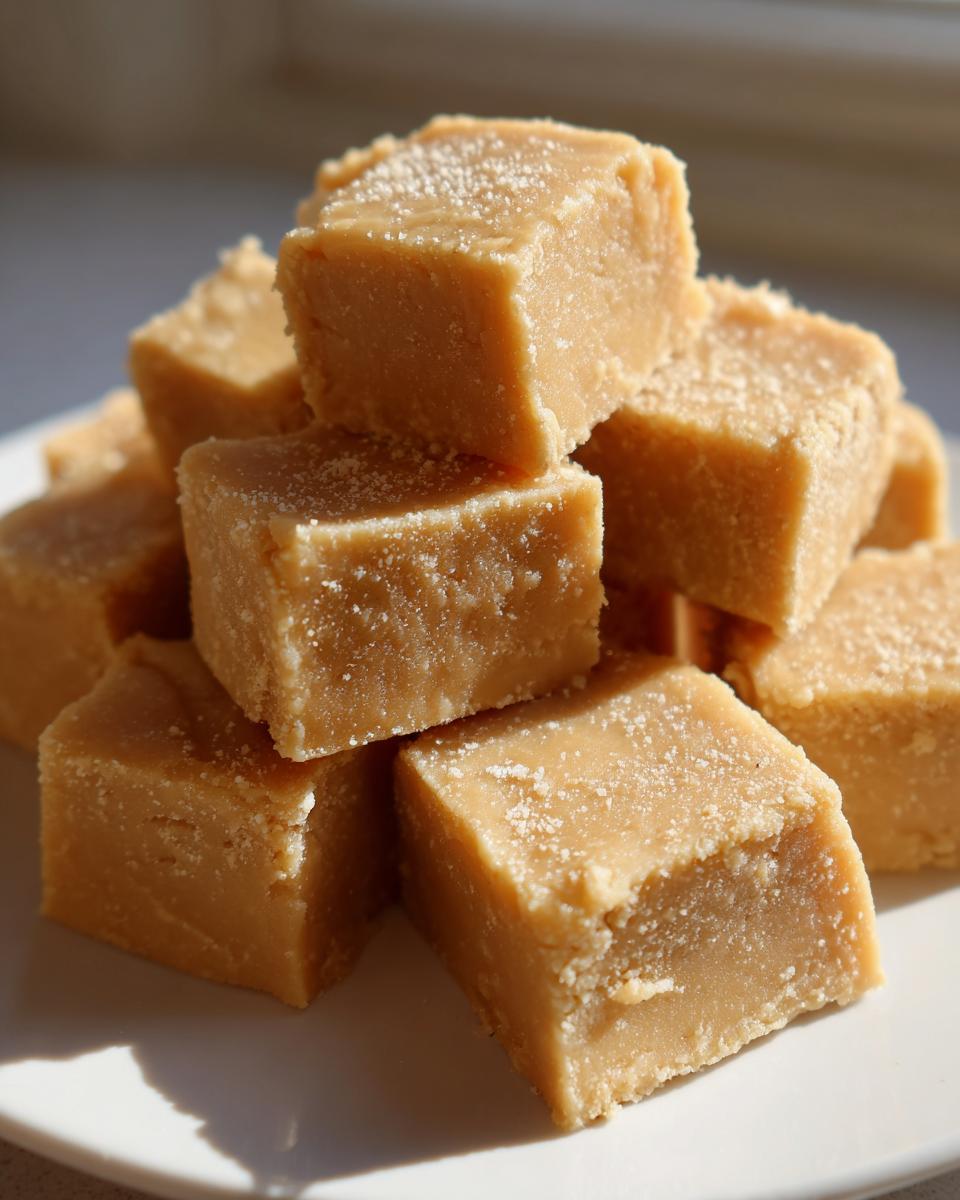
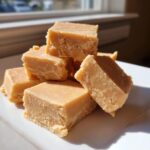
Once the vanilla is in and you’ve scraped the bowl one last time to make sure everything is folded, it’s time to get it into that lined pan. Use a sturdy spatula, or even the back of a spoon, to press that mixture down firmly and evenly. You want to pack it in tight so you get a nice, dense layer. Don’t leave any bits sticking up! Then, this is the hard part: patience. It needs at least two hours in the fridge to firm up properly. When you’re ready to cut, just grab those parchment paper handles and lift the whole block out onto the cutting board. Slice it into tiny, satisfying **smooth peanut butter squares**. A sharp knife helps here!
Tips for Success with Your Peanut Butter Fudge
Since this is such a fantastic no-bake peanut butter dessert, the success hinges entirely on how you handle your ingredients before they even hit the bowl. If you’re approaching this thinking it’s just stir-and-go, you might end up a little disappointed with the texture. But if you follow these little chef wisdom nuggets—the stuff I picked up watching seasoned pros—you’ll nail that perfect richness every time. This is the insider knowledge that makes this the go-to **beginners fudge recipe**.
Temperature is everything here. I mentioned the butter needs to be softened, but let’s talk about temperature control during the mixing process. The sugar is a refined product; if you beat it too hard or too fast once it’s introduced, you force the texture into something granular instead of creamy. That’s why we use low speed and add it slowly!
Another tip that seems small but delivers huge returns: don’t skimp on sifting about that powdered sugar. I know, I know, it feels like an extra ten minutes of pointless work, but that fine powder packs down hard in the bag. Those little clumps don’t dissolve easily when mixed slowly, and they definitely won’t dissolve if you accidentally crank the mixer speed up. A quick sift guarantees that cloud-like smoothness we are chasing.
Finally, stick to creamy peanut butter for this specific formula. Those recipes calling for natural peanut butter (the kind that separates with oil on top) usually require adding extra liquid or heating the mixture on the stovetop to emulsify it. Since our method relies on the powerful creaming action of the electric mixer working with room-temp butter, the shelf-stable creamy ones just integrate better and give you that reliable, pure peanut butter flavor without any fuss.
Variations on Classic Peanut Butter Fudge
So, you’ve made the perfect, smooth batch of this **peanut butter fudge** following my foolproof method. Now what? Of course, this recipe stands brilliantly on its own—it’s pure, unadulterated peanut butter heaven. But sometimes, you want to riff a little, right? That’s what separates the cooks from the bakers—a willingness to tweak the formula based on what you love. These little changes don’t mess with the structural integrity of the fudge, which is what we worked so hard to protect!
If you look at **old fashioned peanut butter candy**, you often see simpler flavor profiles, sometimes just relying on the quality of the peanut butter itself. But we can certainly jazz this up just a touch for a more modern, decadent feel.
- **The Chocolate Drizzle:** This is my favorite way to dress these up for gifting. Once the fudge is spread in the pan but *before* it chills, melt about half a cup of good-quality semi-sweet chocolate chips with half a teaspoon of coconut oil until it’s silky smooth. Drizzle it all over the top in a messy, artistic pattern. Let that set slightly before chilling. It looks professionally done, but it’s simple wizardry!
- **Salted Finish:** If you really want to make those peanut butter flavors pop, sprinkle just a tiny pinch of flaky sea salt right over your chocolate drizzle (or straight onto the fudge surface before chilling). It cuts through the sweetness perfectly.
- **Mix-Ins for Fun:** While this recipe is designed to be smooth, you can fold in about a half-cup of mini peanut butter chips or even some finely crushed pretzels right before pressing it into the pan. Just be gentle when pressing it down so you don’t introduce too many air pockets!
These little squares are fantastic additions to any **fudge for holidays** platter—they look impressive next to those chocolate clusters or peppermint bark. But honestly, I make them any time of year because they are such an easy component of my arsenal of **sweet snack ideas**. If you love easy, no-bake treats perfect for celebrations, you simply must check out my recipe for chocolate rum balls next; they use a similar no-fuss approach to making homemade candy!
Storing Your Decadent Peanut Butter Treat
It’s rare that I have leftover homemade fudge because it disappears so fast, but when I do, storage is key to keeping that glorious texture intact. Remember how much effort we put in to avoid graininess? Well, leaving this out on the counter exposed to the air is the fastest way to ruin our hard work! This is a **decadent peanut butter treat** that needs a little protection.
My number one rule for storing any homemade candy, especially this specific version of **peanut butter fudge**, is keeping it airtight. You want to lock in that moisture so it stays soft and creamy, not hard and dry. I find that slicing it *before* storing it actually works best.
Grab a sturdy, airtight container. You can layer the squares between sheets of parchment paper or wax paper—this stops them from sticking together into one giant, glorious block, which sounds nice but makes serving a nightmare! Keep that container tucked away in the refrigerator. The recipe notes suggest it keeps perfectly for up to a week this way, which is pretty impressive for something made with just four simple ingredients.
Now, about reheating? Don’t bother! Fudge is meant to be eaten cool or at room temperature. If it gets too warm, it gets soft and greasy, and then you’re just eating sweet peanut butter goo—which, okay, might not be the worst thing, but it’s not *fudge*. If you chill it too long and it seems a little too firm when you pull it out, just let a square sit on your plate for about 15 minutes before you dive in. That little bit of time allows it to soften back up to that perfect, melt-in-your-mouth consistency we aimed for. Enjoy every last rich square!
Serving Suggestions for Peanut Butter Fudge
So, you’ve made the perfect, smooth batch of this **peanut butter fudge** following my foolproof method. Now what? Of course, this recipe stands brilliantly on its own—it’s pure, unadulterated peanut butter heaven. But sometimes, you want to riff a little, right? That’s what separates the cooks from the bakers—a willingness to tweak the formula based on what you love. These little changes don’t mess with the structural integrity of the fudge, which is what we worked so hard to protect!
If you look at **old fashioned peanut butter candy**, you often see simpler flavor profiles, sometimes just relying on the quality of the peanut butter itself. But we can certainly jazz this up just a touch for a more modern, decadent feel.
- **The Chocolate Drizzle:** This is my favorite way to dress these up for gifting. Once the fudge is spread in the pan but *before* it chills, melt about half a cup of good-quality semi-sweet chocolate chips with half a teaspoon of coconut oil until it’s silky smooth. Drizzle it all over the top in a messy, artistic pattern. Let that set slightly before chilling. It looks professionally done, but it’s simple wizardry!
- **Salted Finish:** If you really want to make those peanut butter flavors pop, sprinkle just a tiny pinch of flaky sea salt right over your chocolate drizzle (or straight onto the fudge surface before chilling). It cuts through the sweetness perfectly.
- **Mix-Ins for Fun:** While this recipe is designed to be smooth, you can fold in about a half-cup of mini peanut butter chips or even some finely crushed pretzels right before pressing it into the pan. Just be gentle when pressing it down so you don’t introduce too many air pockets!
These little squares are fantastic additions to any **fudge for holidays** platter—they look impressive next to those chocolate clusters or peppermint bark. But honestly, I make them any time of year because they are such an easy component of my arsenal of **sweet snack ideas**. If you love easy, no-bake treats perfect for celebrations, you simply must check out my recipe for chocolate rum balls next; they use a similar no-fuss approach to making homemade candy!
Frequently Asked Questions About Peanut Butter Fudge
I totally get it. When you’re trying a new recipe, especially for something classic like this, you’ve got questions swirling around. Will my brand of peanut butter work? Can I adapt the method? I’ve collected the most common queries I get about this **creamy peanut butter fudge** so you can jump right to success without any guesswork. This is the stuff I’ve learned translating chef talk into kitchen confidence!
Can I substitute creamy peanut butter for crunchy in this peanut butter fudge?
Yes, you *can*, but I’m going to give you the real talk here: if you want that signature, glorious, melt-in-your-mouth texture that feels so luxurious, you really need to stick with creamy for this base recipe. Crunchy peanut butter adds fantastic texture—little pops of nutty goodness—but it interrupts the smooth matrix we are trying to build with the butter and sugar. If you swap it, you’ll get a textured fudge, which is great, but it won’t be the ultrasmooth experience you get when you follow the standard recipe. If you want crunch, fold in some crunchy peanut butter *after* you mix in the powdered sugar, maybe half a cup, just for fun. For the main body, though, creamy is the word!
Is this a microwave peanut butter fudge recipe?
That’s a great question, especially since so many **quick fudge recipes** online rely on the microwave! For *this* particular blueprint—my secret method for the absolute smoothest texture—we skip the microwave entirely. The microwave is great for speed, but it heats unevenly, and it can easily overheat the sugar, leading to that grainy texture we hate. Our method here relies on the precise creaming action of an electric mixer working with room-temperature butter. That mechanical action creates the air pockets that give us that perfect, dense-yet-creamy structure. While you *can* find recipes that use the microwave, using the mixer ensures you produce the **best homemade fudge** consistency every single time.
If you’re looking for other quick, no-fuss sweets that don’t sweat the stove or the oven, you should check out my tips on making peanut butter rice krispie treats. It uses similar simple assembly concepts!
Sharing Your Homemade Candy Recipes
Alright, now you have the keys to the kingdom! You’ve made what is truly a **classic american candy**—a perfect, decadent square of **peanut butter fudge** that tasted like you spent hours fussing over it when really, you didn’t. That’s the Kitchen Slang magic right there. I want to know how it went for you! Did it set up perfectly for cutting? Did the room smell amazing while it was chilling?
Don’t keep that success to yourself! Drop a comment below and tell me what you thought. A star rating helps other folks who are feeling a little hesitant about trying **homemade candy recipes** decide to dive in. Seriously, your feedback helps me keep translating the best insider tips for everyone.
If you are already looking for your next project after conquering this fudge, I have tons of other sweet, simple ideas that use that same principle: maximum flavor, minimum fuss. You might enjoy my guide on making homemade granola recipe, which is another one of those things that tastes so much better when you make it yourself!
And hey, if you loved this recipe and want to see what others are saying about this exact **peanut butter fudge** formula, you can always check out the original inspiration over at Everyday Cooking Tips. Happy baking—or, well, happy *no-baking*!
PrintEasy Peanut Butter Fudge: Melt-in-Your-Mouth Squares
This recipe gives you rich, creamy peanut butter fudge that sets into perfect squares. It uses few ingredients and requires no baking, making it a quick, decadent sweet snack.
- Prep Time: 10 min
- Cook Time: 0 min
- Total Time: 2 hours 10 min
- Yield: About 64 small squares 1x
- Category: Dessert
- Method: No-Bake
- Cuisine: American
- Diet: Vegetarian
Ingredients
- 1 cup (2 sticks) unsalted butter, softened
- 1 cup creamy peanut butter
- 4 cups powdered sugar, sifted
- 1 teaspoon vanilla extract
Instructions
- Line an 8×8 inch baking pan with parchment paper, leaving an overhang on two sides for easy removal. Lightly grease the paper.
- In a large bowl, beat the softened butter and peanut butter together until smooth using an electric mixer. Scrape down the sides of the bowl.
- Gradually add the sifted powdered sugar, one cup at a time, mixing on low speed until just combined after each addition. The mixture will become very thick.
- Mix in the vanilla extract until fully incorporated.
- Press the fudge mixture evenly into the prepared pan. Use a spatula or the back of a spoon to smooth the top surface.
- Refrigerate for at least 2 hours, or until firm enough to cut.
- Lift the fudge out of the pan using the parchment overhang. Cut into 1-inch squares.
Notes
- Sifting the powdered sugar prevents lumps and helps you achieve a smooth texture.
- For the creamiest result, use room temperature butter. Do not melt the butter.
- If you prefer a slightly less sweet flavor, you can substitute 1/2 cup of the powdered sugar with 1/2 cup of creamy peanut butter, adjusting the mixing time as needed.
- Store this homemade candy in an airtight container in the refrigerator for up to one week.
Nutrition
- Serving Size: 1 square
- Calories: 165
- Sugar: 18
- Sodium: 65
- Fat: 10
- Saturated Fat: 4
- Unsaturated Fat: 6
- Trans Fat: 0
- Carbohydrates: 18
- Fiber: 0
- Protein: 3
- Cholesterol: 15