
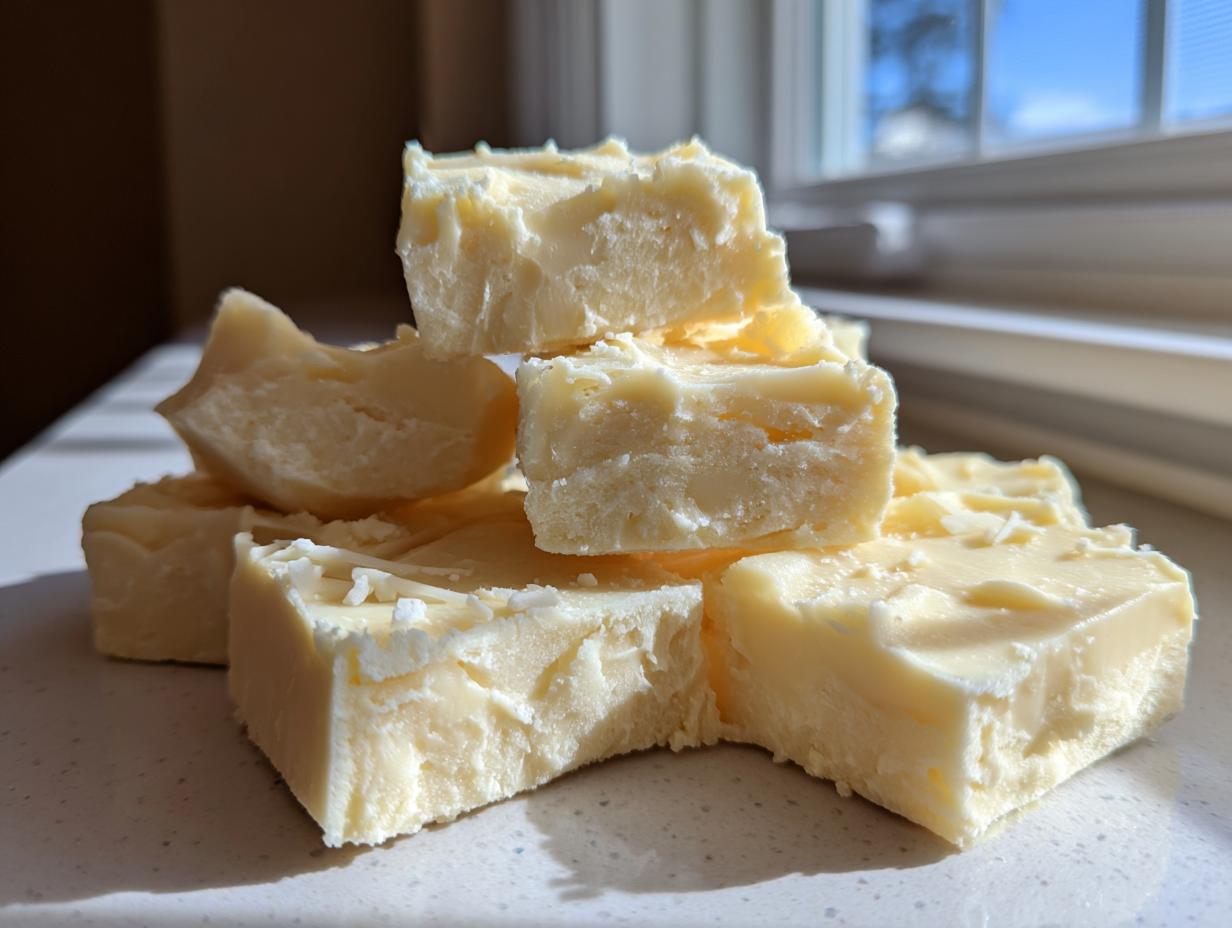
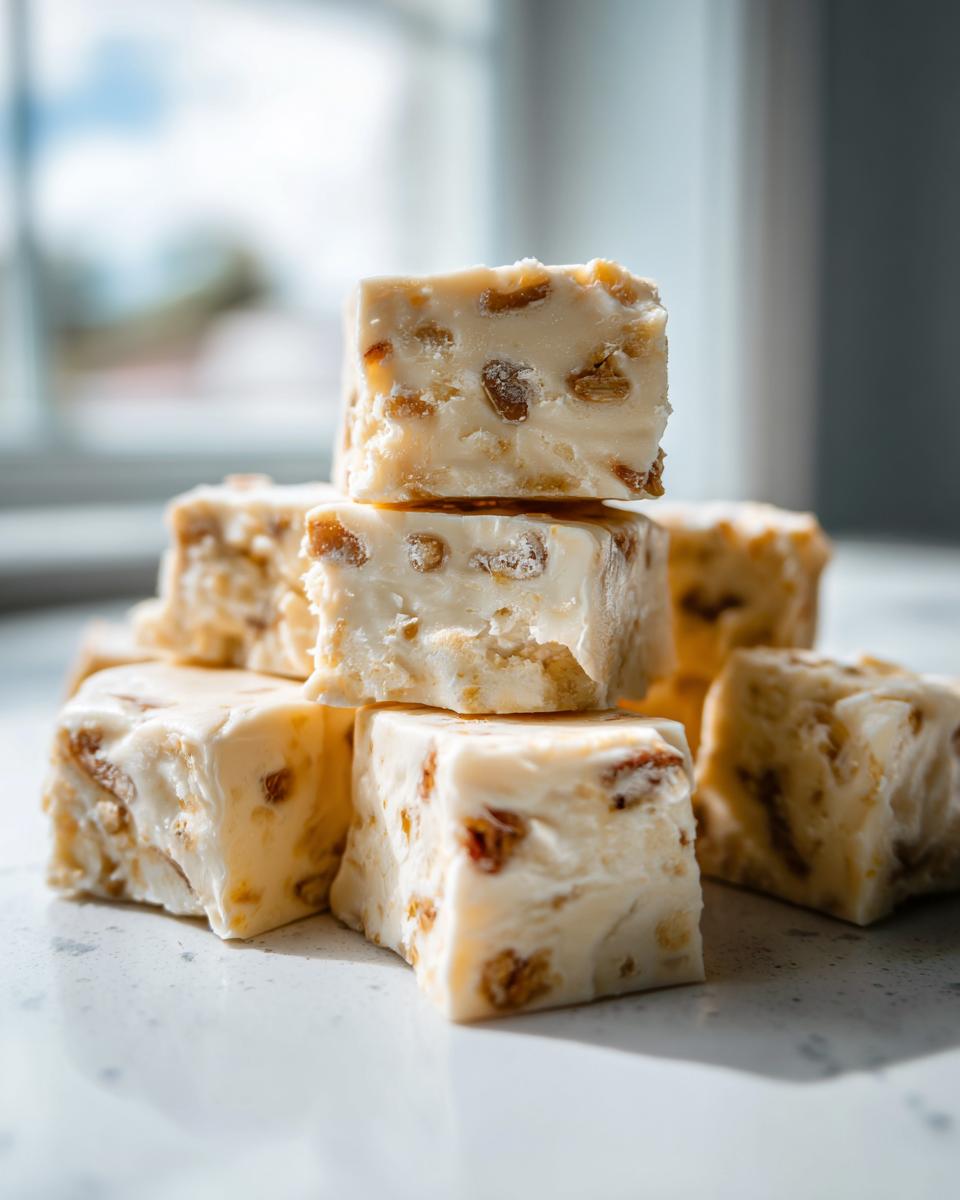
Okay, I get it. When you hear the word “fudge,” maybe your brain immediately pictures an old-school candy thermometer, worrying about crystallization, and a whole lot of stress. Making traditional candy feels like advanced geometry, right? Well, forget all that noise! We’re learning the lingo here at Kitchen Slang, and the lingo for holiday treats is: “No-stress, maximum reward.” That’s why I’m showing you my absolute favorite, foolproof **white chocolate fudge** recipe that flips the whole candy-making rulebook upside down. Trust me, this is the easiest method you’ll ever find, usually only needing two ingredients. We are skipping the temperamental stuff and going straight for that impossibly creamy, melt-in-your-mouth texture everyone swoons over. You don’t need a degree to make this happen!
- The Secret to Quick, Creamy White Chocolate Fudge
- Ingredients for Your Simple White Fudge Recipe
- How to Make No Bake White Chocolate Fudge Step-by-Step
- Flavor Variations for Your White Chocolate Fudge
- Tips for Success with Homemade White Fudge
- Storage and Reheating Instructions for White Chocolate Fudge
- Frequently Asked Questions About This Simple White Fudge Recipe
- Serving Suggestions for White Chocolate Dessert Squares
- Nutritional Estimate for This Quick Dessert Fudge
The Secret to Quick, Creamy White Chocolate Fudge
The reason this specific **no bake white chocolate fudge** works so brilliantly is pure chemistry, and it’s why I swear by it. Traditional fudge needs you to hit a very precise temperature—the “soft ball” stage—or you end up with sugar crystals instead of smooth candy. Yuck. This recipe totally bypasses all that guesswork because the sweetened condensed milk brings the sugar content way up and acts as our stabilizer. When you mix that heavy milk with good quality white chocolate chips, you get stability without the stress of a candy thermometer!
You get that rich, velvety mouthfeel because we’re relying on the fats in the condensed milk and the cocoa butter in the chips to emulsify perfectly just by gentle melting. It’s honestly the best way to create a **quick dessert fudge** that looks like you spent hours in a candy shop.
Why This is the Easiest White Chocolate Fudge Recipe
I am not kidding when I say this is the definition of convenience baking. You don’t need fancy equipment, you don’t need to stand over a hot stove, and you definitely don’t need to own a thermometer that requires calibration. If you have a microwave, you can make this. That’s why so many people fall in love with this **2 ingredient fudge** base. It gets you that glorious, rich texture that usually takes way more effort. It’s practically instant gratification. Check out this guide for another amazing version, but stick with me for the classic here!
Ingredients for Your Simple White Fudge Recipe
When a recipe is this simple, the quality of your ingredients really shines through, so don’t skimp where it counts! For this base recipe, you only need three things—though one is totally optional, I still recommend it for depth. We are building the *best* **white chocolate fudge** here, so pay attention to the chocolate choice. Everything you need to get started is listed below. Don’t worry if you can’t find everything; this is adaptable, but these ratios give us that perfect, creamy set every single time.
- 1 (14 ounce) can sweetened condensed milk (please, don’t grab the evaporated kind!)
- 3 cups white chocolate chips (this is the main event!)
- 1 teaspoon vanilla extract (this is the secret flavor boost we sneak in)
Ingredient Notes and Quality Tips
Listen, this is where most people accidentally turn their perfect candy into a hard block. For that true, velvety, **melt in your mouth fudge** texture, you need real white chocolate chips or chopped white chocolate bars. Avoid the cheap ‘white baking chips’ if you can. Those often have vegetable oils that don’t want to cooperate under heat, and you risk your whole batch seizing up on you—that means it gets grainy and stiff. I learned that the hard way once when I was rushing! If the chocolate is good, the final homemade white fudge will be outstanding. Don’t take shortcuts here!
How to Make No Bake White Chocolate Fudge Step-by-Step
Alright, let’s get this candy made! Since this is a **no bake white chocolate fudge**, the assembly is super quick, which is fantastic when you need a last-minute treat or a platter of sweet white chocolate dessert squares for a party. The actual “cooking” time is maybe two minutes, but prep matters. Follow these steps precisely, and you’ll have the smoothest **white chocolate fudge** you’ve ever made. Do not rush the chilling time, though—that’s where patience pays off!
Preparing Your Pan for Perfect Release
This is the foundation of stress-free removal later on. You need an 8×8 inch pan for these measurements. Grab your parchment paper—don’t skip this! Line the pan but make sure you leave a good overhang on two opposite sides. Think of these overhangs as little handles you can grab later to lift the whole beautiful block right out of there. Lightly greasing that parchment paper with a spray or a tiny smear of oil just gives you triple insurance. If you don’t leave those handles, you’ll be prying your fudge out, and nobody wants smashed candy!
Melting Chocolate Without Seizing
Time to melt! Put your 3 cups of white chocolate chips into a big, microwave-safe bowl. This is the critical part for that **creamy white chocolate fudge** texture. We are *not* nuking these for 60 seconds straight. You want to microwave in short, controlled bursts—30 seconds at a time is perfect. After every 30 seconds, pull it out and stir it vigorously, even if it still looks chunky. You want that residual heat to keep melting it down. Keep doing this until it’s *almost* completely smooth. If you overheat it, the chocolate gets ugly and stiff, and trust me, trying to fix seized chocolate is no fun. Check out the foolproof advice on this recipe, which shares the same low-heat melting wisdom!
Once it’s smooth, quickly stir in your sweetened condensed milk and the vanilla until it looks uniform and glossy. Pour immediately into your amazing handle-equipped pan and smooth the top. Then, let it chill! Seriously, give it two full hours to firm up before you even think about cutting it.
Flavor Variations for Your White Chocolate Fudge
Now that you’ve mastered the base—the foundational, super-easy **white chocolate fudge**—it’s time to play dress-up! This is where you turn your simple candy into something totally unforgettable for holidays or just because you deserve extra flair. Because the base is so reliable, adding mix-ins is all about gentle folding so you don’t deflate all that glorious creamy texture we worked so hard to create. I love turning this into something festive or something decadent!
Making Cranberry White Chocolate Fudge
If you want something tart to balance that intense sweetness, Cranberry White Chocolate Fudge is the answer. This is perfect for a holiday platter or just when you need a little visual pop! Once your chocolate and condensed milk are mixed perfectly smooth—right before you pour it into the prepared pan—gently fold in about one cup of dried cranberries. Don’t use frozen or fresh ones unless you want a watery mess later! Just fold them in until they are evenly distributed. If you want to see how beautiful that combination looks, check out the inspiration over at this recipe. It’s gorgeous and so easy for your **holiday fudge recipes**!
Creating Caramel Swirl Fudge
For those of you who think vanilla and white chocolate just need a little more gooey richness, we are going for a Caramel Swirl Fudge. The trick here is to be slightly restrained. Before you pour the main base into the pan, scoop out about a quarter cup of the melted fudge mixture and set it aside in a tiny bowl. Pour the main batch in and smooth it out. Then, take about two tablespoons of your favorite jarred caramel sauce and drizzle it all over the top. Now, take that reserved fudge mixture and drizzle that on top of the caramel. Use a knife or a skewer to gently swirl everything together—don’t overmix! You want ribbons, not mud! You can find an awesome caramel version for inspiration right here. This turns your **simple white fudge recipe** into a deluxe treat!
Tips for Success with Homemade White Fudge
Look, I’ve made this mistake so many times when I was first getting good at this, and I want to save you the headache of a grainy batch of **homemade white fudge**. The biggest rookie error people make when attempting this **easy white chocolate fudge recipe** is trying to rush the ingredients. You might think, “It’s just two ingredients, what could go wrong?” But everything hinges on temperature and quality.
First—and this is important—make sure that can of sweetened condensed milk isn’t ice-cold from the fridge when you pour it in. If it’s too cold, it chills the melted chocolate instantly, and BOOM, you get those nasty seizing spots faster than you can say “candy making is hard.” I try to leave my can out on the counter for an hour before I start, or I give it a quick 10-second warm-up in the microwave *before* I even touch the chocolate chips. That little bit of warmth helps everything blend beautifully for that perfect **velvety** finish.
Also, don’t underestimate the chocolate. Quality matters here more than you think! Since this recipe relies almost entirely on the chocolate chips for structure and flavor, using chunky, cheap chips that are full of fillers instead of cocoa butter is a recipe for disaster. I once used these super waxy chips for a batch of **white chocolate dessert squares** I was bringing to a potluck, and they ended up being almost impossible to chew past the first bite—totally disappointing. Lesson learned! Stick to good brands. If you’re feeling adventurous and want a fruity twist, check out the inspiration for this raspberry version; it shows how great additions can complement the basic creamy sweetness!
Storage and Reheating Instructions for White Chocolate Fudge
The great thing about this **white chocolate fudge** is that it’s rock-solid stable because of the condensed milk base, so you don’t necessarily *need* to refrigerate it, but I highly recommend it if you live somewhere warm! For the very best texture—that wonderfully soft, melt-in-your-mouth bite—store it in an airtight container at room temperature for about a week. If you need it to last longer, pop it into the fridge. Just remember, when it comes straight out of the fridge, it will be rock hard. Let those little **white chocolate dessert squares** sit on the counter for 20 minutes before serving to bring that amazing creamy texture back!
Frequently Asked Questions About This Simple White Fudge Recipe
I always get questions about this recipe because people can’t believe how easy it is! Candy making sounds scary, but this method is designed for home cooks who want amazing results without the fuss. Here are the top things people ask me when they are getting ready to whip up a batch of **simple white fudge recipe** goodness.
Can I use white baking chips instead of white chocolate chips in this white chocolate fudge?
You technically *can*, but I strongly advise against it if you’re aiming for that **creamy white chocolate fudge** texture. Baking chips usually have stabilizers and more vegetable oil because they are designed to hold their shape when baked into cookies. When you melt them down for fudge, they don’t always incorporate smoothly with the condensed milk and can lead to a waxy feel instead of that smooth, melt-in-your-mouth quality we want. Higher quality chips, packed with cocoa butter, are your best bet for the ultimate **white chocolate candy** experience.
How long does it take for the no bake white chocolate fudge to set completely?
You need to practice some patience here, even though the mixing is fast! The minimum chilling time for this **no bake white chocolate fudge** to become firm enough to slice nicely is two hours in the refrigerator. If your kitchen is really warm, or if you’ve added a lot of watery mix-ins (like maybe a fruit puree, though I don’t recommend it!), you might need closer to three hours. Don’t try to cut it early, or you’ll end up with a gooey mess that just won’t behave as **white chocolate dessert squares**!
Is this the best white chocolate candy for holiday fudge recipes?
Absolutely! I think it’s one of the best things you can make for **holiday fudge recipes**! Why? Because you can whip up a batch in under 15 minutes of work, and it sets beautifully for gifting. When you talk about **fudge for gifting**, ease of transport and shelf stability are key, and this recipe nails it. Wrap up neat squares of this easy **white chocolate fudge** recipe, and people will think you spent all day working on them. Check out more great ideas for your holiday spreads over at this site!
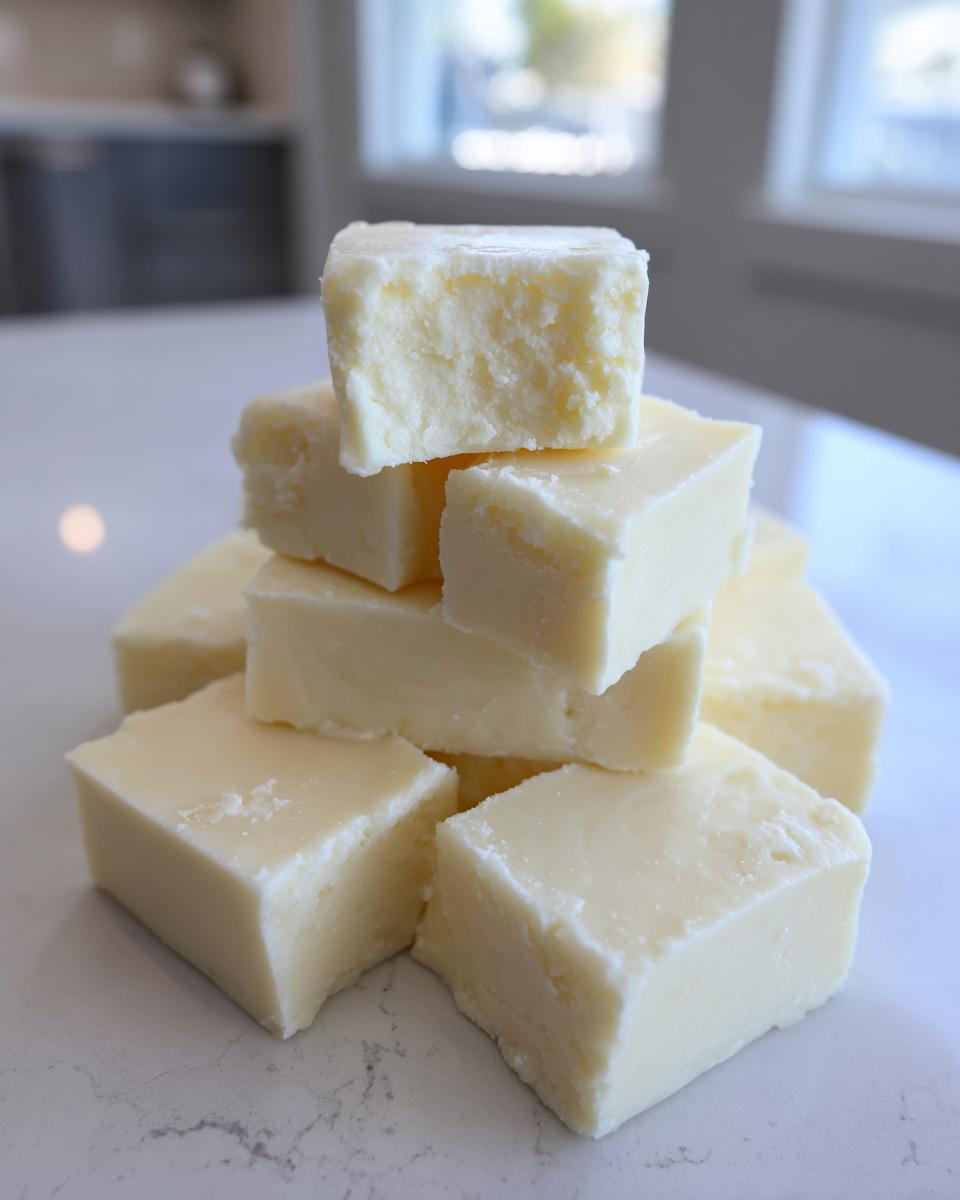
Serving Suggestions for White Chocolate Dessert Squares
Okay, you’ve got this gorgeous, firm block of **white chocolate fudge**, and now you need to show it off! Cutting it into perfect **white chocolate dessert squares** is half the fun, and presentation is everything, especially if you’re counting on this to be a stunning holiday gift. Since this candy is so rich, I always go for small, manageable pieces. Use a large, sharp knife and wipe the blade clean between every few cuts—this seriously stops those slightly sticky edges from dragging and keeps your squares looking crisp and professional.
For gifting, I love pairing these with something tangy to cut through the sweetness. Think tiny cellophane bags tied with a satin ribbon. A cute touch is adding one or two dried raspberries or a single toasted pecan on top of each square just before it sets completely for that extra fancy look. If you’re serving these at a party, they are amazing next to strong black coffee or an espresso—that slight bitterness is the perfect foil to all that sweet, creamy white chocolate. If you want to see some other great ways people are serving up their holiday **white chocolate fudge** squares, you should definitely browse the presentation ideas over at this inspiration page!
Nutritional Estimate for This Quick Dessert Fudge
We all know this **quick dessert fudge** isn’t going to win any health awards, right? It’s a treat! But I believe in being transparent about what we’re putting into our bodies, even when it’s pure sugar and chocolate joy. Below are my best estimates based on the standard ingredients for one small square of this **white chocolate fudge**. Remember, these numbers are just a starting point for you!
The actual values can swing a bit depending on the brand of white chocolate chips you grab or even the specific can of condensed milk—some brands sneak in extra sugar! Since this recipe yields about 36 small pieces, we calculate based on that yield.
- Serving Size: 1 square
- Calories: 150
- Sugar: 18g
- Sodium: 35mg
- Fat: 8g
- Saturated Fat: 5g
- Unsaturated Fat: 3g
- Trans Fat: 0g
- Carbohydrates: 19g
- Fiber: 0g
- Protein: 2g
- Cholesterol: 10mg
See? A perfect little hit of sweetness! Keep this in mind if you’re making a big platter for a gathering and plan your indulgence accordingly. It’s all about balance, friends, even with the **best white chocolate candy**!
PrintEasiest No-Bake White Chocolate Fudge (Melt-in-Your-Mouth Candy)
You need a simple, quick candy recipe? This is the easiest white chocolate fudge you can make. It uses just two ingredients and requires no baking, resulting in a creamy, melt-in-your-mouth texture perfect for gifting or snacking.
- Prep Time: 10 min
- Cook Time: 2 min
- Total Time: 2 hr 12 min
- Yield: 36 small squares 1x
- Category: Dessert
- Method: Microwave/No-Bake
- Cuisine: American
- Diet: Vegetarian
Ingredients
- 1 (14 ounce) can sweetened condensed milk
- 3 cups white chocolate chips
- 1 teaspoon vanilla extract (optional, for flavor depth)
Instructions
- Prepare an 8×8 inch pan by lining it with parchment paper, leaving an overhang on two sides for easy removal later. Lightly grease the paper if you want extra insurance against sticking.
- Place the white chocolate chips in a microwave-safe bowl.
- Microwave the chips in 30-second intervals, stirring well after each interval, until they are almost completely melted. Do not overheat, or the chocolate may seize.
- Once mostly smooth, stir in the sweetened condensed milk and the vanilla extract (if using) until the mixture is completely uniform and creamy. This is the base for your simple white fudge recipe.
- Pour the fudge mixture into your prepared pan and spread it evenly using a spatula.
- Refrigerate the fudge for at least 2 hours, or until firm enough to cut.
- Use the parchment paper overhang to lift the fudge out of the pan. Cut the block into small squares. This makes excellent homemade white fudge.
Notes
- For a Cranberry White Chocolate Fudge variation, gently fold in 1 cup of dried cranberries after mixing in the condensed milk.
- If you want Caramel Swirl Fudge, reserve about 1/4 cup of the melted chocolate mixture, swirl in 2 tablespoons of caramel sauce into the main batch before spreading, then drizzle the reserved chocolate on top.
- For a richer flavor, use high-quality white chocolate chips or chopped white chocolate bars. Avoid using white baking chips that contain vegetable oils, as they may not melt as smoothly.
- If you want a thicker, more traditional fudge texture, you can use a 3-ingredient white chocolate fudge recipe that incorporates marshmallow creme instead of relying solely on condensed milk.
Nutrition
- Serving Size: 1 square
- Calories: 150
- Sugar: 18g
- Sodium: 35mg
- Fat: 8g
- Saturated Fat: 5g
- Unsaturated Fat: 3g
- Trans Fat: 0g
- Carbohydrates: 19g
- Fiber: 0g
- Protein: 2g
- Cholesterol: 10mg