
Ah, fall! That glorious time when the air gets crisp and everything smells like cinnamon and… well, caramel! There’s just something magical about grabbing a perfectly sticky, sweet caramel apple, maybe loaded with some fun toppings, usually at a fall fair or trick-or-treating. It’s pure nostalgia, right? And guess what? You don’t need a county fair booth to make them! We’re going to whip up some absolutely dreamy homemade caramel apples right in your own kitchen. It’s way easier than you think!
Here at Kitchen Slang, our mission, thanks to Zoe Thompson’s own journey from family kitchens to professional kitchens, is to make cooking feel less like a chore and more like… well, slang! It’s about understanding the language of the kitchen so you can cook with confidence. This recipe is a perfect example of that philosophy – taking a classic treat and making it totally accessible for you. So, let’s dive in and capture that fall magic!
- Why You'll Love These Homemade Caramel Apples
- Essential Ingredients for Perfect Caramel Apples
- Step-by-Step Guide to Making Caramel Apples
- Expert Caramel Apple Tips for a Flawless Finish
- Making Halloween Candy Apples Fun for Everyone
- Storing Your Homemade Caramel Apples
- Frequently Asked Questions About Caramel Apples
- Nutritional Information for Caramel Apples
- Share Your Fall Fair Caramel Apple Creations!
Why You’ll Love These Homemade Caramel Apples
Seriously, what’s not to love? These homemade caramel apples are:
- Super Easy to Make: Forget complicated candy thermometers. We’re using simple soft caramels!
- Deliciously Nostalgic: That classic sticky-sweet flavor that just screams fall and Halloween.
- Perfect for Parties: They’re a total showstopper for fall gatherings or a fun Halloween treat.
- Kid-Friendly Fun: Kids absolutely love helping dip and decorate these – it’s a great family activity!
- Totally Customizable: Add your favorite toppings for endless flavor combos.
Essential Ingredients for Perfect Caramel Apples
Alright, let’s talk about what you need to make these sticky-sweet beauties! It’s pretty straightforward, which is exactly how we like it around here. For these classic caramel apples, you’ll need some good, firm apples. I always go for tart ones because they balance the sweetness of the caramel so nicely – Granny Smiths are my go-to. You’ll need about six of them, and make sure they’re medium-sized so they’re easy to handle.
Next up, the sticks! Grab six wooden popsicle sticks or those thicker candy apple sticks. You want something sturdy that won’t break when you’re dipping. The star of the show, of course, is the caramel. One bag (that’s about 14 ounces) of soft caramels, still in their wrappers, works perfectly. And just a little splash, about 2 tablespoons of water, to help them melt down nice and smooth.
Optional Toppings for Your Caramel Apples
Now for the fun part – toppings! Think chopped nuts, colorful sprinkles, mini chocolate chips, or even crushed up cookies. Let your imagination run wild!
Step-by-Step Guide to Making Caramel Apples
Alright, let’s get down to business and make these amazing homemade caramel apples! It’s simpler than you might think, and honestly, the most satisfying part is that moment when you pull a perfectly coated apple out of the caramel. First things first, grab those apples we talked about. Give them a good wash, and I mean a *really* good wash, and then dry them super thoroughly with paper towels. Seriously, no water spots allowed! The caramel just won’t stick to a wet apple, and nobody wants a caramel apple where the candy coating slides off in one big blob. Trust me on this!
Next, take your popsicle stick or candy apple stick and push it firmly into the stem end of the apple. You want it snug and secure, so give it a good twist and push until it feels really stable. Now for the melting part. We’ve got two super easy ways to get that caramel gooey and ready for dipping.

Melting the Caramel: Microwave vs. Stovetop
You’ve got options for melting your caramels, and honestly, both are pretty darn easy! For the microwave method, just pop those unwrapped soft caramels into a microwave-safe bowl with the 2 tablespoons of water. Give it a minute on high power, then stir. Sometimes they need a little extra persuasion, so pop them back in for 30-second bursts, stirring after each time, until it’s all smooth and melty. It’s really that simple! The stovetop method is just as straightforward. Pop everything into a saucepan over low heat and stir constantly until it’s completely smooth and luscious. Whichever way you choose, the goal is a smooth, pourable caramel that’s ready to coat!
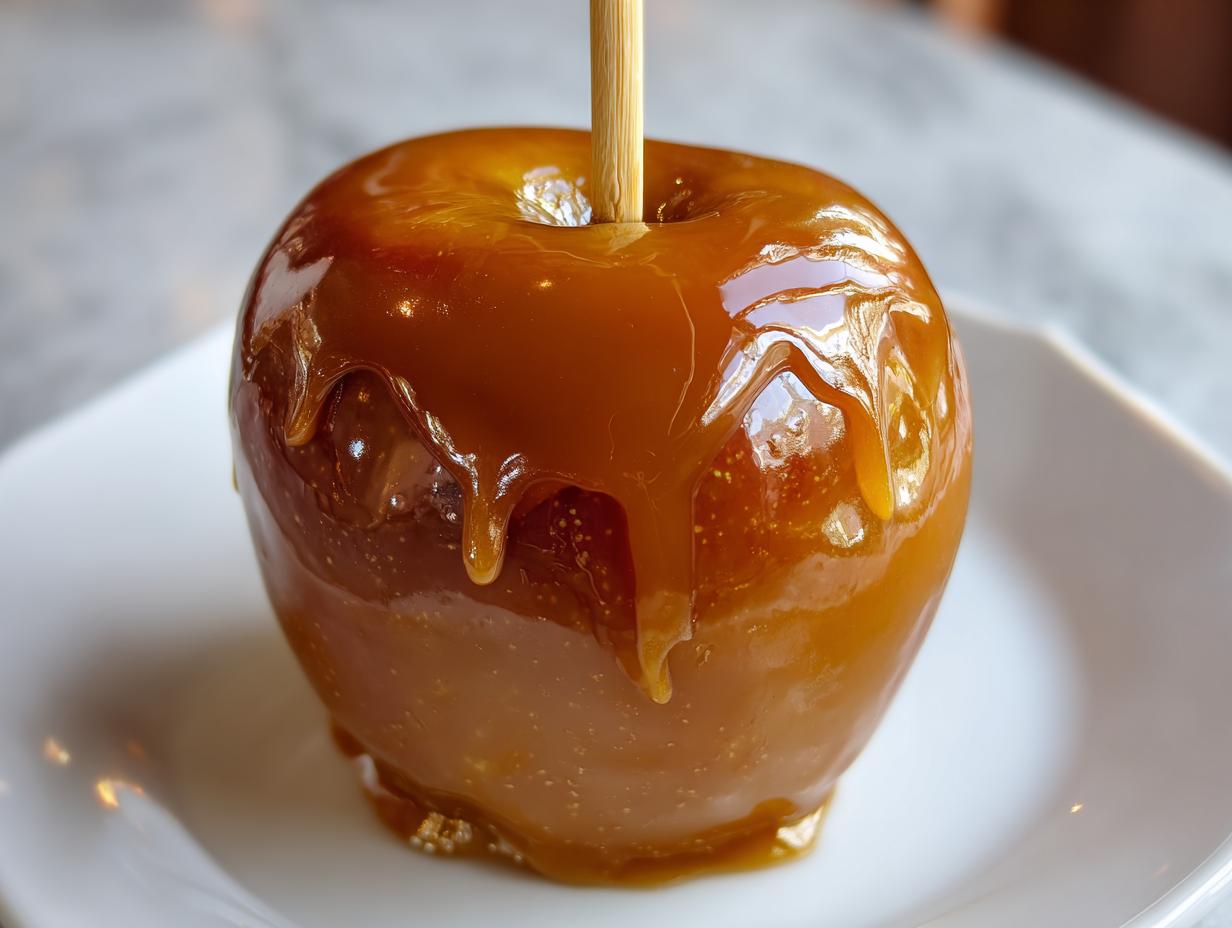
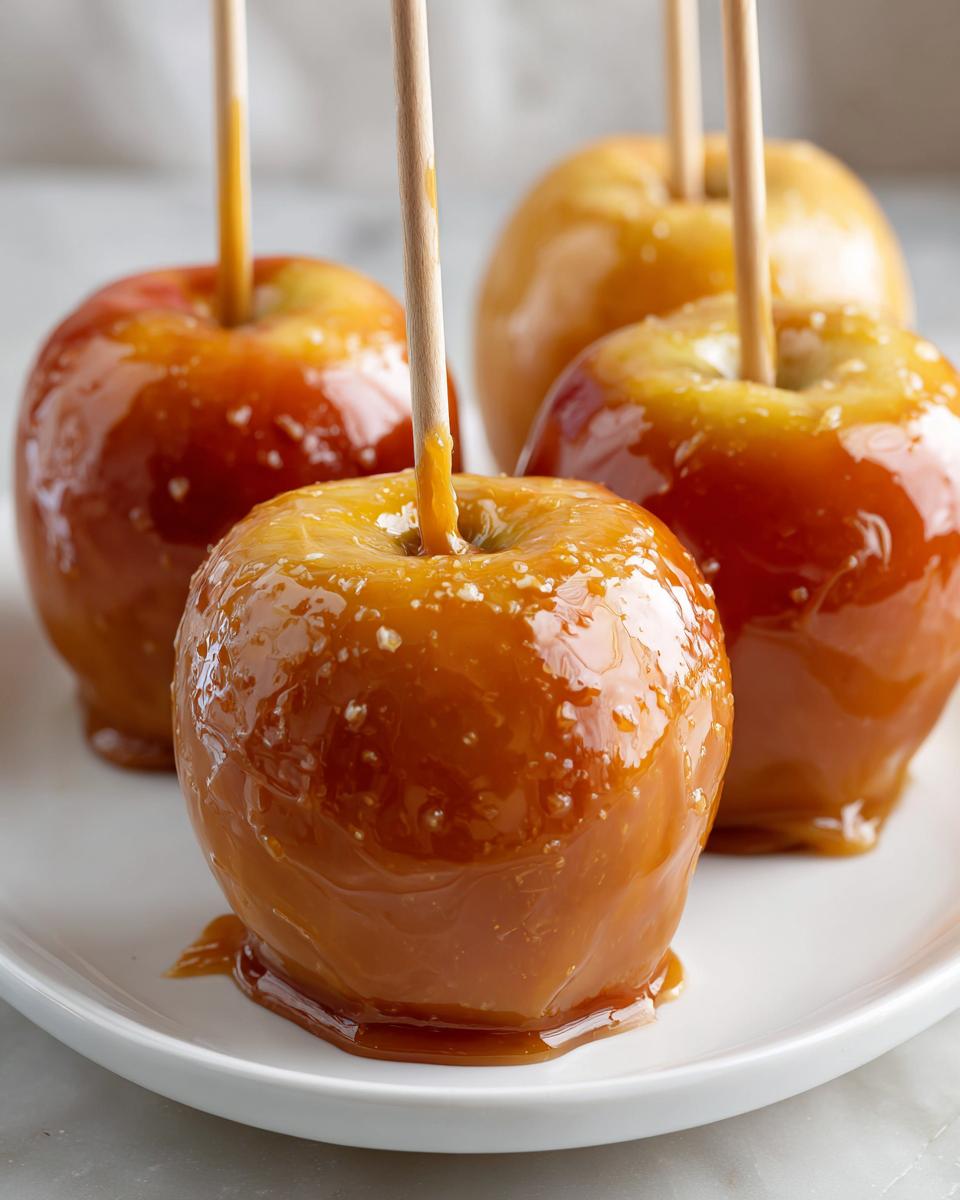
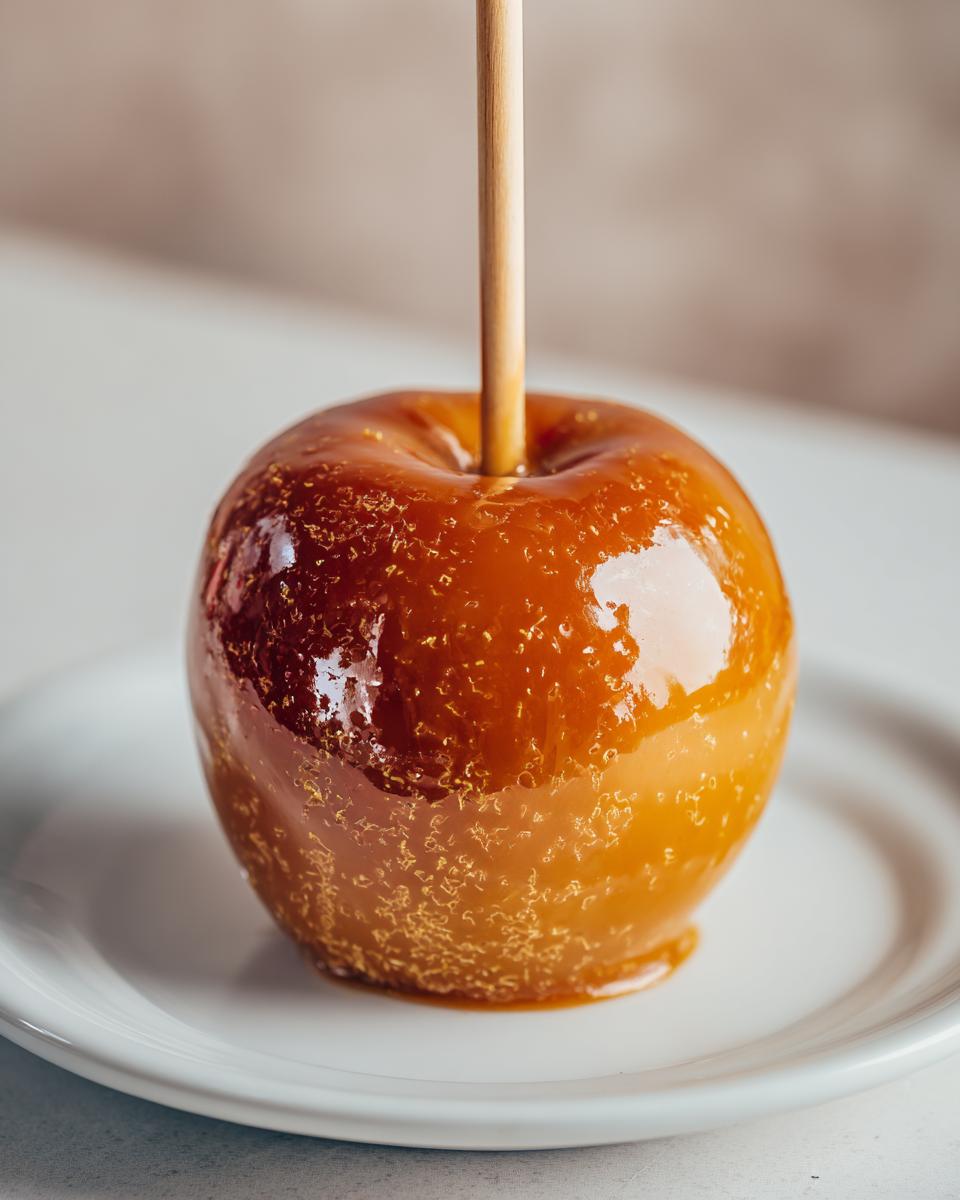
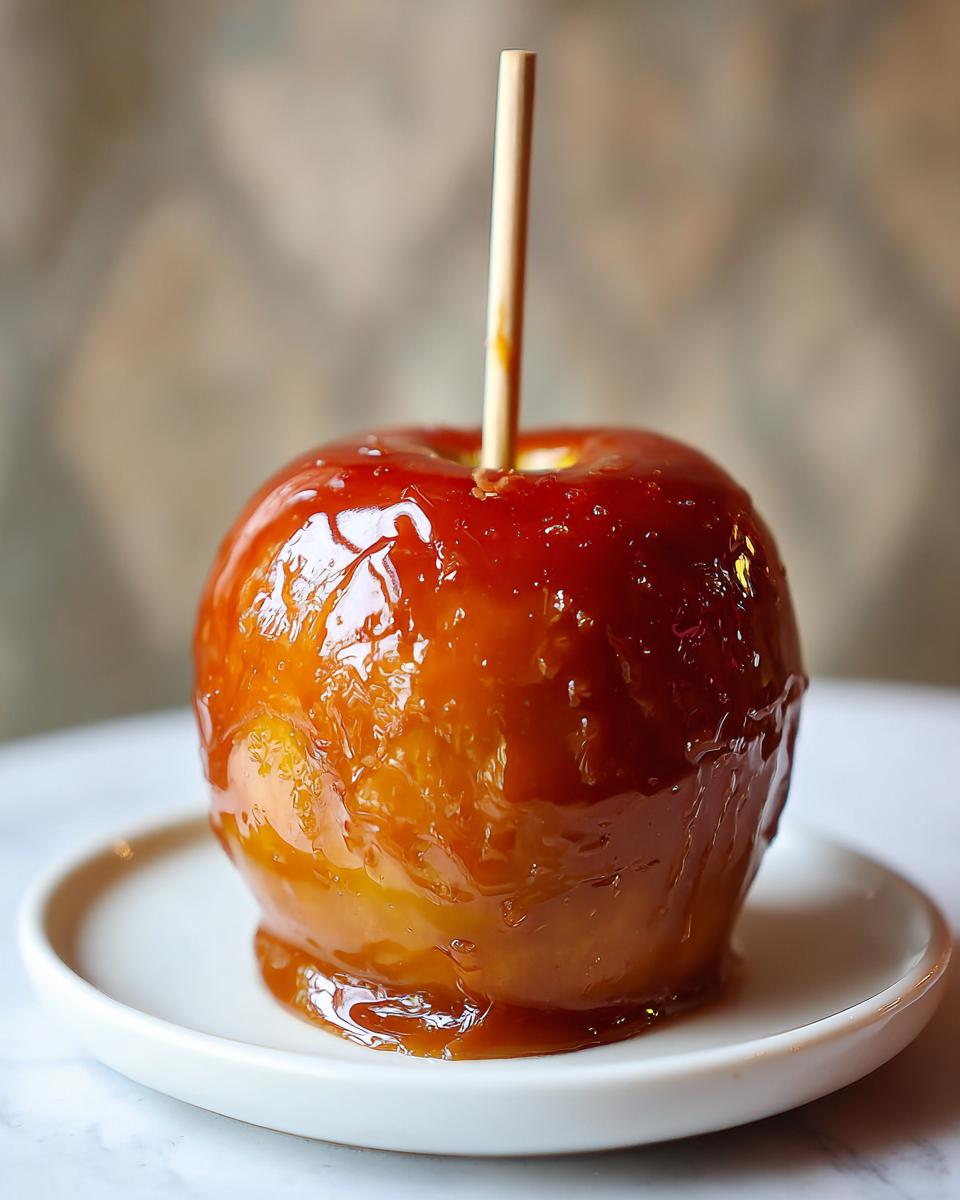
Once your caramel is melted and smooth, it’s dipping time! Hold your apple by the stick, tilt the bowl of caramel, and swirl that apple around to get a nice, even coating. Let any extra caramel drip back into the bowl – don’t be afraid to get a good amount on there! If you’re adding toppings, sprinkle them on *immediately* after dipping, while the caramel is still nice and sticky. Then, carefully place your masterpiece on a baking sheet lined with parchment paper or a silicone mat. Pop them in the fridge for about 30 minutes, or until that yummy caramel shell is firm. And there you have it – perfect homemade caramel apples!
Expert Caramel Apple Tips for a Flawless Finish
Okay, listen up, because these caramel apple tips are going to be your secret weapon for getting that perfect, glossy finish that looks like it came straight from a fall fair vendor. First off, the apple choice is HUGE. Go for firm, tart varieties like Granny Smith, Honeycrisp, or Fuji. They hold up better to the caramel and the tartness is a fantastic contrast to all that sweetness. And remember that super important step of drying them? Zoe always says, “The caramel can’t hold hands with water!” so make sure they are bone dry. Seriously, pat, pat, pat!
Now, what if your caramel gets a little too thick? Don’t freak out! Just pop it back in the microwave for a few seconds or over very low heat on the stove until it’s smooth and dip-able again. It happens to the best of us! And if you’re going for that professional look, use a gentle swirl motion when dipping. Let the excess drip off for a few seconds before setting it down. Getting that pretty shell without drips is all about practice and a little patience. You’ve totally got this!
Making Halloween Candy Apples Fun for Everyone
You know, for me, these aren’t just caramel apples; they’re little edible magic wands perfect for Halloween night! Making these Halloween candy apples is the perfect way to get the kids involved. They absolutely love picking their toppings! Forget just nuts; think rainbow sprinkles, mini chocolate chips for a little extra surprise, crushed Oreos for a cookies-and-cream vibe, or even some colorful candy bits. Letting them go a little wild with the toppings is half the fun!
Just make sure you have all those bowls of goodies ready *before* you start dipping. It’s a race against the clock before the caramel sets! They’ll have so much pride showing off their own custom creations, and carving pumpkins feels so much sweeter with a homemade treat. It’s a win-win for everyone!
Storing Your Homemade Caramel Apples
So, what do you do with any leftover caramel apples? Easy peasy! Pop them into the refrigerator. They do best chilled, and honestly, a cold caramel apple is pretty darn delicious too. Just make sure to store them on a plate or baking sheet lined with parchment paper so they don’t stick to anything. They’ll stay fresh and perfectly sticky for a few days!
Frequently Asked Questions About Caramel Apples
Got questions about whipping up these gorgeous caramel apples? I totally get it! There are a few things people always wonder about, especially to get that perfect, shiny coating. Let’s clear things up!
Can I make the caramel from scratch for these caramel apples?
You absolutely *can* make your caramel from scratch! It involves more steps and a candy thermometer, though. For this recipe, we kept it super simple using store-bought soft caramels because, honestly, they melt down beautifully and give you that classic flavor without all the fuss. It’s part of our Kitchen Slang philosophy – making things delicious and doable!
Why is my caramel sliding off the apples?
Ugh, the dreaded sliding caramel! This usually happens for a couple of reasons. First, the apple wasn’t dry enough. Seriously, pat ’em dry like you mean it! Second, the caramel might have been too hot when you dipped, or maybe the apples were too cold. The key is to have the caramel warm and smooth, and the apples cool but not freezing. Also, make sure your sticks are in there *really* tight!
How do I get a smooth, glossy coating on my Halloween candy apples?
Ah, the visual appeal! For that silky finish, make sure your caramel is perfectly melted and smooth – no lumps allowed! Stirking it really well is key. When you dip, give it a gentle swirl and let the excess drip off for a few seconds. Don’t over-dip or shake too much, or you can get those little bumps. And chilling them right after dipping really helps set that glossy shine. It’s all about a little patience and getting that texture just right!
Nutritional Information for Caramel Apples
So, how do these delightful treats stack up nutritionally? Here’s a little peek at what you can expect per serving (which is one gorgeous caramel apple, of course!). Keep in mind these are estimates, and your exact numbers might bounce around a bit depending on the specific apples you use and how generous you are with those toppings!
Serving Size: 1 apple
Calories: ~350
Sugar: ~50g
Fat: ~18g (Saturated Fat: ~10g)
Sodium: ~50mg
Carbohydrates: ~55g
Protein: ~2g
Share Your Fall Fair Caramel Apple Creations!
Alright, now that you’ve got the inside scoop on making totally addictive fall fair caramel apples, I can’t wait to see what you create! Did you go classic, or did you get wild with toppings? Snap a pic and share your masterpiece in the comments below, or tag us on social media! We love seeing your kitchen adventures come to life!
PrintHomemade Caramel Apples

Create classic caramel apples at home with this easy recipe. Perfect for fall or Halloween, these treats feature crisp apples coated in rich caramel and offer tips for a perfect finish.
- Prep Time: 15 min
- Cook Time: 5 min
- Total Time: 20 min
- Yield: 6 servings 1x
- Category: Dessert
- Method: No-Bake
- Cuisine: American
- Diet: Vegetarian
Ingredients
- 6 medium tart apples (like Granny Smith)
- 6 wooden popsicle sticks or candy apple sticks
- 1 bag (14 ounces) soft caramels, unwrapped
- 2 tablespoons water
- Optional toppings: chopped nuts, sprinkles, mini chocolate chips, crushed cookies
Instructions
- Wash and thoroughly dry your apples. Pat them completely dry with paper towels to help the caramel adhere.
- Insert a wooden stick firmly into the stem end of each apple.
- In a microwave-safe bowl, combine the unwrapped caramels and water. Microwave on high for 1 minute. Stir well. Continue microwaving in 30-second intervals, stirring after each, until the caramel is smooth and completely melted.
- Alternatively, melt caramels and water in a saucepan over low heat, stirring constantly until smooth.
- Hold an apple by the stick and tilt the bowl of caramel. Dip and swirl the apple to coat it evenly, letting any excess caramel drip back into the bowl.
- If using toppings, sprinkle them over the caramel immediately after dipping, before it sets.
- Place the coated apples on a baking sheet lined with parchment paper or a silicone baking mat.
- Chill the caramel apples in the refrigerator for at least 30 minutes, or until the caramel is firm.
Notes
- For best results, use firm, tart apples.
- Ensure apples are completely dry before dipping to prevent caramel from sliding off.
- If the caramel becomes too thick, reheat it gently in the microwave or on the stovetop.
- Store caramel apples in the refrigerator.
Nutrition
- Serving Size: 1 apple
- Calories: 350
- Sugar: 50g
- Sodium: 50mg
- Fat: 18g
- Saturated Fat: 10g
- Unsaturated Fat: 8g
- Trans Fat: 0g
- Carbohydrates: 55g
- Fiber: 3g
- Protein: 2g
- Cholesterol: 20mg