
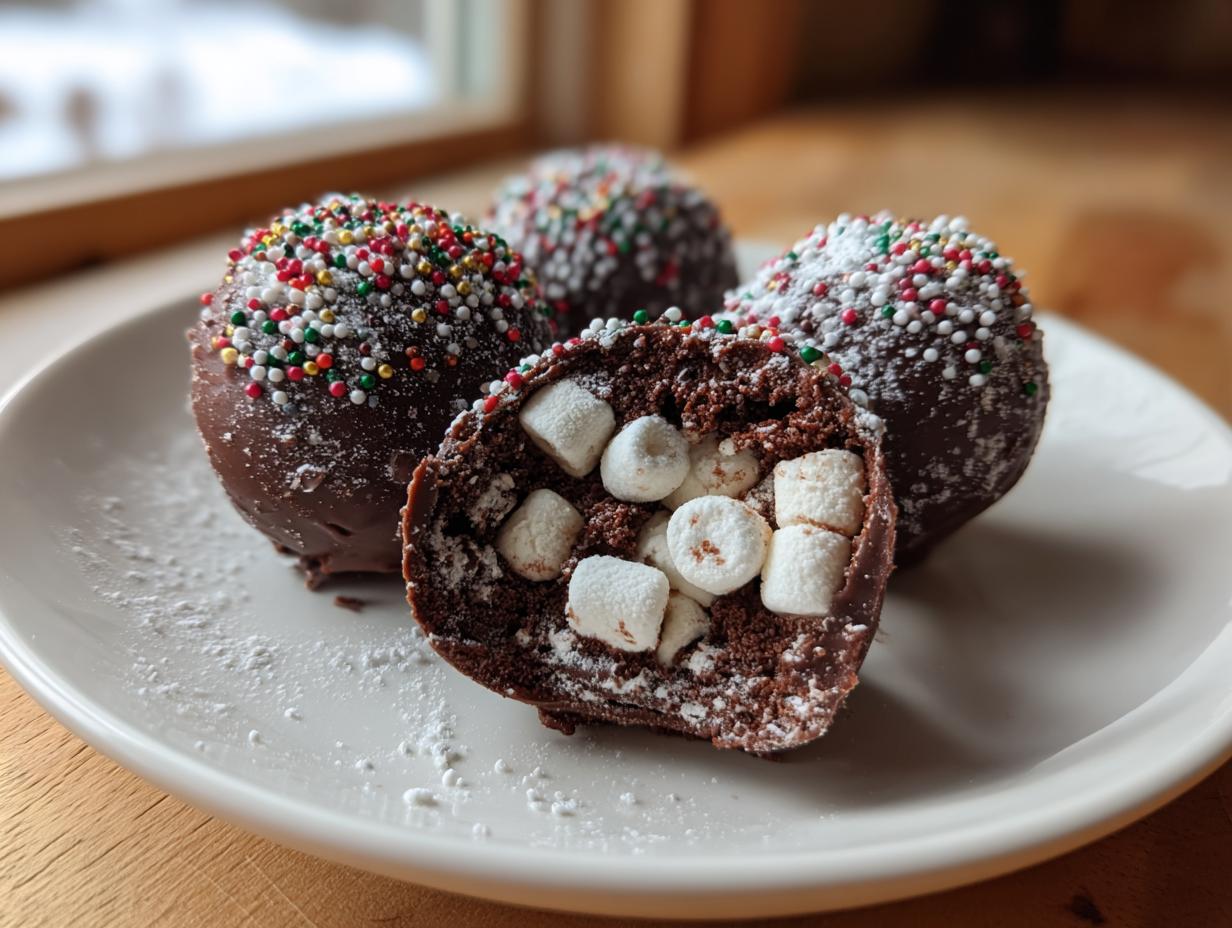
Okay, so you’ve seen them everywhere, right? Those amazing hot chocolate bombs that look like little chocolate planets just waiting to melt into pure cozy magic. I remember seeing them pop up and thinking, “Wow, that looks so cool, but is it actually doable for us home cooks?” Turns out, the answer is a big YES! It’s all about a little bit of patience and knowing a few kitchen slang secrets. Basically, you’re making these super cool hollow chocolate spheres, filling them with yummy cocoa mix and fluffy marshmallows, and then watching them dissolve in warm milk. It’s like a surprise party in your mug! It reminds me of those chilly afternoons growing up, when a steaming mug of hot chocolate was the best thing ever. This recipe is totally demystified, just like Zoe teaches over at Kitchen Slang, making it totally achievable for everyone.
- Why You'll Love Making Hot Chocolate Bombs
- Essential Ingredients for Perfect Hot Chocolate Bombs
- Equipment Needed for Your Hot Chocolate Bombs DIY
- Step-by-Step Guide to Crafting Hot Chocolate Bombs
- Tips for Success with Your Hot Chocolate Bombs
- Creative Variations for Viral Hot Chocolate Balls
- Enjoying Your Delicious Cocoa Mix Truffles
- Frequently Asked Questions About Hot Chocolate Bombs
- Nutritional Information (Estimated)
- Share Your Hot Chocolate Bomb Creations!
Why You’ll Love Making Hot Chocolate Bombs
Honestly, these things are just plain fun! You’ll love making them because:
- They’re surprisingly easy to whip up – serious kitchen magic without a ton of fuss.
- The kids absolutely go bonkers for them! It’s a great activity to do together.
- They make the most adorable and impressive gifts for friends, teachers, or anyone you want to spoil.
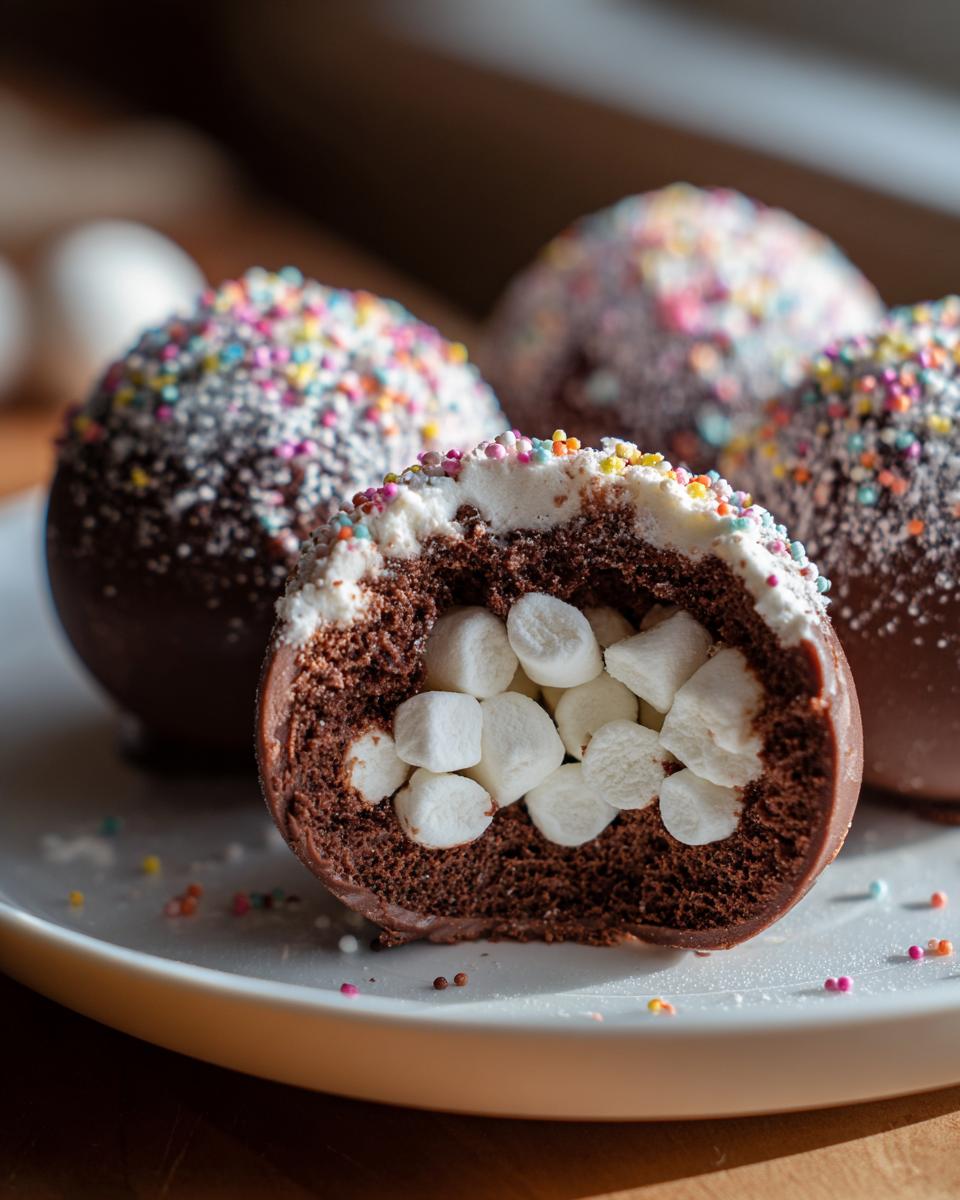
- And the payoff? That moment when the chocolate melts away and the marshmallows pop out? Pure joy!
Essential Ingredients for Perfect Hot Chocolate Bombs
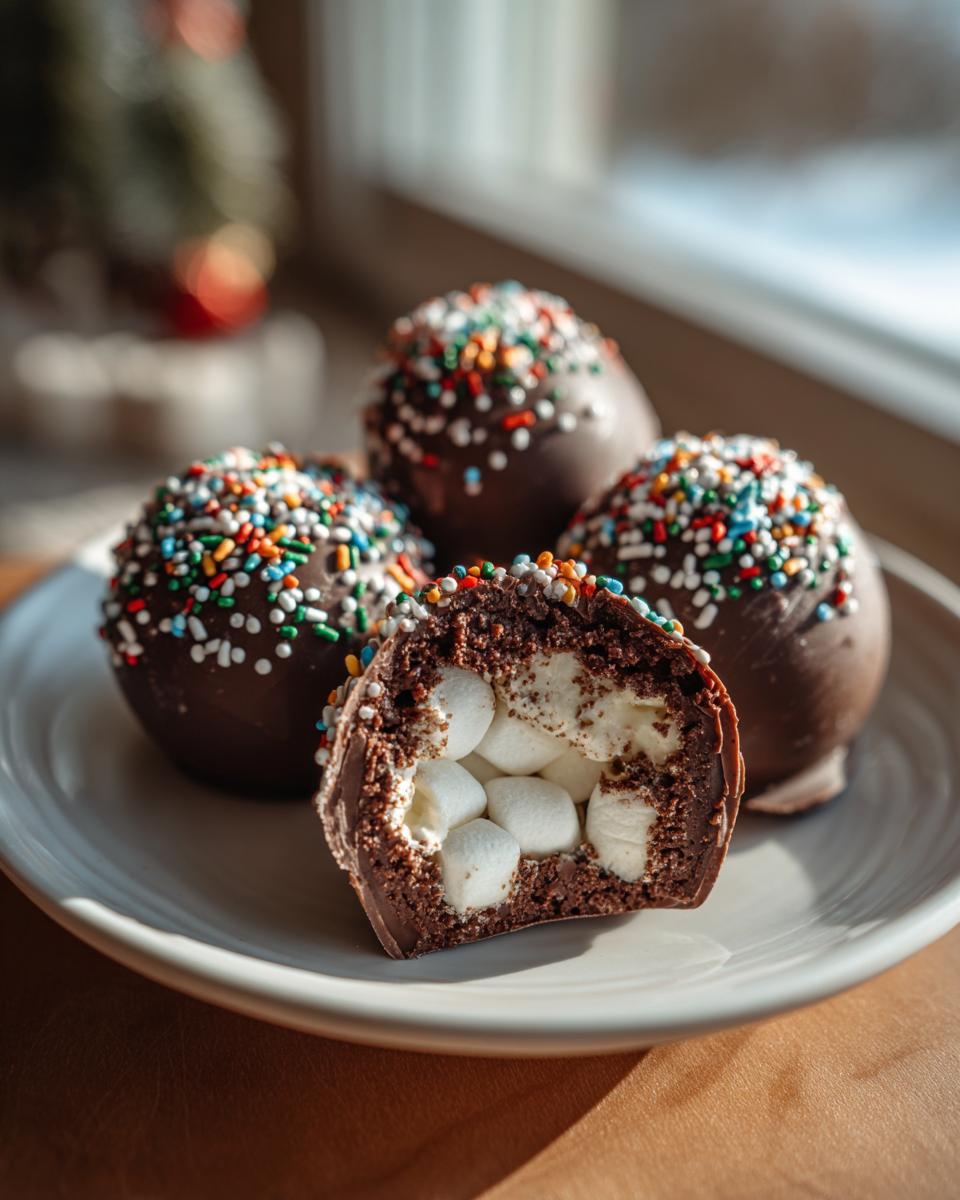
Alright, let’s gather our goodies! Making these amazing hot chocolate bombs isn’t complicated, but the quality of your ingredients totally makes a difference. You’ll need about 12 ounces of good quality chocolate wafers – milk or dark, whatever you love! Trust me, using the good stuff is key for that shiny finish. Then, for the inside surprise, grab about 1/2 cup of your favorite hot cocoa mix and 1/4 cup of mini marshmallows. Don’t skimp on the marshmallows; they’re half the fun! And for the extra sparkle and pizazz, you can totally play around with sprinkles, edible glitter, or even some extra candy melts for drizzling. That’s pretty much it for the core ingredients!
Equipment Needed for Your Hot Chocolate Bombs DIY
Alright, before we dive into the fun part, let’s make sure you have your tools ready! You’ll definitely need a silicone sphere mold – these are your best friend for getting those perfectly smooth halves. Grab a microwave-safe bowl or a double boiler setup for melting chocolate, and maybe a small offset spatula or spoon for smoothing. Oh, and a baking sheet lined with parchment paper is super handy for when you’re chilling those chocolate shells. Having these ready makes your hot chocolate bombs DIY process a breeze!
Step-by-Step Guide to Crafting Hot Chocolate Bombs
Alright, get ready to make some magic happen because we’re diving into the actual creation of these amazing hot chocolate bombs! It’s easier than it looks, I promise. Just follow along, and you’ll be a chocolate sphere pro in no time.
Melting and Coating the Chocolate Shells
First things first, let’s get that chocolate melted! You want it super smooth and luscious. I usually use a double boiler or pop it in the microwave for 30-second bursts, stirring each time. While it’s melting, grab your silicone sphere mold. Pour a good couple of tablespoons of that melted chocolate into each little half-sphere depression. Then, swirl that mold around like you’re painting a masterpiece, making sure every bit of the side is coated. This is what gives you that beautiful, delicate shell!
Chilling and Reinforcing the Chocolate Spheres
Once they’re all coated, pop that mold into the fridge for about 10 minutes, or until the chocolate feels firm to the touch. Don’t rush this part! Then, to make sure your shells are nice and sturdy and won’t break when you handle them, give them a second coat of chocolate. Swirl it around just like you did the first time, making sure there are no super thin spots. Back into the fridge they go until they’re completely solid and ready to come out of the mold.
Filling and Sealing Your Hot Cocoa Bombs
Now for the fun part – filling! Carefully ease those pretty chocolate shells out of the mold. Take one half and gently warm its rim on a warm plate for just a few seconds – this is our glue! Plop in about 1-2 tablespoons of your favorite hot cocoa mix and a generous handful of mini marshmallows. Now, warm up the rim of another empty chocolate half and carefully place it on top of the filled one, pressing gently to seal them together, creating your finished sphere. Making your own hot cocoa bombs DIY project is so rewarding!

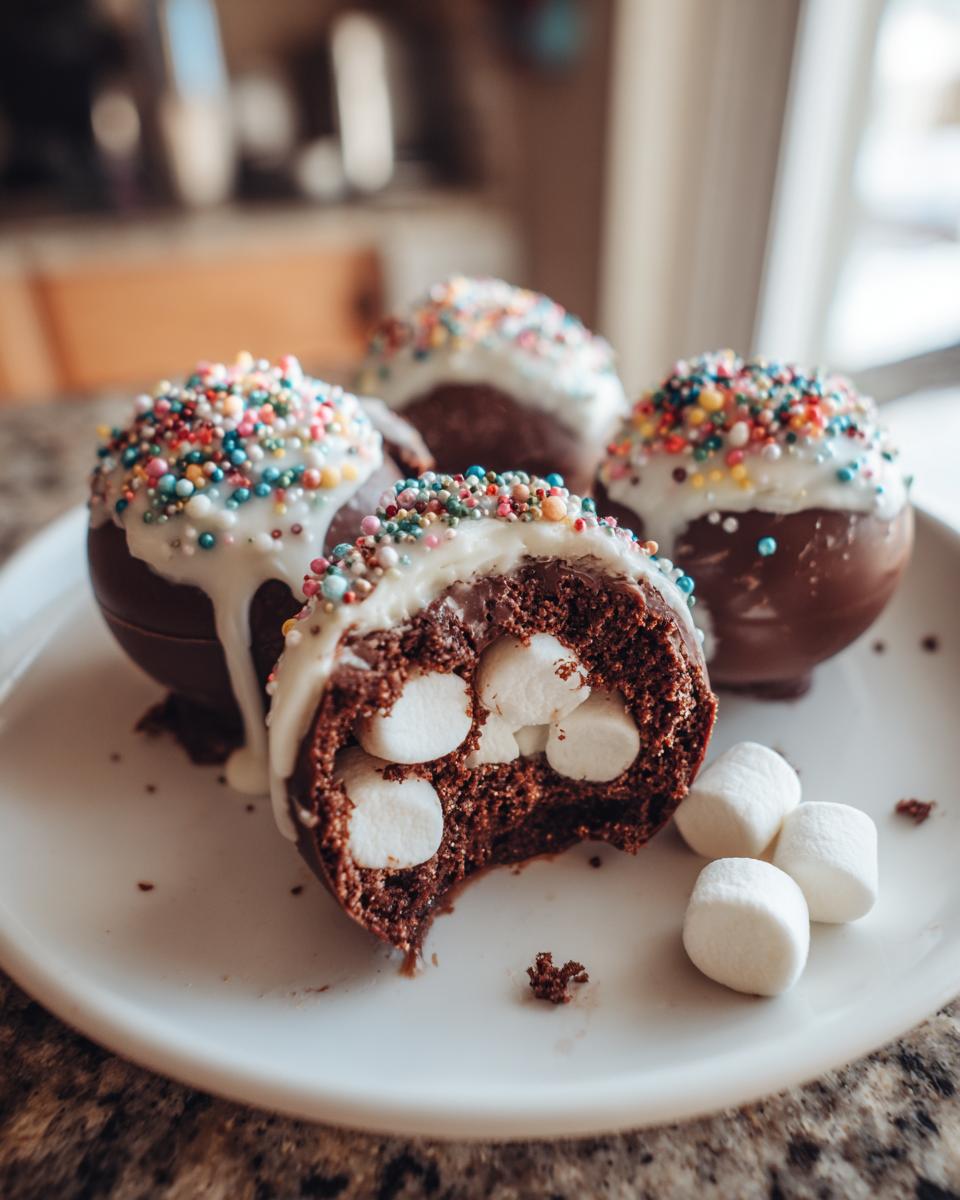
Decorating Your Chocolate Marshmallow Bombs
This is where you can really let your creativity shine! Once your bombs are sealed, it’s decorating time. You can drizzle them with some extra melted candy melts, add colorful sprinkles, or even dust them with edible glitter for that extra bit of sparkle. These chocolate marshmallow bombs look awesome jazzed up, and it makes them extra special as gifts!
Tips for Success with Your Hot Chocolate Bombs
Okay, let’s talk about making sure your hot chocolate bombs turn out absolutely spectacular! It’s mostly about a few little tricks that make a big difference. First off, the chocolate itself. You really want to use good quality chocolate wafers, not just any old chocolate chips. This makes them easier to melt smoothly and gives them that gorgeous, shiny finish that screams “professional!” Also, make sure your silicone mold is super clean and totally dry before you start. Even a little water can mess with your chocolate. If you want that super professional, snap-tastic shell, you could temper your chocolate, but honestly, for home use and especially for a fun project like this, it’s not totally necessary. We’re all about making it doable! Check out our naan bread recipe for another easy win, and don’t forget a great sauce for dipping!
Creative Variations for Viral Hot Chocolate Balls
Okay, so the basic recipe is fantastic, but where’s the fun without a little personalization, right? These viral hot chocolate balls are begging for your own special touch! Don’t be afraid to play with different types of chocolate – maybe some white chocolate or even a swirl of dark and milk? You know how much I love a good dump cake? I bet cookie crumbles would be amazing in these! And the fillings? Oh my goodness, the possibilities are endless! Think crushed peppermint candies, a few chewy caramel bits, or even a tiny pinch of cinnamon or chili powder for a Mexican hot chocolate vibe. You could even add a shot of espresso powder to really wake you up! It’s almost as fun as making a perfect apple crumble.
Enjoying Your Delicious Cocoa Mix Truffles
So, you’ve made these gorgeous little cocoa mix truffles, and now it’s time for the best part: enjoying them! It’s super simple. Just grab your favorite mug, pop one of these chocolate spheres right in the center, and pour about 8 ounces of nice, warm milk (or dairy-free alternative!) over the top. Then, just stir and watch as the magic happens! And hey, if you’re looking for more easy wins in the kitchen, check out our tips for easy weeknight dinners or some fun simple breakfast ideas!
Frequently Asked Questions About Hot Chocolate Bombs
Got questions about making these fun chocolate spheres? I’ve got you covered! Let’s tackle some common things people wonder about when diving into the world of hot chocolate bombs. For any other questions, feel free to reach out!
Can I use different kinds of chocolate for my hot chocolate bombs?
Absolutely! While good quality chocolate wafers give you that professional sheen, you can totally experiment. Milk, dark, semi-sweet, or even white chocolate all work. Just make sure whatever you use melts smoothly. If you’re using regular chocolate chips, they might have a bit more stabiliser, so they might not be as shiny, but they’ll still taste delicious!
How should I store my finished hot chocolate bombs?
The best way to store them is in a cool, dry place. You don’t want them getting too warm or they’ll start to melt! I usually pop them in an airtight container. They’re pretty sturdy for a few weeks, so you can make a big batch ahead of time for gifts or just to have on hand for a cozy night in.
Can kids help make these hot chocolate bombs?
Oh yes, kids LOVE making these! They’re a fantastic activity to do together. Younger kids can help with spooning the hot cocoa mix and marshmallows inside, and older kids can totally help with swirling the chocolate and decorating. Just supervise closely when you’re melting the chocolate and handling the warm molds – that’s the trickiest part.
My chocolate shells look dull, what did I do wrong?
Dull shells usually mean your chocolate wasn’t tempered perfectly, or it got *too* hot when melting. For the home cook, this isn’t the end of the world! They’ll still taste amazing. For that professional gloss next time, try ensuring your chocolate doesn’t overheat and maybe give tempering a quick look-up if you’re feeling adventurous. But honestly, a little dullness won’t stop these hot chocolate bombs from being a hit!
What if the two halves don’t seal together nicely?
Don’t stress! The key is that quick warm-up of the rim on a *warm* plate (not hot!). You just want it soft enough to melt slightly. If they’re not sticking, try warming the rim a *tiny* bit longer. You can also use a little extra melted chocolate as “glue” around the edge before pressing the halves together. You can always cover up any gaps with sprinkles or a drizzle of extra chocolate!
Nutritional Information (Estimated)
Okay, so while these little chocolate delights are incredibly fun and delicious, it’s good to have a general idea of what you’re getting. Please remember these are just estimates, okay? What you use for your chocolate, cocoa mix, and marshmallows can really change things up. But for one bomb, you’re looking at roughly:
- Calories: Around 350
- Fat: About 20g (with around 12g being saturated)
- Protein: Roughly 4g
- Carbohydrates: Close to 35g (with about 30g of that being sugar)
Enjoy one guilt-free – or maybe just have two, they’re that good!
Share Your Hot Chocolate Bomb Creations!
I absolutely love seeing what you all come up with! Snap a pic of your amazing hot chocolate bombs and tag us or drop a comment below. I can’t wait to see your unique twists and creations! Check out our story too!
PrintDIY Hot Chocolate Bombs
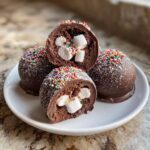
Create your own hollow chocolate spheres filled with cocoa mix and marshmallows that dissolve in warm milk to make rich hot chocolate.
- Prep Time: 30 min
- Cook Time: 10 min
- Total Time: 40 min
- Yield: 6 bombs 1x
- Category: Dessert
- Method: Molding
- Cuisine: American
- Diet: Vegetarian
Ingredients
- 12 oz chocolate wafers, good quality
- 1/2 cup hot cocoa mix
- 1/4 cup mini marshmallows
- Optional: Sprinkles, edible glitter, candy melts for decoration
Instructions
- Melt chocolate wafers using a double boiler or microwave in 30-second intervals, stirring between each. Stir until smooth.
- Pour about 2 tablespoons of melted chocolate into each half of a silicone sphere mold. Swirl to coat the sides evenly.
- Place the mold in the refrigerator for about 10 minutes, or until the chocolate is firm.
- Apply a second coat of chocolate to the spheres, ensuring they are thick enough to handle. Chill again until firm.
- Carefully remove the chocolate spheres from the mold.
- Warm the rim of one half-sphere by placing it on a warm plate for a few seconds.
- Fill the warmed half-sphere with 1-2 tablespoons of hot cocoa mix and a few mini marshmallows.
- Warm the rim of a second half-sphere and place it on top of the filled half to seal, creating a full sphere.
- Decorate the bombs as desired with sprinkles or melted candy melts.
- To use, place one hot chocolate bomb in a mug and pour 8 oz of warm milk over it. Stir until fully melted and enjoy.
Notes
- Use good quality chocolate for best results and a shiny finish.
- Ensure your mold is clean and dry before adding chocolate.
- Tempering the chocolate is recommended for a professional finish, but not strictly necessary for home use.
- Get creative with your fillings! Add peppermint chips, caramel bits, or even a pinch of cinnamon.
Nutrition
- Serving Size: 1 bomb
- Calories: 350
- Sugar: 30g
- Sodium: 50mg
- Fat: 20g
- Saturated Fat: 12g
- Unsaturated Fat: 8g
- Trans Fat: 0g
- Carbohydrates: 35g
- Fiber: 2g
- Protein: 4g
- Cholesterol: 10mg