
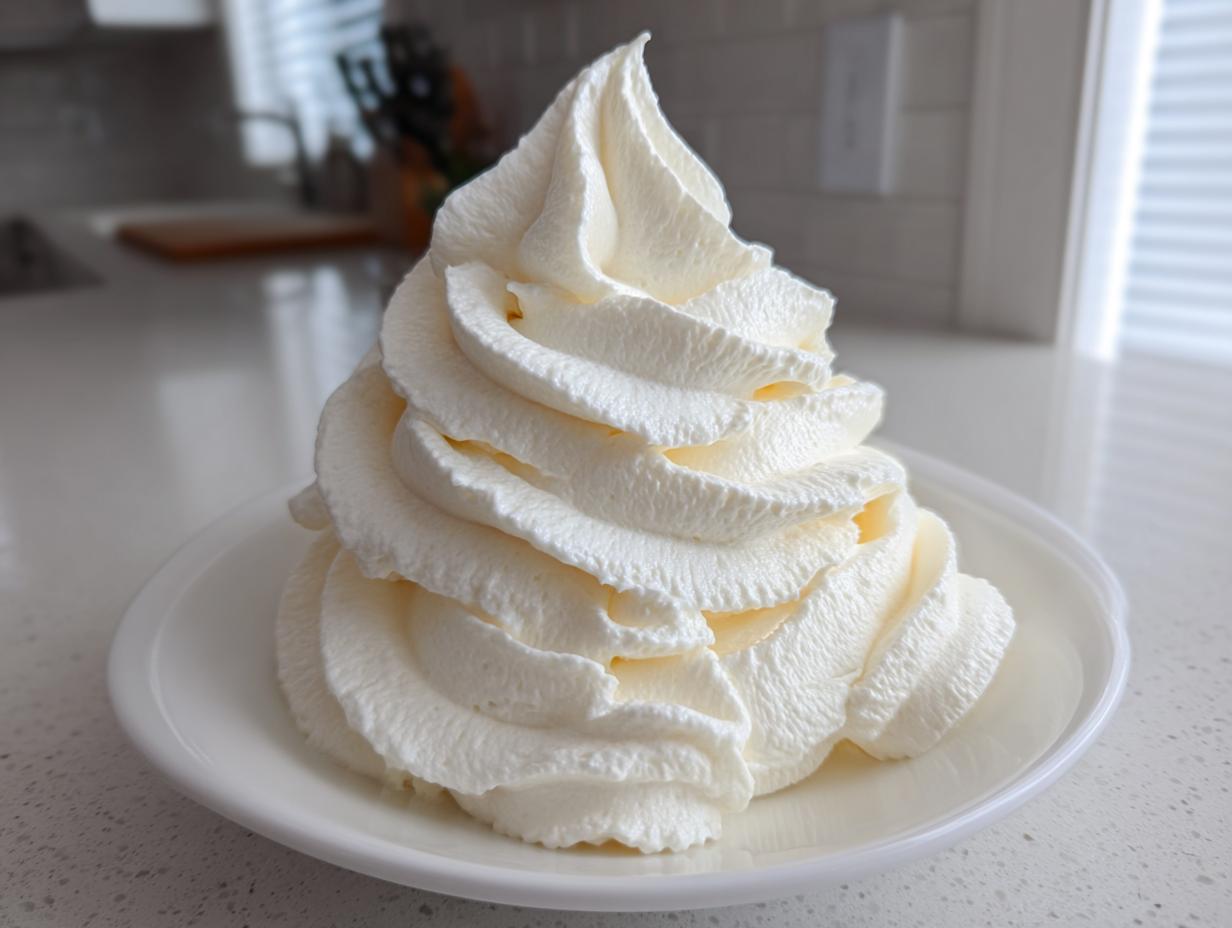
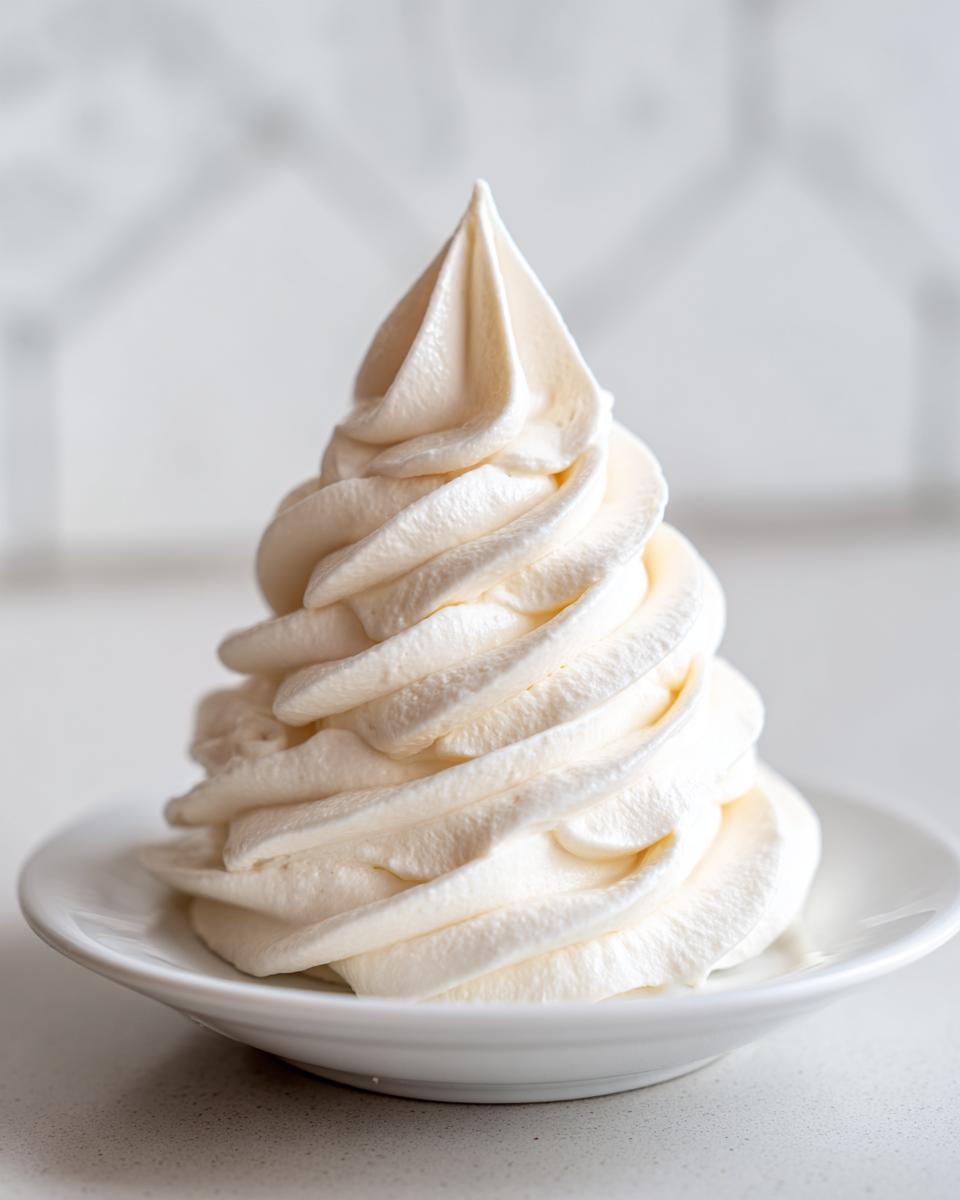
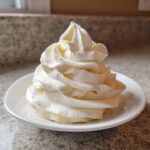
If you’ve ever spent time making frosting only to end up with something grainy, thin, or that immediately starts sliding off your carefully baked cake, you know the true frustration of dessert décor. It feels like bad luck, right? Nope. It’s usually just missing a few specific pro moves. Here at Kitchen Slang, we translate chef secrets into your kitchen language. That’s why I’m giving you The Ultimate Stable & Fluffy Vanilla American Buttercream Frosting. This isn’t just a recipe; it’s the technique I picked up behind the line in my bistro days, guaranteed to give you that beautiful, bakery-style smooth texture every single time.
- Why This is the Best Vanilla Buttercream Recipe You Will Ever Make
- Ingredients for Ultimate Stable Vanilla Buttercream Frosting
- The Creamy Buttercream Tutorial: How to Make Vanilla Buttercream Frosting
- Tips for Success When Making Your Vanilla Buttercream Frosting
- Adjusting Piping Buttercream Consistency for Cakes and Cupcakes
- Storage and Reheating Instructions for Classic Vanilla Frosting
- Variations on This American Buttercream Recipe
- Frequently Asked Questions About Vanilla Buttercream Frosting
- Nutritional Estimate for Your Smooth Vanilla Topping
Why This is the Best Vanilla Buttercream Recipe You Will Ever Make
Listen, I’m not throwing around words like “ultimate” lightly. But if you want that gorgeous, high-holding swirl on your cupcakes—the kind that doesn’t droop when the room gets warm—you need the right foundation. This is the Best Vanilla Buttercream Recipe because it doesn’t rely on magic; it relies on simple science we learned in the rush of the dinner service. We take those old-school bistro tricks for structure and mix them with home-cook know-how to create a truly Fluffy Frosting for Cakes.
At Kitchen Slang, we’re all about translating the jargon. Most recipes just tell you to mix butter and sugar. We tell you exactly how long to beat that butter to incorporate just the right amount of air so your frosting is smooth and stable, not greasy. This method ensures you get a creamy finish that’s perfect for piping, and frankly, a batch that disappears way too fast. You won’t need to stress about stabilizing it later; the stability is built right in. It’s a no-fail buttercream because we respect the process!
Ingredients for Ultimate Stable Vanilla Buttercream Frosting
Okay, for this vanilla buttercream frosting, we are keeping the ingredient list mercifully short. That’s the beauty of American buttercream—it lets the quality of the few things you use really shine. Don’t cut corners on the vanilla, though. That’s where that rich flavor comes from, trust me!
This batch will yield you about 3 cups, which is plenty to frost a standard two-layer 8-inch cake or about 15 decent-sized cupcakes. Here’s what you need on your counter before you even think about firing up the mixer:
- 1 cup (226g) unsalted butter, softened to cool room temperature
- 4 cups (480g) powdered sugar, sifted
- 1 teaspoon pure vanilla extract (I insist on pure here; the imitation stuff tastes fake when it’s this upfront!)
- 1/4 teaspoon fine salt
- 3 to 5 tablespoons heavy cream or whole milk (I usually grab heavy cream for extra richness)
That’s it! See? Simple. Now, the “sifted” part on the sugar? That is non-negotiable. We are aiming for a smooth vanilla topping, and those little bits of compressed sugar are the enemy. Get that sugar sifted first, and half the battle against graininess is already won!
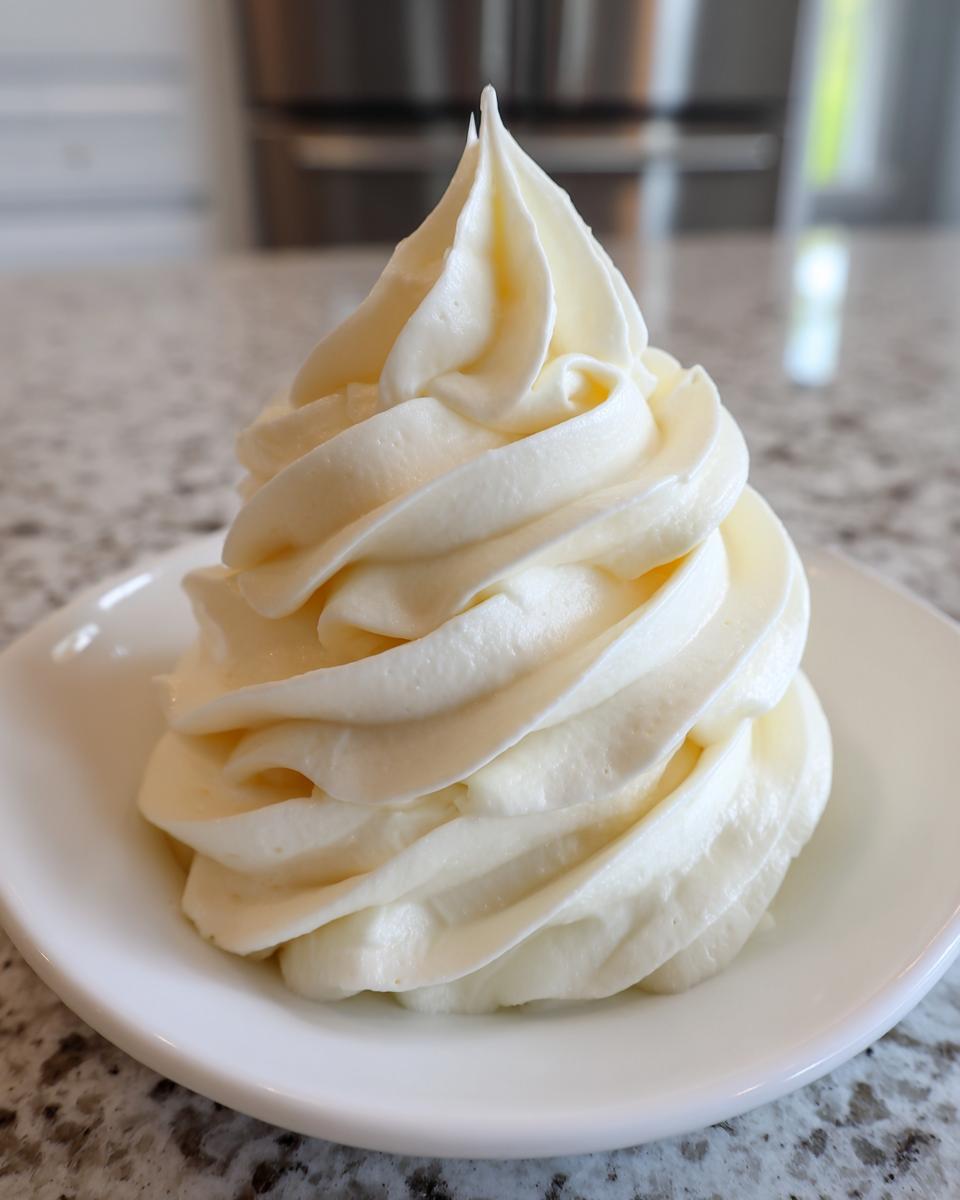
The Creamy Buttercream Tutorial: How to Make Vanilla Buttercream Frosting
Making this vanilla buttercream frosting is fast, but we absolutely cannot rush the crucial whipping stages. If you try to cut corners here, you end up with that heavy-feeling, dense icing. We want airy and light! Remember, this is where we translate the professional rhythm into minutes at your own mixer. Follow this down, and you’ll see why this turns into the Creamy Buttercream Tutorial everyone bookmarks. We want that bakery style, and thankfully, it’s easier than trying to get the perfect crust on an apple crumble!
Whipping the Butter Base for Perfect Vanilla Buttercream Frosting
First things first: get your stand mixer fitted with the paddle attachment. Drop in that softened butter—it should be cool to the touch, not greasy melt-y. Turn the mixer on medium speed and let it go for a full 5 minutes. Seriously, set a timer! This long whip incorporates so much air. That aeration is the secret language for making sure your final result is light instead of tasting like heavy paste. When it’s done, the butter should look pale yellow, almost white, and very fluffy. That’s your foundation for a Fluffy Frosting for Cakes.
Incorporating Sugar and Achieving Smooth Vanilla Topping
Once the butter has its fluff, turn the speed way down—low is essential! Add your sifted powdered sugar one cup at a time. If you dump it all in, you’ll wear half your sugar when it flies out! Scrape down the sides frequently; no one wants unmixed butter pockets. After the sugar is in, add your vanilla and salt, then bring the speed up to medium-high. Now, this is the real move to answer the “How to Make Buttercream Not Grainy” question: Beat it hard on high for 3 to 5 minutes. That long whip dissolves residual sugar particles and creates that incredibly smooth texture. Now you have your Smooth Vanilla Topping ready to go!

Tips for Success When Making Your Vanilla Buttercream Frosting
If you want a truly No Fail Buttercream, you have to respect the temperature of your ingredients. This is the biggest mistake I see home bakers make. The butter cannot be warm or greasy; it needs to be *cool* room temperature. I remember one disastrous batch before my cousin’s wedding shower where I rushed the butter because I was running late. It looked normal going in, but five minutes later, the whole thing separated into oily sludge. That’s because warm butter means weeping frosting later on.
Also, I can’t stress this enough: Sifting the powdered sugar is non-negotiable. It’s the primary defense against grainy texture. That grit just ruins the silky mouthfeel we’re aiming for. For the flavor? Use good vanilla. If you use imitation, it tastes exactly like that—imitation! If you’re worried about it being too soft after whipping, just pop the whole bowl into the fridge for 15 minutes, then give it one last quick whip on high before you start frosting your savory dishes (just kidding, put it on cake!).
Adjusting Piping Buttercream Consistency for Cakes and Cupcakes
So, your vanilla buttercream frosting is perfectly smooth now—great job! But maybe you’re planning to frost a big batch of pumpkin spice cupcakes, and you need those tall, perfect swirls. Or maybe you’re just spreading it thinly on a sheet cake and realize it’s a bit too thick for easy smoothing.
This is where you get to customize the consistency to your exact job. Remember Step 5? That’s your leverage point. If you need something super stable—like you’re piping detailed roses or making a Stiff Frosting for Cupcakes that needs to stand up to heat—you have two options. You can add another tablespoon or two of sifted powdered sugar. Since we’ve already whipped it for ages, the sugar incorporates easily now. Just add it slowly, one spoonful at a time, until you feel that extra structure.
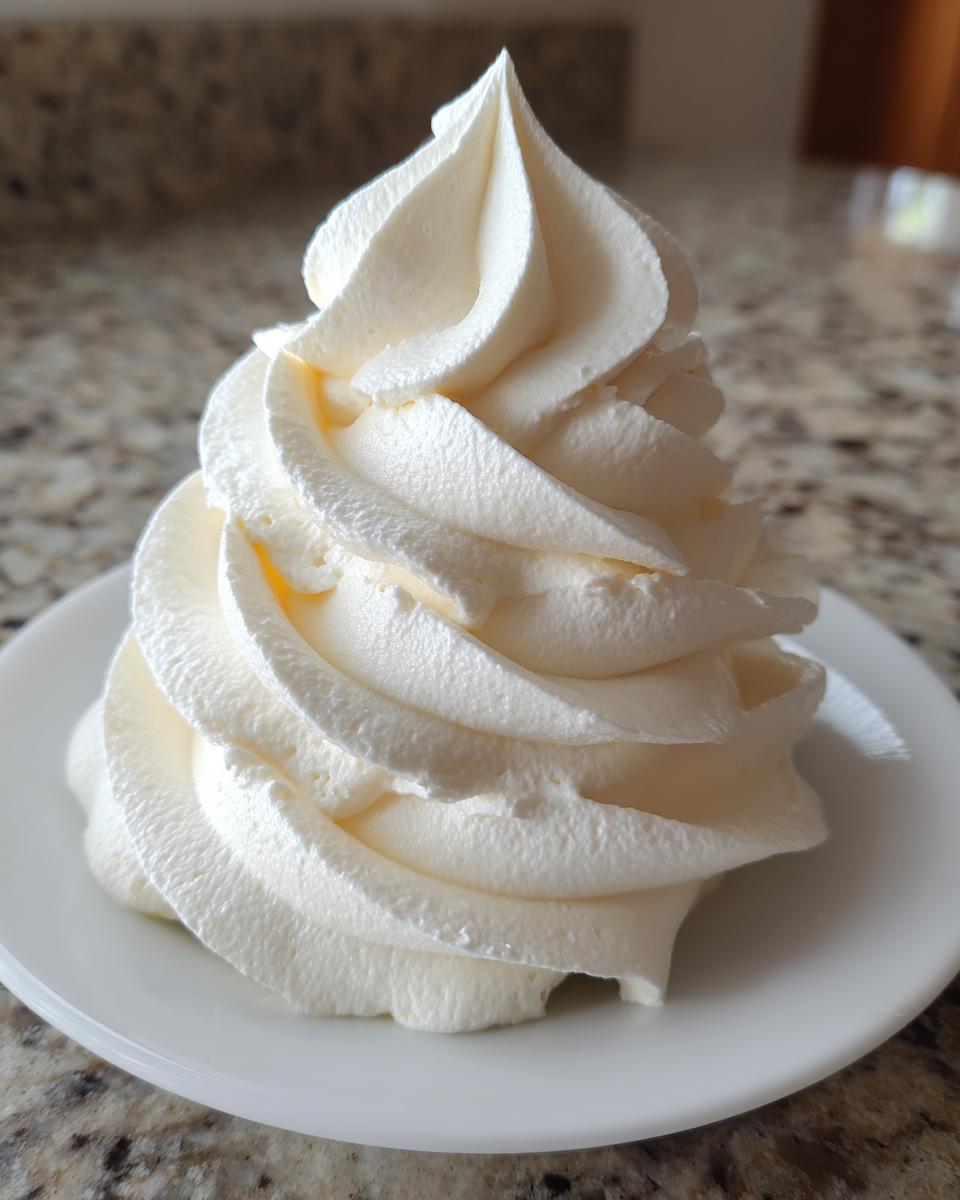
On the flip side, if your frosting feels a tad heavy for smoothing a layer cake, grab that reserved heavy cream or milk. Add it in tiny increments—start with just one teaspoon—and mix it in gently on low speed. You want to add just enough to make it spreadable without turning it into a soupy mess. Too much liquid turns your gorgeous vanilla buttercream frosting into a sad puddle, and then you’ll be back adding more sugar, which sometimes restarts the graininess cycle. Be patient here. A little splash goes a very long way, and once you hit that sweet spot, you’re ready to decorate!
Storage and Reheating Instructions for Classic Vanilla Frosting
So, you managed to make this ridiculously good vanilla buttercream frosting and miraculously have some left over? Don’t let it go to waste! Like most American buttercreams, this recipe is pretty sturdy, but storage is key to keeping that bakery-fresh texture.
If you’re using it within the next day or two, airtight storage at room temperature works just fine, especially since we used heavy cream instead of water-based liquids, which keeps the texture nice. Just cover it well so it doesn’t form that weird skin on top. If you need to keep it longer than that, pop it in the fridge. Make sure to seal it tightly to avoid grabbing any weird smells from the fridge environment. I usually use plastic wrap pressed right onto the surface before putting the lid on.
Now, here’s the crucial part that separates the pros from the panic-bakers: reheating that refrigerated frosting. When butter gets cold, it pulls all that beautiful air right out, and your frosting turns into a solid block of sweet concrete. Don’t try to spread it like that! You have to bring it back to life. Take it out about 30 minutes before you plan to use it.
Once it’s soft again, stick it back into your stand mixer—paddle attachment is still your best friend here—and beat it on medium-high for a full 3 to 5 minutes. This isn’t optional; this is the step that re-incorporates the air and breaks down the crystallized fats. That second whip is what gives you that fresh, fluffy texture again, making it perfect for spreading on your leftover cinnamon rolls—yeah, you know you want to.
If it seems a little too soft after the re-whip (maybe your kitchen is warm!), just toss in a tablespoon of sifted powdered sugar at the end to tighten it up. But honestly, after those five minutes of high-speed whipping, it should be ready to pipe like it was just made.
Variations on This American Buttercream Recipe
The beauty of this stable vanilla buttercream frosting is that it’s meant to be a canvas! Once you’ve nailed the whipping and sugar incorporation—the core language of buttercream—you can swap out the flavoring without messing up the structure. This kind of American buttercream holds up incredibly well to flavor additions, which is why it’s still the go-to for so many professional designs. I’ve taken this exact base recipe and made so many different flavors for my friends’ birthdays, and it stays sturdy enough to frost even detailed coffee cake muffins tops.
Here are the easiest ways to transform this classic batch:
- Lemon Zest Buttercream: Replace the full teaspoon of vanilla with 1/2 teaspoon of vanilla and the zest of one large, bright lemon. The acid from the lemon brightens the whole thing up beautifully without destabilizing the fat structure—but make sure your butter is cool when you add it!
- Almond Delight: For a classic, almost wedding-cake flavor profile, swap out the vanilla entirely for 1 teaspoon of pure almond extract. If you use almond, cut back to just 2 tablespoons of cream initially, as almond extract is often stronger than vanilla.
- Quick Chocolate Version: If you are craving chocolate right now, this is your shortcut. After you’ve finished the extended whipping (Step 4), gently mix in 1/2 cup of good quality, sifted cocoa powder. You might need to add an extra tablespoon of milk/cream because cocoa powder sucks up moisture quickly. Don’t over-whip after the cocoa goes in, or it can get tough.
- Salted Caramel Swirl: This takes a bit more effort, but oh my gosh, it’s worth it. Make sure you have completely cooled down 1/4 cup of thick caramel sauce. Whip the sauce in during the final high-speed beating process. This variation might be slightly softer, so save it for stacking cakes right away or for a thicker layer of frosting.
See? Learning the base language lets you improvise like a chef. You don’t need a whole new recipe; you just need a simple substitution or a slight addition, and suddenly you have a completely different, delicious topping!
Frequently Asked Questions About Vanilla Buttercream Frosting
We’ve covered the technique for this vanilla buttercream frosting, but I know once you start baking, the questions can pop up fast! I gathered the things you usually ask me about texture, storage, and getting that professional look. Think of this as the troubleshooting guide for your best Easy Homemade Vanilla Frosting yet.
Can I make this vanilla buttercream frosting ahead of time?
Absolutely! This is one of the features of a truly great Bakery Style Buttercream. You can make it up to three days ahead of time. Store it in a very airtight container—I press plastic wrap right onto the surface to prevent any air exposure, then seal it with a lid. If you keep it in a cool pantry, it should be fine. If it’s a hot kitchen or you refrigerate it, just remember that it will harden significantly. You have to bring it back to life with a good beatdown in the mixer later, just like I mentioned before. Don’t skip that re-whip!
What is the secret to making the best vanilla buttercream recipe taste less sweet?
That’s a complaint I hear sometimes, especially with American buttercream because it relies so heavily on powdered sugar. The secret to making this Best Vanilla Buttercream Recipe taste balanced isn’t about cutting the sugar dramatically—that destroys the structure! Instead, you have two major tools. First, use really high-quality pure vanilla extract, the kind that smells deep and complex, not sharp. Second, and this is vital: you must complete that 5-minute initial butter whip and the final 3-5 minute high-speed blend. Incorporating enough air lightens the texture so much that the frosting tastes fluffy and creamy, not dense and overwhelmingly sugary. Air fools your mouth into tasting less sweetness!
Why is my homemade vanilla frosting runny or weeping?
Ugh, weeping. It’s the worst, right? Usually, it boils down to one of two things we talked about: temperature or speed. If your homemade vanilla frosting is runny right after mixing, it means your butter was too warm when you started. Warm butter can’t hold the air structure, so the fat begins to separate from the sugar mixture, causing that oily weep. If it starts weeping hours later, it’s likely due to heat in the room where the cake is sitting. This recipe is stable, but if your kitchen is 85 degrees, even great buttercream will struggle. Always make sure your butter starts cool and, if the finished product is too soft, chill the whole bowl for 15 minutes before re-whipping it hard!
If you want to see what else you can whip up once you’ve mastered the basics, check out my favorite peanut butter cookie recipe—great for eating alongside a slice of vanilla-frosted cake!
Nutritional Estimate for Your Smooth Vanilla Topping
Now, let’s talk numbers, just in case someone asks after they’ve demolished three cupcakes! Just like how a pastry chef knows exactly how much flour is in their dough, I always keep track of the basics. But I need to give you a big disclaimer here: I’m working off standard ingredient sizes, and since this is pure sugar and fat, the numbers can swing a bit based on your exact butter brand or how vigorously you whip it!
This information is based on serving one-quarter cup of the finished vanilla buttercream frosting, which is a pretty generous dollop. Consider these figures a highly educated guess based on the ingredients list provided. It’s food for thought while you’re whipping up a batch for your next project, maybe your famous high-protein waffles breakfast with a sweet drizzle!
Here’s the breakdown for that serving size (about 1/4 cup):
- Calories: Roughly 350
- Fat: Around 18g (A good chunk of that is the butter, so embrace it!)
- Saturated Fat: About 11g
- Trans Fat: 0g (We love that!)
- Carbohydrates: About 48g
- Sugar: Roughly 45g (It is frosting, after all!)
- Protein: About 1g
- Sodium: Around 50mg
- Cholesterol: Approximately 55mg
Honestly, when you get to the stage of making truly smooth vanilla topping this delicious, these numbers just fade into the background. It’s American classic baking, and this recipe is meant to be enjoyed. Knowing the base ingredients is the first step to cooking confidently, but enjoying the result is the whole point of learning the language!
PrintThe Ultimate Stable & Fluffy Vanilla American Buttercream Frosting
This recipe translates professional technique into a simple guide for making bakery-style vanilla buttercream. You get a frosting that is perfectly smooth, holds its shape for piping, and avoids common issues like graininess or weeping.
- Prep Time: 10 min
- Cook Time: 0 min
- Total Time: 10 min
- Yield: About 3 cups 1x
- Category: Dessert Topping
- Method: Mixing
- Cuisine: American
- Diet: Vegetarian
Ingredients
- 1 cup (226g) unsalted butter, softened to cool room temperature
- 4 cups (480g) powdered sugar, sifted
- 1 teaspoon pure vanilla extract
- 1/4 teaspoon fine salt
- 3 to 5 tablespoons heavy cream or whole milk
Instructions
- Place the softened butter into the bowl of a stand mixer fitted with the paddle attachment. Beat the butter on medium speed for 5 minutes until it is very pale, light, and fluffy. This step incorporates air and prevents a dense texture.
- Stop the mixer. Add the sifted powdered sugar one cup at a time, mixing on low speed until just combined after each addition. Scrape down the sides of the bowl frequently.
- Add the vanilla extract and salt. Mix on low speed until incorporated.
- Add 3 tablespoons of heavy cream or milk. Increase the mixer speed to medium-high and beat for 3 to 5 minutes. This extended whipping time is key to achieving a smooth, non-grainy texture and stability.
- Check the consistency. If the frosting is too stiff for your needs, add the remaining cream one teaspoon at a time until you reach your desired piping consistency. If you need a stiffer frosting for detailed piping, add one more tablespoon of sifted powdered sugar.
- Use immediately for frosting cakes or cupcakes.
Notes
- Sifting the powdered sugar is non-negotiable; this is the primary way you prevent graininess in American buttercream.
- Room temperature butter must be cool, not warm. If the butter is too warm, the frosting will separate or weep.
- For the richest flavor, use a high-quality pure vanilla extract.
- If your finished frosting seems too soft after whipping, chill it for 15 minutes, then re-whip briefly before using.
Nutrition
- Serving Size: 1/4 cup
- Calories: 350
- Sugar: 45g
- Sodium: 50mg
- Fat: 18g
- Saturated Fat: 11g
- Unsaturated Fat: 7g
- Trans Fat: 0g
- Carbohydrates: 48g
- Fiber: 0g
- Protein: 1g
- Cholesterol: 55mg