
Let’s be real: nobody likes sad, dry, chalky chicken. We’ve all been there, staring down a plate of overcooked poultry and wondering where we went wrong. That stops today! I’m Zoe, and I’m translating the secrets from the professional kitchens I worked in straight to your countertop. This is the Ultimate Foolproof Guide to Juicy Baked Chicken Breast (25 Minutes or Less). Forget everything you think you know about baking this protein; we’re ditching the fear factor. This method for baked chicken breast uses simple techniques to guarantee flavor and moisture for your easy weeknight dinners. Trust me, once you follow these steps, you’ll never go back.
- Why This Is Your New Favorite Baked Chicken Breast Recipe
- Ingredients for the Best Baked Chicken Seasoning
- How to Prepare Foolproof Baked Chicken Breast
- Tips for Success When Making Baked Chicken Breast
- Storage and Make-Ahead Tips for Meal Prep Chicken Breast
- Serving Suggestions for Simple Oven Chicken
- Frequently Asked Questions About Baked Chicken Breast
- Estimated Nutritional Data for Healthy Baked Chicken
- Share Your Juicy Baked Chicken Breast Success
Why This Is Your New Favorite Baked Chicken Breast Recipe
I know you’ve been promised juicy chicken before, but I stand by this one. This formula works, and it works fast. It gives you that beautiful, flavorful result every single time, making it the ultimate No Dry Chicken Recipe in my book. You get:
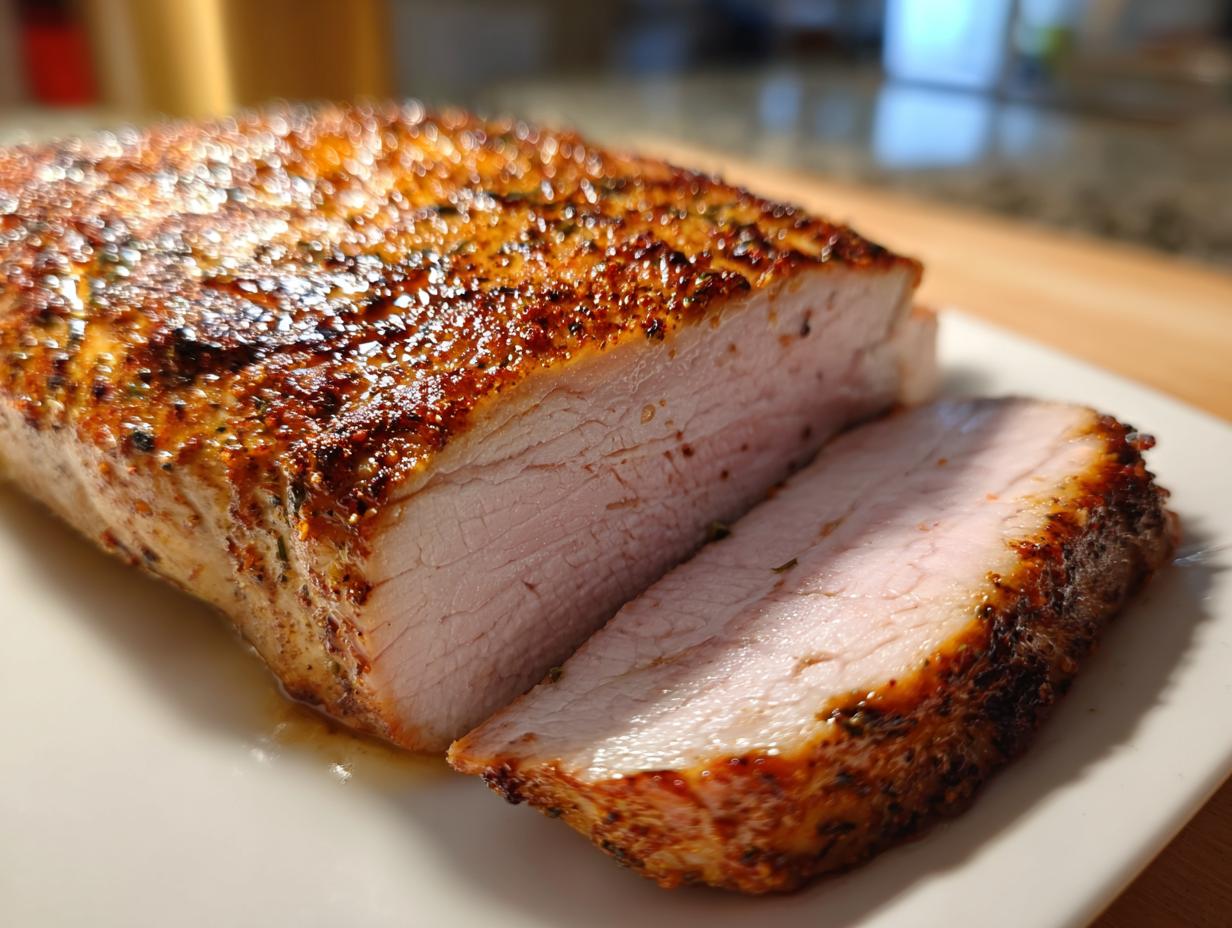
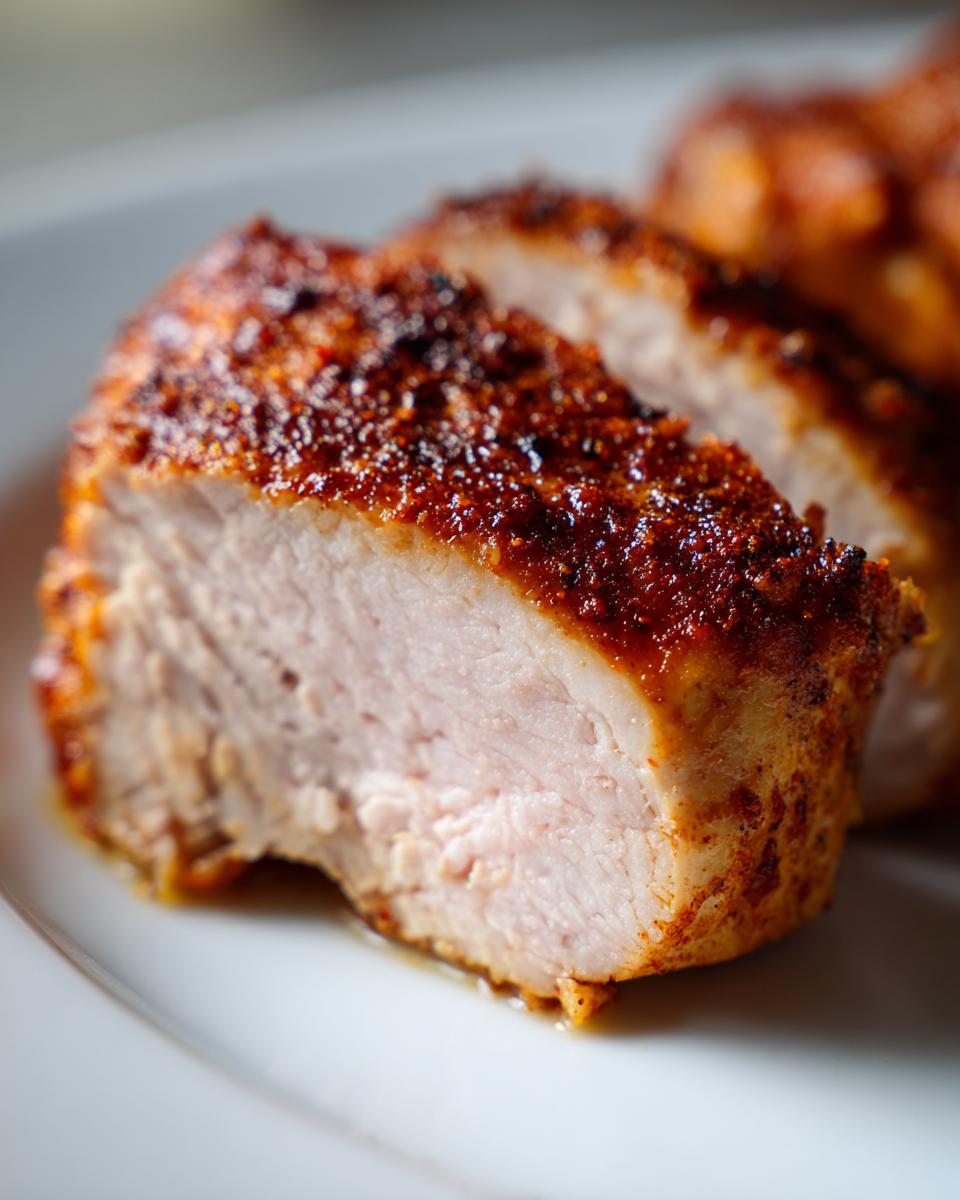
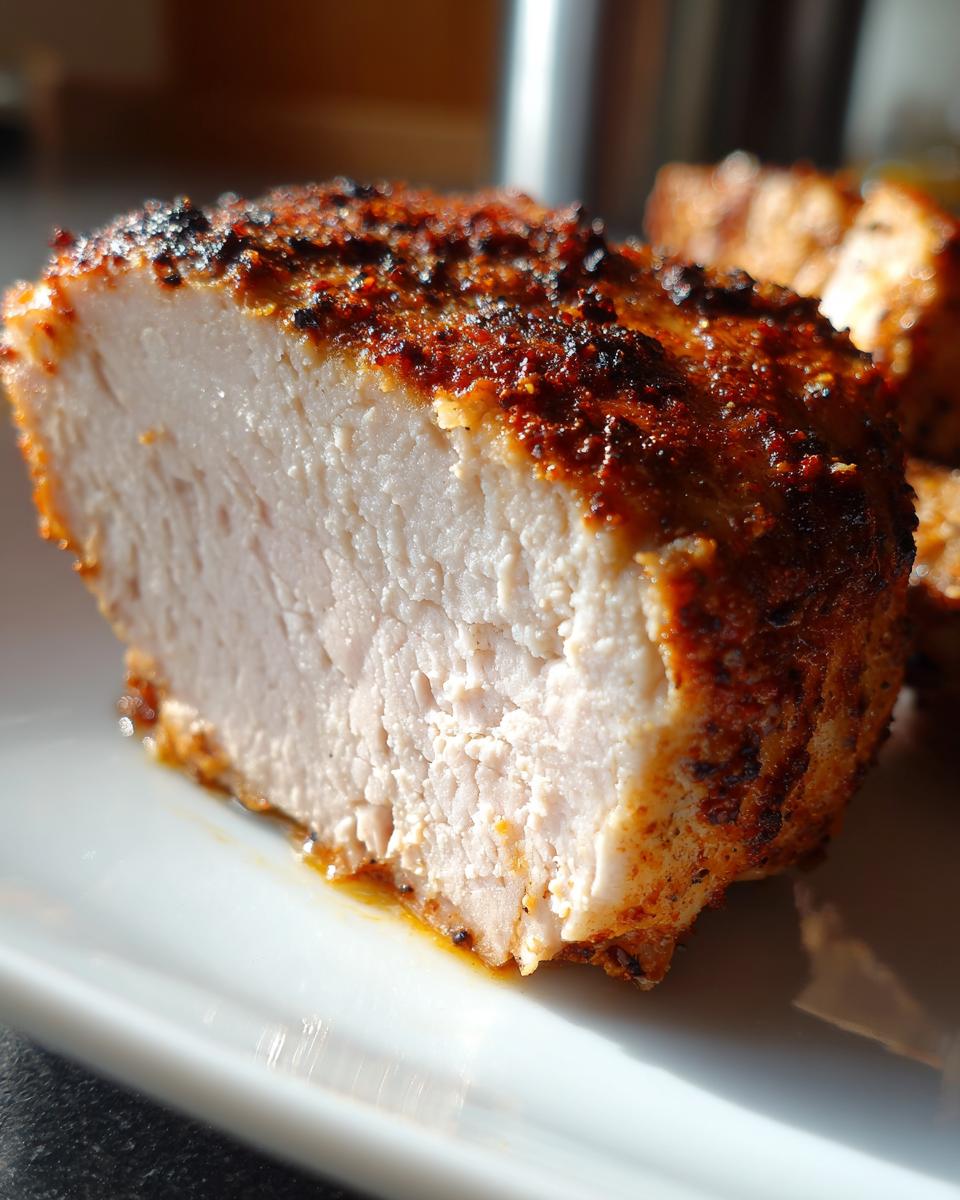
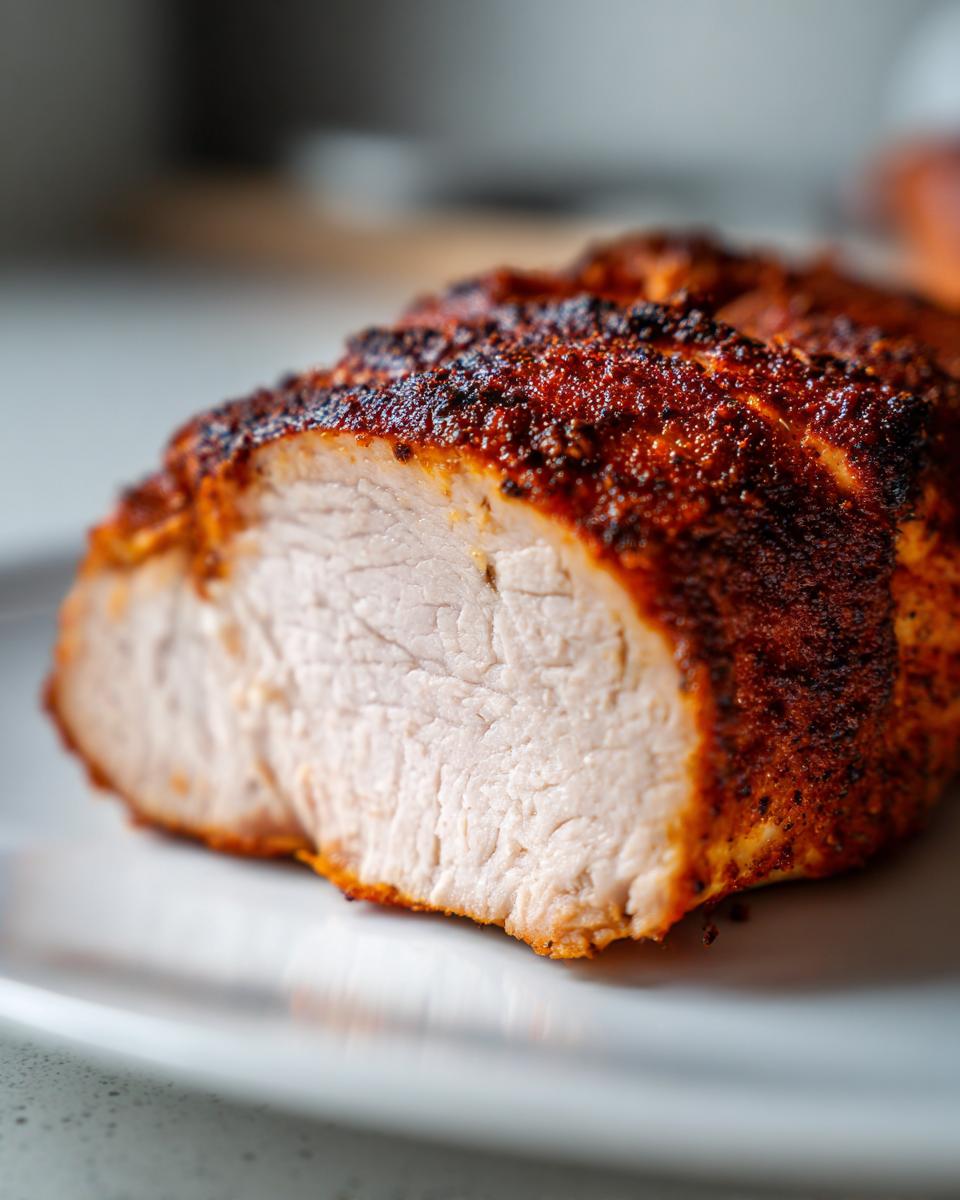
- A genuinely Juicy Baked Chicken Breast.
- It’s seasoned perfectly in under 25 minutes total cooking time.
- It’s healthy, simple, and versatile for everything you make. See more ideas on juicy baked chicken breast techniques!
Achieving Tender Oven Chicken Every Time
The secret isn’t magic; it’s physics! We’re making sure the chicken breasts are an even thickness before they hit the pan. This means they cook uniformly. Combining that with hitting the right internal temperature and letting it rest locks every drop of moisture right inside where it belongs.

Ingredients for the Best Baked Chicken Seasoning
Okay, let’s talk about what goes on the chicken itself. This simple dry rub is where the flavor explosion happens. It sounds basic—paprika, salt, garlic powder—but the ratio is what matters here. You only need a few pantry staples for this Best Baked Chicken Seasoning mix, but make sure you measure them out correctly so you don’t use too much salt!
- 4 boneless, skinless chicken breasts (aim for about 6 to 8 ounces each)
- 1 tablespoon olive oil (this helps everything stick!)
- 1 teaspoon kosher salt
- 1 teaspoon paprika (the regular kind works great)
- 1 teaspoon garlic powder
- 1/2 teaspoon dried oregano
- 1/2 teaspoon black pepper
- 1/4 teaspoon onion powder
Ingredient Notes and Substitutions for Baked Chicken Breast
Before you start mixing, let’s talk insurance! If you’re worried about dry spots—and honestly, why wouldn’t you be?—quickly soak the chicken in just water and 1 tablespoon of salt for 15 minutes. Remember to pat it bone dry before oiling it up; moisture on the outside steams the meat instead of searing it. If you want that richer flavor—hello, Garlic Butter Chicken Breast—just ignore the olive oil and use 2 tablespoons of melted butter mixed with one minced clove instead. That’s way better than using plain oil for me!
How to Prepare Foolproof Baked Chicken Breast
Alright, let’s get this chicken in the oven so you can get back to your evening! First things first, crank that oven up to 400 degrees Fahrenheit. I always line my baking sheet with parchment paper right now—it saves you from scrubbing later, which is the best kind of efficiency, right? Now, for the most important part of this tender oven chicken technique: shaping it. Take those breasts; you know how they always have that thick, bulbous end and a thin tail? That unevenness is why we end up with dry chicken!
Place the chicken between two pieces of plastic wrap. We don’t want noise and mess everywhere. Then, grab your tenderizer—a heavy pan works fine—and gently pound the thick side until the whole thing is roughly the same height across. This might take a minute of focused work, but it means everything cooks at the same speed! Once they are shaped, rub them with that oil and really press that seasoning mix right into the meat on both sides. They go straight onto the prepped pan.
Bake these beauties for about 18 to 22 minutes. Don’t guess! You need a thermometer. We are pulling them out of the heat when they hit 160 degrees Fahrenheit internally in the thickest part. You need that accuracy for successful weeknight chicken dinners.
The Crucial Resting Step for Moist Chicken Breast
Stop! Do not slice them immediately! I know it smells amazing, but you have to resist the urge. Pull them out onto a clean cutting board and just tent them loosely with foil. Let them hang out for a good five to ten minutes. This resting period allows all those hot juices that were pushed to the center to redistribute back through the meat. If you cut too soon, all that precious moisture runs onto the cutting board, not into your mouth! This step ensures you get that fantastic Moist Chicken Breast texture.
Tips for Success When Making Baked Chicken Breast
Look, I learned this the hard way, which is why I’m telling you now: temperature accuracy is everything when figuring out How to Cook Chicken Breast in Oven perfectly. I used to think I could just poke it with a fork, but one time I served it to a friend who politely kept chewing and chewing—oops! Now, I rely completely on my instant-read thermometer. It’s the only way to guarantee tender results every time.
Pounding the chicken evenly is the professional secret that makes this method so reliable. When everything cooks at the same rate, you never have one part rubbery and one part raw. And please, for the love of juicy meat, don’t skip the resting period! Even after all these years, if I get excited and slice it too early, I can feel the difference. A quick rest seals the deal for perfect texture. You can check out some other great techniques over at Oven-Baked Chicken Breast: The Ultimate Foolproof Recipe if you want to compare notes!
If you’re making a big batch, remember that perfectly cooked protein pairs great with some fluffy garlic naan bread for scooping up any little bit of seasoning left on the pan!
Storage and Make-Ahead Tips for Meal Prep Chicken Breast
This recipe already cooks fast, which makes it the ultimate secret weapon for planning ahead. If you are prepping for the week, let the chicken cool down completely on the counter before you even think about putting it away. Seriously, hot chicken in a sealed container equals sweaty, sad chicken! You want that gorgeous flavor locked in first.
Once totally cool, slice it up thinly—this helps it reheat evenly later. Pop your chopped Meal Prep Chicken Breast into airtight containers. Stored correctly in the fridge, this keeps like a dream for about four days. It’s such a no-brainer protein boost for salads or quick dinners! Pair it with some high-protein overnight oats for your next few lunches if you need ideas!
Serving Suggestions for Simple Oven Chicken
So you’ve got this perfectly seasoned, absolutely juicy piece of protein—what goes next to it? Since our dry rub is so straightforward, this Simple Oven Chicken acts as the perfect supporting star for just about anything you’re craving. For a really satisfying, fast dinner, I love tossing some broccoli or green beans in the oven right alongside the chicken during the last 15 minutes.
If you’re doing meal prep or need a base for bowls, this pairs beautifully with a bright grain. You absolutely have to try making my Mediterranean Lemon Rice as a side; the acidity cuts through the savory spices perfectly! Alternatively, just a big plate of fresh greens with a vinaigrette works wonders when you need something light.
Frequently Asked Questions About Baked Chicken Breast
When you’re trying to make something foolproof, questions are going to pop up! It’s normal. I get asked the same things all the time about getting the best baked chicken seasoning to stick or how to keep the meat tender. I pulled together the most common ones to save you a trip to the comments section. We want reliable, fast cooking, whether you’re throwing together some healthy lunch recipes or dinner!
Can I cook this baked chicken breast from frozen?
Oh, the classic rush! Honestly, with this particular recipe, please don’t try it straight from frozen. Since we rely on pounding the chicken to an even thickness for even cooking, starting frozen will guarantee that the outside burns while the center stays just sad and raw. It’s always worth the extra 20 minutes to run it under cold water and pat it dry first.
What internal temperature means my chicken is done?
This is the most important question, period! You’re looking for 160 degrees Fahrenheit when you slide your meat thermometer into the thickest part of the baked chicken breast, right out of the oven. But here’s the trick: that temperature will climb while it rests. By the time you take that first slice ten minutes later, it will have safely hit 165 degrees Fahrenheit. Don’t rely on timing; rely 100% on the thermometer!
Estimated Nutritional Data for Healthy Baked Chicken
I’m always looking for reliable protein that fits my schedule, and this recipe is fantastic for that reason. It’s a super lean way to get your macros in, making it a staple for Healthy Baked Chicken prep days. Keep in mind, these numbers are a starting point!
- Calories: 220
- Protein: 40g
- Fat: 5g (Mostly unsaturated, thank goodness!)
- Carbohydrates: 1g
Since we are mixing spices and using olive oil, the exact final count can shift slightly based on how much oil or seasoning sticks. But generally, this is a very clean, high-protein meal to build around.
Share Your Juicy Baked Chicken Breast Success
I genuinely hope this method has changed the way you think about cooking poultry! Now it’s your turn. Did you manage to keep it perfectly juicy? Did you try the quick brine or go straight for the simple rub? Head down to the comments below and let me know how your baked chicken breast turned out! Seriously, seeing your successful, tender meals helps build our cooking community here. If you want to send me a photo of your masterpiece, you can always reach out through the contact page—I love seeing your results!
PrintFoolproof Baked Chicken Breast: Juicy and Tender Every Time
This recipe translates professional kitchen secrets into a simple method for baking chicken breast in the oven. You get moist, flavorful results fast, avoiding dry chicken completely. This is your go-to for quick weeknight dinners or meal prep.
- Prep Time: 10 min
- Cook Time: 20 min
- Total Time: 35 min
- Yield: 4 servings 1x
- Category: Main Course
- Method: Baking
- Cuisine: American
- Diet: Low Fat
Ingredients
- 4 boneless, skinless chicken breasts (about 6–8 oz each)
- 1 tablespoon olive oil
- 1 teaspoon kosher salt
- 1 teaspoon paprika
- 1 teaspoon garlic powder
- 1/2 teaspoon dried oregano
- 1/2 teaspoon black pepper
- 1/4 teaspoon onion powder
Instructions
- Preheat your oven to 400 degrees Fahrenheit. Line a baking sheet with parchment paper for easy cleanup.
- Prepare the chicken: If your chicken breasts are uneven, place them between two sheets of plastic wrap and gently pound the thicker end until the whole breast is an even thickness. This step is key for even cooking.
- In a small bowl, mix the salt, paprika, garlic powder, oregano, pepper, and onion powder to create your dry rub.
- Rub the olive oil over all surfaces of the chicken breasts. Sprinkle the seasoning mix evenly over both sides of the chicken, pressing it gently into the meat.
- Place the seasoned chicken breasts on the prepared baking sheet.
- Bake for 18 to 22 minutes. Cooking time depends on thickness, but you are aiming for an internal temperature of 160 degrees Fahrenheit when checked with a meat thermometer in the thickest part.
- Remove the chicken from the oven. Tent loosely with foil and let it rest for 5 to 10 minutes before slicing. The internal temperature will rise to the safe 165 degrees Fahrenheit during this resting period, locking in the juices.
Notes
- For extra moisture, you can briefly brine the chicken in a solution of 1 quart water and 1 tablespoon salt for 15 minutes before seasoning. Pat completely dry before applying oil and spices.
- If you prefer a garlic butter flavor, melt 2 tablespoons of butter with 1 clove of minced garlic and brush this mixture over the chicken halfway through the cooking time.
- This recipe is excellent for meal prep. Slice the cooled chicken and store it in airtight containers for up to 4 days.
Nutrition
- Serving Size: 1 breast
- Calories: 220
- Sugar: 0
- Sodium: 350
- Fat: 5
- Saturated Fat: 1
- Unsaturated Fat: 4
- Trans Fat: 0
- Carbohydrates: 1
- Fiber: 0
- Protein: 40
- Cholesterol: 110