
There is nothing quite like the first crunch of a homemade pickle, right? That perfect pop releases a flavor bomb that store-bought jars just can’t touch. When I was learning to cook, preserving felt like one of those secret chef tricks, but I figured out fast that making the perfect bread and butter pickle isn’t magic—it’s just knowing the right steps. That’s why this recipe is so essential. We’re going deep here, giving you two paths to success: the tried-and-true classic canning method for stocking your pantry, or the lightning-fast refrigerator method when you need that sweet and tangy goodness *now*. Trust me, mastering this brine is essential kitchen lingo.
- Why You Need This Bread and Butter Pickle Recipe in Your Kitchen
- Gathering Supplies for Your Bread and Butter Pickle Project
- Ingredients for Homemade Bread and Butter Pickles
- The Prep Work: Creating the Base for Crunchy Pickle Recipe Results
- Step-by-Step Instructions: How to Make Bread and Butter Pickles
- Tips for the Best Bread and Butter Pickle Recipe
- Serving Suggestions for Your Sweet Sandwich Pickles
- Storage and Shelf Life of Bread and Butter Pickle Batches
- Frequently Asked Questions About Making Pickles
- Estimated Nutrition for Your Homemade Bread and Butter Pickle Slices
- Share Your **Bread and Butter Pickle** Success
Why You Need This Bread and Butter Pickle Recipe in Your Kitchen
Look, I’m not going to clutter up your summer with recipes that fall flat. You want pickles that snap, not pickles that squish. This is the recipe that delivers that pure, satisfying flavor you remember from family gatherings, whether you’re dealing with a big cucumber harvest or just feel like a snack.
- You get two versions: long-term canning or immediate fridge pickles.
- It’s built on tradition but streamlined for today’s kitchen.
- It delivers that famous contrasting texture and taste every time.
Achieving the Perfect Crunchy Texture
The secret weapon we use right at the start—that three-hour soak in salt and ice water—is non-negotiable. That step forces all the water out of the cucumber cells. When the hot brine goes in later, the cucumber structure stays rigid. It’s simple osmosis, really, but it’s the key to a truly amazing crunch that lasts.
The Sweet and Tangy Pickles Flavor Profile
This recipe nails that signature flavor balance. It’s sweet enough to complement any sandwich, but the vinegar cuts through sharply, stopping it from ever tasting dull or syrupy. It tastes exactly like those old fashioned bread and butter pickles should—a perfect blend of comfort and bright sharpness.
Gathering Supplies for Your Bread and Butter Pickle Project
Okay, before you even think about slicing those beautiful cucumbers, we need to talk shop about what tools you’ll need. Running to the store halfway through a brine is the worst, so let’s make sure you’re set up for success. Don’t sweat it if you don’t have everything; preserving doesn’t require a commercial kitchen, but a few specific items make life so much easier, especially if you’re planning to can.
Essential Equipment for Canning Bread and Butter Pickles
If you are going the shelf-stable route, you must have the right gear for safety. This ensures your jars seal properly and keep that delicious product safe for months. You’ll need:
- A large stockpot large enough to completely submerge your jars in water (that’s your water bath canner).
- Jar lifter—these are crucial for safely moving hot jars in and out of boiling water without burning yourself.
- Canning jars (pint or half-pint size) with new lids and bands. Don’t reuse flat lids!
- A funnel designed for canning, which keeps the jar rims clean.
Tools for the Refrigerator Bread and Butter Pickles Method
If you’re just making a small batch to keep in the fridge so you can eat these sweet and tangy pickles tomorrow, the setup is much simpler. This is where beginners often feel more comfortable jumping in first.
- Just clean glass jars with tight-fitting lids. Mason jars work great, but any sturdy jar will do.
- A large mixing bowl for that crucial salt-and-ice soak.
- A good sharp knife or, honestly, if you have one, a mandoline slicer for perfectly even cucumber slices. Consistency matters a lot here.
Ingredients for Homemade Bread and Butter Pickles
Alright, let’s get practical. The ingredients list here is wonderfully simple, relying on pantry staples augmented by fresh summer cucumbers. No weird additives, just pure, classic flavor coming together. I always lay everything out on the counter before I start mixing so I can double-check that I haven’t missed that tiny bit of ground cloves—it makes a huge difference in that traditional warmth! Pay attention to the vinegar specification; you need that 5% acidity for safety and proper tang.
- 3 pounds pickling cucumbers (about 6-8 medium), thinly sliced
- 2 large white or yellow onions, thinly sliced
- 1/4 cup pickling salt
- 4 cups ice
- 2 cups white vinegar (5% acidity)
- 2 cups granulated sugar
- 1 teaspoon celery seed
- 1 teaspoon mustard seed
- 1/2 teaspoon ground turmeric
- 1/4 teaspoon ground cloves
The Prep Work: Creating the Base for Crunchy Pickle Recipe Results
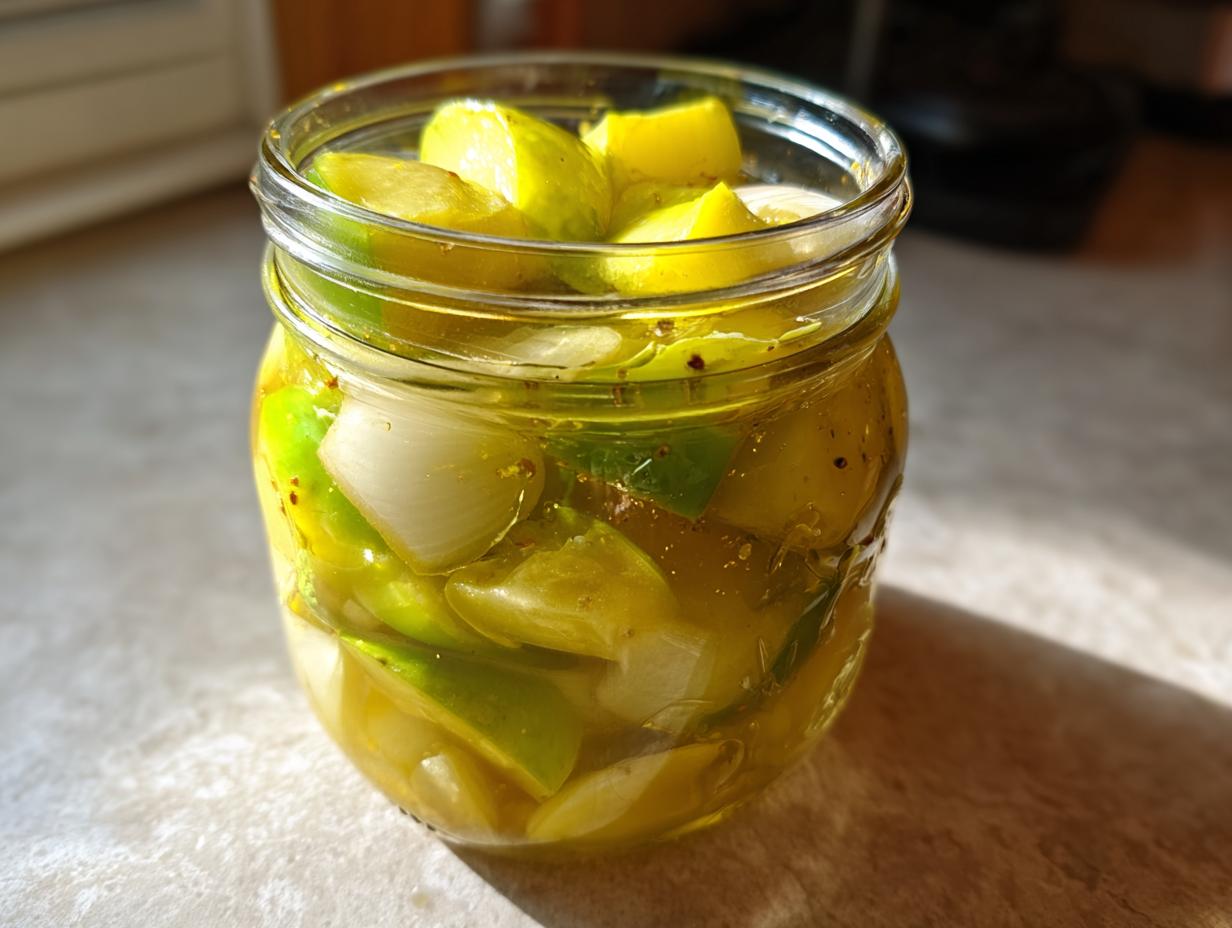
This is where the real work—the structural work—happens before we even hit the stove. Seriously, don’t skip this three-hour soak. I learned early on that if you rush this part when making bread and butter pickle batches, you end up with floppy, sad slices swimming in sweet brine. We need crispness! You start by tossing those thinly sliced cucumbers and onions with the salt, then cover everything completely with water and ice. This soaking step is what the pros rely on, and you can see why lots of successful preserving recipes insist on it.
Set a timer for at least two or three hours. This process, called purging, draws out the excess moisture trapped inside the cucumber cells. When that hot brine goes in later, the cucumber structure stays rigid. It’s simple osmosis, really, but it’s the key to a truly amazing crunch that lasts.
The Importance of Brining for Bread and Butter Pickle Crispness
When I first started out, I thought the hot brine was the magic; I barely paid attention to the pre-soak. Big mistake! If you try to skip the ice water treatment, those lovely cucumbers stay packed with water, and when you boil them in the vinegar, they essentially steam themselves soft. I’m telling you, seeing that cloudy, salty water in the bottom of the bowl after three hours is evidence that you’re doing it right. That cloudy water is the enemy of crunch, and by dumping it out and rinsing well, we win!
Step-by-Step Instructions: How to Make Bread and Butter Pickles
Okay, your cucumbers are drained, rinsed, and looking ready. They’ve had their spa treatment, and now it’s time for the heat and the flavor injection to turn them into the delicious bread and butter pickle we love. Remember, after the salt soak, you need to drain those cucumbers and onions *really* well. I mean, shake that colander like you mean it! We are walking through the exact steps to make sure you nail the brine and decide if you are preserving for the long haul or making a quick batch for sandwiches this week. Lots of folks find the quickest route works best when starting out, and you can check out this great guide on how to make bread and butter pickles for extra visual tips.
Making the Vinegar Pickle Brine
Step three is all about the star of the show: the brine. Grab a saucepan that isn’t aluminum—we need non-reactive metal, like stainless steel, so the high acidity of the vinegar doesn’t fight the pot. Pour in your vinegar and sugar. Toss in those powerful spices—the celery seed, mustard seed, turmeric (that’s for the lovely yellow color!), and the cloves. Turn the heat up to medium-high. You need to keep stirring until every single grain of sugar has dissolved. That’s key; gritty brine makes gritty pickles! Once it’s boiling and clear, you kill the heat, and you’re ready to branch off into your chosen preservation method.
Method A: Quick Refrigerator Bread and Butter Pickles
This is your fast track to pickle heaven. If you chose this path because you need a quick pickles recipe for tomorrow’s BBQ, this is it. Take your deeply drained cucumbers and onions and just pack them into your clean jars. Don’t pack them too tightly, leave some room for the liquid to move! Pour that hot brine right over the top, making sure everything is submerged. Leave about half an inch of space at the very top of the jar opening, seal the lid, and let it sit on the counter until it cools down. Once they are room temperature, plop them straight into the fridge. They need at least 24 hours, but honestly? They are way better around the three-day mark once the flavors really marry.
Method B: Canning Bread and Butter Pickles for Storage
If you want to make these homemade bread and butter pickles last all winter, we enter canning territory. You pack those well-drained vegetables into your hot, sterilized jars, again watching that half-inch headspace. Wipe those rims down perfectly clean—a smudge can break a seal! Center your lids, tighten those bands finger-tip tight (no more than that!), and then lower them into your boiling water canner. Process the jars for the specified time—10 minutes for pint jars is standard, but hey, if you live where the air is thin, you have to check your altitude adjustments! Once the time is up, carefully lift the jars out and set them on a towel-lined counter, undisturbed for a full day. You want to hear that satisfying little *pop* as they cool and seal. Wait four weeks before you open a canned jar; that waiting period is essential for the vinegar pickle brine to truly cure those slices.
Tips for the Best Bread and Butter Pickle Recipe
Okay, you’ve got the brine made and the cucumbers are soaking—now let’s talk about those little details that separate an ‘okay’ batch of bread and butter pickle from a jar I want to hoard for myself. These tweaks come from years of playing around in various kitchens, trying to squeeze every bit of flavor and architecture out of a simple cucumber. You’ve got the baseline technique down, but these finer points ensure maximum crunch and that perfect sweet/tangy hit.
Slicing Consistency and Cucumber Choice
I can’t stress this enough: even slices mean even pickling. If you try to eyeball it with a knife, you’ll end up with some thick, chewy slices next to micro-thin ones that dissolve. The thick ones won’t absorb the flavor, and the thin ones get mushy. A mandoline slicer is your best friend here. Seriously, invest in one if you plan on preserving cucumbers sweet regularly. Also, I know sometimes the garden gives you what it gives you, but stick to pickling cucumbers if you can find them. They have fewer seeds and firmer watery flesh, which helps them stand up to that acidic brine better than, say, a massive slicing cucumber.
Flavor Adjustments for Tangy Sweet Flavor Profile
This recipe delivers that classic flavor structure, but your kitchen might call for a slight tweak. If you love a little background heat—and I mean just a little—toss in about a half teaspoon of crushed red pepper flakes when you cook the brine. It adds an edge that wakes everything up, especially fantastic when pairing these with a fatty burger. Conversely, if you accidentally used a slightly milder vinegar, or if your cucumbers were exceptionally bland this week, you can add an extra tablespoon or two of sugar. Just taste the brine before you pour it! That’s the beauty of making these homemade bread and butter pickles; you control the finish line. If you’re looking to scale down to just a few jars, check out this guide on small batch pickles recipe ideas.
Serving Suggestions for Your Sweet Sandwich Pickles
Now that you’ve got jars of these bright, crunchy beauties, the real question is: where should I put them first? These aren’t just for sandwiches, though they truly make the best sandwich bread feel elevated. Obviously, they shine on burgers, providing that essential cool, sweet counterpoint to savory meat. But don’t forget them alongside grilled chicken or even piled onto a simple cracker with a slice of sharp cheddar. Honestly, you should check out how people use these for gifting too, but for eating? They are perfect for cutting through the richness of anything warm. That perfect bread and butter pickle contrast is everything!
Storage and Shelf Life of Bread and Butter Pickle Batches
Great question! Once all that hard work is done and you’ve sealed those jars or popped them in the fridge, you need to know how to keep them tasting perfect. The storage method you chose—canning or refrigerator—completely dictates how long these amazing bread and butter pickle slices will last. The short answer is: if you canned them properly, they last ages on the shelf, but in-fridge batches need to be eaten sooner.
For the refrigerator batch, remember the rule: they must stay cold. Since we didn’t process those jars in a hot water bath, they are only preserved by the high acidity and sugar content. Keep them sealed tight in the back of the fridge, and you can expect them to stay snappy and flavorful for about a month. If you find they start looking cloudy or smell ‘off,’ toss them—but honestly, they usually disappear way before that!
If you went the whole nine yards with the boiling water canner, you’re looking at long-term success. Once those jars are sealed and stored somewhere cool and dark—think basement or pantry shelf—they are good for at least a year. You don’t need to reheat them, of course; pickles are best served cold straight from the jar! But if you’re curious about other long-term keeping methods, I recently wrote up some ideas on making freezer jam, which relies on different preservation science, but the same principle of making summer last longer.
When opening a canned jar, always inspect that seal first. If the lid isn’t sucked down tight, treat that jar like a refrigerator batch and keep it chilled. Once opened, whether canned or fridge-made, pop them back into the cold spot so they maintain that fantastic crunch until the last slice is gone.
Frequently Asked Questions About Making Pickles
I know preserving can bring up a million little questions, and that’s okay! When I first started out, my biggest fear was wasting a whole bag of cucumbers because I measured the salt wrong. That’s why I always try to tackle the common sticking points right here at the end. You’ve got the main recipe down, but these little nuances are what make you feel truly confident in the kitchen. If you’re diving deep into preservation, you can always check out my full guide on the finer points of handling home canning projects.
Can I use regular cucumbers instead of pickling cucumbers for this easy pickle recipe beginners?
Yes, you absolutely can! If you’re making these for immediate eating from the fridge, regular slicing cucumbers work just fine. However, you’re sacrificing a little bit of that snap. Pickling cucumbers—the bumpy little Kirby types—have fewer seeds and hold up to the heat and brine much better. For the absolute best crunch, especially if you’re doing the canning method, stick to pickling varieties if you can find them.
How long do small batch pickles recipe results need to sit before tasting?
This is one of those questions where your method matters! If you made the quick refrigerator version, you technically *can* sneak a taste after about 24 hours, but honestly? The flavor hasn’t developed yet. Three days is the true minimum for that tangy-sweet flavor to penetrate fully. If you went through the full canning process, you need patience, my friend; wait a full four weeks before cracking that seal! That curing time locks in the mature flavor profile.
What is the difference between old fashioned bread and butter pickles and standard dill pickles?
It all comes down to the brine formula, plain and simple. Dill pickles rely heavily on salt, water, and that distinctive herbaceous dill flavor—they are sharp and much more savory. Our bread and butter pickle recipe is entirely different because we use a heavy dose of sugar alongside the vinegar. That sugar balances that sharp tang, making the final product distinctly sweet, which is why they are so often called sweet sandwich pickles. They are cousins under the preserving umbrella, but they taste miles apart!
Estimated Nutrition for Your Homemade Bread and Butter Pickle Slices
Look, I’m not a registered dietitian, so take this with a grain of salt and maybe a dash of extra sugar if you’re feeling it! But since you put in all that work preserving those cucumbers, you probably want to know what you’re looking at carb-wise, especially on those burger nights. What follows is an estimate based purely on the sugar, vinegar, and cucumbers in our recipe, calculated per three thin slices. Since we’re talking about bread and butter pickle slices, remember that a slice of cucumber is tiny, so the numbers are pretty modest.
- Serving Size: 3 slices
- Calories: 45
- Sugar: 11g
- Sodium: 280mg
- Fat: 0g
- Carbohydrates: 11g
If you are watching your sodium for canning for beginners, notice that the bulk of that sodium comes from the initial salt brine we use to draw out the water. If you’re diligent about rinsing after that three-hour soak, you’ve knocked out a lot of it! These are a fantastic, low-fat way to bring brightness to any plate.
Share Your **Bread and Butter Pickle** Success
Okay, if you’ve made it this far, you’ve done the hard work! You’ve mastered the salt soak, you’ve either wrestled with a boiling water canner or you’ve already started snacking on your crisp refrigerator batch. Now comes the fun part: bragging a little! I absolutely love seeing your creations, whether you’ve made giant batches of shelf-stable jars or if you just managed to pickle half a cucumber in a tiny container.
When you nail a tricky technique like preserving, you need to share the win! Drop a rating right down below this post—let me know if you went for the canned version or the quick pickles, and tell me if you stuck exactly to my spice measurements or played around with that flavor mix.
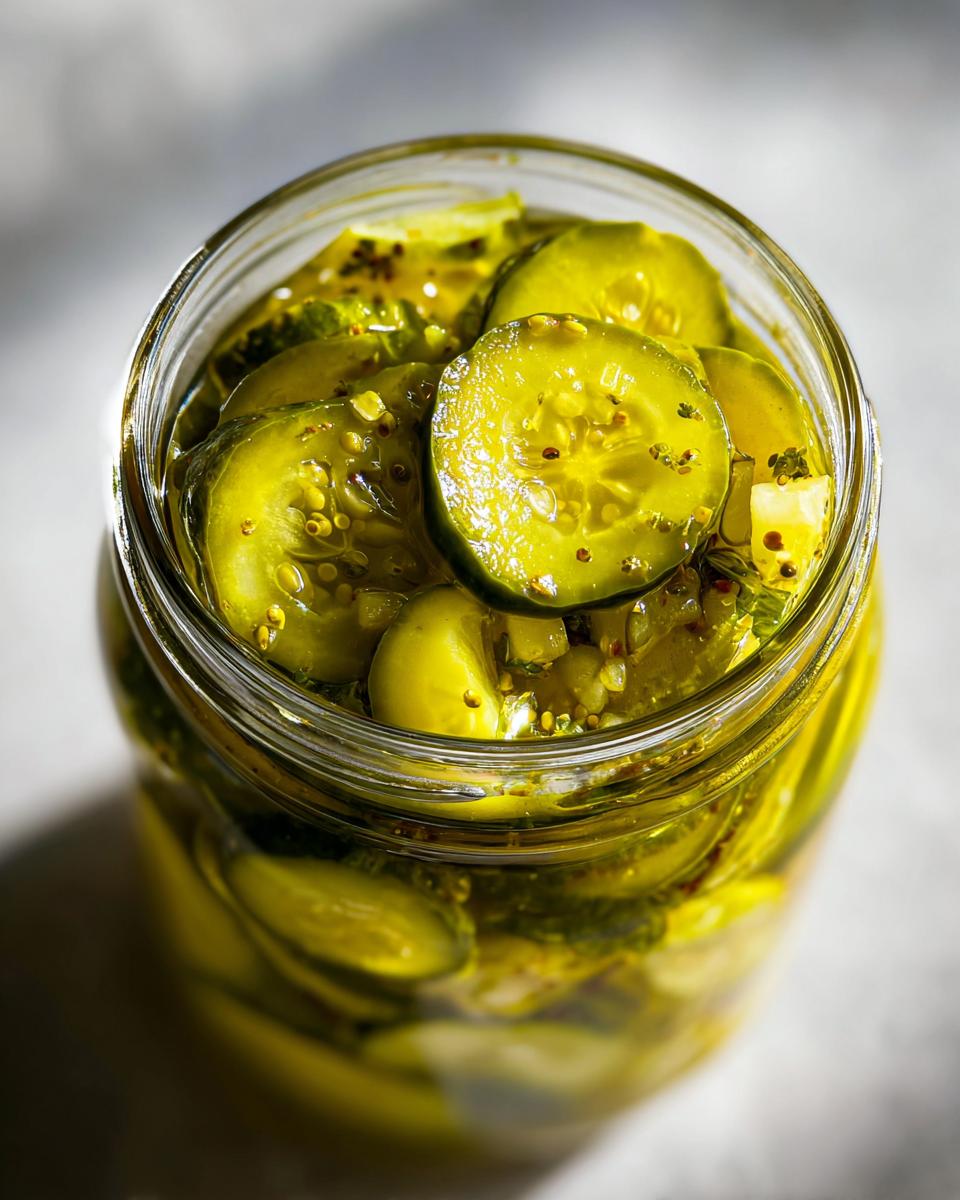
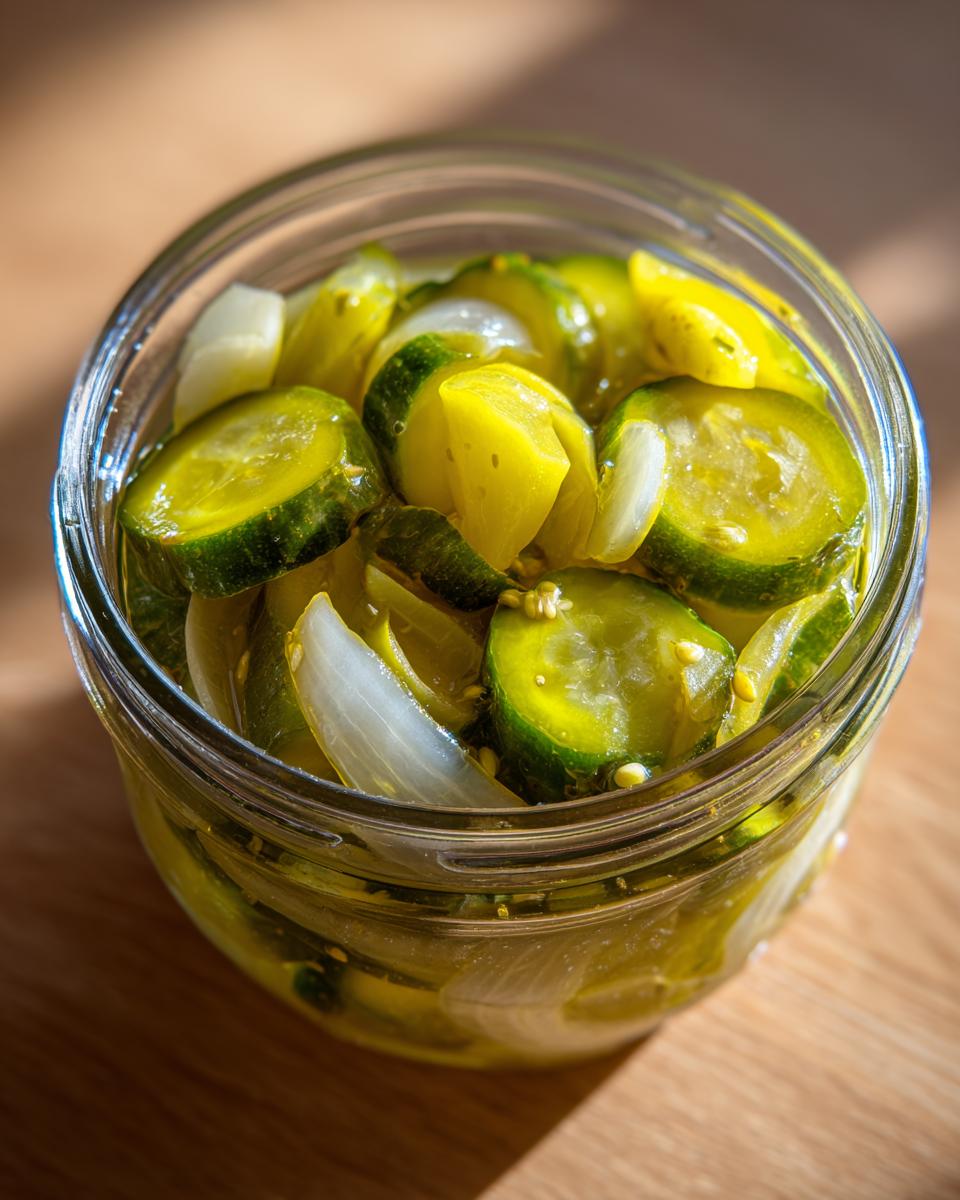
Did you use these sweet sandwich pickles on the best burger you’ve ever made? Did your **homemade bread and butter pickles** emerge from the canner perfectly sealed? Snap a photo—I want to see those gorgeous yellow slices! Tag me on social media or just leave a comment telling me all about the process. Knowing that this recipe is connecting with so many of you and turning summer harvests into year-round comfort makes every part of translating this kitchen slang worth it. Happy preserving, friends!
PrintOld Fashioned Bread and Butter Pickles: Canning vs. Refrigerator Method
Learn how to make crunchy, sweet and tangy bread and butter pickles using either a classic canning method for long storage or a quick refrigerator method for immediate enjoyment. This recipe translates professional tips for home cooks.
- Prep Time: 3 hours 15 min
- Cook Time: 20 min
- Total Time: 3 hours 35 min
- Yield: About 4 pint jars 1x
- Category: Condiment
- Method: Canning/Refrigerator
- Cuisine: American
- Diet: Vegetarian
Ingredients
- 3 pounds pickling cucumbers (about 6–8 medium), thinly sliced
- 2 large white or yellow onions, thinly sliced
- 1/4 cup pickling salt
- 4 cups ice
- 2 cups white vinegar (5% acidity)
- 2 cups granulated sugar
- 1 teaspoon celery seed
- 1 teaspoon mustard seed
- 1/2 teaspoon ground turmeric
- 1/4 teaspoon ground cloves
Instructions
- Combine the sliced cucumbers and onions in a large bowl. Sprinkle with pickling salt and toss to coat. Add the ice and enough cold water to cover the vegetables completely. Let this mixture sit for 2 to 3 hours. This step draws out water and keeps the pickles crisp.
- Drain the cucumbers and onions thoroughly. Rinse them under cold running water until all salt residue is gone. Drain again very well.
- Prepare the brine: In a non-reactive saucepan, combine the white vinegar, sugar, celery seed, mustard seed, turmeric, and cloves. Bring the mixture to a boil over medium-high heat, stirring until the sugar dissolves completely.
- For Refrigerator Pickles (Quick Method): Pack the drained cucumbers and onions into clean jars. Pour the hot brine over the vegetables, leaving 1/2 inch headspace. Seal the jars and let them cool on the counter. Store in the refrigerator for at least 24 hours before eating. These pickles last about 1 month in the fridge.
- For Canning (Shelf Stable): Pack the drained cucumbers and onions into hot, sterilized pint or half-pint canning jars, leaving 1/2 inch headspace. Pour the hot brine over the vegetables, maintaining the 1/2 inch headspace. Wipe the rims clean, center the lids, and screw on the bands fingertip tight.
- Process the jars in a boiling water canner. Bring the water to a boil, cover the canner, and process pint jars for 10 minutes (adjust time for altitude if necessary).
- Remove jars and let them cool undisturbed on a towel-lined counter for 12 to 24 hours. Check seals. Store sealed jars in a cool, dark place. These are ready to eat after 4 weeks of processing.
Notes
- For the best crunch, slice your cucumbers evenly. Use a mandoline if you have one for consistent thickness.
- If you prefer a spicier flavor, add 1/2 teaspoon of crushed red pepper flakes to the brine mixture.
- These sweet sandwich pickles pair well with burgers and grilled meats.
Nutrition
- Serving Size: 3 slices
- Calories: 45
- Sugar: 11
- Sodium: 280
- Fat: 0
- Saturated Fat: 0
- Unsaturated Fat: 0
- Trans Fat: 0
- Carbohydrates: 11
- Fiber: 0
- Protein: 0
- Cholesterol: 0