
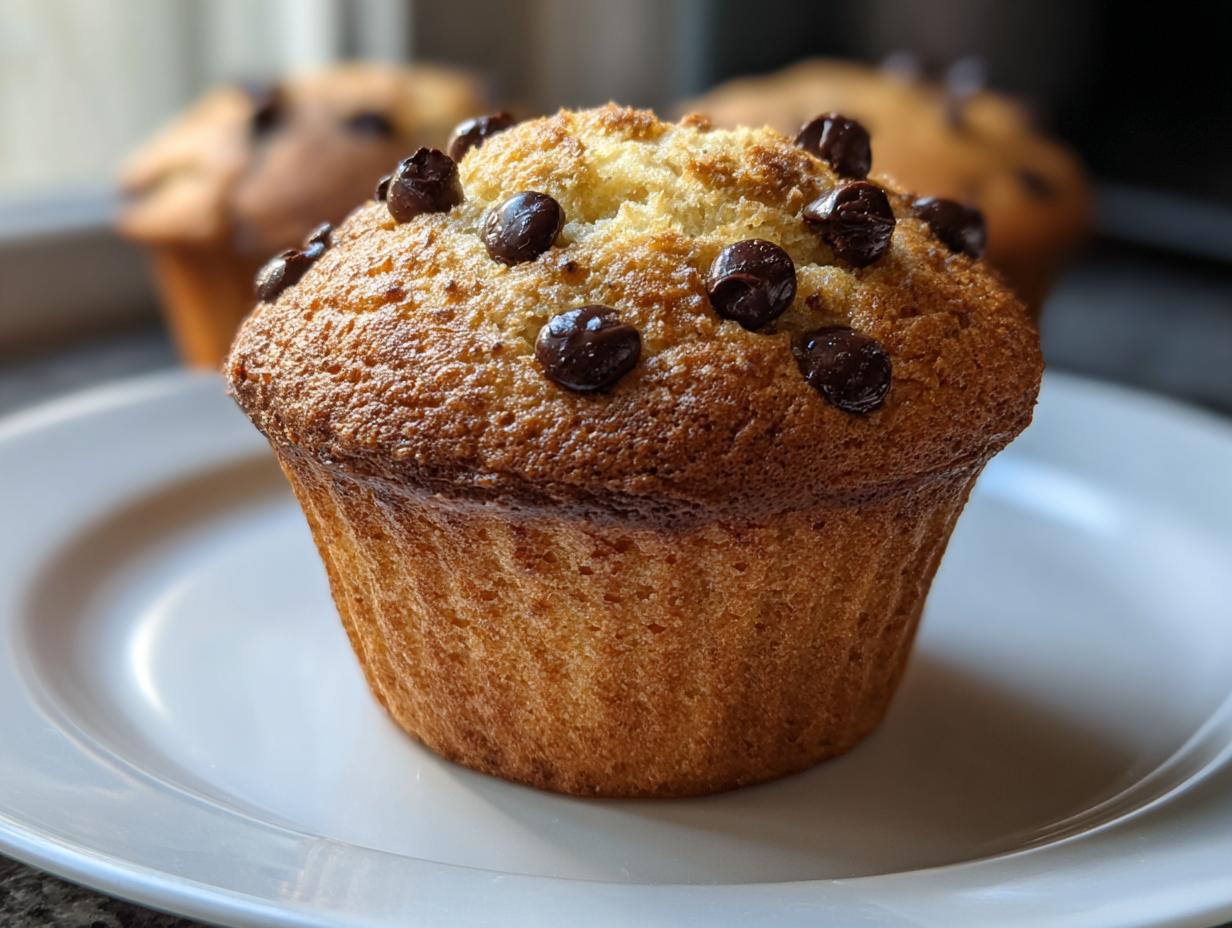
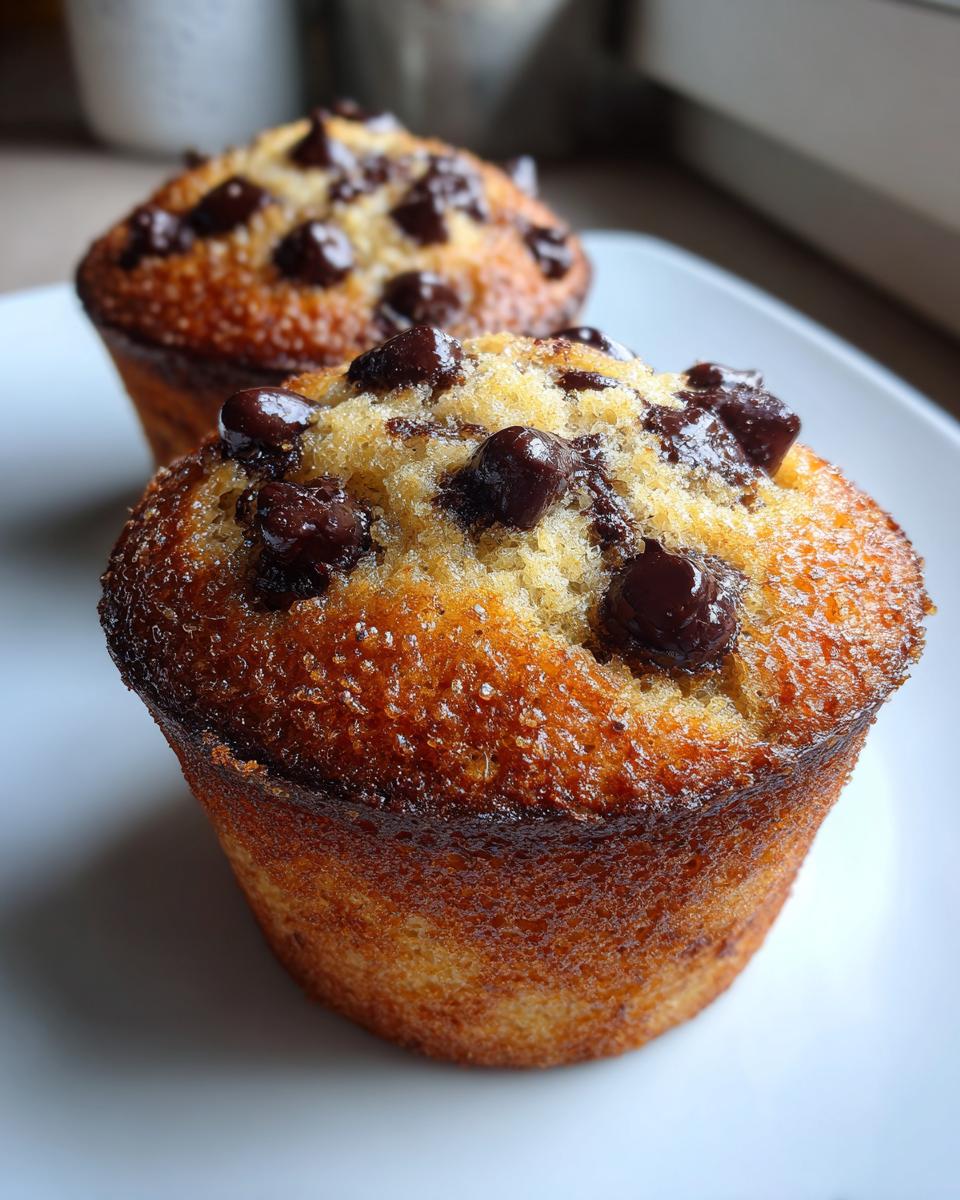
You know that feeling when you walk into a bakery and the smell just hits you? Those massive, fluffy chocolate chip muffins with the perfect golden dome that barely fits in the paper liner? I used to think that was some kind of secret magic only professionals knew. When I started in the bistro kitchen, I realized it wasn’t magic; it was just learning the right kitchen slang—the small techniques that change everything. This recipe is my translation of how to nail those **chocolate chip muffins** right on your countertop. Forget flat, dense hockey pucks; we’re aiming for maximum fluff and moisture here. This is how you speak the language of a truly great, bakery-style muffin, Zoe Thompson style.
- Why These Are the Best Chocolate Chip Muffins You Will Make
- Ingredients for Perfect Chocolate Chip Muffins
- How to Prepare Fluffy Chocolate Chip Muffins: Step-by-Step
- Tips for Mastering Chocolate Chip Muffins Every Time
- Variations on Classic Chocolate Chip Muffins
- Serving Suggestions for Your Homemade Baked Goods
- Frequently Asked Questions About Chocolate Chip Muffins
- Nutritional Estimates for Chocolate Chip Muffins
- Share Your Bakery Style Chocolate Chip Muffins Success
Why These Are the Best Chocolate Chip Muffins You Will Make
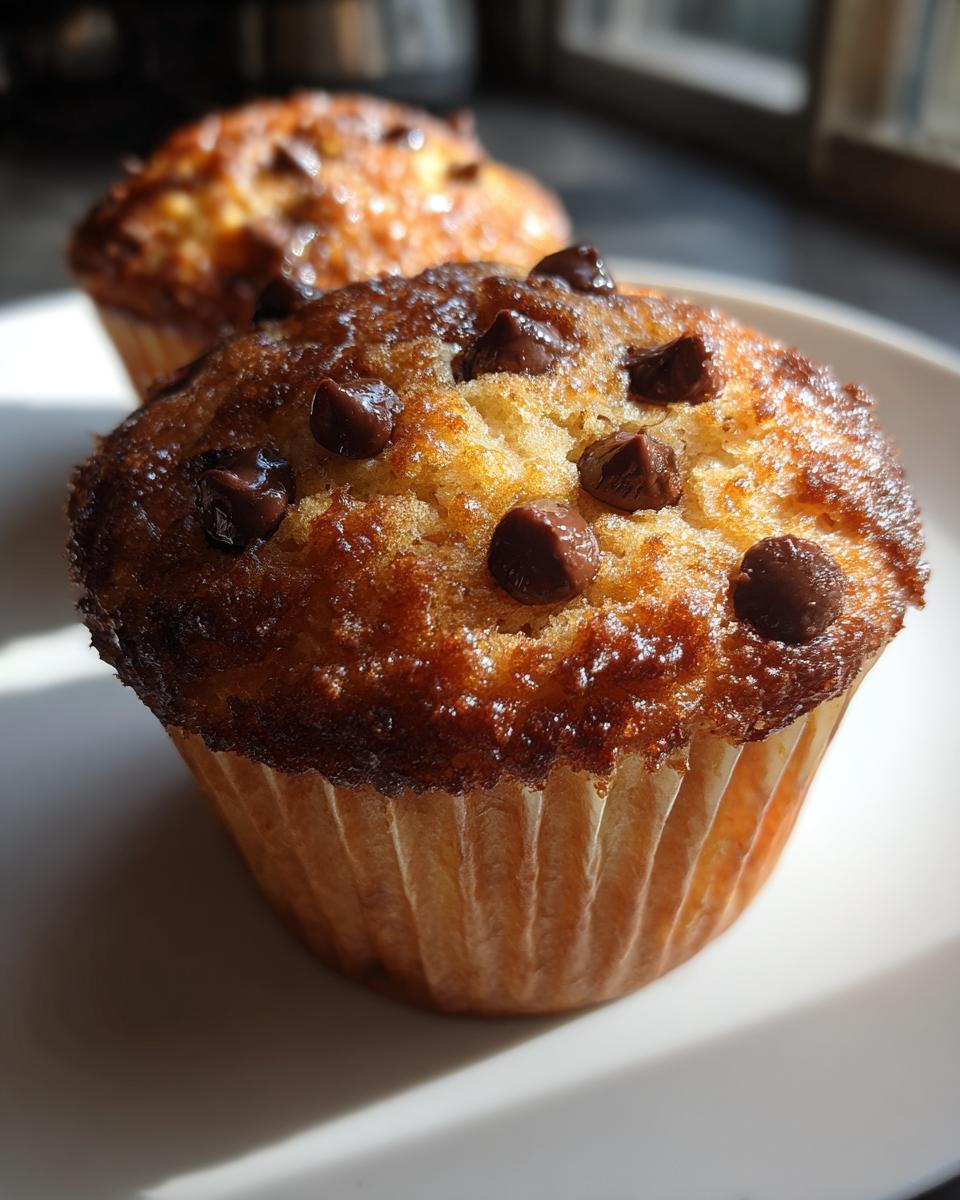
If you’ve been chasing that elusive bakery crust and pillowy center, you’re in the right place. These aren’t just any chocolate chip muffins; these are the best chocolate chip muffins because they focus entirely on structure and moisture. We are making sure these are incredibly moist chocolate chip muffins that stay soft for days. You also don’t have to settle for sad, flat tops. We employ a chef’s trick to force that gorgeous, towering dome we all crave. If you mastered that fluffy texture for our lemon scones, you’ll love how easy this method is for these fluffy chocolate chip muffins, too.
The Secret to Achieving Bakery Style Muffins
The domed top muffins happen thanks to aggressive, temporary heat. We blast the oven up to 400 degrees F first thing. That immediate, high heat pushes the batter up super fast, setting the outer edges and creating that signature bakery lift. Then, quickly drop the temperature down to 375 degrees F to let the inside cook gently without burning the crust. It’s a two-step temperature dance that guarantees that professional look.
Ingredients for Perfect Chocolate Chip Muffins
Okay, let’s talk about what goes into making these incredible chocolate chip muffins. You probably have most of this stuff sitting around already, but the preparation matters way more than the list itself. We need the flour, the sugar, the baking powder and soda for the lift, and just a pinch of salt to wake everything up. Then we hit the wet side: one large egg, milk, vanilla, and butter. That butter absolutely has to be melted, but take it off the heat for a minute before you mix it in. The goal is to have everything ready to go before you even think about combining anything.
The star, of course, is the chocolate. We are using a full cup and a half of semi-sweet chips here—we don’t skimp! And trust me, you need that little sprinkle of coarse sugar right on top for the crunchy finish. Don’t forget that if you want those double chocolate muffins, we save that substitution for the notes below, but you need to keep that baseline ingredient list ready.
Ingredient Notes and Substitutions for Your Chocolate Chip Muffins
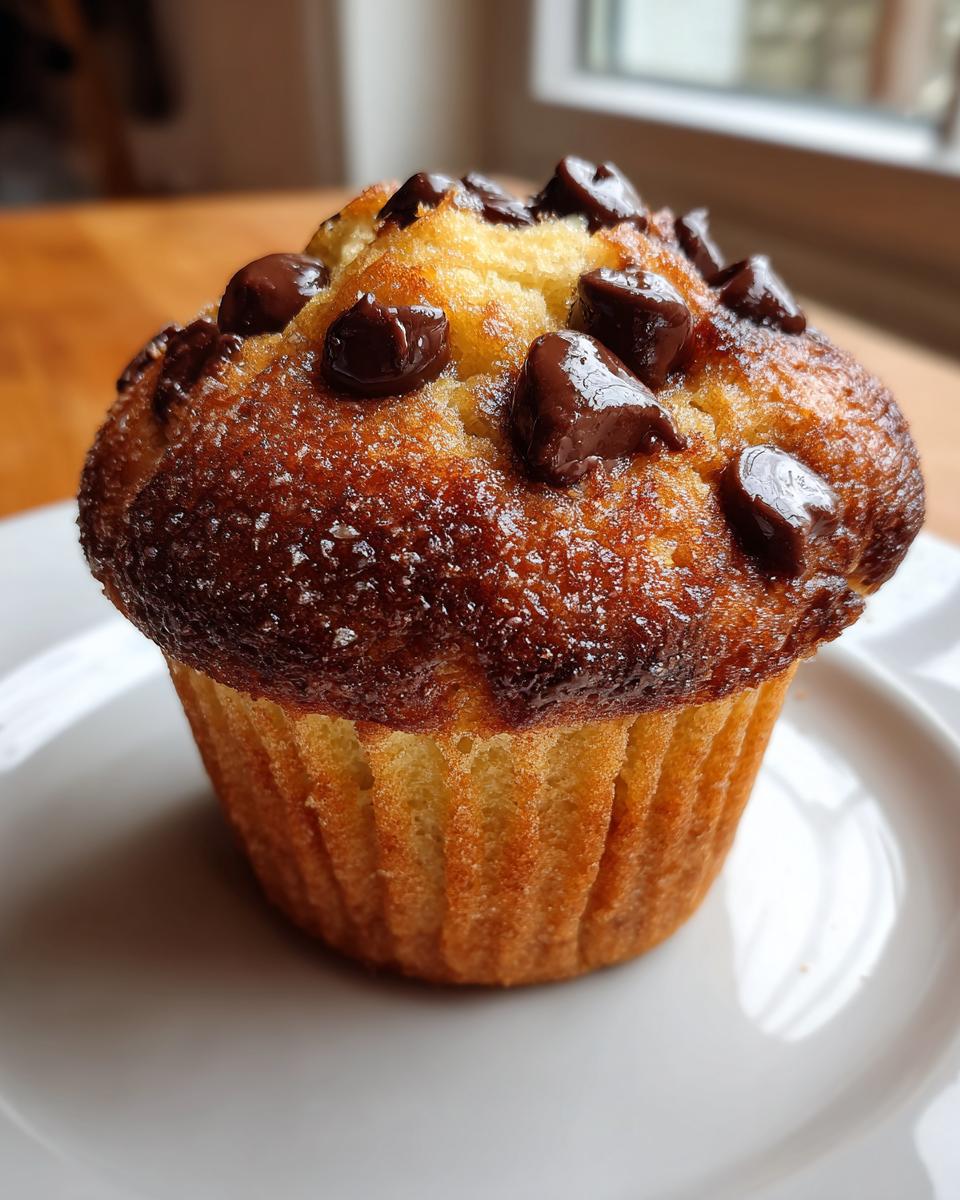
This is where we learn the professional lingo about texture. If your egg and milk are coming straight from the fridge, they can chill down that melted butter and make everything seize up—that leads to flat muffins, no dome! Room temperature ingredients create a smoother emulsion, which means a fluffier middle. Also, hear me out: gently fold in one cup of the chips first, then sprinkle the rest of the chocolate on top before baking. This guarantees you get chocolate visible everywhere, which is the hallmark of truly chocolate loaded muffins.
How to Prepare Fluffy Chocolate Chip Muffins: Step-by-Step
This is where the magic happens, and frankly, where most people mess up their chocolate chip muffins. Always start by getting that oven screaming hot—preheat to 400 degrees F and get your 12-cup tin lined or greased. We need that initial blast of heat for the dome, remember? Next, whisk your dry stuff together—flour, sugar, baking powder, soda, salt—whisking is key to incorporating air here. Then, in another bowl, gently whisk the wet ingredients: egg, milk, cooled melted butter, and vanilla. Keep those wet and dry separate!
Now for the moment of truth that decides your best muffin texture inside. Pour the wet straight into the dry. Grab a spatula—no electric mixer here, please! You are just *folding*. We want this mixed until it’s *barely* combined. If you see a few streaks of flour, stop! Seriously, mixing too much activates the gluten, and that makes your muffins tough instead of soft. Once that batter is just shy of mixed, fold in one cup of those chocolate chips. If you’re looking for the absolute easiest guide to making any batch of muffins work, check out my thoughts on making a perfect easy muffin recipe.
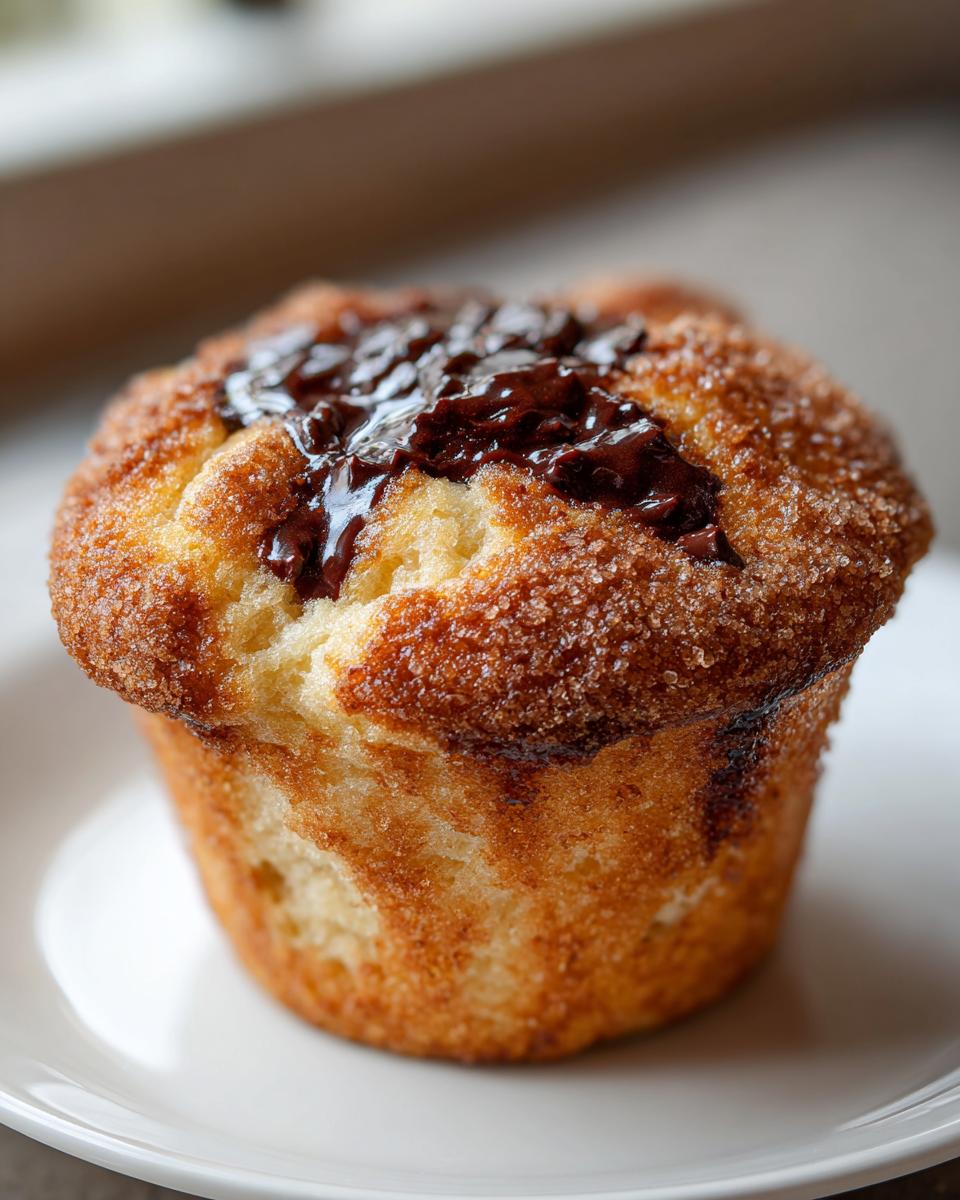
Divide that slightly lumpy batter evenly into your cups; fill them high—about three-quarters full. Then, take the reserved half-cup of chocolate chips and treat your muffins like royalty by showering the tops with them, followed by that coarse sugar for crunch. Here’s the timing trick: Bake them at 400 degrees F for exactly five minutes. Then, without opening the door if you can help it, knock the temperature down to 375 degrees F and bake them for another 15 to 18 minutes. If you follow that heat schedule, you get the perfect lift. You can check for doneness like you would on any other quick muffin recipe, but trust me on the heat!
Tips for Mastering Chocolate Chip Muffins Every Time
Listen, even when you know the secret, sometimes things go sideways. I remember one batch badly—I was running late for a meeting, and I just whipped that batter way too hard, convinced I could make up time. Big mistake. They came out looking like slightly flattened chocolate cookies instead of chocolate chip muffins. That’s the lesson: Don’t rush the folding! For that extra-loaded look, press some extra chips right into the very top of the batter before they go in the oven; that way, they melt beautifully on the crust. Honestly, once you nail the mixing, you’ve unlocked the secret to that soft interior you see from famous bakeries like the ones over at Butternut Bakery. If you ever feel like tackling a nut version, remember the lessons learned here for my humble banana nut muffins too; it’s all about restraint!
Making Chocolate Chip Muffins for Breakfast Ahead of Time
These make ahead muffins are a lifesaver for quick chocolate chip breakfast slots. Once they are completely cool—and I mean totally cool, or you’ll get condensation—wrap each one tightly in plastic wrap. Toss them into a freezer bag. They keep wonderfully for about three months. When you need one, just pull it out the night before and let it thaw on the counter, or microwave it for about 20 seconds. They taste almost as good as fresh-baked!
Variations on Classic Chocolate Chip Muffins
The beauty of mastering this base recipe is how easily you can pivot to something new. If you’re staring down a craving for even more chocolate, turning these into double chocolate muffins is simple. Just swap out about a quarter cup of that routine flour for unsweetened cocoa powder in the dry mix. That little switch gives you a richer, darker base that pairs perfectly with the chips inside. You can see a similar vibe over at Eats Delightful, too, if you’re into that deep chocolate hit.
Now, I know some of you are thinking about fruit! While this batch is purely chocolate, remember this structure works beautifully if you want to fold in mashed banana for moistness, or even add grated zucchini—things like my banana protein ones follow similar rules. For now, though, stick to using this base for the richest chocolate chip experience possible. If you ever need a completely different flavor profile, check out what I did with my coffee cake muffins recipe!
Serving Suggestions for Your Homemade Baked Goods
Now that you’ve got these beauties—truly perfect homemade baked goods—what do you munch on them with? Honestly, they’re amazing all on their own, especially warm from the oven. They don’t really need much help, but I love slicing one in half and spreading just a tiny bit of salted butter on it. That little bit of extra fat really makes the chocolate sing.
For a real breakfast spread, serve them up alongside some fresh berries—the tartness cuts through the richness perfectly. And of course, you need a sturdy cup of coffee! If you want to make your whole breakfast spread better, try whipping up a batch of my easy homemade granola to have on hand for yogurt bowls.
Frequently Asked Questions About Chocolate Chip Muffins
I get so many messages asking just a few key things about how to guarantee success with these chocolate chip muffins, so let’s tackle those right here. If you’re aiming for that tall, fluffy bakery experience, paying attention to these small details is honestly the difference between a good muffin and the best chocolate chip muffins ever.
Why do my chocolate chip muffins always turn out flat?
This usually comes down to two things we talked about when mixing: temperature and stirring. If your wet ingredients are too cold, they slow down the leavening action of the baking soda and powder right when they hit the hot oven, killing the rise. Second, and this is the big one: overmixing. If you stir until it’s perfectly smooth, you’ve developed gluten, and gluten creates structure, not fluff. Remember, stop folding when you still see a few streaks of flour—that’s how you get that light, fluffy chocolate chip muffins interior we are aiming for!
Can I skip the melted butter and use oil for these easy muffin recipes?
You *can*, but I wouldn’t recommend it if you are chasing the best texture. Butter equals flavor, period. Plus, when butter melts, it coats the flour particles differently than oil does, which helps keep the crumb tender later on. If you absolutely must substitute, use a neutral oil like canola, but use slightly less than the butter amount called for, and be prepared; the flavor profile changes slightly. These are meant to be rich, homemade baked goods, and butter keeps them that way.
My batter looks great, but how do I keep them fresh for a quick breakfast?
This is where those freezing tips come in handy! For longer storage, you need to make sure those muffins are completely cooled down before you wrap them up. I wrap mine individually in plastic wrap, almost like little presents, and then stick those into a large freezer bag. They are perfect for grabbing straight from the freezer for a fast simple breakfast idea later in the week. They thaw out flawlessly!
Are these really worth the effort compared to a box mix?
In my opinion? Yes, a thousand times yes! Box mixes are designed to be foolproof—they use stabilizers and lots of extra chemicals so they work every time, but they rarely give you that rich depth of flavor or the towering dome. This recipe is fast enough—under 40 minutes total—that you get that amazing, professional result without any of the fuss. It’s the difference between eating something ‘okay’ and eating something truly special.
Nutritional Estimates for Chocolate Chip Muffins
Look, these are indulgent homemade baked goods, loaded with chocolate and butter—they aren’t celery sticks! But if you like to keep track, here’s what we’re generally looking at per muffin. This accounts for about 320 calories, 22 grams of sugar, and 18 grams of fat. Remember, though, this is just the baseline estimate based on standard ingredients. If you use all dark chocolate or heavy cream instead of milk, those numbers are going to jump! Keep this data handy if you need to track anything, but mostly, just enjoy the fact that these are incredibly tasty and worth every single tiny bit of that sugar.
Share Your Bakery Style Chocolate Chip Muffins Success
So, you’ve conquered the dome! I absolutely love seeing your results when you tackle these chocolate chip muffins. Seriously, snap a photo of your perfect golden tops and tag me when you share your homemade baked goods online. It means the world to me to see the Kitchen Slang community succeeding in the kitchen. If you tried this and thought it was the best batch you’ve ever made, hop over to the recipe page or shoot me a note on the Contact page!
Let the world know how amazing these treats are—maybe even check out what others are baking over at Tastes Better From Scratch for some inspiration. Happy baking!
PrintBakery-Style Chocolate Chip Muffins: Fluffy and Moist
Make bakery-worthy chocolate chip muffins at home. This easy recipe gives you tall, domed tops, a fluffy texture, and is loaded with melty chocolate chips for a perfect homemade baked good.
- Prep Time: 15 min
- Cook Time: 23 min
- Total Time: 38 min
- Yield: 12 servings 1x
- Category: Breakfast
- Method: Baking
- Cuisine: American
- Diet: Vegetarian
Ingredients
- 1 3/4 cups all-purpose flour
- 3/4 cup granulated sugar
- 1 1/2 teaspoons baking powder
- 1/2 teaspoon baking soda
- 1/2 teaspoon salt
- 1 large egg, room temperature
- 1/2 cup whole milk, room temperature
- 1/2 cup unsalted butter, melted and slightly cooled
- 1 teaspoon vanilla extract
- 1 1/2 cups semi-sweet chocolate chips, divided
- 1 tablespoon coarse sugar (for topping)
Instructions
- Preheat your oven to 400 degrees F. Line a 12-cup muffin tin with paper liners or grease well.
- In a large bowl, whisk together the flour, granulated sugar, baking powder, baking soda, and salt. This is your dry mix.
- In a separate medium bowl, whisk the egg, milk, melted butter, and vanilla extract until combined. This is your wet mix.
- Pour the wet mix into the dry mix. Use a spatula to gently fold the ingredients together until just combined. Do not overmix; a few lumps are fine. Overmixing develops gluten and kills the fluffy texture you want.
- Gently fold in 1 cup of the chocolate chips.
- Divide the batter evenly among the 12 muffin cups, filling each about three-quarters full.
- Place the remaining 1/2 cup of chocolate chips on top of the batter in each cup. Sprinkle the coarse sugar over the tops for that crunchy crust.
- Bake at 400 degrees F for 5 minutes. This initial high heat helps set the dome.
- Reduce the oven temperature to 375 degrees F and continue baking for 15 to 18 minutes more, or until a toothpick inserted into the center comes out clean.
- Let the muffins cool in the pan for 5 minutes before transferring them to a wire rack to cool completely.
Notes
- For the best dome, make sure your egg and milk are at room temperature. Cold ingredients slow down the rise.
- To make these freezer friendly muffins, cool them completely, then wrap each one tightly in plastic wrap before placing them in a freezer bag. Thaw overnight for a quick breakfast.
- If you want double chocolate muffins, replace 1/4 cup of the flour with 1/4 cup of unsweetened cocoa powder.
Nutrition
- Serving Size: 1 muffin
- Calories: 320
- Sugar: 22
- Sodium: 250
- Fat: 18
- Saturated Fat: 11
- Unsaturated Fat: 7
- Trans Fat: 0
- Carbohydrates: 38
- Fiber: 1
- Protein: 4
- Cholesterol: 45