
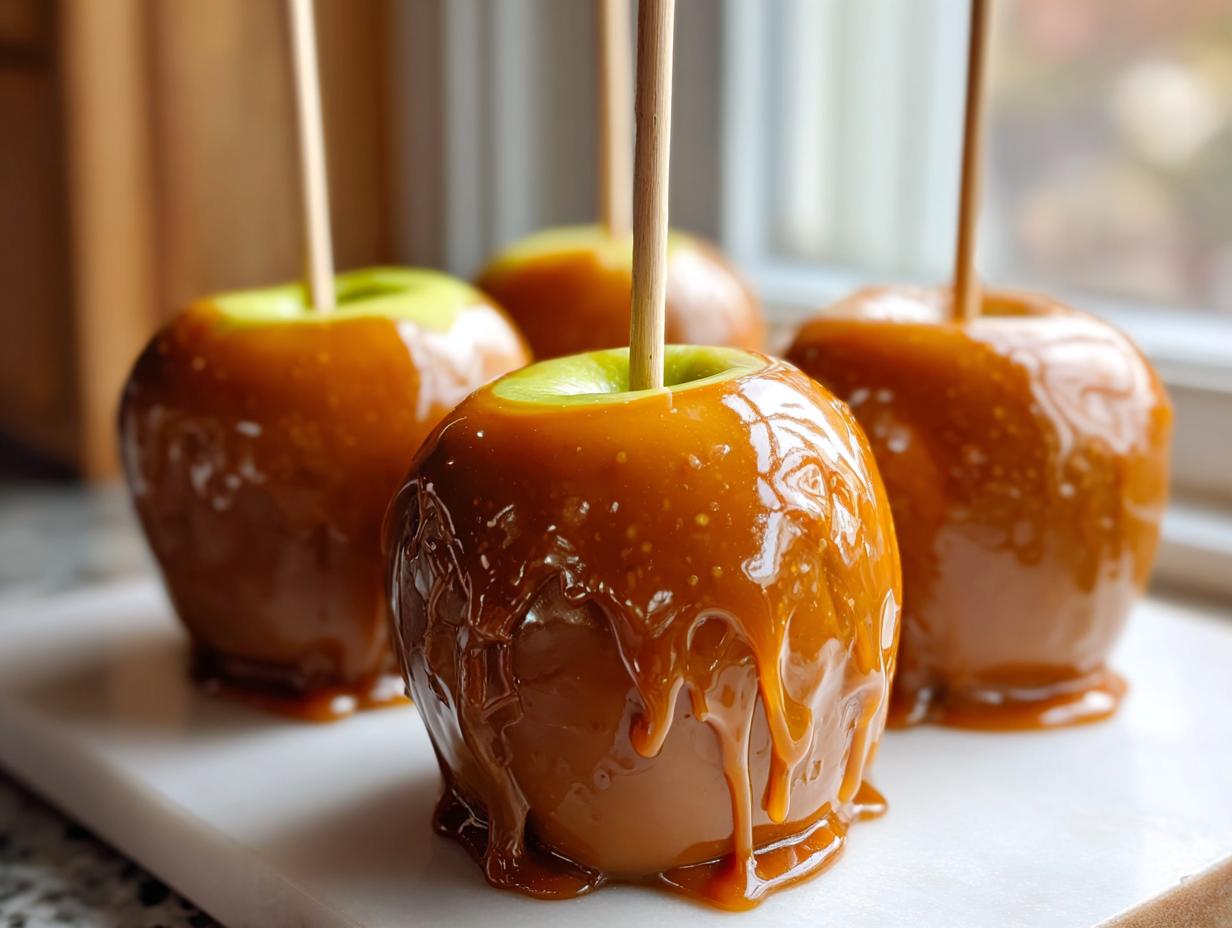
Is there anything that screams ‘cozy fall’ louder than a perfectly constructed caramel apple? I love Halloween and Thanksgiving just for the excuse to make these beautiful, classic autumn candy apples. But listen, I know why you’re here: you’ve tried making them before, and your beautiful caramel slid right off the apple three minutes after you finished dipping, pooling sadly on the wax paper. Oops! I’ve been there. That used to be the wall between us home cooks and the candy shop pros, but not anymore. I’m Zoe, and I translate the chef’s secret lingo. We’re going to crack the code today and deliver you the most foolproof, perfectly sticky homemade caramel apple recipe you’ll ever try. Forget intimidating candy formulas; we’re keeping it real and delicious.
- Why This Homemade Caramel Apples Recipe Works (The Secret to Sticky Caramel)
- Gathering Ingredients for the Best Caramel Apple Recipe
- How to Prepare Apples for Perfect Caramel Apple Coating
- Step-by-Step Instructions for Gooey Caramel Apples
- Caramel Apple Topping Ideas for a Gourmet Finish
- Tips for Success When Making Caramel Apples
- Storage & Reheating Instructions for Caramel Apples
- Frequently Asked Questions About Caramel Apples
- Nutritional Estimates for Your Homemade Caramel Apples
- Share Your Perfect Caramel Apple Creations
Why This Homemade Caramel Apples Recipe Works (The Secret to Sticky Caramel)
Most people fail at homemade caramel apples for two simple reasons, and trust me, I learned this the very hard way! I remember one Halloween trying to make these, and the caramel was too soft—it just oozed down the sides like a sad, sweet waterfall. It was a disaster! We finally figured out that the magic isn’t just in the sauce; it’s in the science. We need that caramel to hit 245 degrees Fahrenheit exactly to get that divine, chewy texture that doesn’t run off the second you dip it. That’s the secret to achieving those perfect sticky caramel apples. When you nail the temperature, you nail the coat! This technique is the difference between a fancy fall snack and just… sticky goo.
Choosing the Right Apples for Your Caramel Apple
The apple matters just as much as the sauce, honestly. You need something firm and tart to cut through all that buttery sweetness. I always lean on Granny Smith because they are sturdy and have that wonderful sour bite, but Honeycrisp works beautifully too if you want something slightly sweeter. If you try using a soft apple, it inevitably turns to mush under the weight of the caramel. For the best texture contrast, keep it firm and crisp!
Gathering Ingredients for the Best Caramel Apple Recipe
Okay, let’s talk about the goods! To make these the absolute **best homemade caramel apples**, we need quality ingredients. I learned that trying to skimp here just gives you runny, sad caramel that melts before you even get it out of the pot. We aren’t making that kind of caramel today! This recipe is all about translating what the pros use—good butter, real brown sugar—into something unbelievably rich and, yes, perfectly chewy. This list is short, which means every ingredient pulls its weight for that gorgeous, thick coating that makes a truly fantastic caramel apple.
- 6 large, firm apples (like Granny Smith or Honeycrisp)
- 12 wooden or sturdy lollipop sticks
- 1 cup (2 sticks) unsalted butter
- 2 cups packed light brown sugar
- 1 cup light corn syrup
- 1 (14-ounce) can sweetened condensed milk
- 1 teaspoon pure vanilla extract
- 1/2 teaspoon sea salt
- Optional toppings: chopped pecans, mini chocolate chips, sprinkles
How to Prepare Apples for Perfect Caramel Apple Coating
This is where so many people slip up when they attempt how to make caramel apples from scratch! You can have the world’s best caramel sauce simmering on the stove, but if you skip this prep step, that caramel is going to slide right off the apple like water off a duck’s back. That’s because store apples are coated in a layer of protective, food-safe wax. We have to get rid of it! My professional translator trick? It’s a quick, scalding dip. Boil a pot of water, just dunk each apple for about five seconds, then pull it out immediately. This melts that waxy coating right off.
But here’s the critical second part: they must be bone dry after that dip. Any hint of water turns milky when it hits the hot caramel and ruins the adhesion. Pat them down ruthlessly with a clean towel! Seriously, if you want the best results for your homemade caramel apples recipe, dry them completely. Once they are dry, take your wooden sticks—make sure they’re strong ones—and push them firmly and straight into the core. You want them snug for dipping!

Step-by-Step Instructions for Gooey Caramel Apples
This is where the real restaurant magic happens, translating complex candy-making into something you can nail right on your home stovetop. We’re aiming for that perfect texture—the kind that makes truly amazing, gooey caramel apples. The key player here is your candy thermometer. I know, I know, but pros don’t rely on intuition when sugar is involved; they rely on science! Get that thermometer clipped inside your heavy-bottomed pot before you even turn the heat on.
Combine the butter, brown sugar, corn syrup, and condensed milk. Stir it constantly while the sugar dissolves, which is important for a smooth base. But here is the absolute golden rule that separates the pros from the panic-bakers: the second it hits a strong, rolling boil, stop stirring! Stirring sugar that’s boiling can cause crystallization, which leaves you with grainy caramel. Let it cook untouched until your thermometer screams “245 degrees Fahrenheit!” That 245 mark is the magic number for Firm Ball stage, meaning when it cools, it will be perfectly chewy but firm enough to hug that apple tightly. That’s the secret behind those amazing chewy caramel apples we crave!

The Crucial Cooling Period for Your Caramel Apple
Okay, 245°F—take that pot off the heat immediately! Now, here’s the second translation from the bistro I learned: you cannot dip right away. I used to rush this part, and my caramel was way too runny; it just slipped right off the chilled apples. You need to let that caramel sit off the heat for about 5 to 10 minutes. Why? Because it needs to thicken up just enough. You want it wonderfully pliable, not molten hot. This short cooling period is vital for making sure your caramel apple gets a beautiful, substantial, thick coat that actually stays put!
Dipping Technique and Setting the Caramel Apple
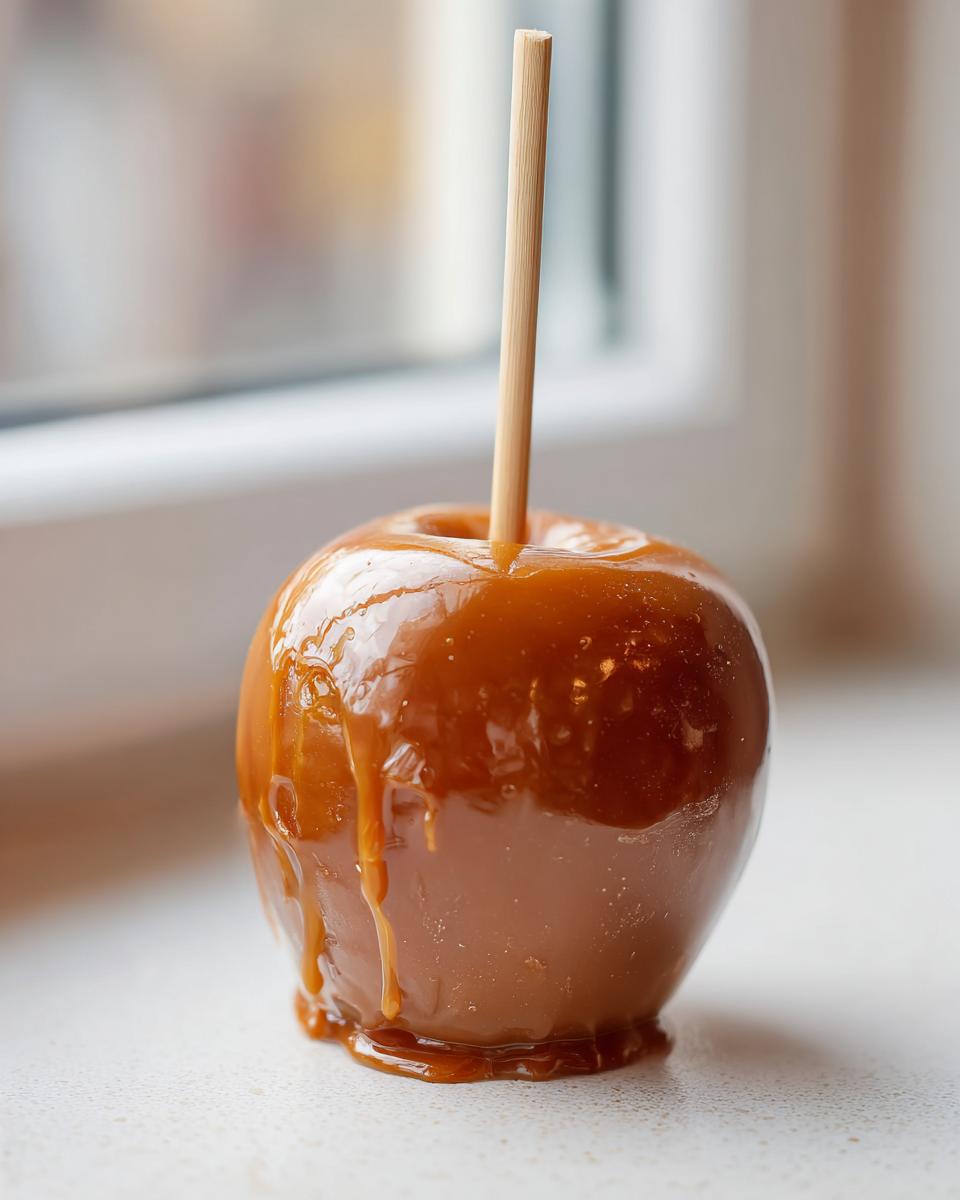
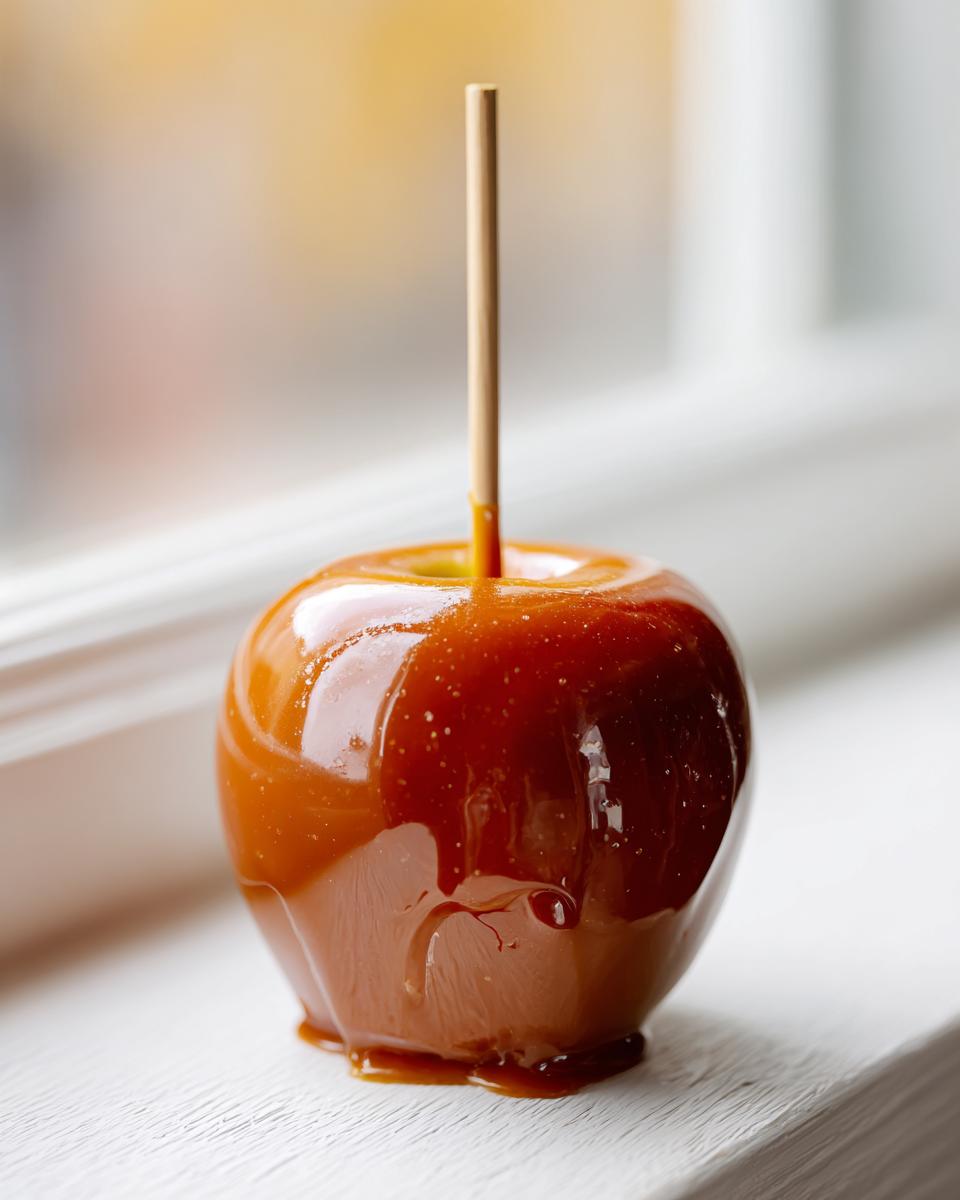
Once it has cooled slightly, the clock starts ticking before it seizes up on you! This is where speed kicks in for those gorgeous Easy Caramel Apples. Tilt your saucepan slightly to gather the caramel into a deeper pool on one side. Take your prepared apple and dip it straight down, rotating it as you go. You want smooth coverage. When you pull it out, hold it over the pot and gently scrape the very bottom edge of the apple against the side of the pan. This scrapes off the big drip without messing up your coating. Then, immediately roll it in your toppings or get it ready for setting!
Caramel Apple Topping Ideas for a Gourmet Finish
Okay, now that you have that incredibly sticky, perfect caramel shell, you can’t just leave it naked! This is the fun, personalized part where you get to make these treats truly pop for your Halloween party or Thanksgiving table. We want to go beyond just the basics. Think texture, think salty-sweet contrast! As soon as that apple comes out of the caramel bath, you have about 30 seconds before the sauce sets up hard, so have your stations ready to go! This is where you can really elevate your Caramel Apple Topping Ideas.
Sure, chopped pecans and mini chocolate chips are classic for a reason, but have you ever tried crushed salty pretzels? It’s amazing against the rich caramel. Or, try a sprinkle of super flaky sea salt right on top—it really brings out the butteriness! You can even look at sweet options like crushed hard candies or different colored sprinkles for the kids. Don’t forget that gorgeous, slightly spicy kick you can get from something like candied jalapenos if you’re feeling wild!
Adding a Chocolate Drizzle to Your Caramel Apple
If you’re aiming for full-on gourmet indulgence, you have to add the chocolate drizzle. This is a professional move that looks fancy but is ridiculously easy. Once your caramel has completely set—and I mean completely firm—you can drizzle that chocolate right over the top. You only need about four ounces of good quality semi-sweet chocolate chips, melted down with about one teaspoon of coconut oil. The coconut oil is the secret here; it keeps the chocolate silky smooth so it doesn’t seize up when it hits the cool surface of the caramel.
Melt that mixture until it’s shiny and pourable. Use a fork or a small spoon and just flick lines back and forth over your set caramel apples for that classic look. It looks fantastic against the caramel and adds another rich layer to your chocolate caramel apples. Let that drizzle set for about 15 minutes, and you’re done!
Tips for Success When Making Caramel Apples
Okay, we’ve made it through the dipping chaos, but before you call yourself a caramel apple master, let’s quickly review the things that really matter. This is the insider knowledge I picked up, the stuff that separates the ‘maybe next time’ from the ‘wow, you made these?!’ moments. If you remember nothing else, remember these three things for your next batch of caramel apples.
First, that wax removal is non-negotiable. If you skip the boiling water dip, your caramel has zero chance to bond properly. Don’t try to cheat that step! Second, you absolutely must trust your candy thermometer. Cooking sugar without one is like driving blindfolded. You need that 245°F mark to get the right thickness; otherwise, you’re inviting the Great Caramel Slide of the evening.
And finally, patience during the cooling phase! Don’t rush taking the pot off the heat, and definitely don’t rush setting the finished apples. If your caramel is too hot when you dip, it spreads too thin and cools too fast, making a mess. If you give it that 5 or 10 minutes to just settle down after you turn the burner off, you get that gorgeous, thick, chewy layer every time. Follow those three steps, and you’ve got a foolproof treat ready for any fall party!
Storage & Reheating Instructions for Caramel Apples
Once you’ve made these beautiful caramel apple beauties, keeping them perfect is important, especially if you’re making them ahead for a Halloween bash! They should be stored at room temperature away from heat sources. This keeps the caramel looking its best, nice and firm without turning rock hard in the fridge. If your house is a little warmer than average, storing them in the fridge is fine, but remember to pull them out about 30 minutes before serving so the caramel softens up perfectly for that great bite. This way, your treats stay fantastic until it’s time for your fall apple dessert plans!
Frequently Asked Questions About Caramel Apples
I always get questions whenever I post these beauties online, which totally makes sense because caramel can be moody! Here are the things I hear most often when people are trying to master making homemade caramel apples.
Can I use store-bought caramel instead of making this Caramel Apple Recipe?
You absolutely *can* try it, but be warned: you probably won’t get those perfect, non-sliding results we just worked so hard for. Store-bought caramel sauces are usually designed to be dips, meaning they stay softer, runnier, and just don’t have that high sugar content cooked to 245°F that gives us that signature satisfying *chew*. If you use pre-made caramel, you’ll need to cook it down on the stove for ages to try and thicken it up, and frankly, you might just burn it! For the best experience when making these fall apple dessert ideas, I really push you to make the sauce from scratch.
What is the best way to serve Caramel Apples at a party?
That is such a good question, especially if you have lots of little kids or older folks coming! Keeping the full apple intact is gorgeous, but sometimes biting into that firm caramel can be a little aggressive. If I’m serving a big crowd, I actually cheat a little bit once they are fully set up. I take a sharp knife and slice them into thick wedges or coins—turning them into Caramel Apple Slices Recipe portions!
You just need to make sure the caramel is totally firm first. Slicing them makes them way less messy for guests to handle, and it lets everyone see that gorgeous, thick caramel layer. It’s the perfect solution for big parties!
Nutritional Estimates for Your Homemade Caramel Apples
Now, before you dive into this amazing autumn treat, let’s talk numbers briefly. Because we are using a whole cup of butter and a decent amount of brown sugar to get that spectacularly chewy texture and that perfect, thick coat on your caramel apple, the numbers aren’t exactly spa-weekend light! This is a special occasion dessert, folks, and that’s okay! What matters is that this richness tastes exactly like what it is: pure, homemade fall indulgence.
Keep in mind that these figures are estimates based on the full recipe divided into 6 servings, one whole apple per person. If you end up using extra toppings, those calories will definitely creep up!
- Serving Size: 1 apple
- Calories: 550
- Sugar: 85g
- Fat: 22g
- Protein: 3g
- Carbohydrates: 90g
Just look at the flavor payoff for those numbers! We’re talking real butter and brown sugar doing their thing. Don’t stress about the numbers too much; just enjoy the fact that you made something this incredible completely from scratch. That’s what cooking is all about, right?
Share Your Perfect Caramel Apple Creations
So that’s it! You have the knowledge, you have the temperature secrets, and you have the foolproof method for making incredible, sticky caramel apples that won’t slip, slide, or disappoint. Seriously, when you make these for your next fall event, everyone is going to ask where you bought them! I want to see your masterpieces!
When you nail that perfect, chewy coating, snap a picture! I love seeing what toppings you end up using—did you go classic pecan or try something wild? Tag us on social media so I can celebrate your success with you. That’s why we do this, right? To bridge that gap and share real talk for real good food. If you loved this recipe and it finally ended your years-long battle with runny caramel, please hop over and give this recipe a 5-star rating. It helps other home cooks find this translation tool too! If you have any super specific questions or need a little extra guidance, don’t hesitate to reach out via the contact page.
PrintThe Best Homemade Caramel Apples: Foolproof Recipe for Chewy Caramel

Make perfect, chewy homemade caramel apples where the caramel sticks securely. This recipe translates professional tips into simple steps for a classic fall treat.
- Prep Time: 20 min
- Cook Time: 25 min
- Total Time: 1 hour 45 min
- Yield: 6 apples 1x
- Category: Dessert
- Method: Stovetop Cooking
- Cuisine: American
- Diet: Vegetarian
Ingredients
- 6 large, firm apples (like Granny Smith or Honeycrisp)
- 12 wooden or sturdy lollipop sticks
- 1 cup (2 sticks) unsalted butter
- 2 cups packed light brown sugar
- 1 cup light corn syrup
- 1 (14-ounce) can sweetened condensed milk
- 1 teaspoon pure vanilla extract
- 1/2 teaspoon sea salt
- Optional toppings: chopped pecans, mini chocolate chips, sprinkles
Instructions
- Prepare the apples: Wash apples thoroughly. Remove the wax coating by dipping each apple in boiling water for 5 seconds, then immediately dry them completely with a clean cloth or paper towel. Insert a stick firmly into the core of each apple.
- Prepare the caramel station: Line a baking sheet with parchment paper or a silicone mat. Set up your toppings in shallow bowls nearby.
- Make the caramel: In a heavy-bottomed saucepan, combine the butter, brown sugar, corn syrup, and sweetened condensed milk. Stir constantly over medium heat until the sugar dissolves and the mixture begins to bubble.
- Cook the caramel: Stop stirring once it boils. Insert a candy thermometer. Cook, without stirring, until the mixture reaches 245 degrees Fahrenheit (Firm Ball stage). This usually takes 15 to 20 minutes.
- Finish the caramel: Immediately remove the pan from the heat. Carefully stir in the vanilla extract and salt. Let the caramel cool for 5 to 10 minutes. This cooling step is crucial for thickness.
- Dip the apples: Tilt the pan slightly. Dip each apple into the caramel, rotating to coat evenly. Lift the apple and let excess caramel drip off, scraping the bottom gently against the edge of the pan.
- Add toppings: Immediately roll or sprinkle the coated apple with your desired toppings before the caramel sets.
- Set the apples: Place the coated apples on the prepared baking sheet. Let them cool completely at room temperature for at least 1 hour until the caramel is firm.
Notes
- To ensure caramel sticks, the apples must be completely free of wax and dry. Dip them briefly in boiling water if necessary.
- Do not skip cooling the caramel after removing it from the heat; this prevents the caramel from being too runny when dipping.
- For chocolate drizzle, melt 4 ounces of semi-sweet chocolate chips with 1 teaspoon of coconut oil. Drizzle over the set caramel layer.
Nutrition
- Serving Size: 1 apple
- Calories: 550
- Sugar: 85
- Sodium: 180
- Fat: 22
- Saturated Fat: 14
- Unsaturated Fat: 8
- Trans Fat: 0
- Carbohydrates: 90
- Fiber: 1
- Protein: 3
- Cholesterol: 60