
Listen, the biggest lie the food world sells us is that making amazing chocolate frosting has to involve endless stirring over a double boiler or some super fussy technique. We’re here to translate that professional chef knowledge—the kind that gets things smooth on a busy line—right onto your countertop. Forget the intimidation factor; we’re making a ridiculously Rich and Fluffy Chocolate Buttercream Frosting that’s ready to go in about ten minutes flat. This isn’t some runny glaze; this is the real deal, built on a secret that’s all about how you treat your butter. It’s fast, it’s deeply chocolatey, and frankly, it’s going to ruin you for the canned stuff forever.
- The Kitchen Slang Translation: Why This Rich Chocolate Frosting Works
- Ingredients for the Best Chocolate Buttercream Frosting
- How to Prepare Fluffy Chocolate Frosting: Step-by-Step
- Tips for Success with Homemade Chocolate Icing
- Variations for Your Chocolate Buttercream Frosting
- Serving Suggestions for This Cupcake Frosting Recipe
- Storage and Reheating Instructions for Chocolate Frosting
- Frequently Asked Questions About Chocolate Frosting
- Share Your Rich Chocolate Frosting Creations
The Kitchen Slang Translation: Why This Rich Chocolate Frosting Works
Every chef knows that texture is everything, especially when you’re whipping up a big batch of chocolate frosting. The pros don’t get that ultra-creamy, yet firm enough to pipe, result by accident; they’re masters of aeration. Here’s the translation for you: The absolute secret to getting that fluffy, rich texture we’re aiming for is the initial creaming of the butter. You can’t rush it, even if we promise the whole recipe is fast. You need to beat plain, softened butter until it’s light, almost white, and impossibly creamy. That process forces air into the fat, and that trapped air is what keeps your final buttercream light instead of dense and heavy.
Think of it this way: we are using the butter itself as the primary lift agent, not relying solely on sugar. When you add the cocoa and sugar next, you’re essentially trapping those air bubbles in place while adding the structure. It’s the difference between eating a dense block of fudge and eating a cloud. If you want to see how you can get a jump start on other desserts, check out some great foundational techniques in my garlic aioli guide—it’s all about emulsification and texture!
Quick Frosting Ideas: Time Breakdown
We’re talking about speed here, and this is where it truly shines as one of the best quick frosting ideas out there. You’ll be done scooping this onto your cake in under ten minutes total. The actual mixing time for the butter alone is about two minutes, which buys you plenty of time to sift anything that needs sifting. If speed is your main concern, this is your new go-to for a 5 minute frosting fix. Yes, I said 5 minutes, but I always budget 10 just to scrape the bowl down twice for perfection!
Ingredients for the Best Chocolate Buttercream Frosting
Alright, ingredient check! To nail this chocolate frosting recipe, lay out exactly what you need. We start with one cup of unsalted butter, and it absolutely must be softened—no shortcuts there. Next, grab three-quarters cup of pure, unsweetened cocoa powder, and trust me, sift that sucker! You’ll also need three full cups of powdered sugar, again, sifted, one teaspoon of vanilla extract, a quarter cup of milk or heavy cream depending on your mood, and just a tiny pinch of salt to make the chocolate pop.
Ingredient Notes and Substitutions for Chocolate Frosting
Here’s where we add some insider knowledge to elevate this rich chocolate frosting. If you want that deep, almost black, complex chocolate flavor that you taste in fancy bakeries? Ditch the regular cocoa and go for Dutch-process cocoa powder. It tastes smoother and less acidic. Also, while the recipe calls for milk, swapping that for heavy cream makes a huge difference in the final texture. It gives you a creamier mouthfeel, which is fantastic for topping cakes or piping onto cupcakes.
How to Prepare Fluffy Chocolate Frosting: Step-by-Step
Okay, let’s get this done! This is where you need to trust your mixer and your ears. We aren’t just stirring ingredients; we are aerating them. This whole process for our chocolate frosting should fly by, but those first two steps are non-negotiable if you want fluffiness.
First off, grab that softened butter—should be pliable, not melty—and beat it with your electric mixer on medium speed. I need you to run that mixer for a solid two minutes until it looks lighter in color and creamy. Don’t cheat that time! Next, toss in your sifted cocoa powder. Beat it until you don’t see any dry streaks anywhere; scrape down the bowl right here. If you’re looking for more quick inspiration, check out how I handle quick fruit recipes like my apple crumble—it’s all about efficiency!
Now for the sugar. Add that sifted powdered sugar one cup at a time, keeping the speed low so it doesn’t explode all over your kitchen. Once it’s combined, bump that speed up to medium and beat it a bit more. The real magic happens next: vanilla, milk, and salt go in. Turn the mixer up to medium-high and let it run for three to five minutes. That longer whipping time is what turns thick icing into that glorious, light, fluffy topping worthy of any baker. You can even check out some great fast ideas referenced here if you need a quick fix!
Achieving Silky Texture: Adjusting Your Chocolate Frosting Recipe
So, you’ve whipped it, and maybe it’s hugging the beaters a little too tightly. Don’t panic! This is the troubleshooting part—the translation of “adjust consistency” into real action. If your chocolate frosting seems too thick, you need a tiny bit of moisture. Add your milk, just one teaspoon at a time, mixing well after each addition until it yields nicely without losing its shape. We aren’t making soup here, so be gentle!
If you went the other way—maybe your butter was slightly too warm, or you added too much milk—the fix is easy sugar. Grab that powdered sugar, and add it in one tablespoon increments. Beat it in thoroughly until it thickens back up. This small adjustment is how you guarantee that silky texture you want for spreading or professional piping. It’s all about micro-adjustments at the end to get that perfect spreadability.
Tips for Success with Homemade Chocolate Icing
So, you’ve got your rich, fluffy homemade chocolate icing, but you’re planning a fancier cake or maybe you need to pipe some stars? Here are the real-world tips I picked up working the line that take this from great to show-stopping. The number one mistake people make when moving to piping is starting with butter that’s too warm. If your butter looks greasy or shiny when you start, stop! Your frosting will be soupy and won’t hold those sharp edges.

If you realize the butter got too soft while you were mixing, don’t stress and dump it. Just pop that whole bowl into the fridge for about ten minutes to firm up slightly. Then, give it a quick, one-minute whip again before continuing. It’s a lifesaver! Also, if you want to practice smoothing techniques on a test batch, you can check out my tips on getting perfect results with creamy mashed potatoes—the principle of gentle incorporation is the same.
Variations for Your Chocolate Buttercream Frosting
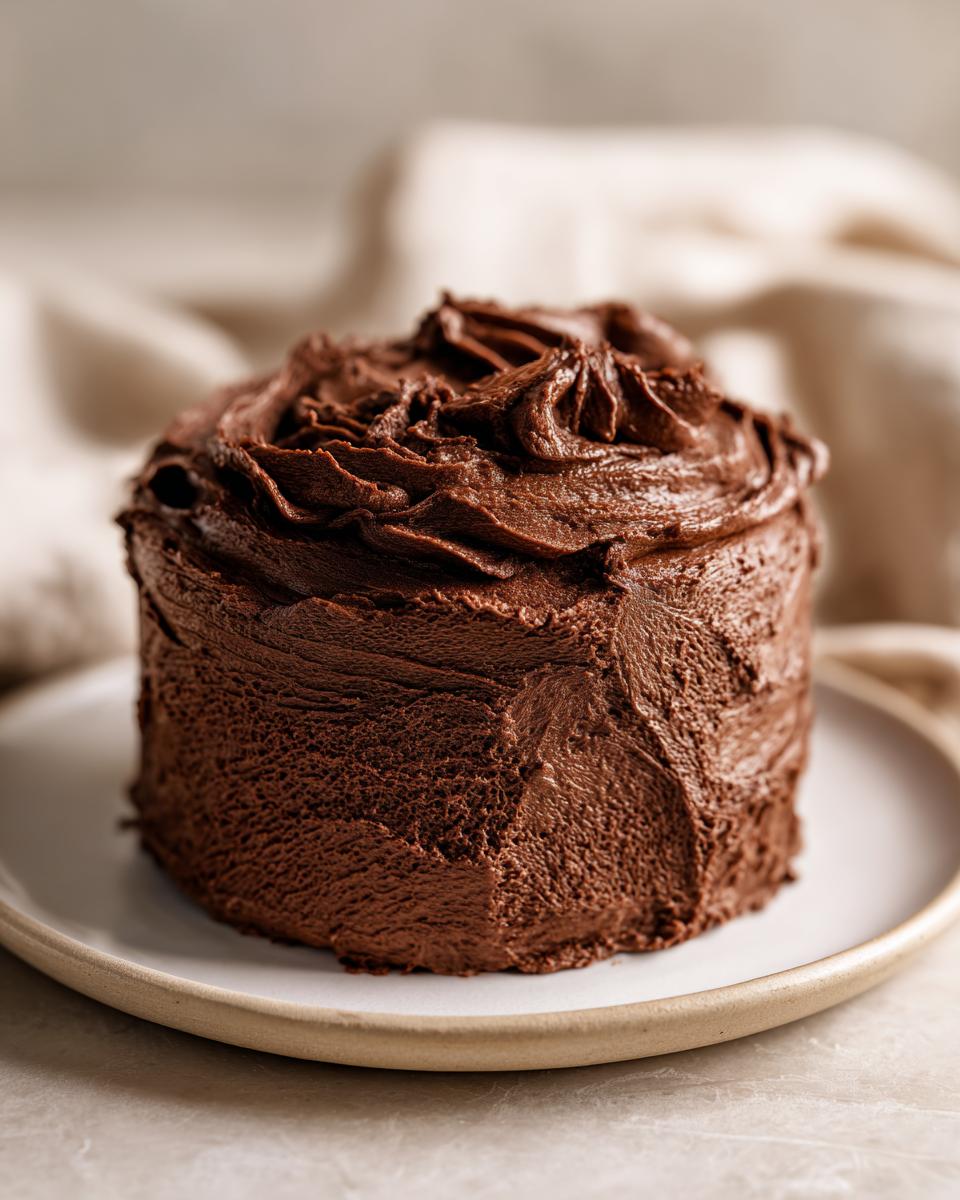
This fluffy base is fantastic, but sometimes you just need something a little more intense, right? This base recipe for chocolate frosting is democratic in that way—it takes suggestions really well. If you’re craving something deep, dark, and decadent, we can easily pivot this into something that borders on a Chocolate Fudge Frosting.
To cross over into that fudge territory, you need to introduce melted, good-quality chocolate. After you beat the butter and cocoa powder together (that’s step two), ditch the powdered sugar for a second. Melt down about four ounces of bittersweet chocolate and let it cool slightly, but keep it liquid. Add that warm chocolate right into the butter/cocoa mixture and beat until it’s thoroughly combined and glossy. Then, you can proceed with the sugar and milk as normal. It adds this amazing density and that deep cocoa backbone you can’t get from powder alone. For a recipe that really doubles down on that fudge intensity, you should definitely peep the insights over at Cambrea Bakes.
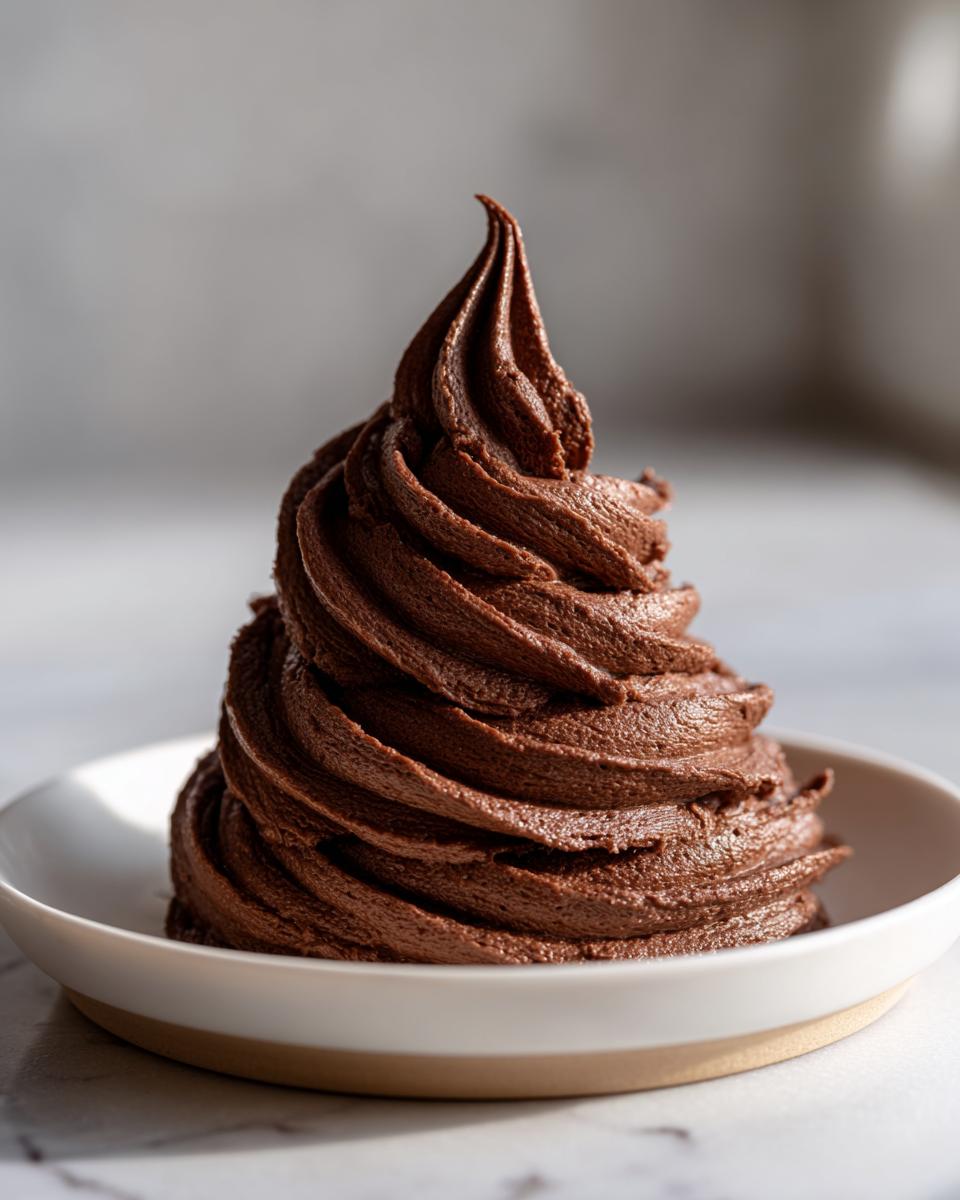
Now, what if you want the exact opposite? Say you want something lighter, airier—maybe for topping lighter pastries or if you just want less sugar overall. That’s where we lean into a more whipped frosting style. Instead of using milk completely, swap it out for cold heavy cream. When you get to the final beating stage (step four), beat it on high speed for a solid 6 to 7 minutes, almost like whipping actual cream. The extra fat in the heavy cream helps it stabilize as it incorporates more air, giving you a texture that’s almost mousse-like. It’s an incredible shift just by changing one ingredient and playing with the time! If you like playing with textures, my recipe for chocolate peppermint cookies also relies on some fun textural play!
Serving Suggestions for This Cupcake Frosting Recipe
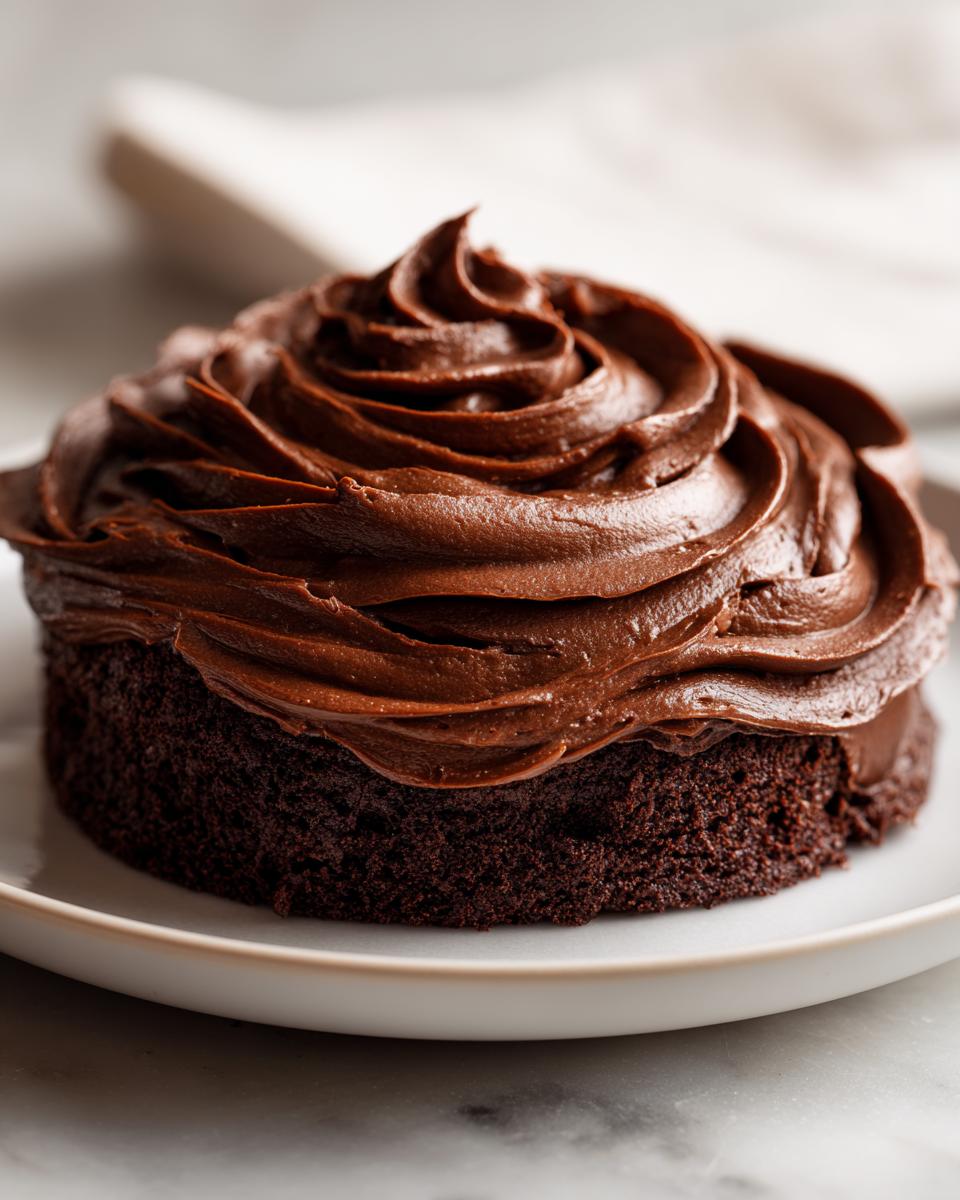
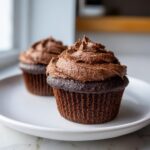
Now that you have the best, fastest, richest bowl of chocolate frosting possible, the question becomes: What are you going to put it on? Honestly, a spoon works, but we’re aiming higher than that! Since this is such an excellent cupcake frosting recipe, it pairs perfectly with anything that needs a deep, moody contrast.
For classic pairings, you cannot go wrong smothering this on a bright vanilla or yellow cake. That simple sweetness of the cake just lets the dark chocolate flavor shine through. But if you’re feeling truly decadent, this frosting is the absolute dream topping for a rich devil’s food cake or even a slightly tart black forest style cake. If you’re making anything pumpkin or spice-flavored—you know, like how I handle my pumpkin spice cupcakes—this dark, creamy topping balances those warm spices beautifully.
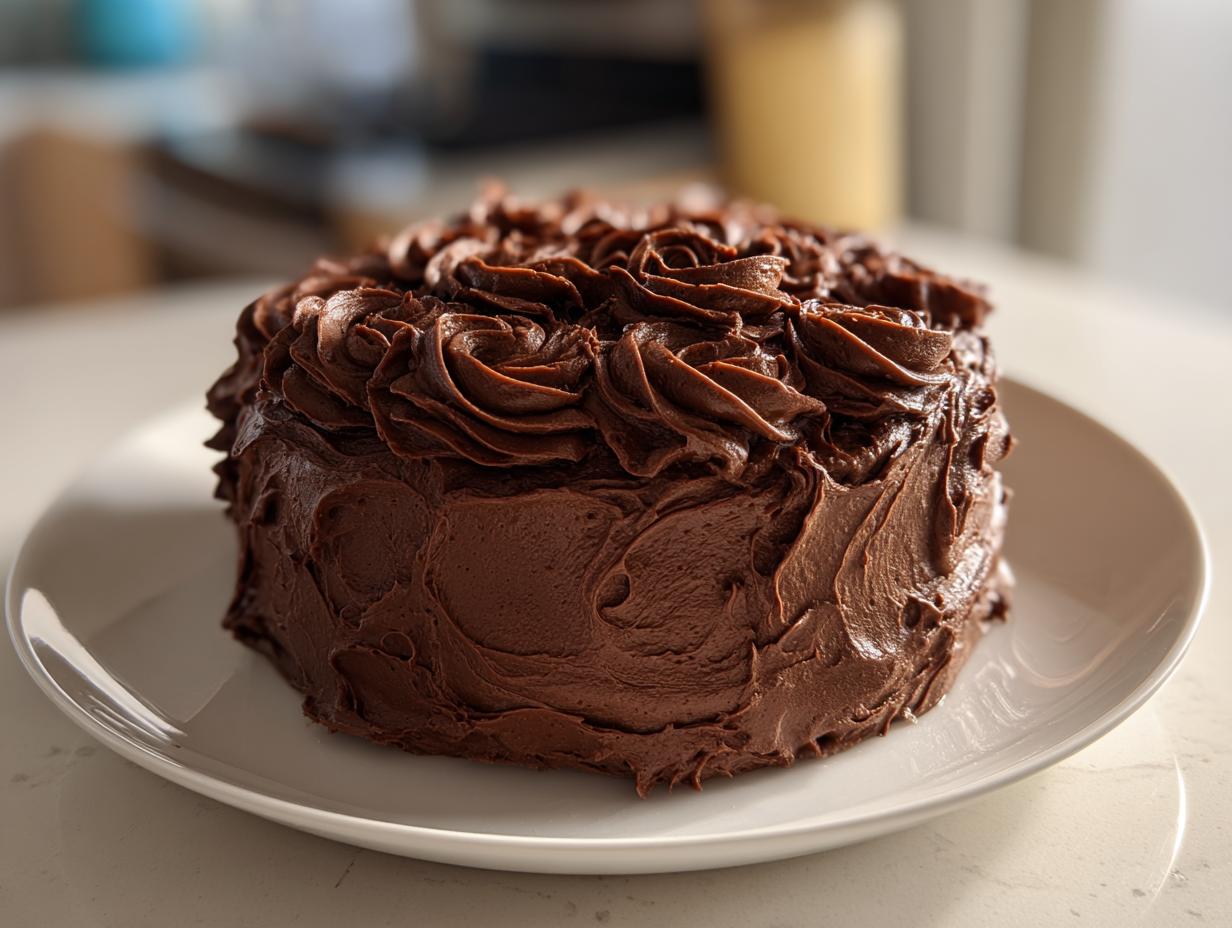
When it comes to cake decorating frosting, this classic buttercream holds shape really well. I find it fantastic for making sharp edges on a layer cake or creating those perfect rosettes on top of cupcakes. If you’re looking for ideas on how to get that old-fashioned, crinkly top that sets up nicely, you might want to check out some traditional methods discussed at Dishes by Daisy. They have great tips for getting that classic crust!
Storage and Reheating Instructions for Chocolate Frosting
So, you ended up with way more of this chocolate frosting than you have cake for, right? Happens to me constantly! The good news is this buttercream stores like a dream, as long as you treat it right. If you’re planning to use the leftovers within a couple of days, keeping it on the counter is often fine. Just make sure you cover it tightly with plastic wrap pressed right against the surface, or put it in a truly airtight container. Exposure to the air is what makes the surface dry out and form a crust—and nobody wants chocolate frosting armor!
But if you need it to last longer or your kitchen is just super hot, the fridge is your friend. Keep it covered in the fridge for up to two weeks. When you pull it out, this is crucial: DO NOT try to use it straight from the cold. It will look hard and clumpy, and you’ll think you ruined it. Not true! Let it sit on the counter for at least two hours to come back up to room temperature. Once it’s soft, you have to re-whip it. Pop it back in the mixer for two minutes on medium speed. This re-incorporates the air we lost in the cold and brings back that fluffy, cloud-like texture that makes this recipe so good.
This entire process works the same way it does for keeping my homemade granola fresh; sealing it properly is half the battle. If you’re freezing it, even better! Wrap the container twice in plastic wrap and then foil; it lasts great for about three months that way. Thaw overnight in the fridge before bringing it to room temp and whipping it again.
Frequently Asked Questions About Chocolate Frosting
I get so many questions about this chocolate frosting recipe because everyone wants that perfect balance—easy enough for a weeknight but decadent enough for a birthday. Let’s translate some of the most common things I hear about achieving the best results.
Can I make this chocolate frosting without powdered sugar?
That is a great question if you’re trying to steer clear of it, but for this specific recipe—the fluffy chocolate frosting we perfected here—powdered sugar is essential. Why? Because it’s already finely ground, which lends itself to that incredibly smooth, silky texture we built by beating the butter for so long. If you swap it for granulated sugar, you’ll end up with a gritty texture unless you spend ages grinding it in a high-powered blender. If you truly need to avoid it, you’re better off looking for a true Chocolate Fudge Frosting recipe that relies on melted chocolate and maybe corn syrup for sweetness rather than trying to force this buttercream structure to change. This is an easy chocolate frosting because the sugar dissolves so nicely!
How do I get a darker, richer chocolate frosting?
This is my favorite question! If you want your cake to look like it was frosted by a high-end bakery—that deep, sophisticated brown—you absolutely need to swap out your regular cocoa powder for Dutch-process cocoa powder. Regular cocoa is acidic, and it gives a slightly lighter, sometimes sharper chocolate flavor. Dutch-process cocoa has been treated to neutralize that acidity, which results in a darker color and a smoother, deeper cocoa flavor profile. It’s the simplest way to achieve a truly rich chocolate frosting without adding more sugar or fat. I cover that technique in detail when talking about my easy chili recipe too; sometimes the best flavor upgrade is just about using the right ingredient form!
Share Your Rich Chocolate Frosting Creations
Okay, that’s it! You’ve mastered the translation. You’ve taken our simple ingredients and, using the right technique, turned them into a bowl of pure, fluffy joy. Now, the best part of this whole Kitchen Slang journey is seeing what you create. When you make this chocolate frosting, I really want to know!
Did you use it on vanilla? Did you manage to pipe little flowers, or did you just smooth it on thick with an offset spatula? Don’t keep that deliciousness to yourself! Head down to the comments section below and give this recipe the rating it deserves—I’m hoping for five glorious stars! Tell me what you paired it with; sharing those details really helps others who are trying to conquer their own frosting fears.
If you snap a picture of your amazing cake or cupcakes, tag me on social media; I live for those success stories! It shows that you’ve officially learned the lingo and are cooking with confidence now. If you’re looking for another super easy, make-ahead win, you should definitely check out my recipe for chocolate overnight oats. See you in the comments!
PrintRich and Fluffy Chocolate Buttercream Frosting
This recipe gives you a rich, smooth, and fluffy chocolate buttercream frosting perfect for topping your cakes and cupcakes. It is quick to make and uses simple ingredients for a classic taste.
- Prep Time: 10 min
- Cook Time: 0 min
- Total Time: 10 min
- Yield: About 3 cups 1x
- Category: Dessert Topping
- Method: Mixing
- Cuisine: American
- Diet: Vegetarian
Ingredients
- 1 cup unsalted butter, softened
- 3/4 cup unsweetened cocoa powder
- 3 cups powdered sugar, sifted
- 1 teaspoon vanilla extract
- 1/4 cup milk (or heavy cream for richer texture)
- 1 pinch salt
Instructions
- Beat the softened butter in a large bowl with an electric mixer until it is light and creamy. This usually takes about 2 minutes.
- Add the cocoa powder to the butter mixture. Beat on medium speed until fully combined and smooth. Scrape down the sides of the bowl as needed.
- Gradually add the sifted powdered sugar, one cup at a time, mixing on low speed until incorporated. Increase the speed to medium and beat until combined.
- Add the vanilla extract and milk (or cream). Beat on medium-high speed for 3 to 5 minutes until the frosting is light, fluffy, and smooth. Add the pinch of salt.
- If the frosting is too thick, add milk, one teaspoon at a time. If it is too thin, add more powdered sugar, one tablespoon at a time, until you reach your desired spreading consistency.
- Use immediately to frost your cake or cupcakes.
Notes
- For a darker, richer chocolate flavor, use Dutch-process cocoa powder.
- If your butter is too warm, the frosting will be too soft to hold its shape for piping. Chill the frosting for 10 minutes if this happens.
- This recipe makes enough frosting to cover one 9-inch layer cake or about 18 standard cupcakes.
Nutrition
- Serving Size: 1/4 cup
- Calories: 320
- Sugar: 35
- Sodium: 45
- Fat: 21
- Saturated Fat: 13
- Unsaturated Fat: 8
- Trans Fat: 0
- Carbohydrates: 36
- Fiber: 1
- Protein: 2
- Cholesterol: 55