
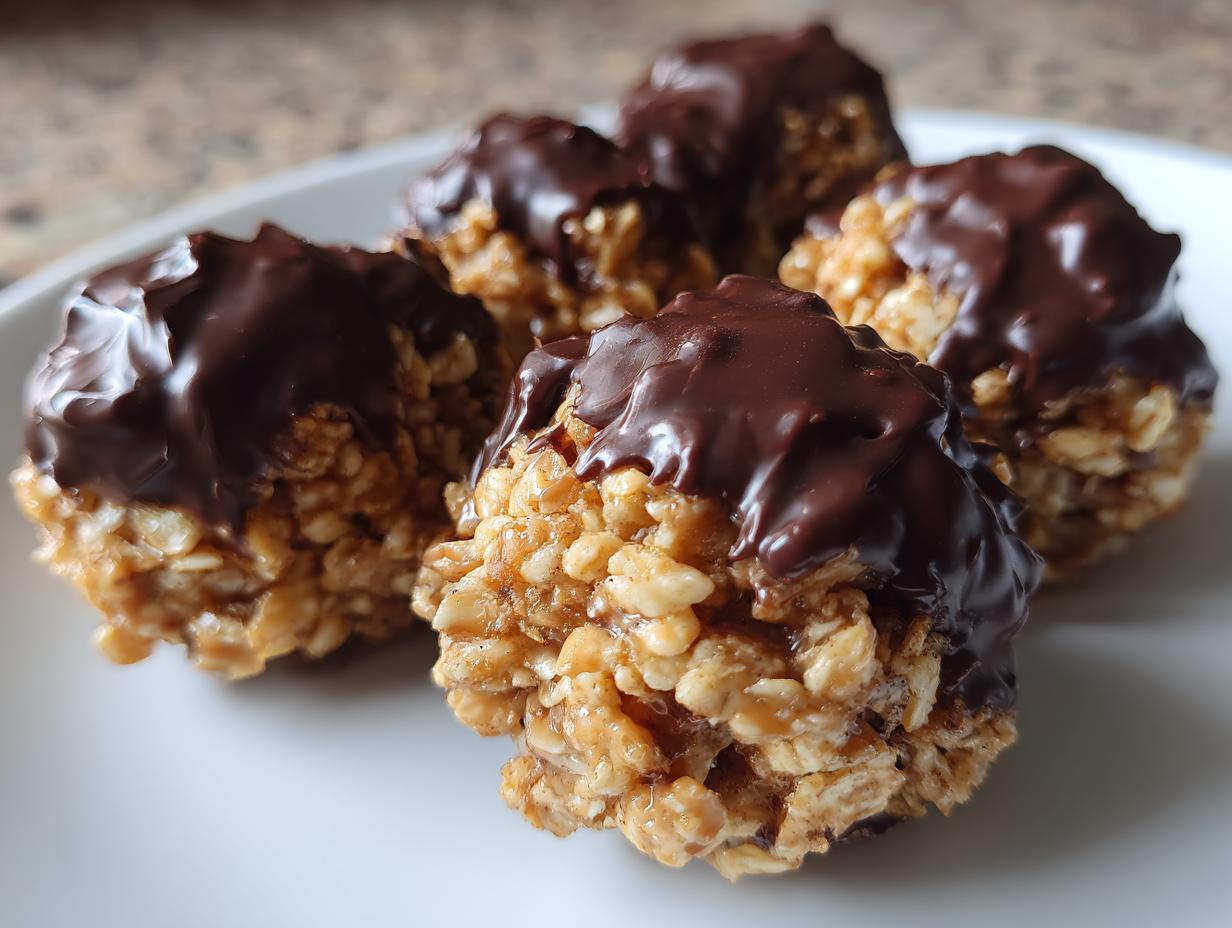
When you need that sweet, crunchy hit right now, professionally speaking, you need a shortcut that doesn’t taste like one. You know that moment: the craving hits, and you need something ready before you lose motivation. Friends, I’m handing you the ultimate translator for your sweet tooth: these chocolate rice krispie balls. Forget turning on the oven; we’re talking pure, glorious, no-bake magic here. This recipe is pure Kitchen Slang—it takes the wisdom of the busy line cook who needs speed and gives it to you, the home cook, so you can deliver extraordinary results with zero fuss. Trust me, this recipe is the lingo you need to master the quick snack game.
- Why This Is the Best Recipe for Chocolate Rice Krispie Balls
- What You Need for Perfect Chocolate Rice Krispie Balls
- Mastering the No Bake Chocolate Rice Krispie Balls Instructions
- Tips for Perfect Chocolate Rice Krispie Balls Every Time
- Storage and Making Ahead for Party Treat Recipes No Oven
- Variations on the Peanut Butter Rice Krispie Balls
- Frequently Asked Questions About Chocolate Rice Krispie Balls
- Nutritional Estimate for Homemade Chocolate Candy
- Share Your Kitchen Slang Success
Why This Is the Best Recipe for Chocolate Rice Krispie Balls
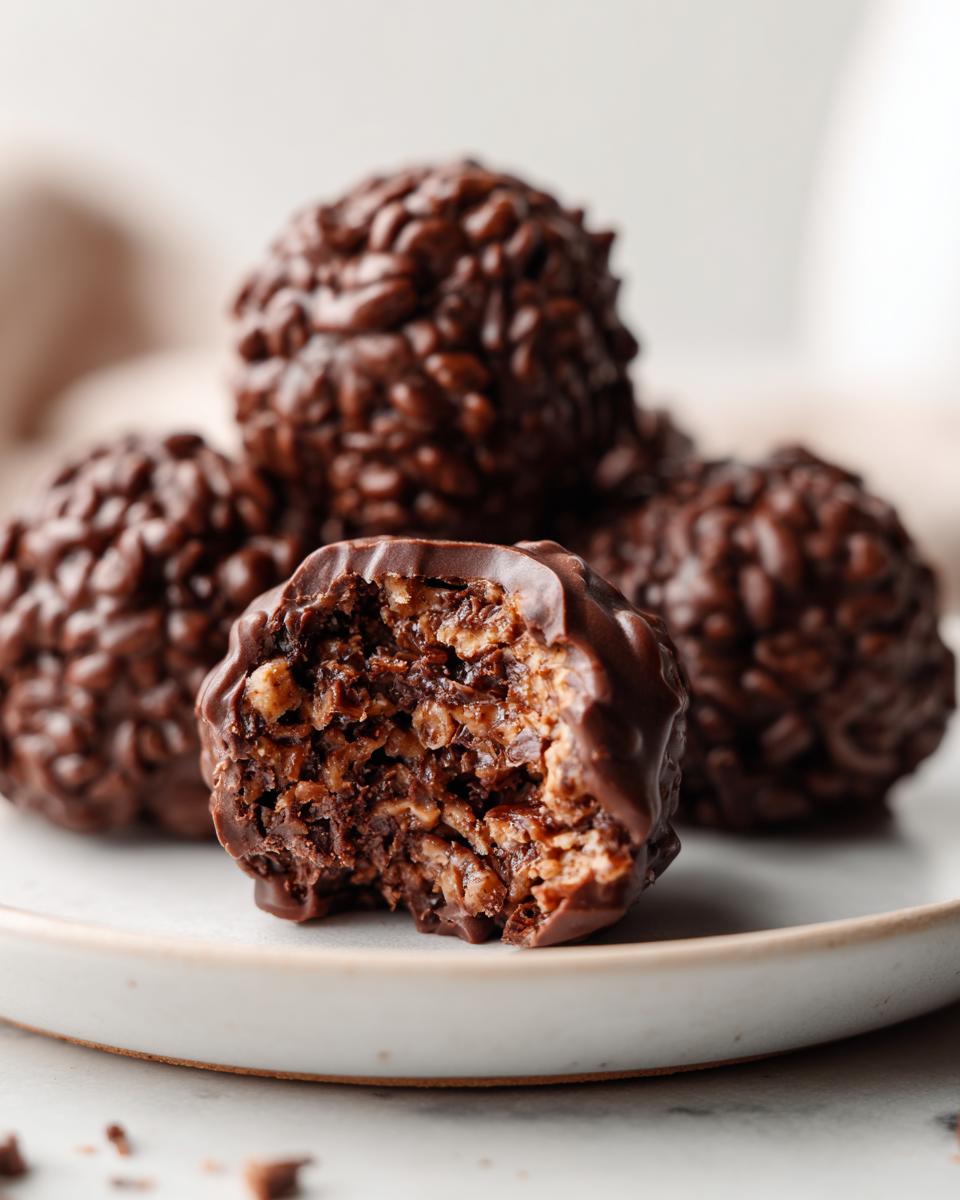
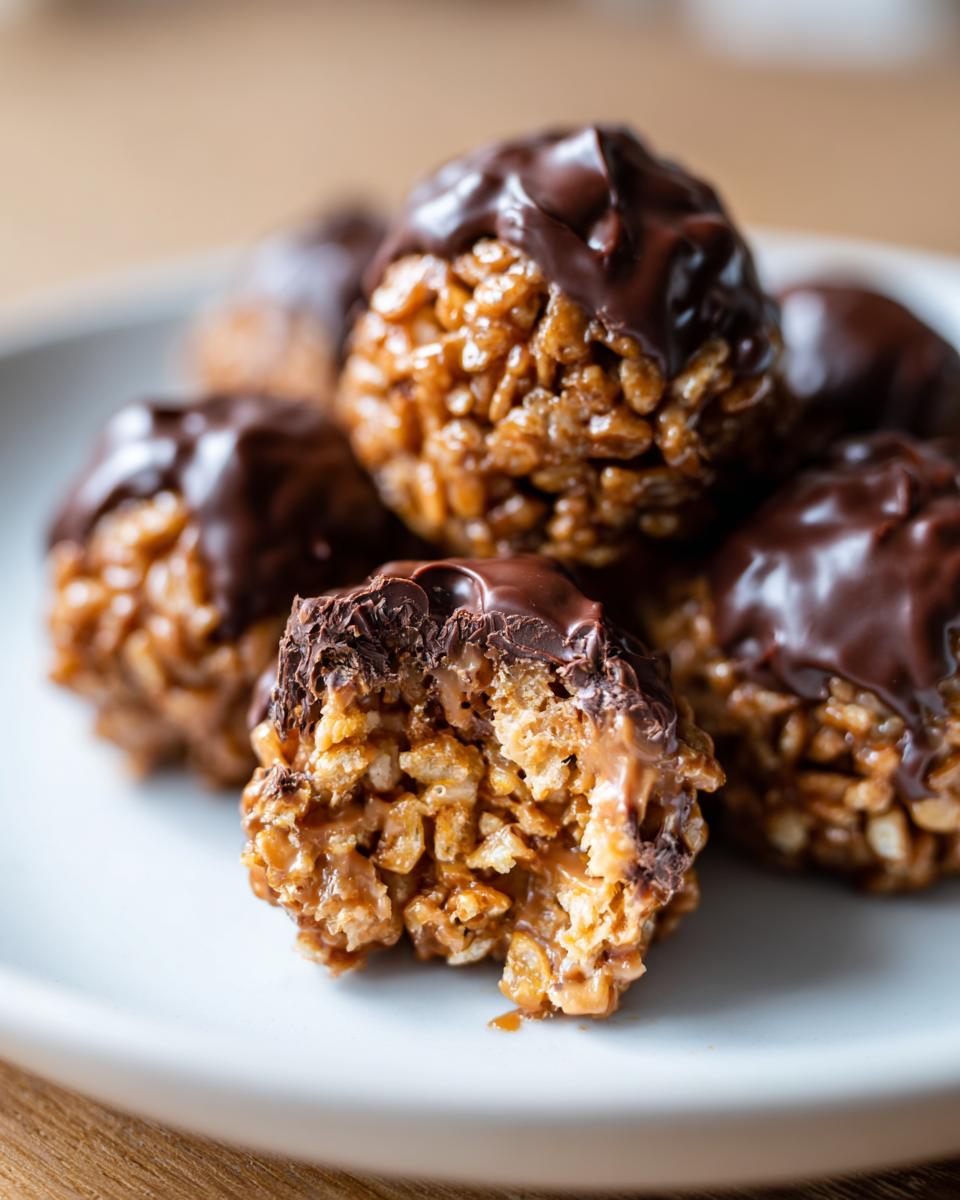
I’m huge on efficiency, and this recipe earns its spot because it respects your time. We aren’t messing around with gelatin or tricky setting agents. The secret sauce to these chocolate rice krispie balls—and what separates them from sad, crumbly versions—is the peanut butter inclusion right in the base. That peanut butter mixed with powdered sugar isn’t just flavor; it’s the structure binder that professional kitchens rely on for speed when making quick crispy cereal snacks.
Because they are no bake, they are the absolute champions of kid friendly desserts easy. You mix, chill, dip, and done. We get that satisfying crunch and richness in under 30 minutes total, which is why you should bookmark this. If you need something excellent for a last-minute party tray, you grab this recipe. You can check out my full breakdown on the science of adding peanut butter to cereal treats over here: Peanut Butter Rice Krispie Treats.
What You Need for Perfect Chocolate Rice Krispie Balls
Alright, let’s talk supplies. When you’re going no bake, every single component has to pull its weight. You only need a handful of things, but the quality and type matter for getting that perfect structure that won’t crumble when people pick it up. These are the exact ingredients I use to get that ideal crunch and density—no cheating allowed!
The Foundation: Cereal and Binder Mix
- 6 cups crispy rice cereal
- 1 cup creamy peanut butter
- 1 cup powdered sugar
- 1 teaspoon vanilla extract
- 1/2 cup butter or margarine
See? Simple is best. That peanut butter and powdered sugar combo is doing heavy lifting here, locking everything in place before we even think about chocolate.
For the Smooth Chocolate Rice Krispie Balls Coating
- 12 ounces semi-sweet chocolate chips
- 1 tablespoon vegetable oil (optional, but seriously recommended for that pro finish)
That oil might seem weird, but it thins out the chocolate when it melts, giving you a super smooth coat instead of thick, clumpy fudge. Trust me on this one!
Mastering the No Bake Chocolate Rice Krispie Balls Instructions
Okay, this is where the real magic happens, the part where we turn a bowl of loose stuff into perfectly shaped chocolate rice krispie balls in minutes. Since we aren’t baking, our structure stage is critical. We are moving fast, so have your parchment paper ready to go before you start mixing! If you’ve got a helper—maybe a kid bored on a summer afternoon—this is the perfect spot for them to jump in and start rolling later. For more quick, reliable treats that use similar binding wisdom, check out my easy peanut butter cookies recipe.
Mixing the Crispy Cereal Base
First things first, dump everything into a big bowl: cereal, peanut butter, powdered sugar, and vanilla. You need to mix this until it looks absolutely uniform. I mean it—no streaks of white sugar or pockets of dry cereal allowed. We want everything evenly coated before we introduce high-fat binders. Once it looks homogenous, you’re ready for the melted butter. Pour that in and mix it up until the whole mixture starts holding hands and wants to stick together. That’s your signal that the base is ready for shaping.
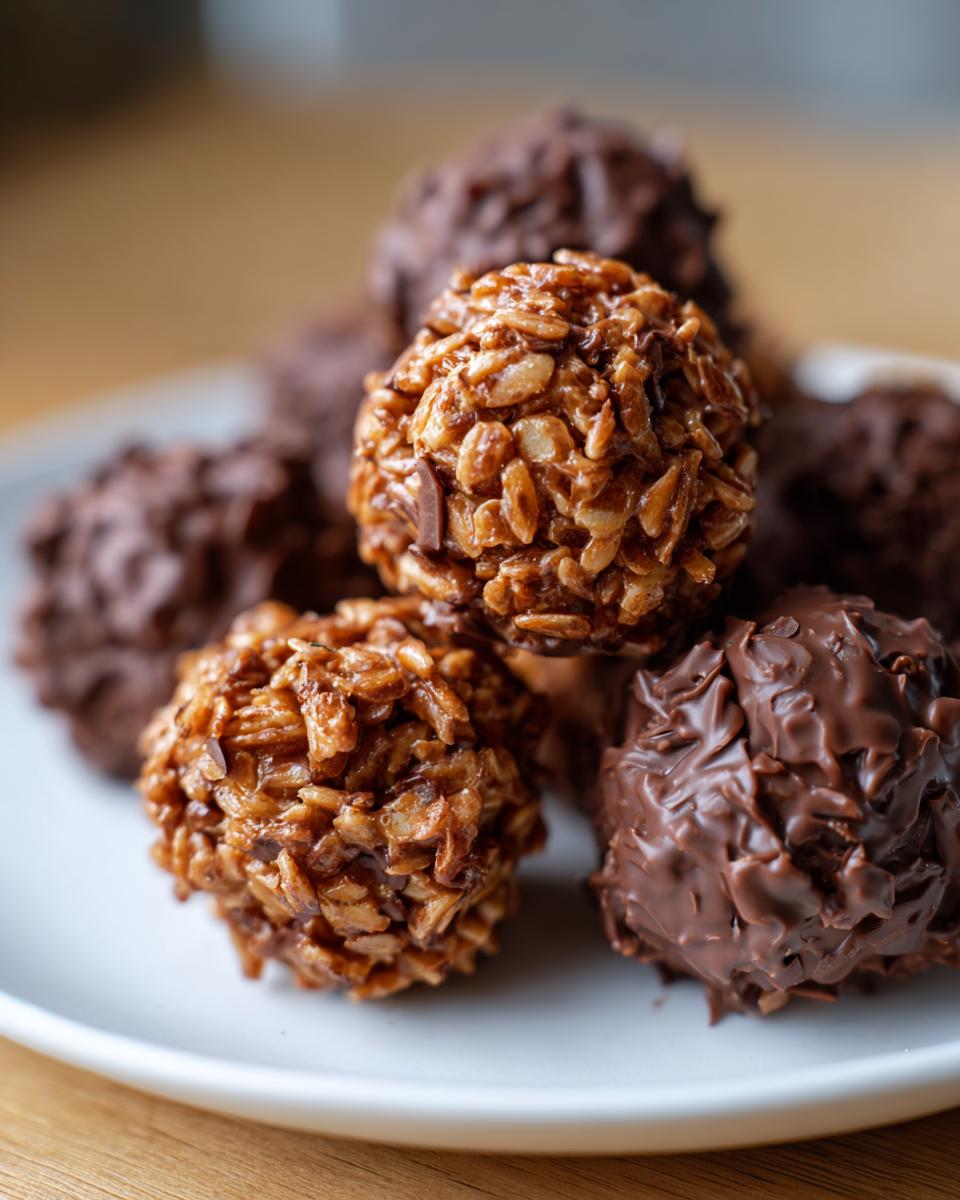
Forming and Chilling the Chocolate Rice Krispie Balls
Now, take the mixture and roll it into balls about one inch across. You should get about 24 of these beauties. Pop them onto that lined sheet—this is important for the next part. They need 15 minutes in the fridge. Don’t skip this chill time! If the balls aren’t firm when they hit the hot chocolate, they’ll try to fall apart during the dip phase. Seriously, chill time is non-negotiable for structural integrity in these quick dessert for gatherings.
Achieving a Perfect Chocolate Coating
While those are chilling, melt your chocolate chips and that optional tablespoon of oil. We’re nuking this in 30-second bursts, stirring vigorously between each round until it’s liquid silk. Once those chilled balls come out, dip them in one by one. Here’s the professional translator tip: use a toothpick inserted into the bottom of the ball. Dip it fast, lift it out, and gently tap the toothpick on the edge of the bowl to knock off the excess goo before you set them back onto the parchment paper. Slide the ball off the toothpick, and if you need to, smooth the little hole with your finger. This technique keeps things tidy, an approach you’ll see echoed in other great dessert tips, like those fantastic creations over at Krispie Chocolate Peanut Butter Balls. After dipping, back into the fridge for about 30 minutes until that chocolate coating sets hard.
Tips for Perfect Chocolate Rice Krispie Balls Every Time
Listen, making chocolate rice krispie balls should not be stressful. I get calls all the time about chocolate seizing up or the base being too sticky to roll. These are beginner mistakes, and we don’t make beginner mistakes here at Kitchen Slang! We focus on the little technical translation points that professionals use to make sure these end up as the best rice krispie ball recipe you’ve ever tried. Follow these small adjustments for flawless results every time you make these simple chocolate snacks.
Controlling the Chocolate Dip Texture
Let’s talk oil again. That tablespoon of vegetable oil is non-negotiable if you want a coat that looks glossy, not dull and thick. It lowers the viscosity of the melted chocolate chips. When you dip those *ice-cold* balls we chilled earlier into the warm, silky chocolate, the snap is perfect. If your balls are room temperature, the chocolate melts them instantly, and you end up with mushy puddles instead of coated spheres.
Flavor Tweaks for Your Chocolate Rice Krispie Balls
While I usually call for semi-sweet because it balances the sweetness of the peanut butter filling perfectly, don’t be afraid to switch it up. If you want something richer—maybe for an adult gathering—swap the semi-sweet chips for a bag of good quality dark chocolate chips. You still get that fantastic crunch, but the bitterness of the dark chocolate actually cuts through the richness of the peanut butter center. For more inspiration on easy chocolate fixes, check out my advice on easy chocolate balls recipe.
If you aren’t a fan of peanut butter, you can absolutely find success with alternatives like almond butter or even sunflower seed butter, though be aware that the structure might change slightly, as noted by chefs over at Muncher Mania.
Storage and Making Ahead for Party Treat Recipes No Oven
Because these are holiday no bake goodies, they are inherently built for advance prep, which I love! You can absolutely make these a day or two ahead of time for your party or gathering. Once the chocolate has fully set—give it that full 30 minutes in the fridge post-dip—you just transfer them to a single layer in an airtight container.
Keep them cool in the fridge right up until you serve them. If you stack them too high or they get warm, that beautiful chocolate shell might get a little soft and stick to its neighbor. For the best snap, pull them out of the fridge about 15 minutes before you serve them. If you are planning way ahead, these are fantastic candidates for future snacking, just like my no-bake pumpkin cheesecake.
Variations on the Peanut Butter Rice Krispie Balls
So you’ve mastered the base recipe, and now you want to start putting your own lingo into the mix? Awesome! Having a reliable base means you can play around without worrying about complete structural failure. Since these are already party treat recipes no oven champions, we want variations that don’t require any extra cooking time.
First, for absolute visual impact, skip the plain chocolate dip sometimes and add sprinkles immediately after dipping. We’re talking colorful jimmies or flakes—that way, they stick to the wet chocolate right before it sets. It’s pure showmanship for minimal effort.
Here’s another pro translator move: for the base mixture itself, try swapping out half of your powdered sugar for unsweetened cocoa powder. This gives you a richer, almost Fudge-like center before you even dip it. Perfect if you want something closer to a chocolate truffle! And remember, if you want to try different, non-PB binders, you can see how folks swap ingredients over at Vegan in the Freezer, though always start small when subbing major binders like peanut butter.
If you love the complexity of maple combined with chocolate, you might also want to try my recipe for easy creamy homemade maple fudge for contrast on your next snack tray!
Frequently Asked Questions About Chocolate Rice Krispie Balls
Whenever I share a recipe this quick, people always have great follow-up questions about why things worked the way they did. That’s the secret language of cooking we talked about—understanding the ‘why’ matters! Here are the most common things people ask me about making these crunchy sweet bites perfect every single time. If you want to see the structural secrets behind soft cereal treats, take a look at my notes on making them marshmallowy here: rice krispie treats soft marshmallow bars.
Can I make these chocolate rice krispie balls without peanut butter?
You sure can, but you need to know you’re swapping out a major structural component. The peanut butter and powdered sugar keep things packed tight, which is crucial for rolling. If you nix the PB, you’ll need to replace that binder volume. I suggest either using a nut-free alternative like sunflower seed butter, or skipping the butter/PB mix entirely and treating this more like a classic Rice Krispie recipe, using two extra cups of melted marshmallow as your main glue. It won’t be quite as dense, but it avoids the nut allergy risk!
How long do these crunchy sweet bites take to set completely?
That’s the best part! If you hustle, these are truly a 15 minute dessert recipe for the active work, plus chilling time. You need 15 minutes for the base balls to firm up in the fridge, and then another 30 minutes for the chocolate shell to set once dipped. Realistically, you’re looking at about 45 minutes door-to-door before they are ready to eat, but the actual hands-on time is minimal. So fast!
My chocolate coating is cracking. What did I miss?
Ugh, cracked chocolate is the worst! That usually happens for one of two reasons. First, your base balls were too cold when they hit the melted chocolate; the temperature shock makes the chocolate brittle and flaky. Let them sit on the counter for five minutes before dipping. Second, the chocolate was too thick. If you didn’t add that optional vegetable oil, the coating might be too firm when it cools. A thinner coating doesn’t shrink as much when it hardens, meaning less cracking.
Nutritional Estimate for Homemade Chocolate Candy
Okay, now we’re getting down to the details, and this is where I like to be super transparent—that’s the Kitchen Slang way! Since we are loading these up with peanut butter, powdered sugar, and chocolate coating, these are definitely rich treats, meant for savoring, not snacking away like they are celery sticks. What you see here in the chart is my best estimate based on the recipe measurements.
Remember what I always say: nutrition labels are guides, not gospel, especially when you’re making something at home! We used standard creamy peanut butter and semi-sweet chips to calculate these figures, so if you use almond butter or high-sugar dark chocolate, things will shift a bit. Every batch is slightly different because no two spoonfuls of ingredients are exactly the same, right?
- Serving Size: 1 ball
- Calories: 180
- Sugar: 15
- Sodium: 95
- Fat: 10
- Saturated Fat: 5
- Unsaturated Fat: 5
- Trans Fat: 0
- Carbohydrates: 22
- Fiber: 1
- Protein: 4
- Cholesterol: 10
So, you get a nice hit of energy, a decent amount of protein for a candy, and a satisfying sweetness. It’s a fair trade when you consider how quickly these amazing homemade chocolate candy bites disappear from the platter!
Share Your Kitchen Slang Success
Alright, team—we did it. We took a potentially intimidating, multi-step snack and translated it into an effortless, no-bake success story. These chocolate rice krispie balls are officially in your arsenal now, ready for the next potluck, movie night, or sudden sugar emergency. That’s how we break down the barriers in the kitchen; we make the good stuff easy!
Now, I’ve given you all the pro lingo and the ratios you need to nail that perfect texture, but the final measure of success is you. Did they hold their shape when you dipped them? Did the peanut butter flavor shine through? Did you have to hide them so the kids didn’t devour the whole batch in one sitting? I honestly want to know!
Leave a comment below and tell me how you rated these simple chocolate snacks. If you made a flavor tweak I didn’t mention, drop that secret in the mix for the next person reading. And if you’re loving this easy-does-it philosophy, make sure you check out my whole mission over at Kitchen Slang. Happy rolling, and talk soon!
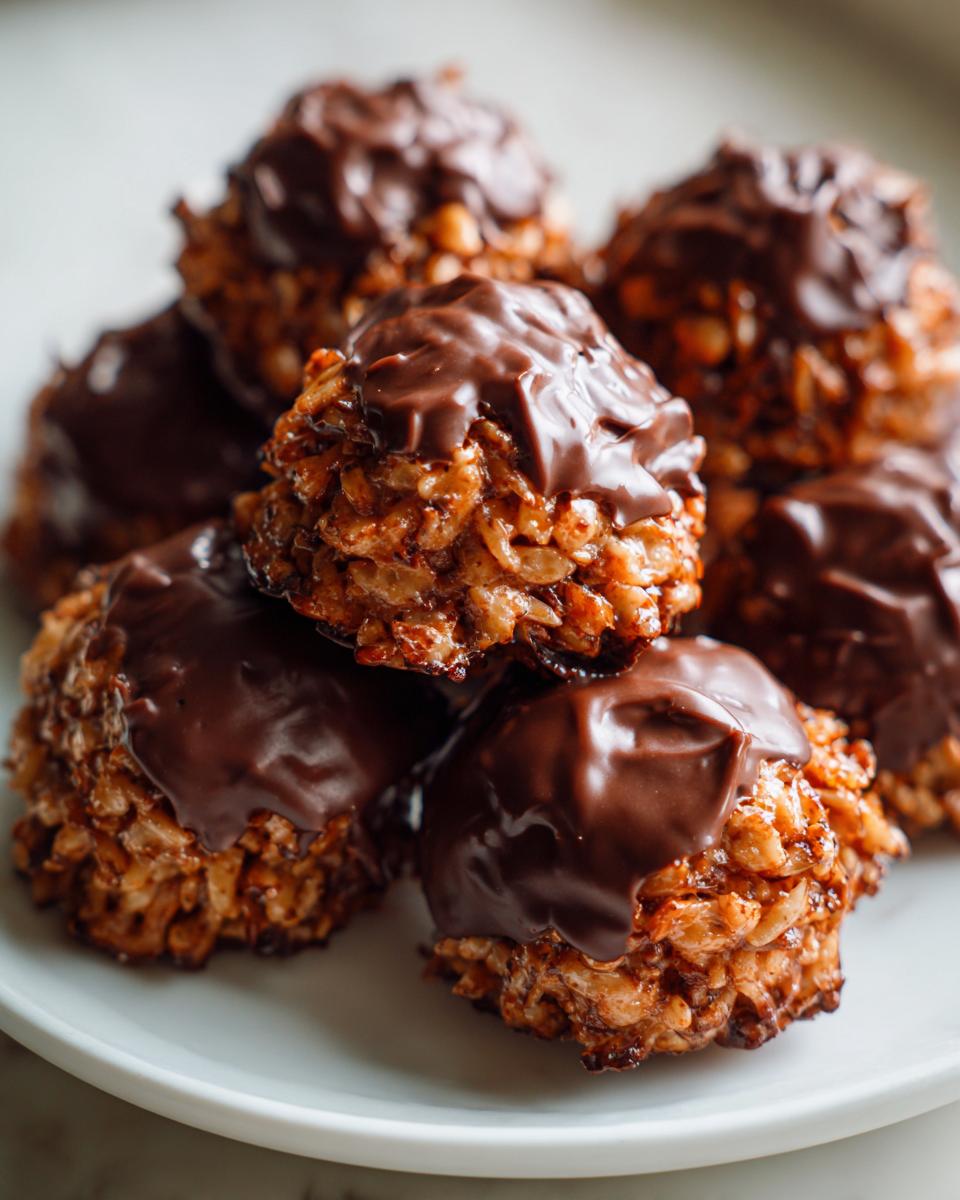
PrintNo-Bake Chocolate Peanut Butter Rice Krispie Balls

Make these easy, no-bake chocolate peanut butter Rice Krispie balls. This recipe uses simple ingredients for a quick, crunchy, satisfying snack perfect for parties or everyday treats.
- Prep Time: 20 min
- Cook Time: 5 min
- Total Time: 25 min
- Yield: About 24 balls 1x
- Category: Dessert
- Method: No Bake
- Cuisine: American
- Diet: Vegetarian
Ingredients
- 6 cups crispy rice cereal
- 1 cup creamy peanut butter
- 1 cup powdered sugar
- 1 teaspoon vanilla extract
- 1/2 cup butter or margarine
- 12 ounces semi-sweet chocolate chips
- 1 tablespoon vegetable oil (optional, for smoother coating)
Instructions
- Combine the crispy rice cereal, peanut butter, powdered sugar, and vanilla extract in a large bowl. Mix until everything is evenly incorporated.
- Melt the butter in a medium saucepan over low heat. Once melted, remove from heat.
- Pour the melted butter over the cereal mixture. Stir well until the mixture holds together.
- Roll the mixture into small, uniform balls, about 1 inch in diameter. Place them on a baking sheet lined with parchment paper.
- Chill the balls in the refrigerator for at least 15 minutes to firm up.
- In a microwave-safe bowl, combine the chocolate chips and vegetable oil (if using). Microwave in 30-second intervals, stirring well after each interval, until the chocolate is smooth and fully melted.
- Dip each chilled ball into the melted chocolate, ensuring it is fully coated. Return the coated balls to the parchment-lined sheet.
- Refrigerate the chocolate Rice Krispie balls for about 30 minutes, or until the chocolate coating is set.
Notes
- For a cleaner dip, use a toothpick to hold the ball while coating, then gently tap off excess chocolate before placing it back on the sheet.
- If you want a richer chocolate flavor, use dark chocolate chips instead of semi-sweet.
- These are excellent for cookie trays and holiday no bake goodies.
Nutrition
- Serving Size: 1 ball
- Calories: 180
- Sugar: 15
- Sodium: 95
- Fat: 10
- Saturated Fat: 5
- Unsaturated Fat: 5
- Trans Fat: 0
- Carbohydrates: 22
- Fiber: 1
- Protein: 4
- Cholesterol: 10