
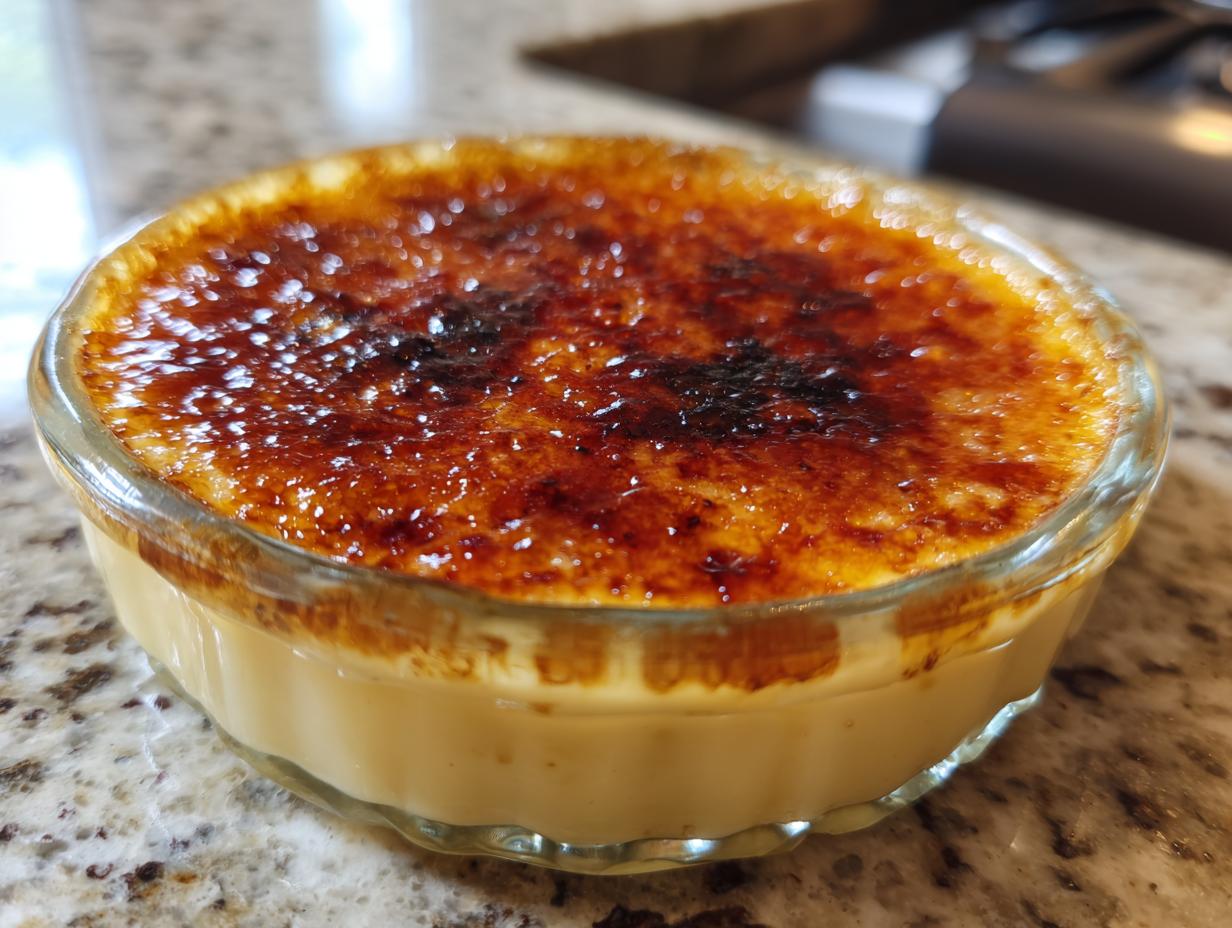
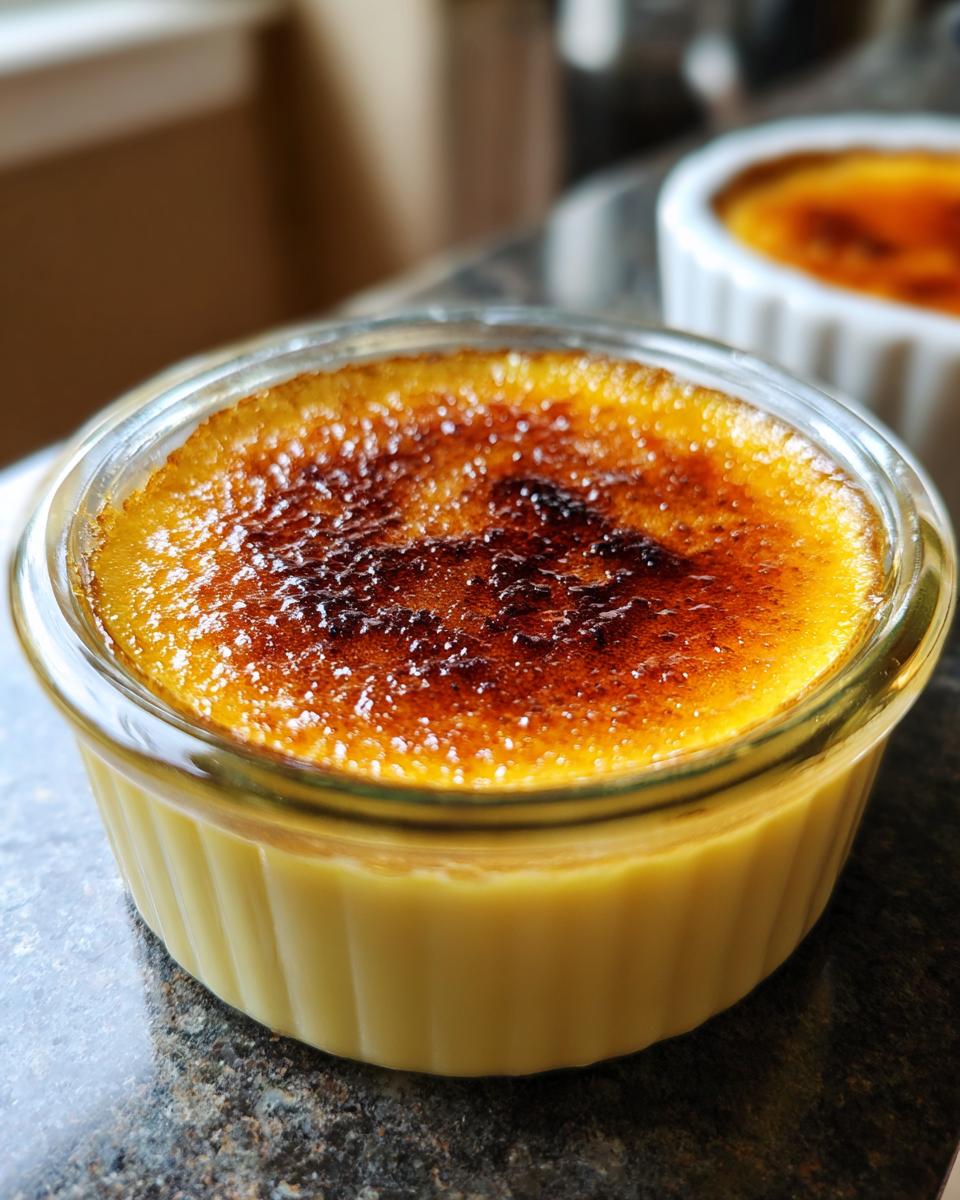
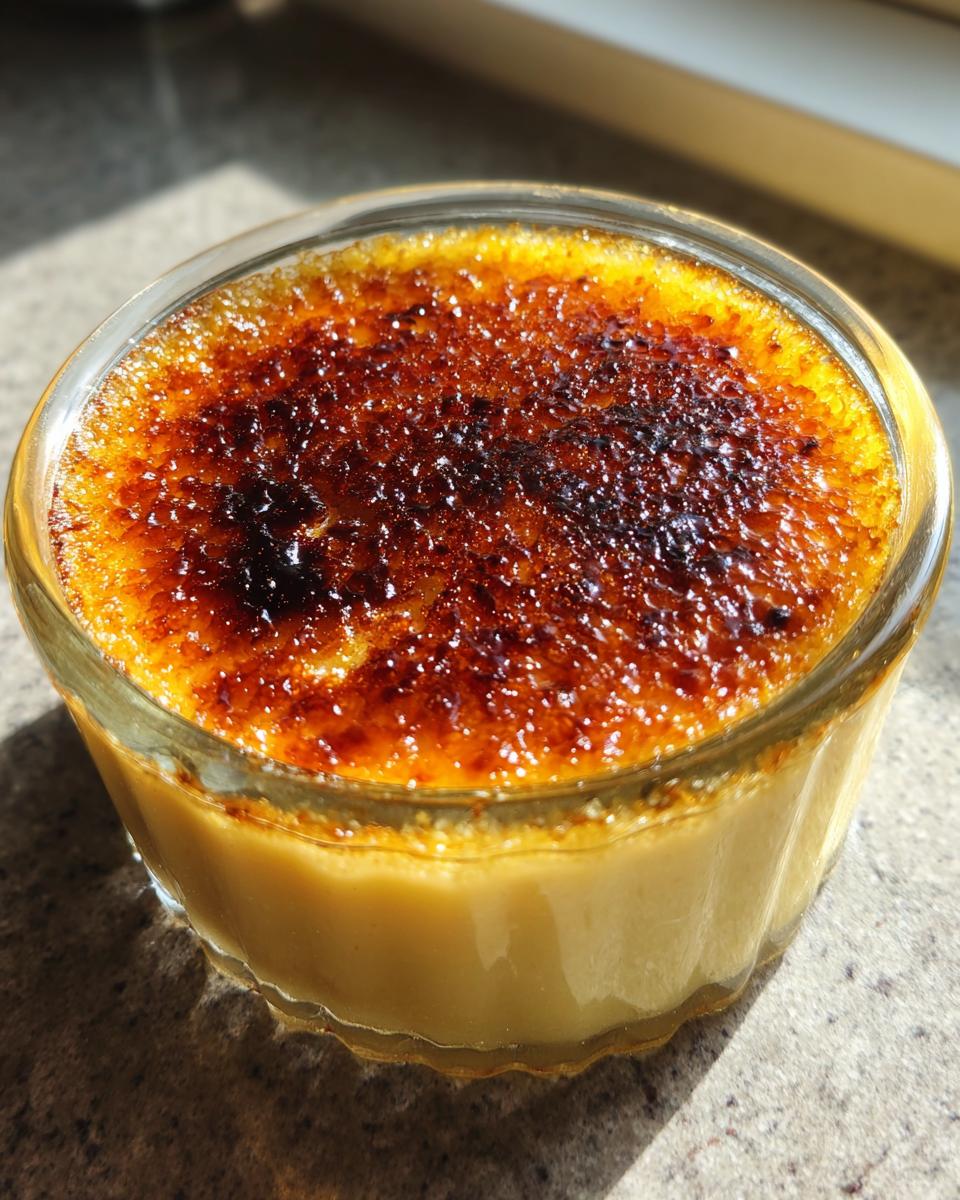
There’s just something about that satisfying *crack* of a spoon through a glassy, amber sugar crust, followed by the ultra-creamy vanilla custard underneath. Crème brûlée sounds so fancy, right? Like something you’d only get at a restaurant. But trust me, making that magical French dessert at home is totally doable! I remember my first attempt at crème brûlée – it felt like performing surgery in the kitchen. But after a few tries, I figured out the little secrets to getting that perfect silky custard and that gorgeous, torched top. This recipe is my tried-and-true guide to making a restaurant-quality crème brûlée that will seriously impress anyone (or just make your own Tuesday night feel extra special!).
- Why You'll Love This Classic Crème Brûlée
- Ingredients for Your Perfect Crème Brûlée
- Essential Equipment for Making Crème Brûlée
- How to Make Crème Brûlée: Step-by-Step Instructions
- Tips for Crème Brûlée Success
- Serving and Storing Your Crème Brûlée
- Frequently Asked Questions about Crème Brûlée
- Nutritional Information for Classic Crème Brûlée
- Share Your Crème Brûlée Creations!
Why You’ll Love This Classic Crème Brûlée
Seriously, why wouldn’t you love this recipe? Here’s the lowdown:
- It’s Easier Than You Think: Forget intimidating fancy French desserts. This recipe breaks down crème brûlée into simple steps that anyone can follow.
- Restaurant-Quality Results at Home: Ditch the expensive dessert. You’ll get that perfectly smooth, creamy custard and that gorgeous, glassy caramel crust every time.
- That Satisfying Crack! That moment when your spoon breaks through the torched sugar? Pure dessert bliss. It’s ridiculously satisfying.
- Simple, Wholesome Ingredients: No weird stuff here. Just cream, milk, eggs, sugar, and vanilla. Basics done right!
- Impress Your Guests (or Just Yourself!): It looks and tastes incredibly sophisticated, making it perfect for dinner parties or when you just need a serious treat.
Ingredients for Your Perfect Crème Brûlée
Okay, here’s what you’ll need to whip up this glorious dessert. It’s all about good, simple stuff!
- 4 cups heavy cream
- 1 cup whole milk
- 8 large egg yolks (save those whites for meringues or an omelet later!)
- 3/4 cup granulated sugar, plus more for the topping
- 2 teaspoons pure vanilla extract (use the good stuff, it makes a difference!)
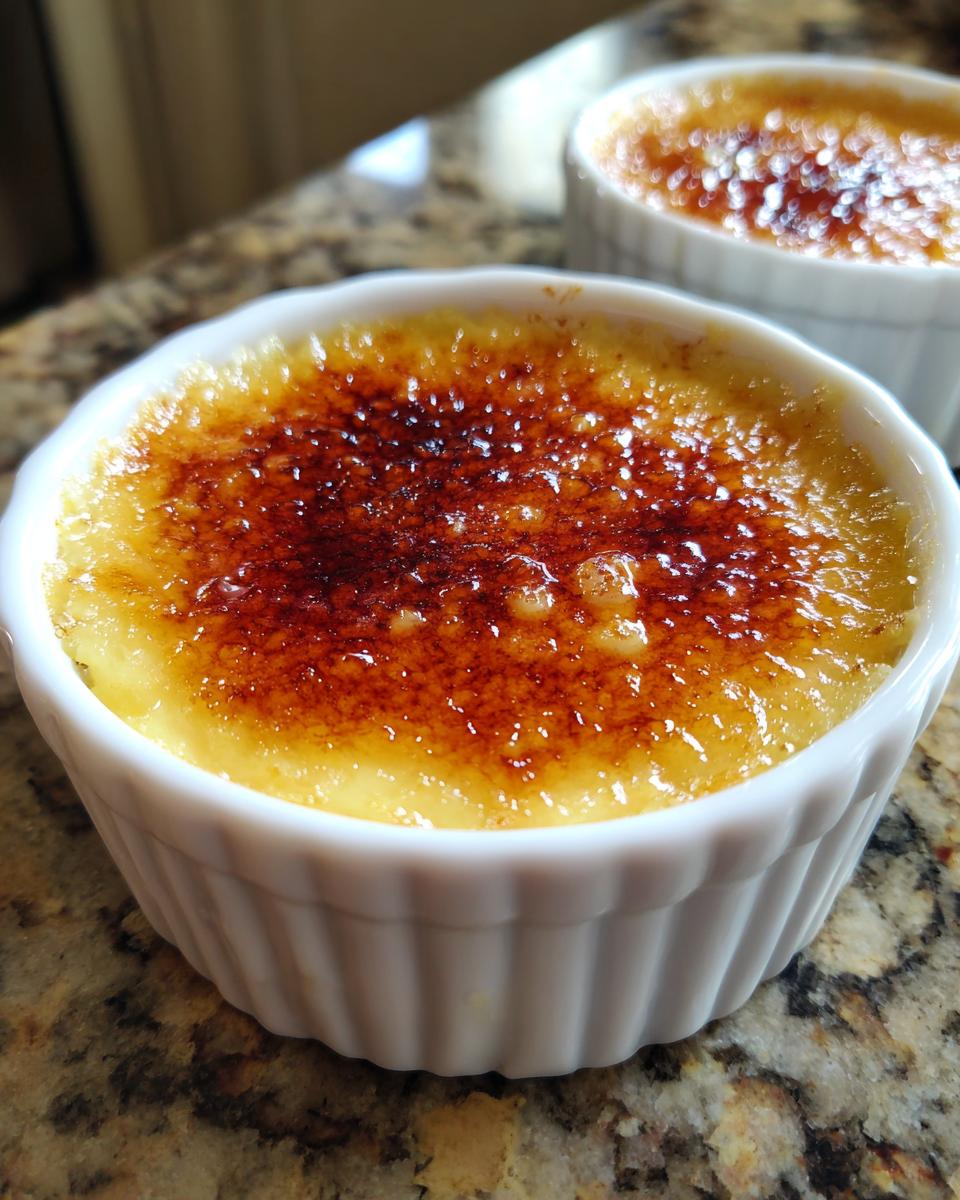
Essential Equipment for Making Crème Brûlée
You don’t need a whole restaurant kitchen for this! Just a few key players will get you there. Grab your trusty ramekins – the cute little dishes that hold your custards. You’ll also need a large baking pan that can handle a water bath. A medium saucepan is perfect for warming up your cream and milk. Don’t forget a whisk for mixing things up, and a fine-mesh sieve is crucial for getting that super-smooth texture (trust me on this one!). And of course, the star of the show: a kitchen torch. It’s what gives you that signature crackly top! If you don’t have one, you can find a kitchen torch pretty easily.
How to Make Crème Brûlée: Step-by-Step Instructions
Alright, let’s do this! Making crème brûlée is more about patience and a few gentle techniques than anything complicated. Follow these steps, and you’ll have that beautiful dessert ready in no time.
Preparing the Custard Base
First things first, preheat your oven to a cozy 325°F (160°C). Grab those little ramekins and set them in a big baking pan. In a saucepan, gently warm up your heavy cream and milk over medium heat. You just want it to get steamy and *almost* simmer – no boiling allowed! While that’s warming, whisk your egg yolks and 3/4 cup of sugar in a separate bowl until they look nice and pale yellow. Now, for the tempering part, which sounds scary but isn’t! Slowly, and I mean slowly, pour about a cup of that warm cream mixture into the egg yolks while whisking like mad. This stops the eggs from scrambling. Pour that back into the pan with the rest of the cream, stir in your vanilla, and then give it a good strain through a sieve. This is key for making it super smooth!
The Water Bath Baking Method for Perfect Custard
Now, carefully pour that silky smooth custard into your ramekins, dividing it evenly. Nestle those ramekins in the big baking pan. The magic trick here is the water bath! Pour hot water into the baking pan *around* the ramekins until it comes about halfway up their sides. This keeps the custard from cooking too fast and getting that rubbery texture. Pop the whole thing into your preheated oven and bake for about 30-40 minutes. You’ll know they’re ready when the edges look set, but the center still has a little wiggle to it, like a tiny, delicious jelly. Don’t overbake it!
Chilling and Preparing for the Torched Top
Once they’re done baking, carefully take the ramekins out of the water bath and let them cool down on a rack. Once they’re room temperature, cover each one tightly with plastic wrap and pop them in the fridge. They need to chill for at least 4 hours, but honestly, overnight is best. This is super important because it lets the custard fully set up and makes that sugar topping perfect. You can even make the custard base the day before you plan to serve. It’s almost as fun as making homemade granola for breakfast!
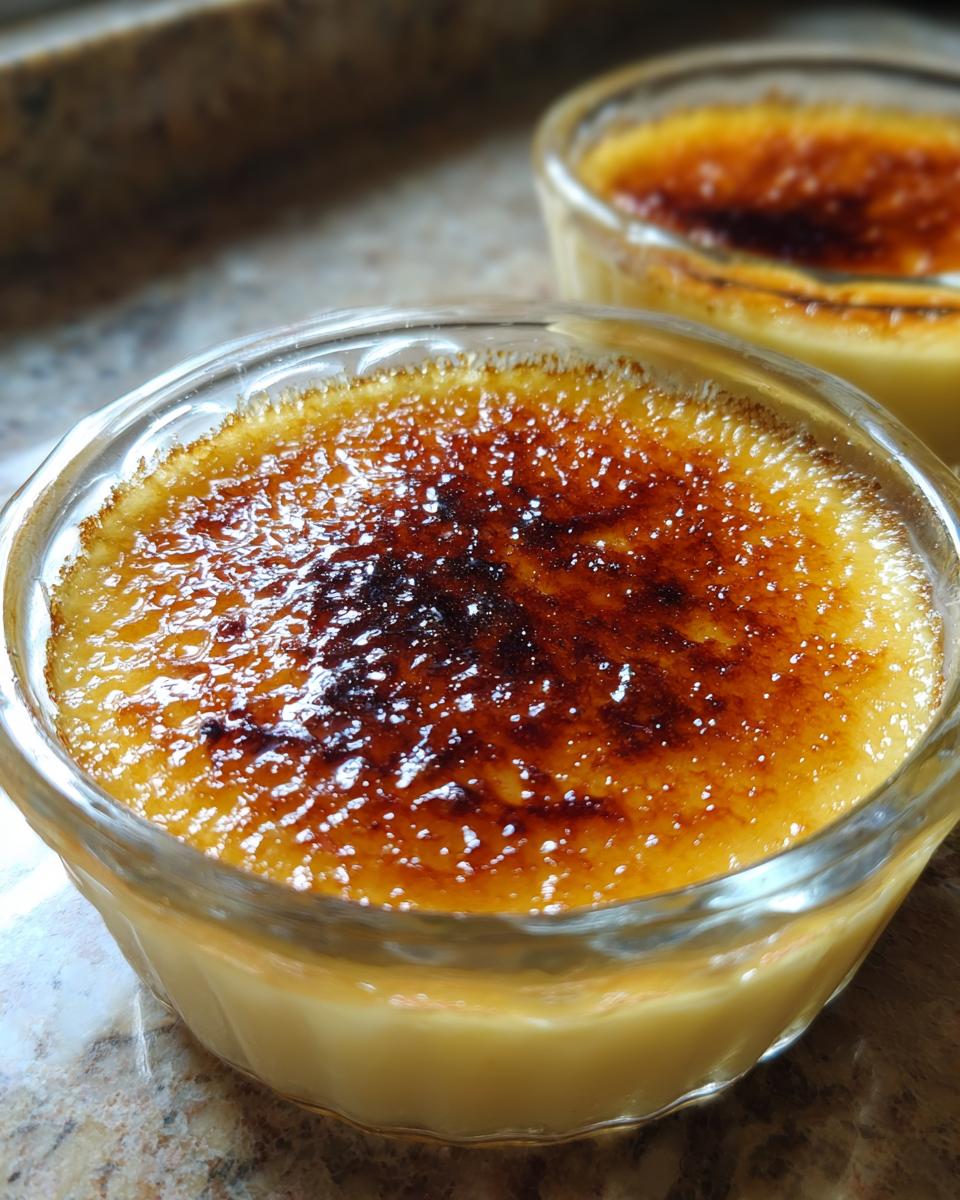
Achieving the Perfect Caramelized Sugar Crust
Okay, this is the fun part! Just before you’re ready to serve, sprinkle about a teaspoon or two of granulated sugar evenly over the top of each chilled custard. You want a nice, even layer – no big clumps! Grab your kitchen torch. Hold it a few inches away from the sugar and keep it moving constantly. You’ll see the sugar start to melt, bubble, and turn a beautiful deep amber color. Be careful not to hold it in one spot too long, or it’ll burn! If you don’t have a torch, no worries. You can carefully put them under a hot broiler for just a minute or two, but watch them like a hawk because they can burn super fast. Let the sugar crust harden for a minute or two, and then get ready for that amazing *crack*!
Tips for Crème Brûlée Success
Alright, let’s talk about making your crème brûlée absolutely perfect. It’s definitely a dessert where a few little tricks can make all the difference. Think of it like getting the hang of making easy garlic naan bread – once you know the secrets, it’s a breeze!
Ingredient Quality Matters for Crème Brûlée
Seriously, don’t skimp here! Using really good quality heavy cream makes such a difference in the richness. And real vanilla extract? A must. Those simple ingredients really shine in this dessert, so pick the best you can find. Your taste buds will thank you!
Troubleshooting Common Crème Brûlée Issues
Even the best home cooks run into a little snag now and then. If your custard seems watery, it might be that it didn’t bake quite long enough, or the water bath wasn’t deep enough. Just pop it back in for a few more minutes. A grainy texture usually means the eggs weren’t tempered slowly enough, or maybe the sugar didn’t fully dissolve. For burnt sugar on top, it’s usually just holding the torch too close or too long – keep it moving! Oh, and if you’re trying to make dinner ahead, remember it’s totally okay to make the custards today and torch them tomorrow!
Serving and Storing Your Crème Brûlée
The absolute best time to serve crème brûlée is right after you’ve torched that gorgeous sugar shell. That little hardened crust will start to soften if it sits around too long, so get it to your guests (or your couch!) pronto. If, by some miracle, you have leftovers, just cover them back up with some plastic wrap and pop them in the fridge. We usually don’t reheat the custard itself, but if you want to refresh that torch mark, you can quickly re-torch it right before serving again. It’s almost as satisfying as whipping up a batch of easy chili recipe when everyone’s hungry!
Frequently Asked Questions about Crème Brûlée
Got questions about whipping up this classic French dessert? I’ve got answers!
Can I Make Crème Brûlée Ahead of Time?
Oh, absolutely! The beauty of crème brûlée is you can make the custard base a day or two in advance and keep it chilled. Just ladle it into the ramekins, chill, and then torch that gorgeous sugar crust right before you’re ready to serve. It makes entertaining so much easier!
What if I Don’t Have a Kitchen Torch?
No torch, no problem! You can carefully caramelize the sugar under your oven’s broiler. Spread the sugar evenly, place the ramekins on a baking sheet, and pop them under the broiler for a minute or two. You need to watch them like a hawk, though, because they go from golden to burnt in a flash! Keep the oven door slightly ajar so you can monitor things closely.
Why is My Crème Brûlée Custard Watery?
A watery custard usually means it wasn’t baked quite long enough, or the water in your water bath wasn’t deep enough to cook it gently. Make sure the edges are set and the center still has a slight jiggle. Also, ensure your oven is at the correct temperature. Sometimes it just needs a little more oven time to get perfectly set!
Nutritional Information for Classic Crème Brûlée
Just a heads-up, these numbers are estimates per serving (that’s one ramekin, btw!) and can totally change depending on the exact ingredients you use. You’re looking at roughly 450 calories, about 35g of fat (most of that is the good stuff in heavy cream!), 7g of protein, and around 32g of carbs with about 30g of that being sugar. So yeah, it’s a decadent treat, but one totally worth it!
Share Your Crème Brûlée Creations!
I absolutely LOVE seeing your kitchen triumphs! If you make this classic crème brûlée, please drop a comment below and let me know how it turned out. Did you nail that crackly top? Did anyone sneak a second ramekin? Feel free to rate the recipe too! And if you’re sharing photos, tag me on social media – I can’t wait to see your beautiful desserts! You can read more about our mission and my own kitchen adventures over on the About page!
PrintClassic Crème Brûlée

Master the classic French custard with a perfectly torched sugar crust. This recipe provides confidence in baking and tips for achieving a glassy caramel top.
- Prep Time: 20 min
- Cook Time: 40 min
- Total Time: 4 hr 20 min
- Yield: 8 servings 1x
- Category: Dessert
- Method: Baking
- Cuisine: French
- Diet: Vegetarian
Ingredients
- 4 cups heavy cream
- 1 cup whole milk
- 8 large egg yolks
- 3/4 cup granulated sugar, plus more for topping
- 2 teaspoons vanilla extract
Instructions
- Preheat your oven to 325°F (160°C). Arrange eight 6-ounce ramekins in a large baking pan.
- In a medium saucepan, heat the heavy cream and milk over medium heat until it just begins to simmer. Do not boil. Remove from heat.
- In a separate bowl, whisk together the egg yolks and 3/4 cup granulated sugar until pale yellow.
- Slowly temper the egg yolks by gradually whisking in about 1 cup of the hot cream mixture.
- Pour the tempered egg yolk mixture back into the saucepan with the remaining cream mixture. Stir in the vanilla extract.
- Strain the custard mixture through a fine-mesh sieve into a pitcher or large measuring cup. This removes any solids and ensures a smooth texture.
- Pour the custard evenly among the prepared ramekins.
- Carefully pour hot water into the baking pan around the ramekins, coming about halfway up their sides. This water bath helps the custard bake gently and evenly.
- Bake for 30-40 minutes, or until the edges of the custard are set but the centers still have a slight jiggle when gently shaken.
- Remove the ramekins from the water bath and let them cool completely on a wire rack. Then, cover each ramekin with plastic wrap and refrigerate for at least 4 hours, or preferably overnight.
- Just before serving, sprinkle about 1-2 teaspoons of granulated sugar evenly over the top of each custard.
- Using a kitchen torch, caramelize the sugar until it forms a deep amber, glassy crust. Hold the torch a few inches away and move it continuously to avoid burning.
- Let the torched sugar harden for a minute or two before serving.
Notes
- For a smoother custard, ensure you strain the mixture before pouring into ramekins.
- The water bath is crucial for preventing the custard from cracking or becoming rubbery.
- Chill the custards thoroughly before torching for the best results.
- If you don’t have a kitchen torch, you can carefully caramelize the sugar under a broiler, watching very closely to prevent burning.
Nutrition
- Serving Size: 1 ramekin
- Calories: 450
- Sugar: 30g
- Sodium: 50mg
- Fat: 35g
- Saturated Fat: 22g
- Unsaturated Fat: 13g
- Trans Fat: 1g
- Carbohydrates: 32g
- Fiber: 0g
- Protein: 7g
- Cholesterol: 250mg