
Sometimes, you just need dessert that tastes exactly like childhood, right? Forget fussy baking plans, because we’re diving straight into the ultimate nostalgic, no-bake favorite: the dirt cake. This layered dessert hits every single sweet spot—it’s super simple, requires zero oven time, and magically pleases every single person at the party, young or old. That’s the whole philosophy behind Kitchen Slang. My background, mixing the genuine comfort food from growing up near Chicago with the speedy efficiency I picked up in bistro kitchens, taught me that the best food comes from translating pro know-how into everyday kitchen confidence. This is that kind of recipe. If you want to know more about how we break down kitchen secrets, check out our story over at Kitchen Slang.
- Why This is the Ultimate Easy No-Bake Oreo Dirt Cake Recipe
- Gathering Ingredients for Your Creamy Oreo Dirt Cake
- Step-by-Step Instructions for the Perfect Layered Dirt Dessert
- Tips for Success When Making Dirt Cake with Gummy Worms
- Serving Suggestions for Your Chocolate Dirt Cake
- Storage and Reheating Instructions for Leftover Dirt Cake
- Frequently Asked Questions About This Dirt Cake Recipe
- Estimated Nutritional Data for This Simple Dessert Recipe
- Share Your Dirt Cake Creations
Why This is the Ultimate Easy No-Bake Oreo Dirt Cake Recipe
When it comes to a fantastic No Bake Dirt Dessert, you simply can’t beat this setup. Seriously, the best part is knowing you don’t have to heat up your kitchen one bit. No oven, no stress, just pure, chilled delight! What makes this recipe stand out as a top-tier Crowd Pleaser Dessert is the structure we build in the filling.
I learned from restaurant days that layering often fails because the ingredients break down too fast. But in this Oreo Dirt Cake Recipe, we nail the stability. By blending softened cream cheese into the pudding base, we get this beautiful, firm structure that holds up for hours, even at a busy potluck. It’s a rich, fluffy texture that just melts perfectly in your mouth. It’s that insider trick that makes all the difference!
Key Benefits of Making This Classic Dirt Cake
- No baking required—perfect for summer or busy holidays!
- It’s completely make-ahead friendly; seriously, it tastes better the next day.
- Uses ingredients you probably already have, making it great for quick sweet cravings.
- It’s guaranteed to be a hit with all ages; it’s just pure fun (a genuinely Fun Kids Dessert!).
If you’re looking to keep your weeknights simple but delicious, this whole no-bake philosophy is why we use this method for so many of our go-to recipes. Check out some other incredibly simple ideas over at our weeknight guide!
Gathering Ingredients for Your Creamy Oreo Dirt Cake
Okay, now for the fun part—getting everything together! With this Classic Dirt Cake, the success story is totally rooted in starting with the right stuff and making sure it’s prepped exactly right. It’s not complicated, but precision matters when you aren’t baking things together.
Make sure your cream cheese and butter are properly softened—I mean ‘just give it’ a gentle nudge and it sinks in’ soft, not ‘melted puddle’ soft. And please, use the frozen whipped topping, thawed completely, not homemade unless you’re planning on churning it yourself! Trust me, keep things easy where you can.
Ingredient Notes and Substitutions for Dirt Cake
A couple of quick things to note while you’re grabbing your materials. First up: the pudding. You absolutely must use instant pudding mix here. If you try to use the cook-and-serve kind, your layers are going to have a bad, runny time, and we want that firm structure we talked about! If you don’t have a food processor, grab a big sturdy zip-top bag and a rolling pin. That’s how I did it growing up! It’s messy, but it gets you that perfect ‘dirt’ consistency faster than anything.
Also, if you happen to have a favorite recipe for dipping sauce, maybe save that for another day, because today we are focused purely on that creamy, chocolatey goodness!
Step-by-Step Instructions for the Perfect Layered Dirt Dessert
Alright, this is where the magic happens! Since we aren’t turning on the oven, our steps need to be precise to make sure this dirt cake sets up beautifully and stays layered. It’s all about mixing the creamy parts until they are perfectly incorporated before we start stacking things up. If you mess up the layering or skip the chill time, poof! You’ve got chocolate pudding instead of a sliceable dessert. Don’t worry, I’ll walk you through exactly how to avoid that flop.
Preparing the Oreo Crumb ‘Dirt’
First things first, we need that dirt! Dump all those glorious Oreos—yes, the whole sandwich, cream and all—into the food processor. Blitz them until you get that fine, dark crumb that looks exactly like rich garden soil. Now, here’s a little chef moment: scoop out about one cup of those crumbs and set them aside. That’s our topping for later! If you want an extra, extra rich filling, you could scrape out some of the white cream from a few cookies before crushing, but honestly, leaving it all in there just makes the base layer tastier!

Creating the Cream Cheese Filling for Your Dirt Cake
This is the “cheesecake” element that gives the layers backbone. Grab a big bowl! Beat that softened cream cheese and butter together first. You gotta get them smooth and fluffy before you add anything else, or you’ll end up with little lumps, which is *not* what we want in this Creamy Oreo Dessert. Once it looks pale and happy, slowly stream in your powdered sugar, mixing until it’s totally combined. Don’t overdo it; we just need structure here.
Assembling and Setting the Classic Dirt Cake
Time to build! Spread half of your crushed Oreos on the bottom of your dish. Then, take half of your creamy base and layer it right on top. Repeat that: remaining Oreos, followed by the rest of the cream mixture. Cover that whole dish tightly—I mean *tightly*—and slide it into the fridge. This needs a minimum of four hours to really firm up. It’s the perfect Make Ahead Dessert because it honestly tastes far better once it’s had time for all those flavors to mingle and chill down. Check out tips for similar chilled desserts over at our pumpkin cheesecake post!

Tips for Success When Making Dirt Cake with Gummy Worms
Now that you’ve got your beautiful layers assembled, let’s talk about what stops this from turning into a soupy mess! Getting that perfect set is the main challenge with any no-bake pudding recipe. My biggest fail, years ago when I was rushing a batch for a friend’s backyard bash, was trying to rush the chilling. I only left it in for an hour!
What happened? Gravity won! The cold cream layer started sliding right out when I tried to scoop it. So, my number one tip is: Do not cheat the chill time. At least four hours, minimum, but honestly, overnight is the secret handshake for structure.
Another thing—if you are making this in individual cups so you can have those fun Dirt Cups with Gummy Worms peeking out, the chilling time is slightly less crucial for structure since the sides hold everything up. But still, let it sit! When you place the worms, make sure you gently press them into the final layer right before serving. If you put them in too soon, they get all slimy and sad during the long fridge wait. Don’t forget to check out how we manage rising times in baked goods, though maybe less messy, over at our muffin baking tips!

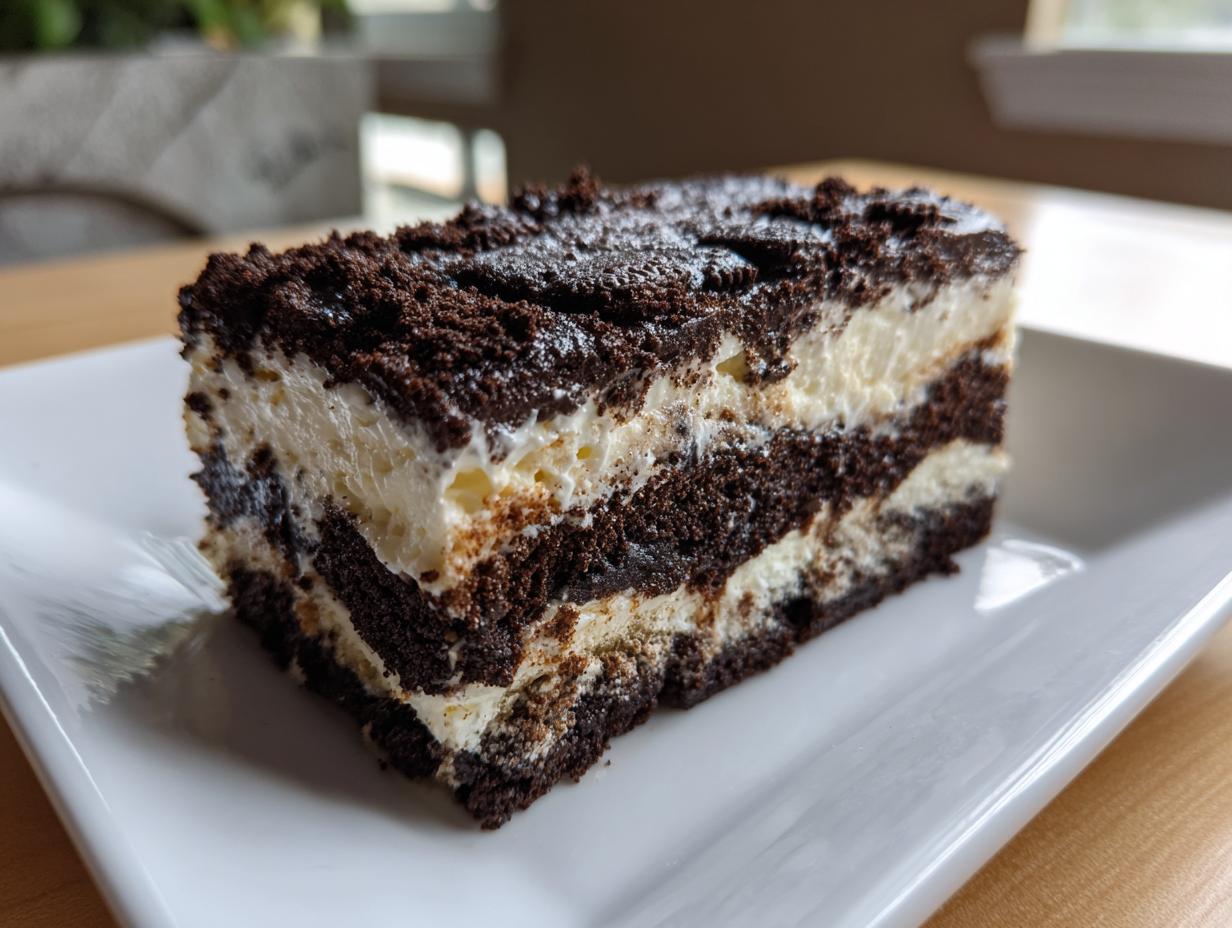
Serving Suggestions for Your Chocolate Dirt Cake
This rich Chocolate Dirt Cake is decadent, right? So, when it comes to serving, presentation is key! While serving it straight out of a 9×13 pan is totally fine for a casual hangout, I really love making this in a big, clear trifle dish. You get to see those beautiful dark-brown-and-white layers stacked up, and everyone goes nuts for it. This method really shows off your hard work!
If you’re heading out to a big gathering, definitely pivot to those individual cups—we call those Dirt Cups—they’re just easier to manage. To balance out all that sweet creaminess, try plating a small slice next to some tart fresh raspberries or even serve it alongside a strong, slightly bitter coffee. The contrast really wakes up the palate!

Speaking of coffee pairings, if you ever need ideas for enjoying a hot cup in the morning, come check out my favorite ways to make coffee cake muffins!
Storage and Reheating Instructions for Leftover Dirt Cake
This is the best part of making a No Bake Pudding Dessert like this—it keeps! Since there’s no pesky baking involved, leftovers are super easy to manage. You need to store your dirt cake tightly covered in the fridge. You’ll be happy to know it holds up beautifully for about four days! The longer it sits, the more those Oreo crumbs soften, which I actually love—it makes the whole thing even more decadent and uniform.
Now, can you freeze it? Yes, you absolutely can! Wrap individual servings tightly in plastic wrap, then foil, and pop them in the freezer for up to a month. Just remember, you MUST let it thaw completely in the fridge before serving. This dessert is definitely intended to be eaten cold!
Frequently Asked Questions About This Dirt Cake Recipe
I know when you try a brand new recipe, even something as friendly as this dirt cake, questions pop up. Don’t worry about it! That’s why Zoe and the team here at Kitchen Slang translate these recipes—to anticipate all those ‘what-ifs.’ Here are the ones I hear most often:
Can I make this dirt cake vegan or gluten-free?
You sure can try, though it’s definitely going to change the flavor profile slightly! For gluten-free, just swap in any gluten-free sandwich cookie that matches the Oreo texture—they make several good ones now. If you want it fully vegan, you’ll have to look for vegan cream cheese and use a good vegan whipped topping substitute. It won’t taste *exactly* like the original, but you can definitely make it work for your dietary needs!
What is the best way to serve this as a Party Dessert Idea?
Hands down, for any gathering where people are mingling, use those clear plastic cups to make individual Dirt Cups. They look amazing because you get to see all the layers right away, and people can just grab one and go! It saves you from having huge serving spills, too. It keeps the presentation super tidy, which is perfect for a great Party Dessert Idea.
Why is my pudding layer too runny in my dirt cake?
This is almost always one of two things, honey. First, did you use *instant* pudding mix? If you used the cook-and-serve kind, it won’t set up right, no matter how long you wait! Second, was your milk genuinely cold? Pudding needs that super cold liquid to activate properly. If both of those checks are good, then you didn’t chill it long enough. Don’t rush the setting time!
If you’re looking for other easy, scoopable options for your next gathering, you absolutely have to check out my recipe for creamy jalapeno popper dip—it’s another guaranteed winner!
Estimated Nutritional Data for This Simple Dessert Recipe
Okay, so we know this Simple Dessert Recipe is loaded with joy—and sugar! The numbers below are honestly just an estimate based on our full-fat ingredients. If you use light cream cheese or a reduced-sugar whipped topping, those numbers are definitely going to shift. Remember, this is a treat, not an everyday snack, so enjoy every scoop!
- Serving Size: 1 serving
- Calories: 450
- Sugar: 45g
- Fat: 25g
Because we are using brand-name cookies and specific pudding mixes, the exact numbers can change slightly, which is something I always keep in mind when planning my own menu. For more hearty, main-dish ideas that balance out all the sweet stuff, you should definitely check out my easy chili recipe next!
Share Your Dirt Cake Creations
Seriously, that’s it! You now have the blueprint for the Best Dirt Cake Recipe on the block. Once you’ve chilled it, layered it, and adorned it with those wiggly worms, I want to see what you made! Don’t keep this yummy success a secret.
Hop down to the comments section right now, give this recipe a solid five stars if you loved how easy it was, and tell me what your favorite layer was. Did you make it in a giant dish or individual cups? I always love hearing the feedback—it helps me know what recipes to share next!
And please, snap a photo of your final, beautiful, earthy dessert and tag us on social media! It brings me so much joy to see our kitchen slang bringing happiness to your gatherings. If you need to reach out about troubleshooting or just want to chat about baking, drop us a line via the contact page. Happy scooping!
PrintUltimate Easy No-Bake Oreo Dirt Cake with Cream Cheese Layer

Make this classic, no-bake Oreo Dirt Cake featuring a creamy cheesecake pudding layer and crushed Oreo crumbs. It is a simple, crowd-pleasing dessert perfect for parties and holidays.
- Prep Time: 25 min
- Cook Time: 0 min
- Total Time: 4 hr 25 min
- Yield: 12 servings 1x
- Category: Dessert
- Method: No Bake
- Cuisine: American
- Diet: Vegetarian
Ingredients
- 1 package (14.3 oz) Oreo cookies
- 1 package (8 oz) cream cheese, softened
- 1 cup unsalted butter, softened
- 1 cup powdered sugar
- 1 container (12 oz) frozen whipped topping, thawed
- 2 packages (3.9 oz each) instant chocolate pudding mix
- 3 cups cold milk
- 1 teaspoon vanilla extract
- Gummy worms for decoration (optional)
Instructions
- Crush all Oreo cookies in a food processor until they resemble fine dirt. Set aside about 1 cup of the crumbs for the top layer.
- In a large bowl, beat the softened cream cheese and softened butter together until smooth. Gradually add the powdered sugar and mix until fully combined.
- Fold in the thawed whipped topping until the mixture is uniform. Set this cream cheese mixture aside.
- In a separate large bowl, whisk together the instant chocolate pudding mix and cold milk until the mixture thickens, about 2 minutes. Stir in the vanilla extract.
- Gently fold the cream cheese mixture into the chocolate pudding mixture until just combined. Do not overmix.
- In a large trifle dish or 9×13 inch pan, create the first layer by spreading half of the crushed Oreos on the bottom.
- Spread half of the creamy pudding mixture evenly over the cookie layer.
- Repeat the layers: add the remaining crushed Oreos, then top with the remaining pudding mixture.
- Cover the dish and refrigerate for at least 4 hours, or preferably overnight, to allow the dessert to set.
- Before serving, sprinkle the reserved 1 cup of crushed Oreos over the top layer to resemble dirt. If using, press gummy worms into the top layer.
Notes
- For individual servings, assemble this recipe in small clear cups to make Dirt Cups.
- If you do not have a food processor, place the Oreos in a large zip-top bag and crush them using a rolling pin.
- You can substitute instant vanilla pudding for one of the chocolate pudding packages for a cookies and cream flavor variation.
Nutrition
- Serving Size: 1 serving
- Calories: 450
- Sugar: 45g
- Sodium: 350mg
- Fat: 25g
- Saturated Fat: 14g
- Unsaturated Fat: 11g
- Trans Fat: 0.5g
- Carbohydrates: 55g
- Fiber: 2g
- Protein: 5g
- Cholesterol: 55mg