
Oh, the magic of the holidays! There’s just something about the twinkling lights, the carols, and, of course, the irresistible smell of gingerbread baking. Building a gingerbread house is more than just a recipe; it’s a full-blown family tradition for us, a chance to get a little messy, laugh a lot, and create a holiday showstopper. Forget those flimsy cookie structures that just fall apart – this recipe gives you a sturdy, reliable gingerbread dough that’s perfect for building your dream edible gingerbread structure. Trust me, this is the one that’ll become your go-to for creating that whimsical, candy-covered centerpiece that’ll have everyone oohing and aahing.
- Why You'll Love This Gingerbread House Recipe
- Essential Ingredients for Your Gingerbread House
- Crafting Your Edible Gingerbread Structure
- Mastering the Royal Icing Glue
- Assembling Your Gingerbread House Masterpiece
- Decorating Your Holiday Craft Treat
- Frequently Asked Questions About Gingerbread Houses
- Estimated Nutritional Information
- Share Your Gingerbread House Creations!
Why You’ll Love This Gingerbread House Recipe
This isn’t just *any* gingerbread recipe. It’s the one that’ll make your holiday dreams come true!
- So Sturdy! Trust me, this gingerbread dough is built like a little cookie fortress. It bakes up firm, perfect for holding all those walls and roof pieces together without collapsing. Your edible gingerbread structure will stand tall!
- Tastes Amazing! It’s not just about looks; this gingerbread tastes fantastic. It’s got that perfect balance of warm spices that make it delicious on its own (if you can resist eating it all before construction!).
- Super Easy to Work With: Even if you’re new to gingerbread houses, this dough is forgiving. It rolls out beautifully and is easy to cut, making it a joy to work with for your holiday craft treat.
- Big Holiday Fun! It’s the ultimate family activity. Get everyone involved – kids, grandkids, your partner – and make some core holiday memories. Pure festive fun!
Essential Ingredients for Your Gingerbread House
Alright, let’s talk ingredients! These are the building blocks for your amazing gingerbread house. Using good quality stuff really makes a difference here, especially when you want that structure to hold up and taste delicious for your holiday craft treat.
For the Sturdy Gingerbread Dough
This is the foundation, folks! To make sure your gingerbread house doesn’t do a sad little collapse, we need the right stuff. You’ll want:
- 4 cups all-purpose flour
- 1 teaspoon baking soda (this gives it a little lift but keeps it firm)
- 1 teaspoon ground ginger (for that classic gingerbread bite!)
- 1 teaspoon ground cinnamon
- 1/2 teaspoon ground cloves
- 1/4 teaspoon salt
- 3/4 cup unsalted butter, softened (don’t use margarine, trust me!)
- 3/4 cup granulated sugar
- 3/4 cup unsulfom molasses (this is key for color and that signature gingerbready flavor!)
- 1 large egg
- 1 teaspoon vanilla extract
For the Royal Icing ‘Glue’
Now for the magic that holds it all together! This royal icing is like edible cement. You’ll need:
- 3 large egg whites (make sure they’re fresh and at room temp!)
- 4 cups powdered sugar (also known as confectioners’ sugar)
- 1/2 teaspoon cream of tartar (this helps stabilize the icing and make it super strong)
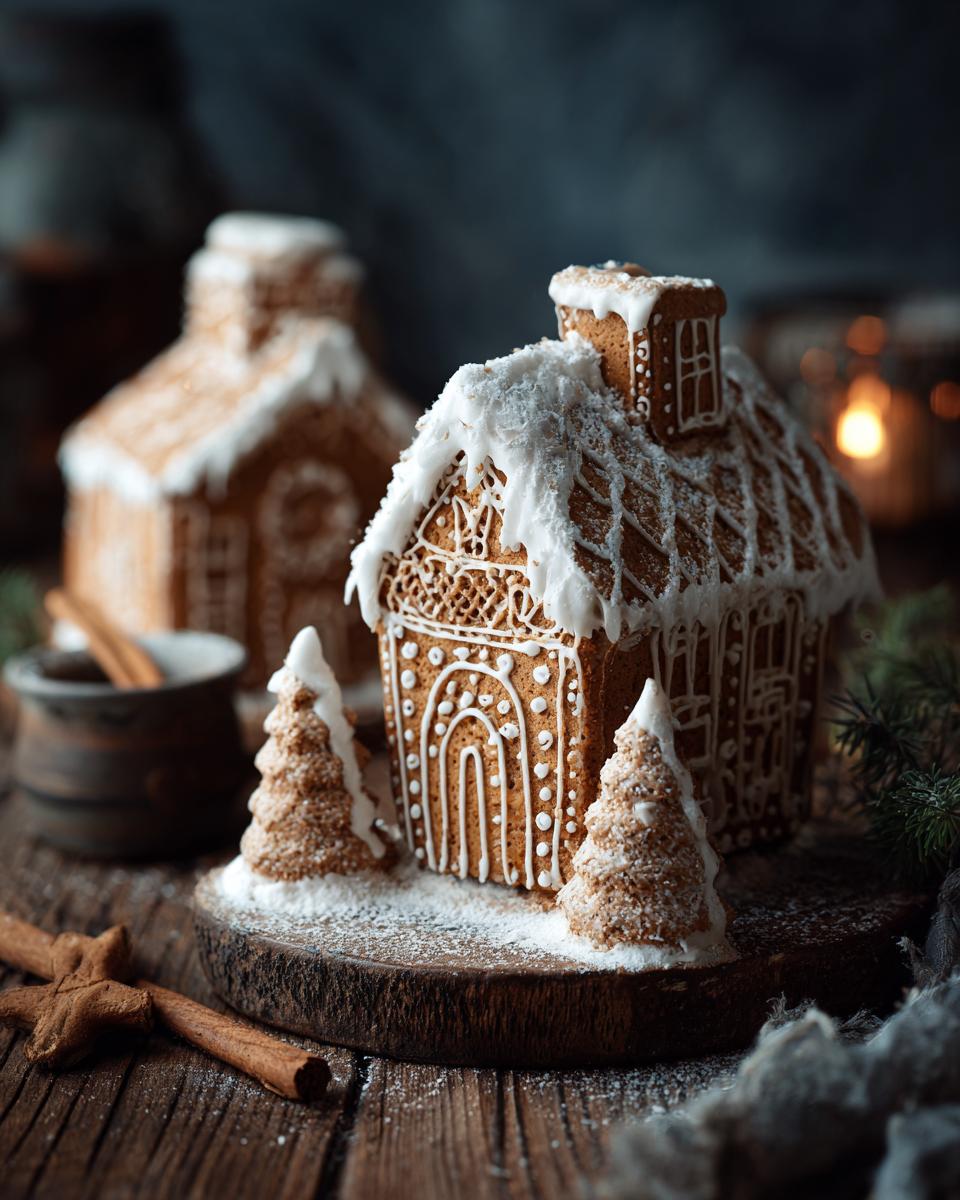
Crafting Your Edible Gingerbread Structure
Okay, deep breaths! This is where we actually start building our amazing gingerbread house. Don’t worry, it’s totally doable. We’re going to get this dough ready and bake up some sturdy pieces that will hold up all winter long. It’s all about handling this dough right and giving it a good, firm bake.
Preparing the Gingerbread Dough
First things first, let’s get that dough chilled. It makes a world of difference for rolling and cutting your house pieces perfectly. Remember how we mixed everything up? Now, divide that yummy dough into two flat disks, wrap ‘em up tight in plastic wrap, and pop them in the fridge for at least two hours. This makes the dough firm and way easier to handle, so it doesn’t get all sticky and sad when you try to roll it out.
Cutting and Baking Gingerbread House Pieces
Now for the fun part! Preheat your oven to 350°F (175°C) and grab some parchment paper for your baking sheets – this is a lifesaver. On a lightly floured surface, roll out one disk of that chilled gingerbread dough nice and evenly, about 1/4-inch thick. This is where your templates come in handy! You’ll need to cut out all your walls, roof pieces, and maybe a little door. Lay those pieces carefully onto your prepared baking sheets. Bake them for about 10-15 minutes, or until the edges are just starting to get a little golden. You want them firm, so keep an eye on them and don’t underbake! Let them cool on the baking sheets for a few minutes before gently moving them to a wire rack to cool completely. Repeat with the other disk of dough. Make sure every single piece is totally cool before you even *think* about assembling!

Mastering the Royal Icing Glue
Okay, so you’ve got your sturdy gingerbread walls and roof pieces all baked and cooled. Now comes the magic that holds it all together: the royal icing! This isn’t just for pretty decorations; it’s your edible ‘glue.’ You want it thick enough to stand up straight and hold those walls firm, so don’t be shy with the powdered sugar. If it looks too thin, just beat in a little more powdered sugar, a tablespoon at a time, until it’s nice and stiff. You’re looking for peaks that stand straight up when you lift your whisk! If it gets too thick and impossible to pipe, a tiny, I mean *tiny*, splash of water can loosen it up, but be super careful!
Assembling Your Gingerbread House Masterpiece
Alright, drumroll please! This is it – the moment where your gingerbread walls and roof magically come to life. Don’t rush this part, okay? Patience is your best friend here, just like when waiting for dumplings to cook perfectly. Grab your piping bag filled with that thick royal icing \”glue\” we made. Start by piping a generous line of icing along the bottom edge of one wall piece and the side edge of the adjacent wall piece. Press them together firmly and hold them steady for at least a minute. Seriously, just hold it! You can use those little cans or jars you have lying around to prop up the walls while they dry a bit. Do the same for the other walls, creating a box shape. Then, pipe icing along the top edges of the walls and the sides of your roof pieces, and carefully place the roof on top. It’s like a little cookie puzzle!
Tips for Sturdy Gingerbread House Construction
Want to make sure your gingerbread house doesn’t decide to take a holiday nap and collapse? We’ve all been there! A few tricks can make all the difference. Always use extra icing anywhere the pieces join, especially at the corners – think of it as extra reinforcement. You can even pipe a little extra icing on the *inside* seams for added strength. And make sure those pieces are sitting nice and level before you stick them together; uneven surfaces are a recipe for disaster (literally!).

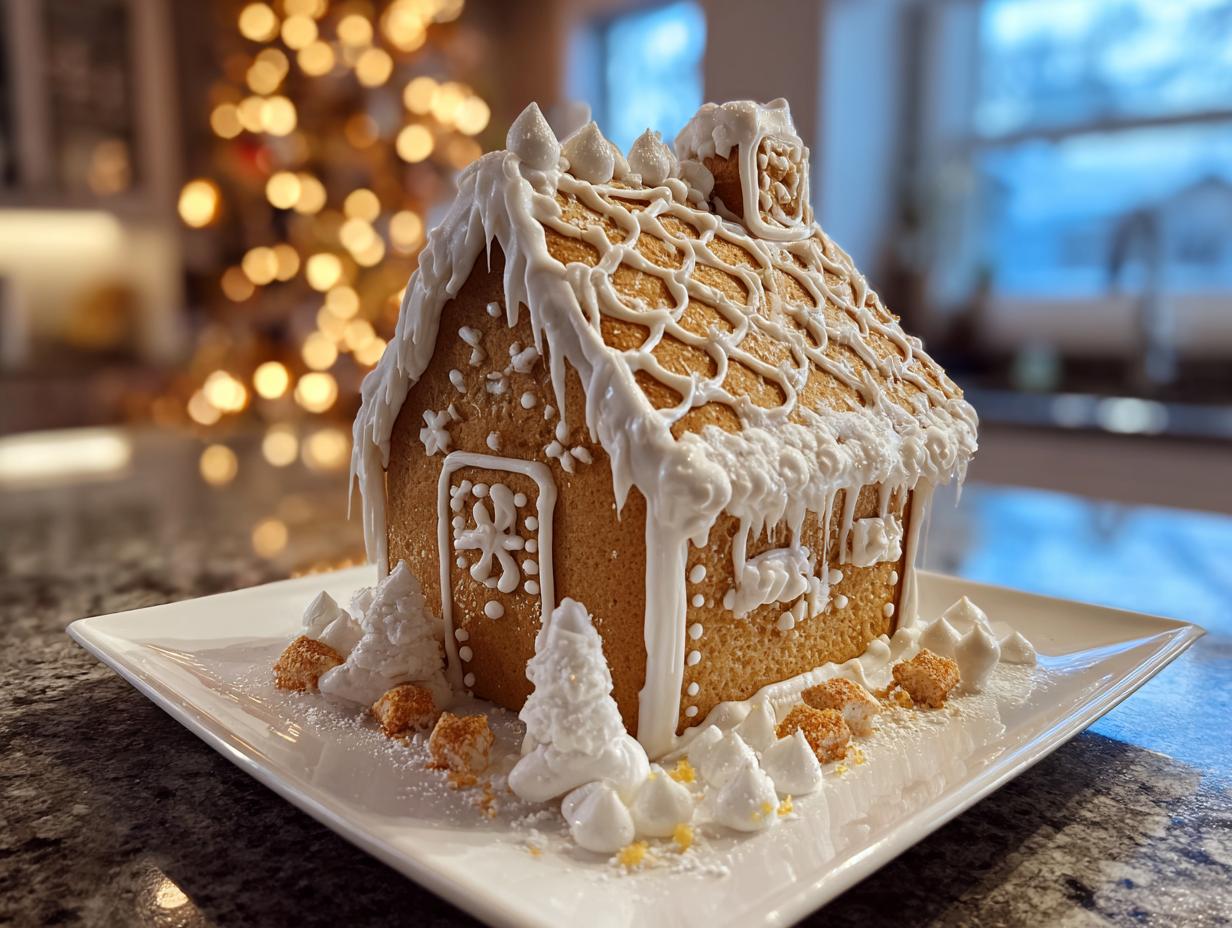
Decorating Your Holiday Craft Treat
Now for my favorite part – making this gingerbread house a total showstopper! This is where we let our inner artists (and kids!) run wild. Think of your house as a blank canvas for pure holiday magic. You can use more of that royal icing to pipe on snowy roofs, icicles, or even a cute little path leading to the door. Mini M&Ms or gumdrops make perfect shingles, and candy canes are amazing for little fences or candy canes! Don’t forget frosting, sprinkles, and maybe even some candied jalapeños if you’re feeling adventurous and want a pop of color and crunch. This is your chance to create something truly unique, just like our Christmas jam brings special memories!

Frequently Asked Questions About Gingerbread Houses
Got questions about building your masterpiece? I’ve got answers!
How do I make my gingerbread house dough stronger?
For an extra-sturdy edible gingerbread structure, you can try a few things. Baking the pieces a little longer until they are super firm is key. You also want to make sure your royal icing glue is nice and thick – it’s your main support system! Some folks even add a tiny bit more flour here and there, but play around with it carefully so it doesn’t get too tough to eat.
What’s the best icing for gingerbread houses?
For real structural integrity, you absolutely can’t beat royal icing. It dries hard and acts just like cement for your gingerbread house. You want it thick, thick, thick! It’s the best way to ensure your holiday craft treat stays standing and doesn’t crumble under the weight of inspiration (or candy).
Can I make my gingerbread house pieces ahead of time?
Oh, for sure! This is actually a brilliant idea, especially if you’ve got a big decorating party planned. Bake your gingerbread pieces, let them cool *completely*, and then store them in an airtight container. They’ll keep great for days, sometimes even a week, making assembly day way less stressful. Just keep them away from moisture!
My gingerbread house is leaning! What can I do?
Don’t panic! If a wall starts to look a little wobbly, just pipe more of that royal icing ‘glue’ along the seam, both inside and out. You can also bring in some backup – think clean jars, cans, or even small cookie cutters – to prop up the leaning part while the icing dries completely. A little patience goes a long way!
Estimated Nutritional Information
Now, a little heads-up about the nutrition part! These numbers are just a rough estimate for the gingerbread piece itself, before you go wild with all the yummy candy decorations. Think of it as a ballpark figure for the basic cookie structure. Actual values will totally change once you start adding sprinkles, frosting, and all those fun goodies to your gingerbread house!
Per serving (approximate):
- Calories: 300
- Fat: 15g
- Protein: 3g
- Carbohydrates: 40g
- Sugar: 35g
Share Your Gingerbread House Creations!
Alright, bakers! I’ve shared all my secrets for building a fantastic gingerbread house, and now I want to see yours! Did you build a cozy cottage? A spooky manor? Drop a comment below and tell me all about your construction adventure, share a pic if you can, or rate this recipe. I can’t wait to see what magical edible gingerbread structures you all dream up! And if you loved this, maybe check out our story!
PrintGingerbread House Recipe
Build a sturdy and delicious gingerbread house for your holiday decorating with this reliable recipe and royal icing ‘glue’. Perfect for family traditions and creating a whimsical centerpiece.
- Prep Time: 45 min
- Cook Time: 30 min
- Total Time: 3 hours 15 min
- Yield: 1 gingerbread house 1x
- Category: Dessert
- Method: Baking
- Cuisine: American
- Diet: Vegetarian
Ingredients
- 4 cups all-purpose flour
- 1 teaspoon baking soda
- 1 teaspoon ground ginger
- 1 teaspoon ground cinnamon
- 1/2 teaspoon ground cloves
- 1/4 teaspoon salt
- 3/4 cup unsalted butter, softened
- 3/4 cup granulated sugar
- 3/4 cup unsulfom molasses
- 1 large egg
- 1 teaspoon vanilla extract
- For Royal Icing:
- 3 large egg whites
- 4 cups powdered sugar
- 1/2 teaspoon cream of tartar
Instructions
- In a medium bowl, whisk together flour, baking soda, ginger, cinnamon, cloves, and salt.
- In a large bowl, cream together butter and granulated sugar until light and fluffy.
- Beat in molasses, egg, and vanilla extract until well combined.
- Gradually add the dry ingredients to the wet ingredients, mixing until just combined.
- Divide the dough in half, flatten each half into a disk, wrap in plastic wrap, and refrigerate for at least 2 hours.
- Preheat your oven to 350°F (175°C). Line baking sheets with parchment paper.
- On a lightly floured surface, roll out one disk of dough to 1/4-inch thickness. Cut out gingerbread house pieces using templates (not included).
- Transfer pieces to prepared baking sheets.
- Bake for 10-15 minutes, or until edges are lightly golden. Let cool on baking sheets for a few minutes before transferring to a wire rack to cool completely. Repeat with remaining dough.
- To make royal icing: In a clean, dry bowl, beat egg whites until foamy.
- Gradually add powdered sugar and cream of tartar, beating until stiff peaks form.
- To assemble: Use royal icing to ‘glue’ the gingerbread pieces together. Let dry completely before decorating.
Notes
- For a stronger gingerbread structure, you can use less liquid in the dough or bake the pieces until they are very firm.
- Ensure your royal icing is thick enough to hold the structure; add more powdered sugar if needed.
- Allow ample drying time for the icing between assembly steps.
- Get creative with your candy decorations to make your gingerbread house unique!
Nutrition
- Serving Size: 1 piece
- Calories: 300
- Sugar: 35g
- Sodium: 150mg
- Fat: 15g
- Saturated Fat: 9g
- Unsaturated Fat: 6g
- Trans Fat: 0g
- Carbohydrates: 40g
- Fiber: 1g
- Protein: 3g
- Cholesterol: 40mg