
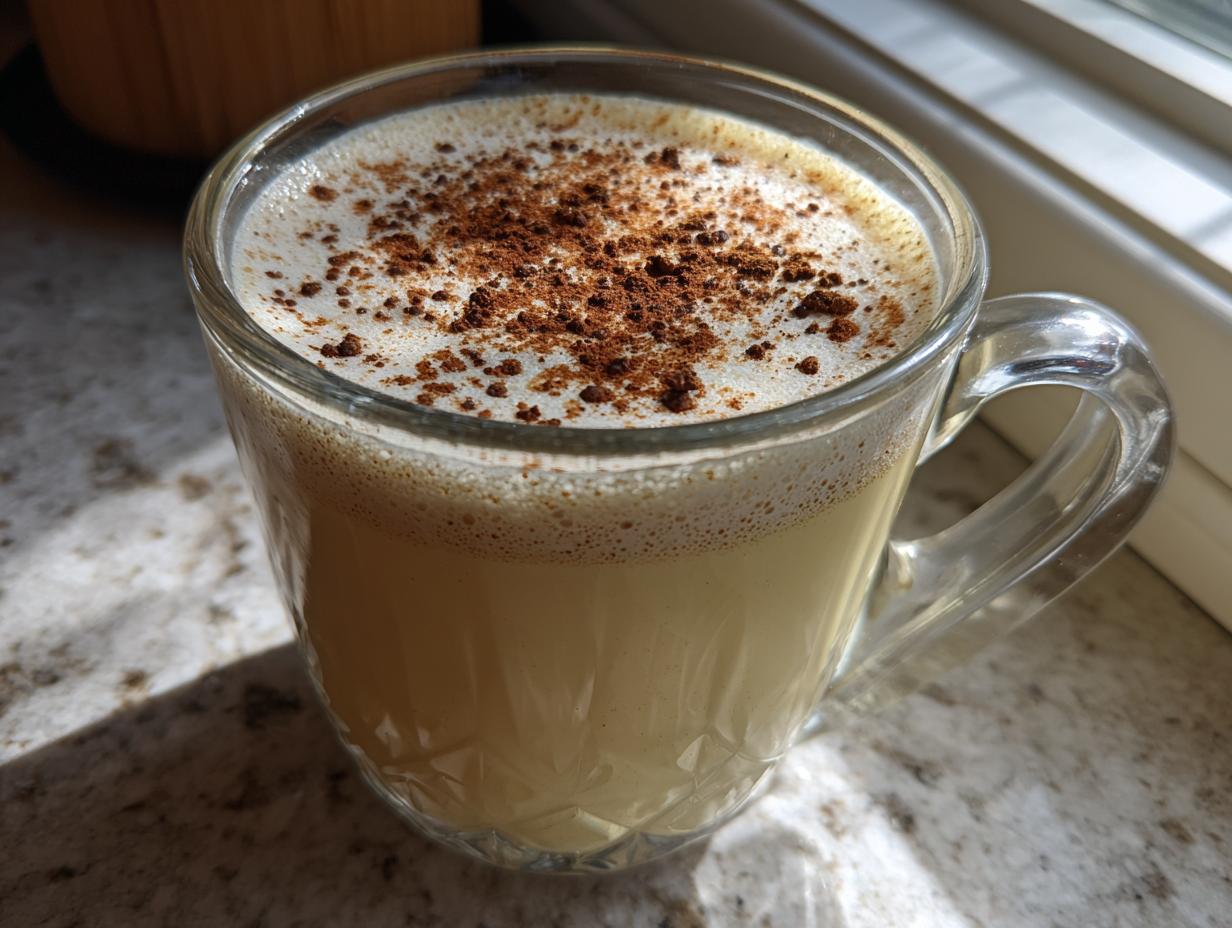
When the air gets crisp and the holiday music starts playing, doesn’t it just hit you? That specific craving for something rich, something that tastes exactly like comfort from childhood? I remember being totally intimidated by making authentic homemade eggnog because of the raw eggs, but I promise you, once you master the technique, you’ll never look at a carton again. This recipe—the one I started sneaking out of the professional kitchen—is the one that finally clicked for me. It cuts right through the noise and delivers that thick, velvety texture that store-bought versions just can’t touch. It’s pure, holiday nostalgia in a glass. If you want all the little tips I use, check out my deep dive on the classic homemade eggnog recipe!
- Why This Old Fashioned Homemade Eggnog Recipe is Your New Holiday Staple
- Ingredients for Creamy Homemade Eggnog From Scratch
- How to Prepare Perfect Homemade Eggnog: The Tempering Technique
- Spiked Eggnog Guide: Alcoholic and Nonalcoholic Eggnog Options
- Tips for Homemade Eggnog Perfection
- Serving Suggestions for This Traditional Egg Nog Recipe
- Addressing Common Questions About Homemade Eggnog
- Estimated Nutritional Data for This Rich Cream Holiday Beverage
- Share Your Homemade Eggnog Success
Why This Old Fashioned Homemade Eggnog Recipe is Your New Holiday Staple
Honestly, once you taste this, you’re gonna feel a little bit guilty buying that plastic jug again. This homemade eggnog isn’t just good; it’s the centerpiece of my December baking list every year. Forget everything you think you know about bland, thin holiday drinks. This version is built on technique, which is why it’s so much better. We’re putting in a few extra minutes on the stove, but trust me, the payoff is huge.
- It provides that foolproof, rich texture that screams holiday comfort.
- It’s incredibly versatile, working perfectly spiked or as a family-friendly treat.
- The short cooking time means you can get it done faster than you think!
If you love other creamy holiday drinks, you should definitely check out my recipe for Coquito later—it uses similar principles!
Achieving That Velvety Homemade Drink Texture
The secret sauce—well, the secret *custard*—is tempering those yolks. That slow, careful whisking over gentle heat turns basic milk and eggs into a thick homemade custard drink. It’s non-negotiable for safety, but really, it’s the key to that genuinely velvety homemade drink texture that coats your spoon perfectly. No grainy bits, just pure, silky goodness.
Classic Holiday Drink Flavor Profile
We aren’t messing around with the flavor. We use a balance of whole milk and heavy cream—no low-fat shortcuts here—to get that essential richness of a classic holiday drink. And don’t even think about using pre-ground nutmeg from the spice rack! Freshly grated nutmeg and cinnamon take this from ‘good’ to ‘must-have at the party’ territory. It’s the flavor of Christmas, period.
Ingredients for Creamy Homemade Eggnog From Scratch
Okay, pulling this creamy eggnog from scratch together requires you to look at your pantry first. Don’t stress about finding specialty items; this uses real ingredients you usually have on hand for holiday baking. I listed everything you need below, but take a quick peek at my substitution notes before you start whipping anything up. Remember, this recipe is for the base custard; we add the booze later!
- 6 large egg yolks
- 1 cup granulated sugar
- 1/4 teaspoon salt
- 1 1/2 cups whole milk
- 1 cup heavy cream
- 1 teaspoon vanilla extract
- 1/2 teaspoon ground nutmeg, plus more for garnish
- 1/4 teaspoon ground cinnamon
- Optional spirits: 1 cup dark rum, bourbon, or brandy
Ingredient Notes and Substitutions
Here’s the kitchen slang on these items. You have to use whole milk for this to get that rich body we’re aiming for; skim milk makes it taste thin, and we aren’t aiming for that. Heavy cream is what brings the real luxurious mouthfeel, so stick to that exact measurement, please! Now, if you’re out of granulated sugar or just want a deeper molasses note for your winter warmer recipes, you can swap it out 1:1 for maple syrup. It adds a lovely earthiness that pairs great with the nutmeg. Just try to use real vanilla extract—it makes a huge difference in the final aroma.
How to Prepare Perfect Homemade Eggnog: The Tempering Technique
Okay, listen up, because this is where we earn our stripes. If you’re making homemade eggnog the old-fashioned way, you have to treat those yolks nicely. We are essentially making a custard base here, and the absolute worst thing you can do is scramble your eggs! That means we have to temper them. Tempering is just professional slang for slowly introducing a hot liquid to a cooler, delicate one so nothing shocks or curdles. It’s the difference between a smooth, velvety homemade drink and a lumpy disaster. Trust me, once you nail this gentle introduction of heat, you’re golden. Mastering this technique ensures you get that fantastic base for all your favorite easy breakfast cookie recipes!
Step-by-Step Guide to Cooking the Custard Base
First, get your yolks, sugar, and salt whisked until they look pale and fluffy—that’s the sign they’re ready to be heated up. Next, heat your milk and cream until it’s steaming, small bubbles only, never a rolling boil. Now, for the crucial bit: take about a cup of that hot milk and SLOWLY drizzle it into the egg mixture while whisking like your life depends on it. Don’t stop whisking! We call this ‘sacrificing’ some of the hot liquid to bring the eggs up to temperature. Then, pour that beautiful tempered mix back into the saucepan with the rest of your milk. Keep stirring constantly over medium-low heat until it coats the back of your wooden spoon perfectly, or hits 170 degrees Fahrenheit if you’re using a thermometer. Pull it right off the heat!
Chilling Time for a Rich Cream Holiday Beverage
Once it’s cooked, strain that mixture right through a fine-mesh sieve—this catches any tiny bits that tried to cook too fast. Now, stir in your vanilla and spices. If you’re spiking it, add your rum or bourbon now while it’s still warm! Then, here’s a pro-tip: place plastic wrap directly onto the surface of the liquid before chilling. This stops that weird rubbery skin from forming. You MUST chill this for a minimum of four hours, but honestly, if you can leave your rich cream holiday beverage in the fridge overnight, it thickens up just right. It’s worth the wait, I promise!

Spiked Eggnog Guide: Alcoholic and Nonalcoholic Eggnog Options
So, you’ve got this incredible base of homemade eggnog, and now comes the fun part—deciding how to serve it up! If you’re hosting a mixed crowd, I always make a big batch of the base first and then keep a small portion aside as the official nonalcoholic eggnog option. It’s essentially the same custard, just without the kick, and it’s fantastic on its own, especially topped with tons of nutmeg!

For those of you looking for the real deal, let’s talk about the spiked eggnog guide. My go-to is always dark rum for that deep molasses warmth, but a good bourbon gives it a lovely oaky finish that tastes so luxurious. Or try brandy if you want something a bit smoother! Add about a cup total per batch right after cooking (Step 6), stir it in well, and then let it chill. That way, the alcohol integrates perfectly during the long chill time, and you get that ultimate cozy winter warmer recipe feel.
If you are looking for other festive ways to mix drinks, you might want to try out my recipe for fall sangria later in the season!
Tips for Homemade Eggnog Perfection
Achieving true eggnog perfection tips is all about setting yourself up for success beforehand. Don’t try to rush this! I learned quickly in the kitchen that the best results always come from giving things time to settle, merge, and deepen in flavor. That long chill time doesn’t just thicken the texture, it lets those warm spices—the cinnamon and nutmeg—really marry the dairy and egg base. My personal secret? Always trust the fresh grating of the nutmeg over the jarred stuff; it’s a small move that makes the whole glass sing.
If you’re planning ahead for big gatherings, I use this recipe alongside my easy dumpling sauce prep, getting both done on the same day!
Make-Ahead and Storage for Your Festive Holiday Drinks
This is key for manageable holiday party drinks: you cannot rush the chilling. While you technically can drink this after four hours, you just won’t get that luxurious, thick texture we worked so hard for during tempering. For the absolute best results, make your homemade eggnog the day before you plan to serve it. It’s much better on day two! Stored tightly sealed in the fridge, it should keep wonderfully for about four to five days. If you plan on spiking it, wait until it’s already fully chilled before adding your spirits.
Serving Suggestions for This Traditional Egg Nog Recipe
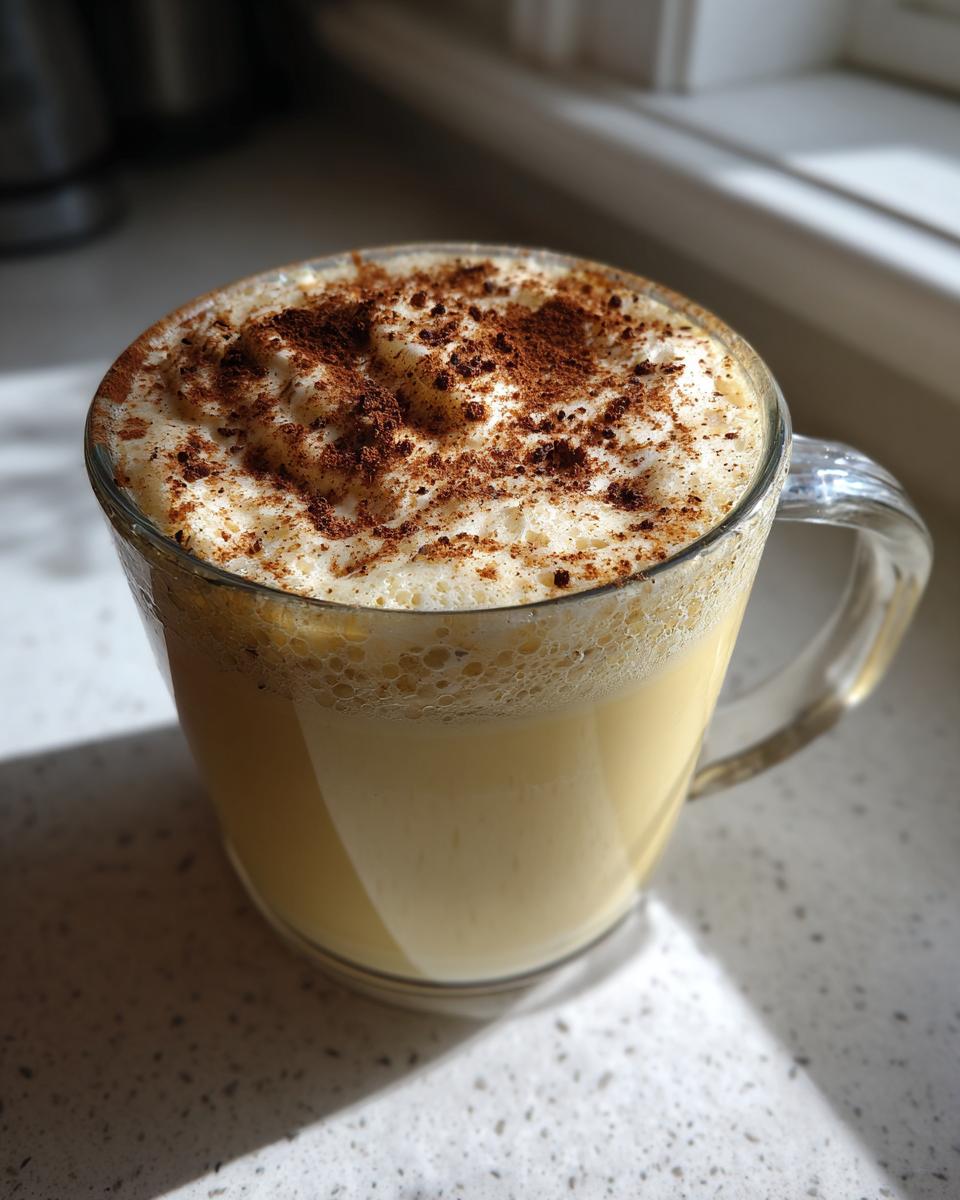
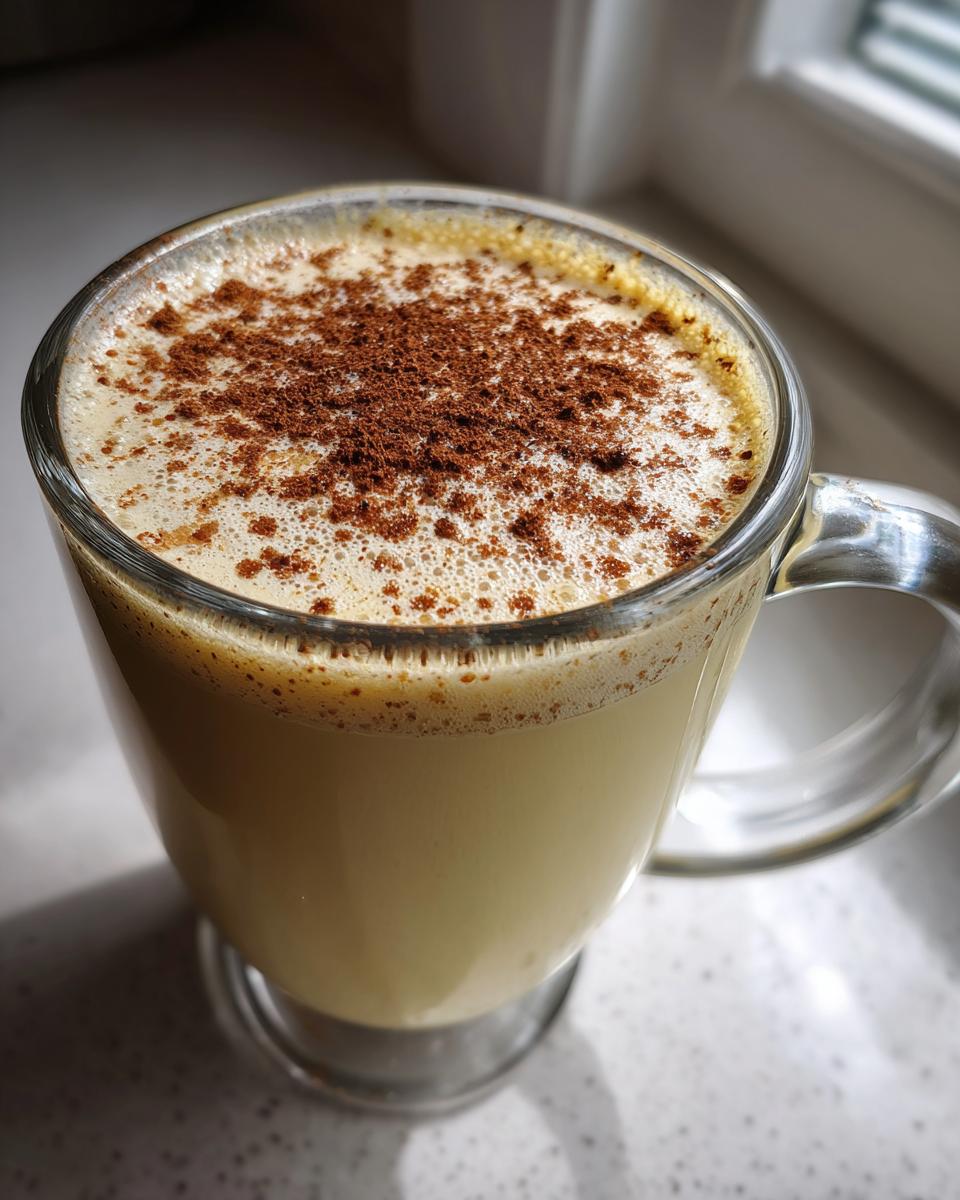
So you’ve got this gorgeous, thick batch of traditional egg nog recipe ready to go, what do you serve it with? Since this drink is already so rich—it’s practically a dessert in itself—you want to keep your snacks light so the flavors don’t compete. If I’m serving this as a cozy evening sipper, I skip the heavy snacks and just focus on the garnish. Don’t skimp on that final sprinkle of freshly grated nutmeg! It really wakes up the spices.
If I’m setting out a spread for a party, I pair it with something simple and crumbly. Think shortbread or maybe some delicate, light fruit tartlets. If you want to bake something easy to go alongside it, you absolutely have to try my recipe for whipped shortbread cookies; they melt right in your mouth alongside the cool eggnog!
Addressing Common Questions About Homemade Eggnog
I always get DMs asking about a few specific things once people start making this recipe. It’s normal! When dealing with custard and spirits, people have questions about safety and texture. I’ve pulled the top three things folks ask me about when they’re first tackling this best homemade holiday recipe. Don’t worry, we covered the safety part pretty well in the tempering section, but let’s summarize it here just in case you need a quick reference!
Can I make homemade eggnog without raw eggs?
That’s the best part! When people ask how to make eggnog without raw eggs, I tell them they are, in fact, already doing it right here! Because we cook the mixture slowly on the stovetop while tempering, we’re pasteurizing those yolks. That little bit of heat totally cooks them through, making it safe for everyone. No raw eggs needed!
How long does homemade eggnog last?
Because we cook this down into a proper custard, it lasts way longer than store-bought stuff usually does! If you keep it sealed super tight in the fridge, it’s fantastic for about five days. Don’t forget that plastic wrap touching the surface to block air!
What is the best liquor to use for spiked eggnog?
I’m sticking to my guns here: dark rum, bourbon, or brandy are the classic choices for a reason! If you’re spiking after the chilling process—maybe you have some guests who don’t drink—just add about 1/2 cup of your chosen spirit per 4 cups of chilled, finished eggnog. It’s easy to customize that way!
If you want to see more of my quick kitchen hacks, you should take a look at my instructions for easy chili recipe sometime!
Estimated Nutritional Data for This Rich Cream Holiday Beverage
Alright, let’s talk fuel for your holiday marathon! Since this is a truly decadent ingredient list—whole milk, heavy cream, sugar—we’re looking at a rich treat. This estimate is strictly for one cup of the homemade eggnog base before you add any of the optional spirits. If you decide to spike it with rum or bourbon, those calories and macros are going up, obviously! Consider this data your baseline for this rich cream holiday beverage.
- Serving Size: 1 cup
- Calories: 450
- Fat: 28g (16g Saturated)
- Carbohydrates: 42g (40g Sugar)
- Protein: 10g
- Cholesterol: 350mg
Share Your Homemade Eggnog Success
Now that you’ve mastered the tempering technique and made your own best homemade holiday recipe, I want to hear all about it! Seriously, jump down to the comments and tell me if you spiked it with bourbon or kept it clean for the whole family. If you loved how thick and creamy this turned out, please give the recipe a star rating—it helps other cooks feel confident trying it out next season. And if you have any questions about scaling up for a huge party, hit me up on the contact page here!
PrintOld Fashioned Homemade Eggnog: Rich and Creamy

Make classic homemade eggnog from scratch. This recipe yields a rich, velvety drink using tempered egg yolks for a thick, safe custard base. It is perfect for holiday gatherings and can be served non-alcoholic or spiked.
- Prep Time: 15 min
- Cook Time: 10 min
- Total Time: 4 hr 25 min
- Yield: 6 servings 1x
- Category: Dessert Drink
- Method: Stovetop Cooking
- Cuisine: American
- Diet: Vegetarian
Ingredients
- 6 large egg yolks
- 1 cup granulated sugar
- 1/4 teaspoon salt
- 1 1/2 cups whole milk
- 1 cup heavy cream
- 1 teaspoon vanilla extract
- 1/2 teaspoon ground nutmeg, plus more for garnish
- 1/4 teaspoon ground cinnamon
- Optional spirits: 1 cup dark rum, bourbon, or brandy
Instructions
- In a medium bowl, whisk the egg yolks, sugar, and salt together until the mixture is pale yellow and thick. This is your base.
- In a medium saucepan, combine the milk and heavy cream. Heat over medium heat until steam rises and small bubbles form around the edges. Do not let it boil.
- Temper the eggs: Slowly pour about 1 cup of the hot milk mixture into the egg yolk mixture while whisking constantly. This raises the temperature of the yolks without scrambling them.
- Pour the tempered egg mixture back into the saucepan with the remaining milk mixture.
- Cook over medium-low heat, stirring constantly with a wooden spoon or heatproof spatula, until the mixture thickens enough to coat the back of the spoon. This usually happens around 170 degrees Fahrenheit. Do not let it boil.
- Remove the saucepan from the heat immediately. Stir in the vanilla extract, nutmeg, and cinnamon.
- If making an alcoholic version, stir in your chosen spirits now.
- Pour the eggnog through a fine-mesh sieve into a clean bowl to remove any small cooked bits.
- Cover the surface directly with plastic wrap to prevent a skin from forming, and chill in the refrigerator for at least 4 hours, or preferably overnight, until completely cold and thick.
- Serve cold, garnished with freshly grated nutmeg.
Notes
- For a non-alcoholic eggnog, simply skip adding the rum, bourbon, or brandy in Step 6.
- If you want a thicker, more custard-like drink, increase the heavy cream to 1 1/2 cups and reduce the whole milk to 1 cup.
- Freshly grated nutmeg provides the best flavor for this classic holiday drink.
- You can substitute maple syrup for granulated sugar if you prefer a different sweetness profile.
Nutrition
- Serving Size: 1 cup
- Calories: 450
- Sugar: 40
- Sodium: 110
- Fat: 28
- Saturated Fat: 16
- Unsaturated Fat: 12
- Trans Fat: 1
- Carbohydrates: 42
- Fiber: 0
- Protein: 10
- Cholesterol: 350