
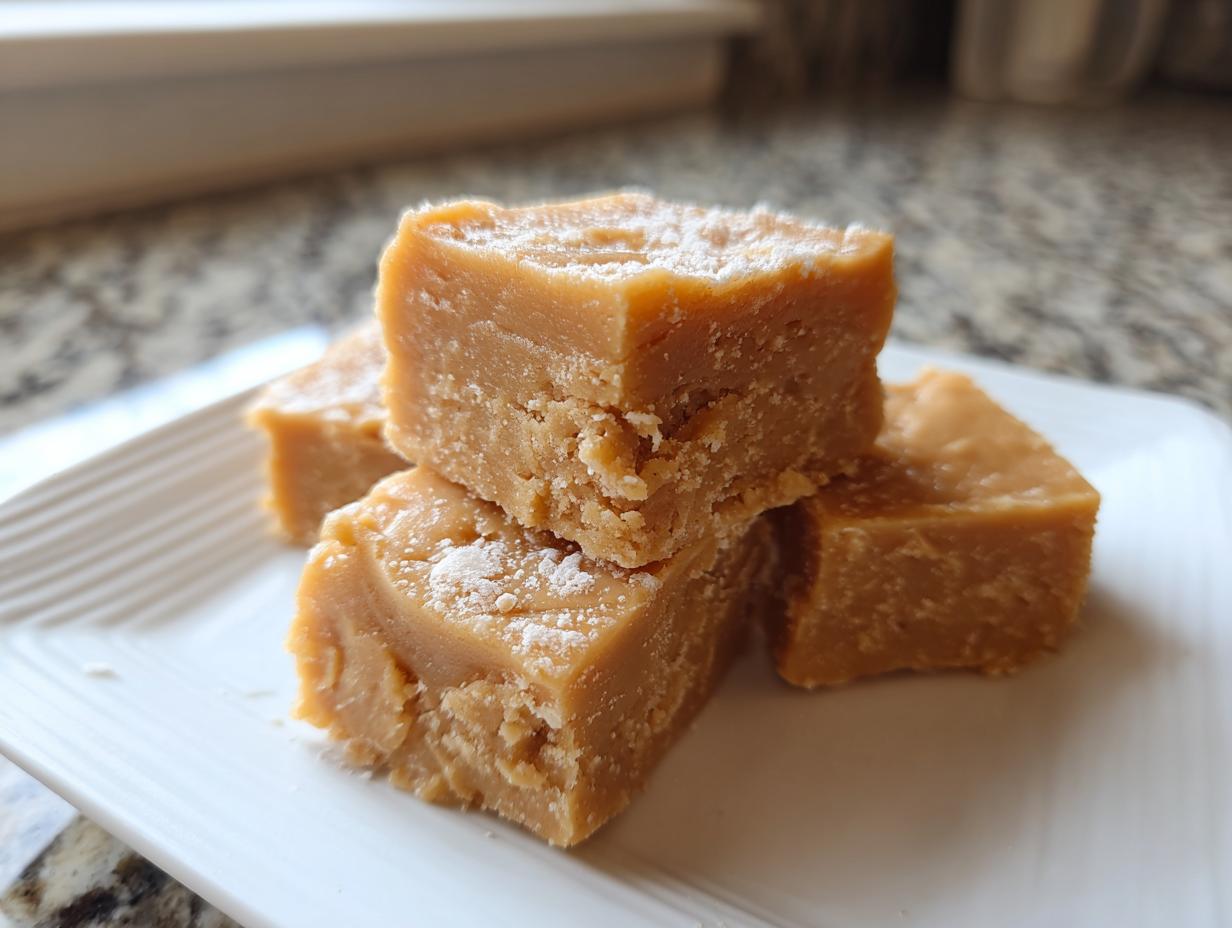
Let’s talk candy for a second. Forget anything that requires a sticky, terrifying candy thermometer or hours over a hot stove. Some of the best sweet treats out there rely on pure alchemy, which is exactly what those of us behind Kitchen Slang live for—translating the impossibly easy into the undeniably delicious. That’s why I’m handing over my absolute go-to peanut butter fudge recipe: the Easiest 4-Ingredient Creamy Peanut Butter Fudge. I learned a lot working in busy kitchens, and the biggest lesson was efficiency. This recipe cuts all the fluff and delivers that rich, old-fashioned, melt-in-your-mouth texture every single time. Seriously, no intimidation allowed here!
If you’re looking for that classic comfort food that sets up perfectly for gifts or just because you deserve a stellar snack, this is it. You can check out some other quick bites we love over at easy peanut butter cookies, but trust me, this fudge is in a league of its own.
- Why This peanut butter fudge recipe Delivers Melt-In-Your-Mouth Results
- Gather Your Ingredients for the ultimate peanut butter fudge recipe
- Step-by-Step Instructions for Your easy peanut butter fudge
- Expert Tips for the Best peanut butter fudge
- Storage and Handling for Your homemade fudge
- Serving Suggestions for this classic peanut butter dessert
- Frequently Asked Questions about the peanut butter fudge recipe
- Nutritional Snapshot of this simple peanut butter candy
- Share Your Thoughts on This Creamy Peanut Butter Fudge
Why This peanut butter fudge recipe Delivers Melt-In-Your-Mouth Results
When I talk about the best peanut butter fudge, I’m not kidding around. This isn’t some grainy, stiff candy; this is the real deal designed for your countertop. My goal here at Kitchen Slang is always to give you reliable results, especially when it comes to quick sweet treats. This approach nails that perfect texture that just dissolves on your tongue. You’ll find this qualifies as the ultimate no bake fudge recipe.
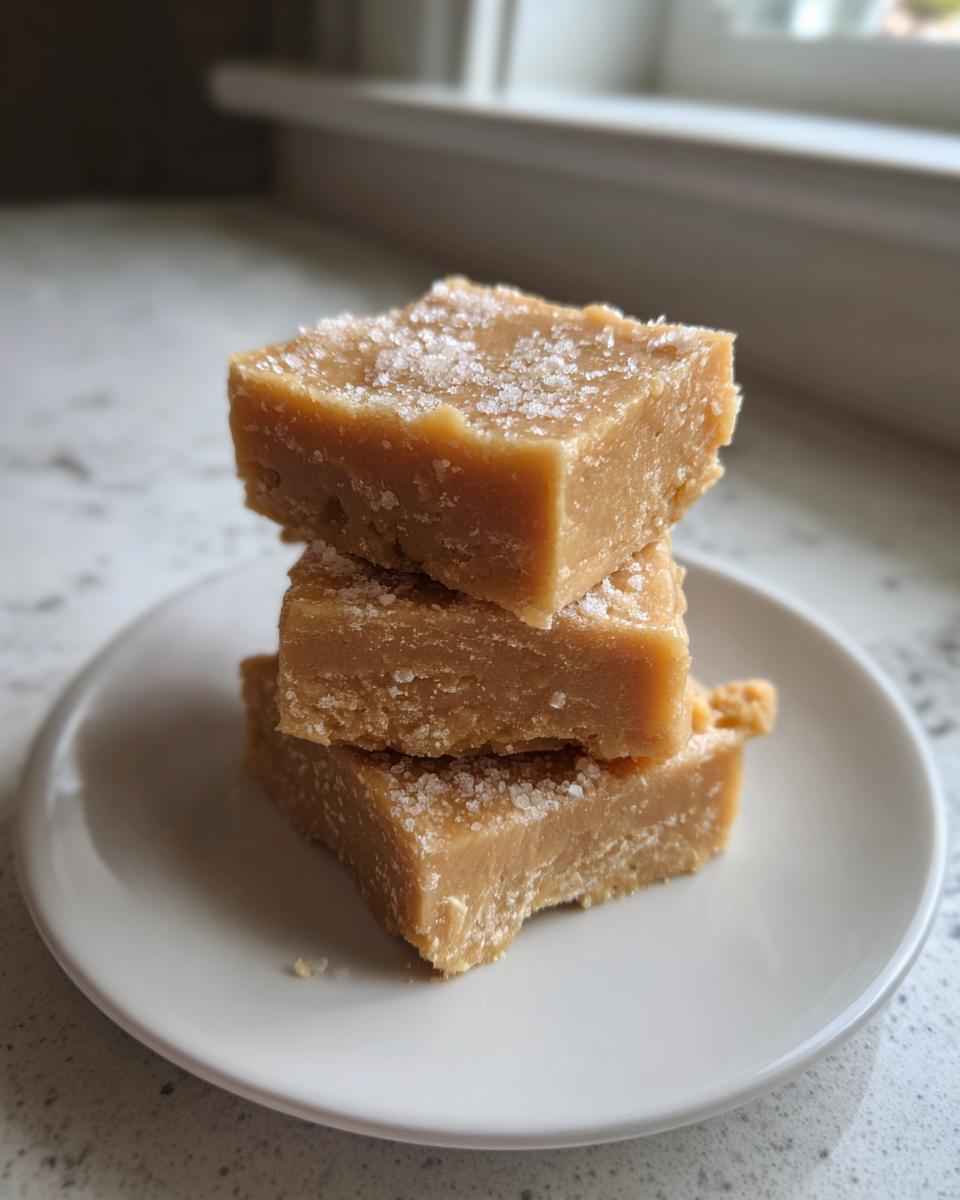
- It’s intensely rich but remains incredibly smooth—the definition of creamy peanut butter fudge.
- We rely on pantry staples, meaning you can make this gorgeous dessert whenever the craving hits.
- It’s built for speed and absolute reliability, which is perfect for holiday candy making.
The Magic of the 4 Ingredient fudge approach
Seriously, it’s just four things! That low count is the first indicator that we’ve ditched the restaurant-level complexity. The real winner here is that you get that flawless, classic flavor without ever having to wrestle with a candy thermometer. That little tool can intimidate even seasoned cooks, but not here. We use sweetened condensed milk to do all the heavy lifting, guaranteeing you a perfect, smooth texture every time you whip up this 4 ingredient fudge.
If you’re looking for other simple, reliable hits for your dessert rotation, check out my posts on delicious dessert recipes or even something different for a weeknight like easy weeknight dinners!
Gather Your Ingredients for the ultimate peanut butter fudge recipe
Alright, time to pull out the measuring cups! The beauty of this homemade fudge recipe is that you probably already have most of this stuff hiding in your pantry. This is the exact lineup I use for the perfect texture. Remember, in cooking, clarity equals control, so measure precisely, and you’ll get exactly that wonderful, thick, melt in your mouth fudge we’re aiming for.
- 1 (14 ounce) can sweetened condensed milk (Don’t grab evaporated milk, that’s a completely different beast!)
- 1 cup creamy peanut butter (I’ll talk more about selection later, but use the regular stuff!)
- 1 teaspoon vanilla extract (Pure vanilla makes a surprising difference here, trust me.)
- 3 cups powdered sugar (Make sure it’s sifted if it’s lumpy, but usually straight from the bag is fine.)
That’s the whole list! See? No weird extracts or specialty items you have to hunt down. For a few more reliable short-cuts that make life in the kitchen easier, you can always check out my guide to quick creamy nacho cheese recipe—more pantry magic!
Step-by-Step Instructions for Your easy peanut butter fudge
This is where the fun starts, and honestly, it’s where we prove that making amazing candy doesn’t require a culinary degree. We are bypassing the whole stovetop drama, which means our peanut butter fudge recipe stays perfectly creamy. Just follow these steps for the ultimate quick fudge recipe, and you’ll be set. If you want to see how we translate professional efficiency into home recipes, check out my guide to easy rocky road fudge recipe.
Prep Work: Setting Up for Success with this homemade fudge
First things first: grab an 8×8 inch pan. You need to line it with parchment paper, but here’s the pro move—leave a generous overhang on the sides. That extra paper is how you lift the whole slab out later without breaking a sweat or your beautiful fudge. Give it a light grease, too, just for good measure! That’s your non-stick insurance.
Mixing the Base: Achieving Smoothness in Your peanut butter fudge recipe
In a big microwave-safe bowl, toss in your condensed milk and the peanut butter. We’re heating this for just 60 seconds on high. Pull it out and stir it like you mean it until it’s completely glossy and fully combined. That means no streaks of pure peanut butter hiding in there. Then, stir in that vanilla extract right away.
Incorporating the Sugar for Velvety peanut butter fudge
Now for the muscle work! We add the powdered sugar in stages—about one cup at a time. You’ll need to mix vigorously after each addition. Don’t rush this part; it gets thick fast, and you need to work it in until the mixture is uniform. Yes, it takes a bit of elbow grease to get that velvety peanut butter fudge texture, but that manual effort is what incorporates everything perfectly without overcooking.
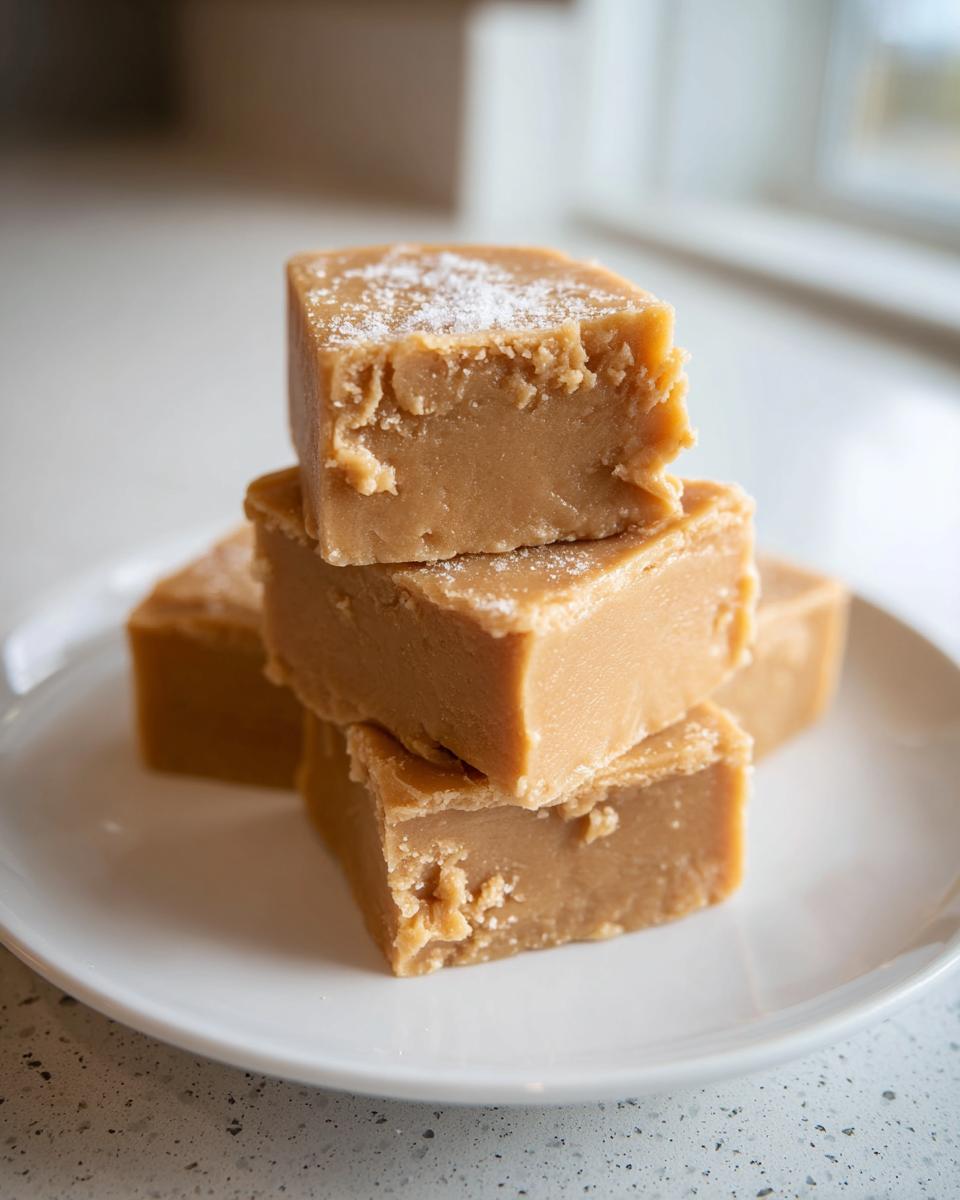
Chilling and Cutting Your quick fudge recipe
Once it’s all smooth and pressed evenly into your prepared pan, cover it gently. It has to chill out in the fridge for a minimum of two hours. Seriously, don’t peek early! Once it’s refrigerator-firm, use those parchment paper handles to lift the entire block out of the pan. Then, slice it into small squares. That overhang keeps everything neat for cutting that perfect piece of your quick fudge recipe.
Expert Tips for the Best peanut butter fudge
Okay, now that you’ve mastered the base mix, let’s talk about elevating this from great to absolutely show-stopping. When I worked those line shifts, we were always thinking about that final flourish that made someone stop and say, “Wow, what is this?” These aren’t required steps, by any means, but they turn a simple homemade fudge into a centerpiece candy.
Making Variations: Chocolate peanut butter fudge topping
If you want to take this candy to the next level, you have to bring in chocolate. It’s the classic pairing for a reason! You can easily whip up an optional top layer for amazing chocolate peanut butter fudge flavor. Just melt down about a half cup of regular chocolate chips—I like to mix in a tiny teaspoon of coconut oil with them. Why the oil? It makes the chocolate glossy and ensures it melts in your mouth instead of cracking hard when you bite it. Drizzle it artfully over the top of the fudge before it goes into the fridge. It looks professional, but it’s ridiculously simple.
Ingredient Selection for perfect peanut butter fudge texture
Listen to me closely on this one point, because it makes all the difference in delivering that promised creamy peanut butter fudge. You need to skip the natural, drippy peanut butter varieties—the kind where the oil separates if you don’t stir it for a week. Those tend to have higher water content and can make your fudge soft, maybe even greasy, when it sets up. Stick to the standard, jarred creamy stuff. It’s engineered to be stable, and that stability is what helps this no bake fudge recipe set up firm and clean every single time. It keeps that melt-in-your-mouth quality without getting messy.
If you’re looking for more ways to incorporate peanut butter into your baking repertoire, you’ve got to swing by my tutorial on buckeyes recipe classic peanut butter balls. It’s another no-fail classic!
Storage and Handling for Your homemade fudge
Now that you’ve mastered this incredible peanut butter fudge recipe, you need to know how to keep it perfect. Because this is a no-bake confection, I always suggest keeping it stashed in an airtight container right in the refrigerator. It holds its fantastic, creamy texture best when chilled. It’s good for about two weeks this way, easily outlasting any store-bought candy! If you happen to have way too much (which is a great problem to have, by the way!), this fudge freezes really well, too, which is excellent for making ahead for the holidays. For jam-making shortcuts, check out my notes on easy freezer jam no cook recipe.
Serving Suggestions for this classic peanut butter dessert
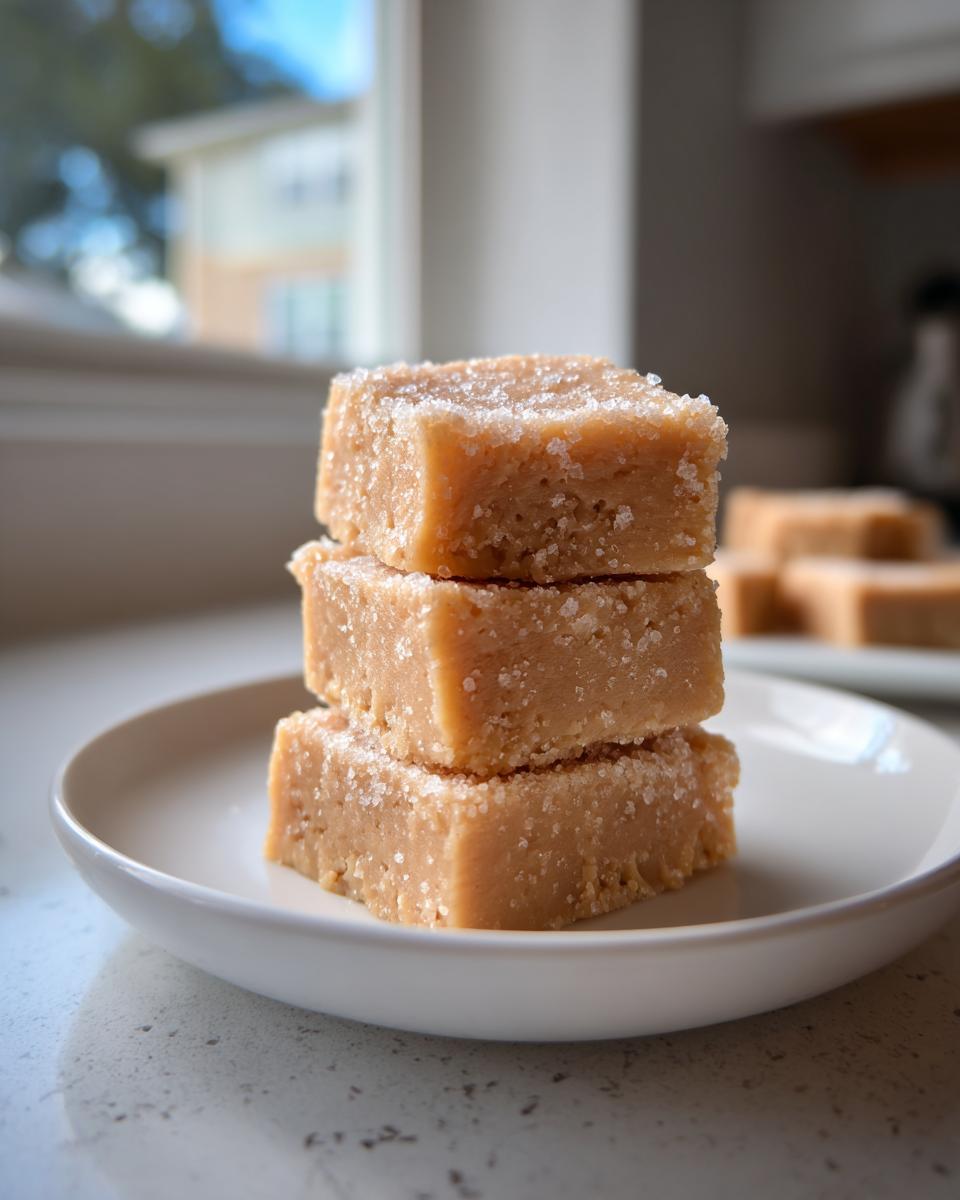
This classic peanut butter dessert is amazing year-round, but it truly shines when you present it nicely, especially around the holidays or at a big party. Since this fudge cuts so cleanly, try arranging the squares tight on a platter garnished with a few festive sprinkles—that gives it an instant ‘holiday candy recipes’ vibe. You can also line mini paper candy cups with the fudge pieces if you’re serving them buffet-style—that makes them super easy for grabbing when people are mingling.
For pairing, it’s fantastic with a cup of strong, black coffee, or you can serve it alongside fresh strawberries; the fruit cuts through the sweetness perfectly. If you want even more homemade ideas perfect for gifting or parties, you should really look at my recipe for christmas jam recipe!
Frequently Asked Questions about the peanut butter fudge recipe
I get asked about this recipe constantly because people can’t believe how easy the peanut butter fudge recipe is! Here are the few things that pop up most often when folks are whipping up their first batch.
Can I make this peanut butter fudge recipe using crunchy peanut butter?
You absolutely *can*! But you need to know what you’re signing up for. Using crunchy peanut butter will give you little bits of peanut throughout the finished candy. If you love texture, go for it! But if you’re aiming for that ultra-smooth, pure, melt-in-your-mouth experience, stick to the creamy version. Crunchy will give you a slightly less uniform set, too.
What is the best way to store this no bake fudge recipe?
The best way to keep this no bake fudge recipe tasting fresh and firm is airtight storage right in the fridge. It stays perfect there for about two weeks. If you wrap it tightly, it can honestly hang out in the freezer for a couple of months, which is fantastic for stocking up on holiday candy ahead of time. Just let it warm up on the counter for about 15 minutes before serving!
How do I ensure my fudge sets firm without a candy thermometer?
This is the secret sauce that lets us ditch that fussy thermometer! Two things are critical here: First, you must incorporate all of the powdered sugar thoroughly; don’t stop mixing until it’s uniform, even if your arm gets tired. Second, be patient with the chilling time. Don’t rush it out of the fridge before the two-hour minimum hits. That cold temperature is what solidifies the texture using the condensed milk base.
For other great no-fuss kitchen workarounds, make sure you check out my tips for peanut butter rice krispie treats!
Nutritional Snapshot of this simple peanut butter candy
Okay, let’s look at the numbers because even the best sweet treats deserve an honest accounting. Since we are dealing with a rich confection made with condensed milk and peanut butter, these details give you a clearer picture of what you’re enjoying in each bite of this simple peanut butter candy. Remember, these figures are estimates based on serving 36 squares using standard brands. Ingredients can shift those numbers slightly, just as they do in any professional recipe!
- Serving Size: 1 square
- Calories: 150
- Sugar: 18g
- Fat: 8g (with 3g accounted for as Saturated Fat)
- Protein: 3g
- Carbohydrates: 19g
So, while they say this fudge isn’t diet food—and they’re probably right!—you are getting a decent little bit of protein right there in your square. It’s decadent, but it’s honest. Enjoy it guilt-free; you made this magic happen with just a bowl and a microwave!
Share Your Thoughts on This Creamy Peanut Butter Fudge
Alright, bakers, we’ve wrapped up the process for what I firmly believe is the best peanut butter fudge recipe out there. Now it’s your turn to step up to the plate! I want to hear all about your success with this incredible, no-fuss confection. Did it set up perfectly on the first try? Are you already hiding the container from your roommates?
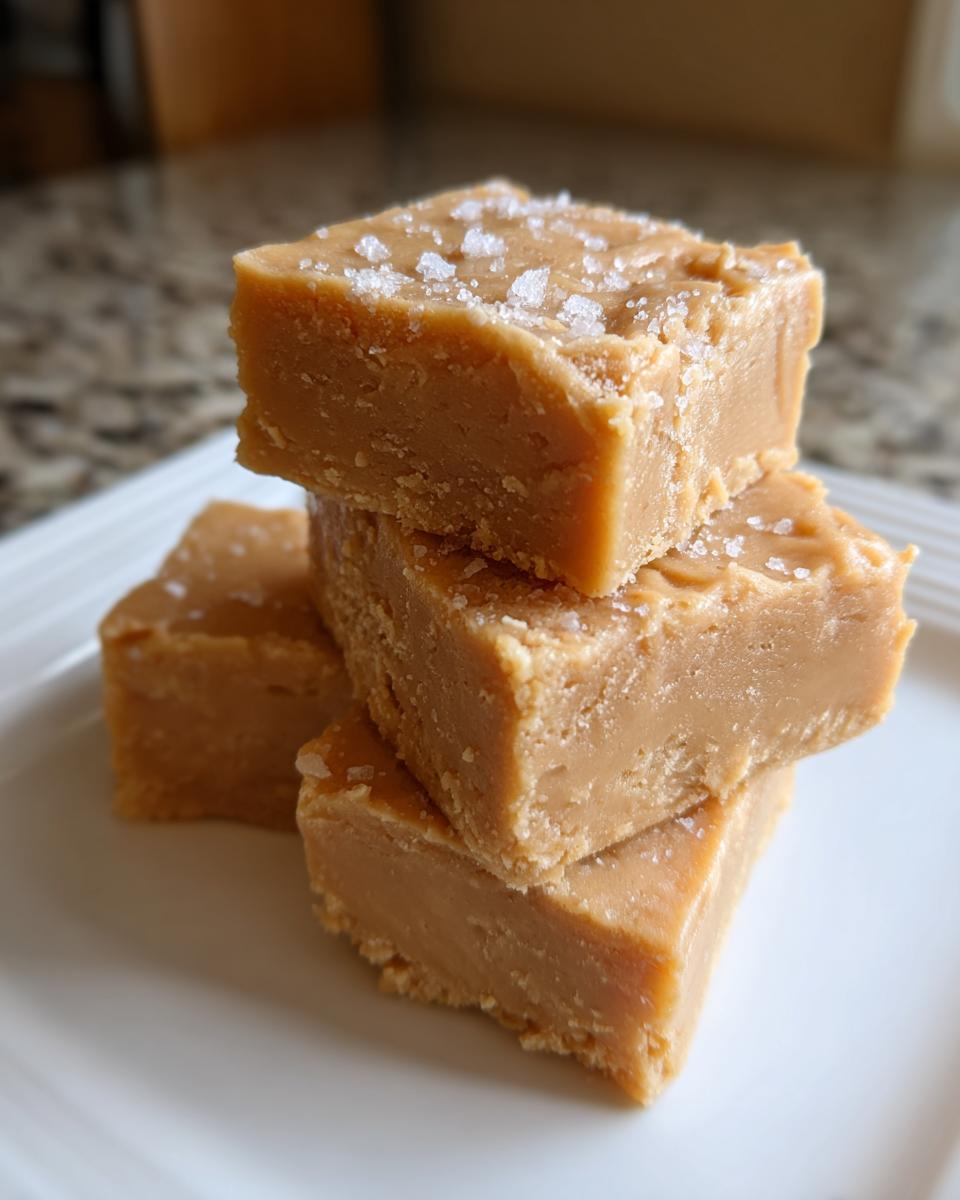
Don’t keep the good news just for yourself! Hit that rating button below and let everyone know how this creamy peanut butter fudge performed in your kitchen symphony. Did you try my chocolate drizzle upgrade? Did you sprinkle sea salt on top? I genuinely want to know the kitchen slang or tricks *you* used to make it your own!
Drop all your comments, success stories, and maybe even your next great shortcut idea in the section below. If you want to send pictures of your fudge squares—because I know they look amazing—you can always reach out via my contact page. And if you need another delicious inspiration point, go check out the amazing ideas that others have posted over at Sugar & Soul!
Happy treating, everyone. Now go enjoy that perfect, velvety bite!
PrintEasiest 4-Ingredient Creamy Peanut Butter Fudge (No-Fail No-Bake Recipe)
Make rich, melt-in-your-mouth peanut butter fudge using only four simple ingredients. This no-bake recipe delivers classic, old-fashioned flavor without needing a candy thermometer. It sets up perfectly every time for a quick, satisfying sweet treat.
- Prep Time: 10 min
- Cook Time: 0 min
- Total Time: 2 hours 10 min
- Yield: 36 small squares 1x
- Category: Dessert
- Method: No-Bake
- Cuisine: American
- Diet: Vegetarian
Ingredients
- 1 (14 ounce) can sweetened condensed milk
- 1 cup creamy peanut butter
- 1 teaspoon vanilla extract
- 3 cups powdered sugar
Instructions
- Line an 8×8 inch baking pan with parchment paper, leaving an overhang on the sides for easy removal. Lightly grease the paper.
- In a large microwave-safe bowl, combine the sweetened condensed milk and peanut butter. Microwave on high for 60 seconds. Stir well until the mixture is smooth and fully combined.
- Stir in the vanilla extract until mixed in.
- Gradually add the powdered sugar, about one cup at a time, mixing thoroughly after each addition until the mixture is thick and uniform. This will require some effort.
- Press the fudge mixture evenly into the prepared baking pan. Use a spatula or the back of a spoon to smooth the top.
- Refrigerate the fudge for at least 2 hours, or until firm enough to cut.
- Use the parchment paper overhang to lift the fudge from the pan. Cut into small squares.
Notes
- For an extra indulgent finish, you can melt 1/2 cup of chocolate chips with 1 teaspoon of coconut oil and drizzle it over the top before chilling.
- If you want a slightly firmer fudge, use creamy peanut butter that is not the natural, oily kind.
- This recipe is naturally gluten free and is a great option for holiday candy making.
Nutrition
- Serving Size: 1 square
- Calories: 150
- Sugar: 18g
- Sodium: 65mg
- Fat: 8g
- Saturated Fat: 3g
- Unsaturated Fat: 5g
- Trans Fat: 0g
- Carbohydrates: 19g
- Fiber: 0g
- Protein: 3g
- Cholesterol: 10mg