
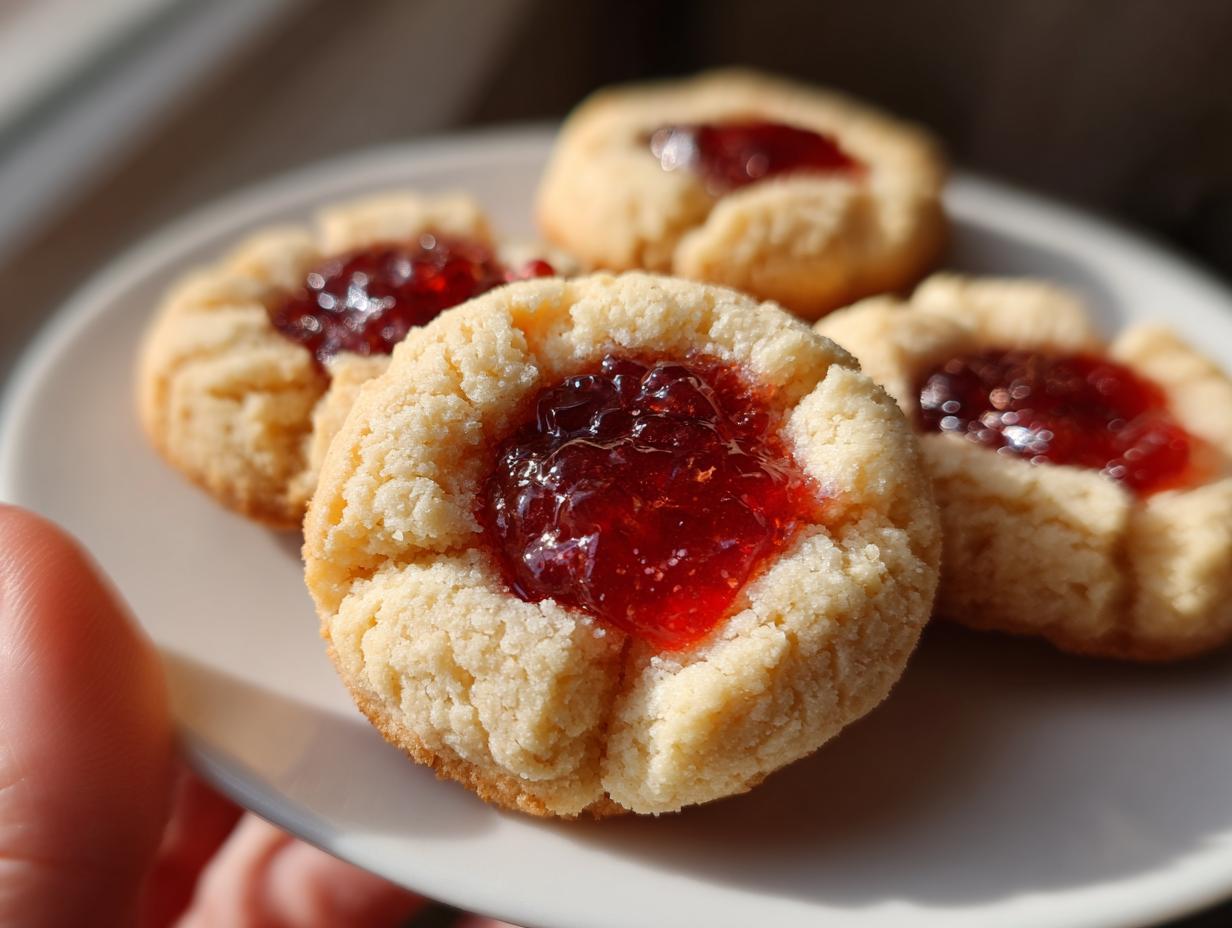
There’s just something magical about a cookie that looks like a tiny, edible jewel, right? That’s exactly what these Thumbprint cookies are! They’re like little bites of cozy, homemade holiday charm, perfect for tucking into gift boxes or just making your afternoon tea feel extra special. I remember Zoe telling me how these were always a hit on her family’s cookie platters growing up – that buttery shortbread base, just firm enough to hold its shape, cradling a bright dollop of jam. It’s that perfect combo of rich, melt-in-your-mouth cookie and a burst of fruity sweetness that just makes you happy.

- Why You'll Love These Thumbprint Cookies
- Gather Your Ingredients for Perfect Thumbprint Cookies
- Essential Equipment for Making Thumbprint Cookies
- Step-by-Step Guide to Crafting Delicious Thumbprint Cookies
- Serving and Storing Your Festive Holiday Treat
- Frequently Asked Questions About Thumbprint Cookies
- Estimated Nutritional Information for Thumbprint Cookies
- Share Your Thumbprint Cookie Creations!
Why You’ll Love These Thumbprint Cookies
Seriously, these cookies are the real deal. They’re:
- Super buttery and rich: That shortbread base just melts in your mouth!
- Hold their shape like champs: No sad, spread-out cookies here – they look gorgeous!
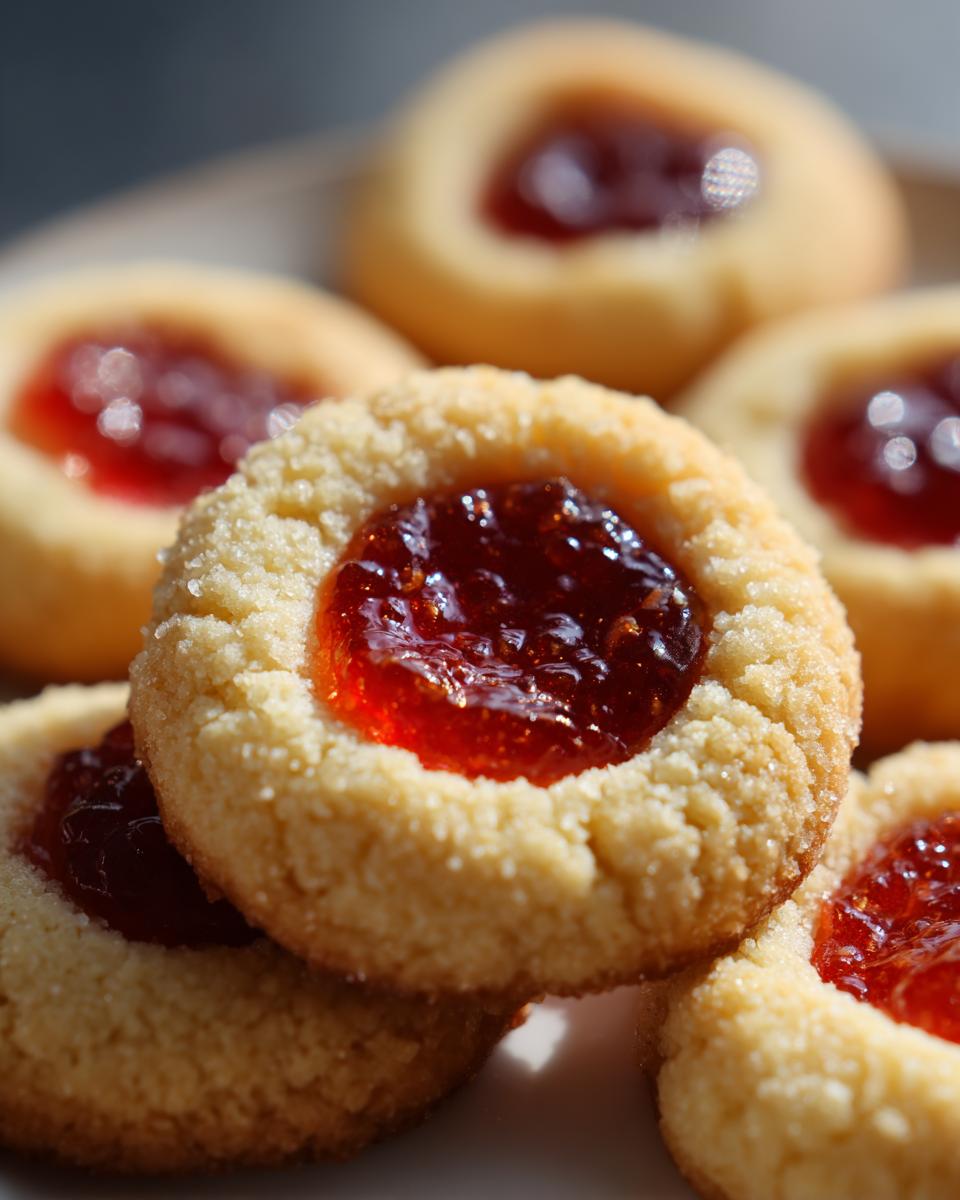
- Totally festive: The jam centers are like little jewels, perfect for holiday platters.
- So easy to make: You can totally whip these up even if you’re a bit short on time.
- Customizable! Pick your favorite jam and make them your own.
Gather Your Ingredients for Perfect Thumbprint Cookies
Alright, let’s get down to what you’ll need for these amazing Thumbprint cookies. It’s not a long list, which is just another reason I love them! Remember, using good quality butter makes a HUGE difference – it really is the star of the show here for that rich, shortbread flavor. And for the jam, get a little creative! Raspberry and apricot are classics for a reason, but honestly, whatever fruity goodness you have can work. The kind of jam you pick will totally change the vibe of your cookie, so have fun with it!
Here’s what you’ll grab:
- 1 cup unsalted butter, softened – make sure it’s soft, not melted!
- 1/2 cup granulated sugar
- 1 large egg yolk – this gives us that tender crumb
- 1 teaspoon vanilla extract – for that hint of warmth
- 1/4 teaspoon salt – just to balance everything out
- 2 cups all-purpose flour
- 1/2 cup jam (raspberry, apricot, or your favorite flavor!)
Ingredient Notes and Substitutions
So, about that butter – use the good stuff, unsalted. If all you’ve got is salted butter, no worries! Just skip the 1/4 teaspoon of salt in the recipe. The egg yolk is key to getting that lovely, tender, melt-in-your-mouth texture, so try not to skip it if you can. Honestly, for the flour, all-purpose is just fine. And for the jam, if you want it super smooth, you can warm it up a bit in a little saucepan and then strain out any chunky bits. This can also help prevent it from bubbling over too much when baking. Don’t be afraid to try a few different flavors to make your cookie platter pop!
Essential Equipment for Making Thumbprint Cookies
Okay, you’ve got your ingredients, now let’s talk tools! To make these totally awesome thumbprint cookies, you don’t need anything too fancy. Just your trusty mixing bowls, some measuring cups and spoons (gotta get those amounts right!), a couple of baking sheets, and parchment paper is a must for easy cleanup. Oh, and for that signature little dip? Your thumb works perfectly, but the back of a tiny spoon is a great alternative if you prefer!
Step-by-Step Guide to Crafting Delicious Thumbprint Cookies
Alright, let’s get these amazing little beauties made! This whole process usually takes us about 35 minutes total, with prep being around 20 minutes and the actual baking just 15. So, if you’re looking for a quick and easy cookie fix for those Thumbprint cookies you’re dreaming about, this is it! First things first, grab a big bowl and cream together that softened butter and sugar. You want it nice and fluffy, like pale yellow clouds. This is where we start building that buttery base. Then, mix in the egg yolk and that splash of vanilla – just until it’s all together.
Now, in a separate bowl, whisk your flour and salt. Gradually add those dry ingredients to your wet mixture. Mix them *just* until they come together, seriously, don’t overdo it! Overmixing is the enemy of tender cookies. Once it’s just combined, get it smooshed into a ball, wrap it up, and pop it in the fridge for at least 30 minutes. This chilling step is super important, trust me!
While that dough is chilling, preheat your oven to 350°F (175°C) and get your baking sheets ready with parchment paper. Once the dough is firm enough to handle, roll it into little 1-inch balls. Place them on your baking sheets, giving them a little space, about 2 inches apart. Now for the fun part – use your thumb (wash it first, obviously!) or the back of a small spoon to make a nice little dent in the center of each cookie. Don’t press too hard, you don’t want to go all the way through!
Next is filling those little wells with about 1/2 teaspoon of your chosen jam. See that lovely Christmas jam recipe I linked? Perfect for this! Bake them for about 12-15 minutes. You’re looking for the edges to just start getting lightly golden. They’ll look a little soft in the middle, but that’s okay! Let them chill on the baking sheet for a few minutes before carefully moving them to a wire rack to cool completely. This step is key to making sure they don’t fall apart.
Tips for Perfect Jam Filling
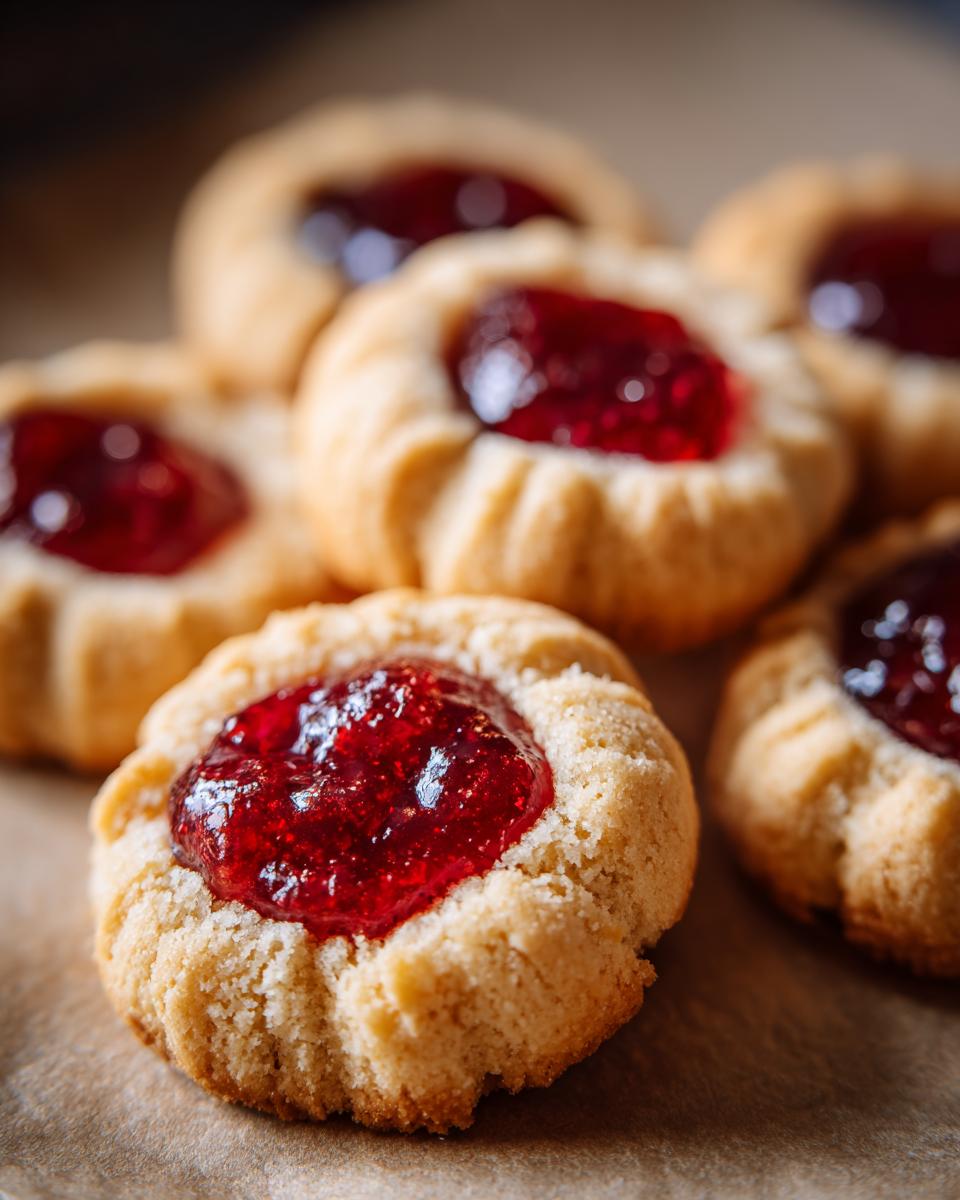
Getting that jam just right is key to a beautiful thumbprint! To make sure it’s smooth and sits nicely, you can warm it up really gently in a small pot and then strain out any big fruit pieces. This also helps it not bubble over too much. When you fill the cookies, about half a teaspoon is usually perfect. You don’t want it overflowing onto the cookie sheet, otherwise, it can get sticky and burn. The jam will set up as it bakes, turning into that gorgeous, jewel-like center we all love!
Baking and Cooling Your Thumbprint Cookies
The baking time is pretty quick, usually 12 to 15 minutes at 350°F. You’re looking for the edges to be just a light golden brown. They might seem a little soft in the center, but don’t worry, they’ll firm up as they cool. Once they’re out of the oven, it’s super important to let them cool on the baking sheet for about 5 minutes. This gives them a chance to set up a bit. Trying to move them too soon is when they can break. After those few minutes, gently transfer them to a wire rack to cool completely. Patience here pays off for perfect cookies!
Serving and Storing Your Festive Holiday Treat
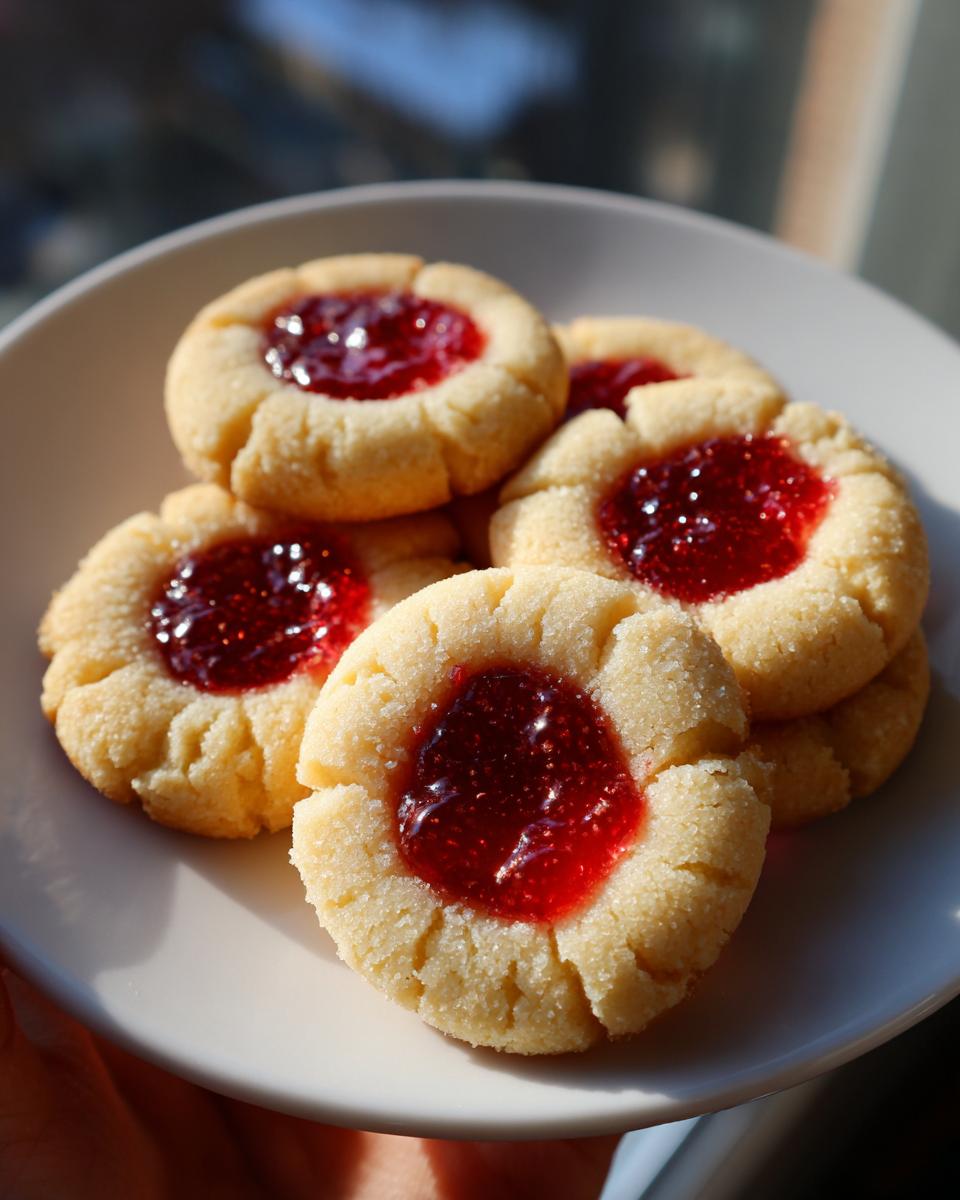
These little gems are absolutely perfect as a festive holiday treat! They look so pretty on a cookie platter alongside other goodies, like these apple pie cookies or even some delicate whipped shortbread cookies, or all by themselves. I love arranging them and seeing those bright jam centers pop! Since they’re so buttery and delicious, they also make fantastic homemade gifts. Just pop them into cute tins or boxes. To keep them tasting their best, store them in an airtight container at room temperature. They’ll stay wonderfully fresh for a good 3-4 days, so you can enjoy them all week!
Frequently Asked Questions About Thumbprint Cookies
Got questions about these little beauties? I’ve got you covered! These thumbprint cookies are pretty straightforward, but a few common things pop up.
Why are my thumbprint cookies spreading so much?
Usually, if your cookies are spreading, it’s because the butter was too soft when you mixed it, or the dough wasn’t chilled long enough! Make sure your butter is softened, not melted, and don’t skip that chilling time. That cold dough is key to holding its shape. Also, make sure you’re not packing the balls too tightly when you roll them.
Can I use any jam for these jam-filled cookies?
Pretty much! I love raspberry and apricot because they give such a vibrant color and classic flavor, but feel free to experiment. Strawberry, plum, even a nice blueberry preserves would be delicious. Just try to use a jam that’s not too runny. If it’s super thin, warming it up and straining out the seeds as I mentioned in the notes can help it set up better.
Can I make thumbprint cookie dough ahead of time?
Yes, absolutely! The dough keeps beautifully in the fridge for up to 3 days. Just wrap it well in plastic wrap. If it seems a little too firm to roll when you take it out, just let it sit on the counter for about 10-15 minutes to soften up slightly. It makes baking day a breeze when you can just pull pre-made dough out to shape!
What’s the best way to get a nice, deep thumbprint?
The trick is to make the indent *after* you’ve placed the dough ball on the baking sheet. Use a chilled thumb (run it under cold water and dry it off!) or the back of a metal spoon. Press down firmly but gently, creating a cozy little cup for your jam. If the dough cracks a bit, just gently smooth it with your fingers. The jam will fill in any imperfections, so don’t stress too much!
Estimated Nutritional Information for Thumbprint Cookies
Okay, so we all know these little guys are a treat built on buttery goodness! Here’s a rough idea of what’s in each of these delicious thumbprint cookies, keeping in mind that the jam you use can really change things up. These are just estimates based on standard ingredients:
- Serving Size: 1 cookie
- Calories: About 120
- Fat: Around 7g
- Sugar: Roughly 8g
- Carbohydrates: Around 14g
- Protein: About 1g
Remember, this is just a ballpark! Different butters, sugars, and especially your jam choice will affect the final numbers. Enjoy them guilt-free – they’re totally worth it!
Share Your Thumbprint Cookie Creations!
Okay, now it’s YOUR turn! I’d absolutely LOVE to see your takes on these gorgeous thumbprint cookies! Did you go classic raspberry, or get super creative with a different jam? Drop a comment below with your feedback, let me know how they turned out, or even give the recipe a star rating! And if you’re feeling fancy, snap a pic and tag us on social media – seeing your creations spread joy is the best part of all this! You can read more about how we share our kitchen joys over on our About page!
PrintAmazing Thumbprint Cookies: 12+ Perfect Bites

Bake buttery, rich thumbprint cookies filled with jewel-toned jam for a festive holiday treat. These shortbread cookies hold their shape and are perfect for gift boxes.
- Prep Time: 20 min
- Cook Time: 15 min
- Total Time: 35 min
- Yield: 24 cookies 1x
- Category: Dessert
- Method: Baking
- Cuisine: American
- Diet: Vegetarian
Ingredients
- 1 cup unsalted butter, softened
- 1/2 cup granulated sugar
- 1 large egg yolk
- 1 teaspoon vanilla extract
- 1/4 teaspoon salt
- 2 cups all-purpose flour
- 1/2 cup jam (raspberry, apricot, or your favorite)
Instructions
- Cream together the softened butter and granulated sugar in a large bowl until light and fluffy.
- Beat in the egg yolk and vanilla extract until well combined.
- In a separate bowl, whisk together the flour and salt.
- Gradually add the dry ingredients to the wet ingredients, mixing until just combined. Do not overmix.
- Chill the dough for at least 30 minutes.
- Preheat your oven to 350°F (175°C). Line baking sheets with parchment paper.
- Roll the chilled dough into 1-inch balls and place them on the prepared baking sheets, about 2 inches apart.
- Use your thumb or the back of a small spoon to create an indentation in the center of each cookie.
- Fill each indentation with about 1/2 teaspoon of jam.
- Bake for 12-15 minutes, or until the edges are lightly golden.
- Let the cookies cool on the baking sheets for a few minutes before transferring them to a wire rack to cool completely.
Notes
- For a smoother jam filling, you can warm it slightly and strain out any large fruit pieces.
- If your dough becomes too soft while rolling, chill it again for a few minutes.
- Consider using a variety of jam flavors for a colorful assortment.
- These cookies are best stored in an airtight container at room temperature.
Nutrition
- Serving Size: 1 cookie
- Calories: 120
- Sugar: 8g
- Sodium: 40mg
- Fat: 7g
- Saturated Fat: 4g
- Unsaturated Fat: 3g
- Trans Fat: 0g
- Carbohydrates: 14g
- Fiber: 0g
- Protein: 1g
- Cholesterol: 20mg