
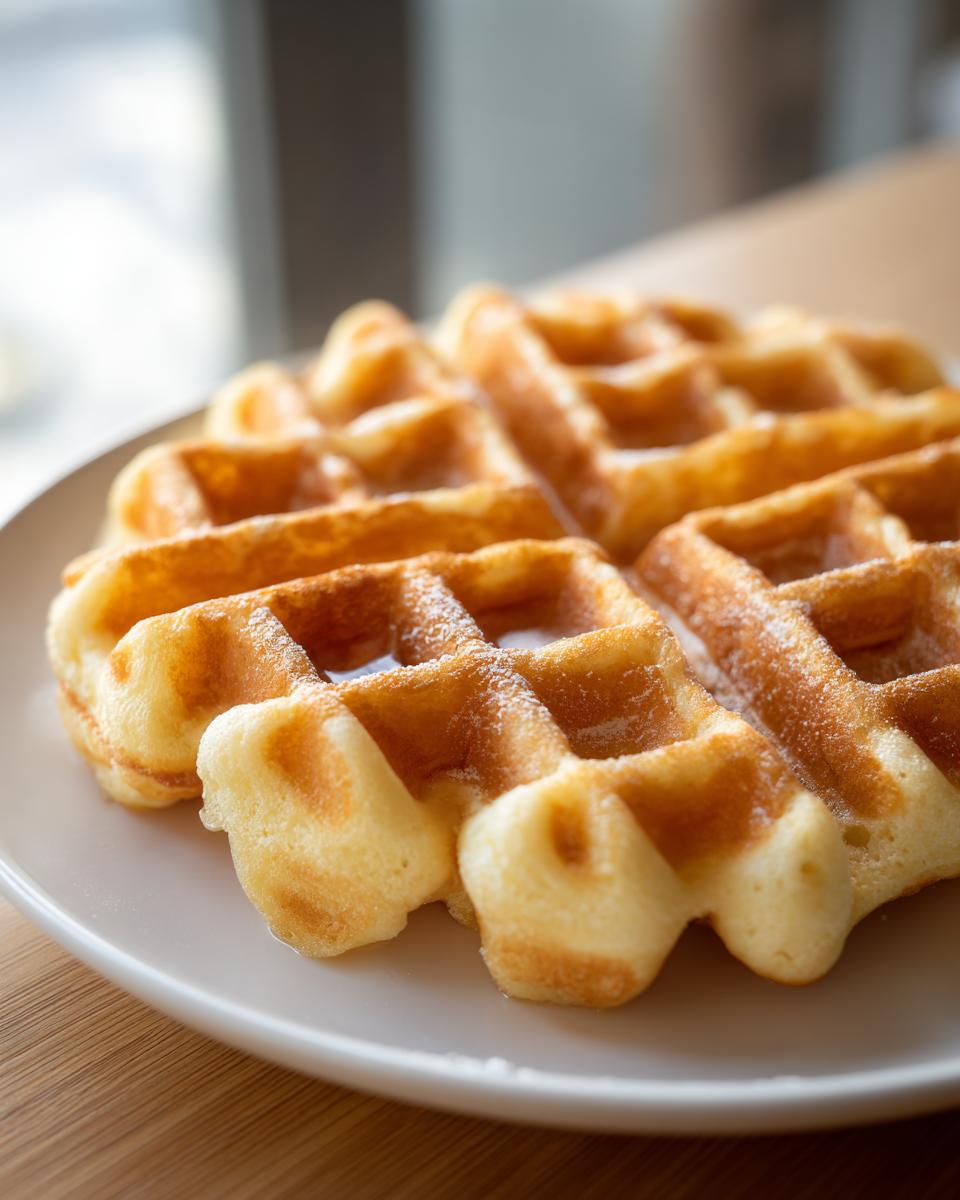
There’s just something magical about a hotel breakfast, right? That feeling of pure indulgence, waking up and knowing a delicious, perfectly cooked waffle is waiting for you. Well, guess what? You can absolutely recreate that hotel-style breakfast magic right in your own kitchen! Forget those sad, floppy frozen waffles – we’re talking about making real, honest-to-goodness waffles from scratch that are perfectly crispy on the outside, wonderfully fluffy on the inside, and just a little bit sweet. I used to think making amazing waffles was some big secret, but trust me, it’s totally doable, and I’m so excited to share my go-to recipe with you!
- Why You'll Love These Waffles
- Gather Your Ingredients for Perfect Waffles
- Step-by-Step Guide to Crispy Homemade Waffles
- Ingredient Notes and Substitutions
- Serving Suggestions for Your Sweet Breakfast Treat
- Make-Ahead and Storage for Waffles
- Frequently Asked Questions About Waffles
- Estimated Nutritional Information
- Share Your Waffle Creations!
Why You’ll Love These Waffles
Seriously, why wouldn’t you want these? They’re:
- Super Easy to Whip Up: Seriously, you’ll be amazed how fast these come together.
- Incredibly Delicious: That perfect balance of sweetness and golden crunch is just heavenly.
- The Best Texture EVER: Crispy on the outside, light *and* fluffy on the inside. It’s the waffle dream!
- Perfect for Any Occasion: Makes your regular Saturday morning feel like a fancy brunch.
Gather Your Ingredients for Perfect Waffles
Alright, let’s get down to business! To make these incredible, crispy homemade waffles, you’ll want to have these goodies ready to go. Most of these are probably already in your pantry, which is the best part! The secret weapon for that extra little crunch? A tablespoon of cornstarch – don’t skip it! It makes all the difference, trust me.
Here’s what you’ll need:
- 2 cups all-purpose flour
- 2 tablespoons granulated sugar
- 2 teaspoons baking powder
- 1 teaspoon salt
- 1/4 teaspoon baking soda
- 1 tablespoon cornstarch (this is for that amazing crispiness!)
- 2 large eggs, separated (yolks in one bowl, whites in another!)
- 1 3/4 cups milk
- 1/2 cup unsalted butter, melted
- 1 teaspoon vanilla extract
Step-by-Step Guide to Crispy Homemade Waffles
Alright, ready to make some magic happen? Making these waffles is honestly so straightforward, it feels almost too easy. The biggest tip I can give you is to not overmix the batter. Seriously, a few lumps are totally fine – it’s better than giving those gluten strands a chance to get tough. My grandma always said overmixing makes a waffle tough as boot leather, and nobody wants that at breakfast! If you’re looking for other waffle options, you might even want to check out our high-protein waffles recipe too!
First things first, get that waffle iron going! You want it nice and hot so your waffles get that perfect golden-brown crust right away. While it’s heating up, whisk together all your dry ingredients in a big bowl – that’s the flour, sugar, baking powder, salt, baking soda, and our secret weapon, the cornstarch. Give it a good whisk so everything is evenly distributed.
Now, in a separate bowl, whisk up your egg yolks, milk, melted butter, and vanilla. Pour these wet ingredients into the dry ones and mix until they’re *just* combined. It’ll look a little lumpy, and that’s exactly what you want. Trust the process!
Here comes the fluffy part: in a completely clean bowl, beat your egg whites until they form stiff peaks. You know, when you hold the bowl upside down and nothing moves? That’s the stuff! Then, you’ll very gently fold those fluffy egg whites into your main batter. Folding is key here – you don’t want to stir and deflate all that lovely air. Just a few gentle turns with a spatula until you don’t see big streaks of white anymore.
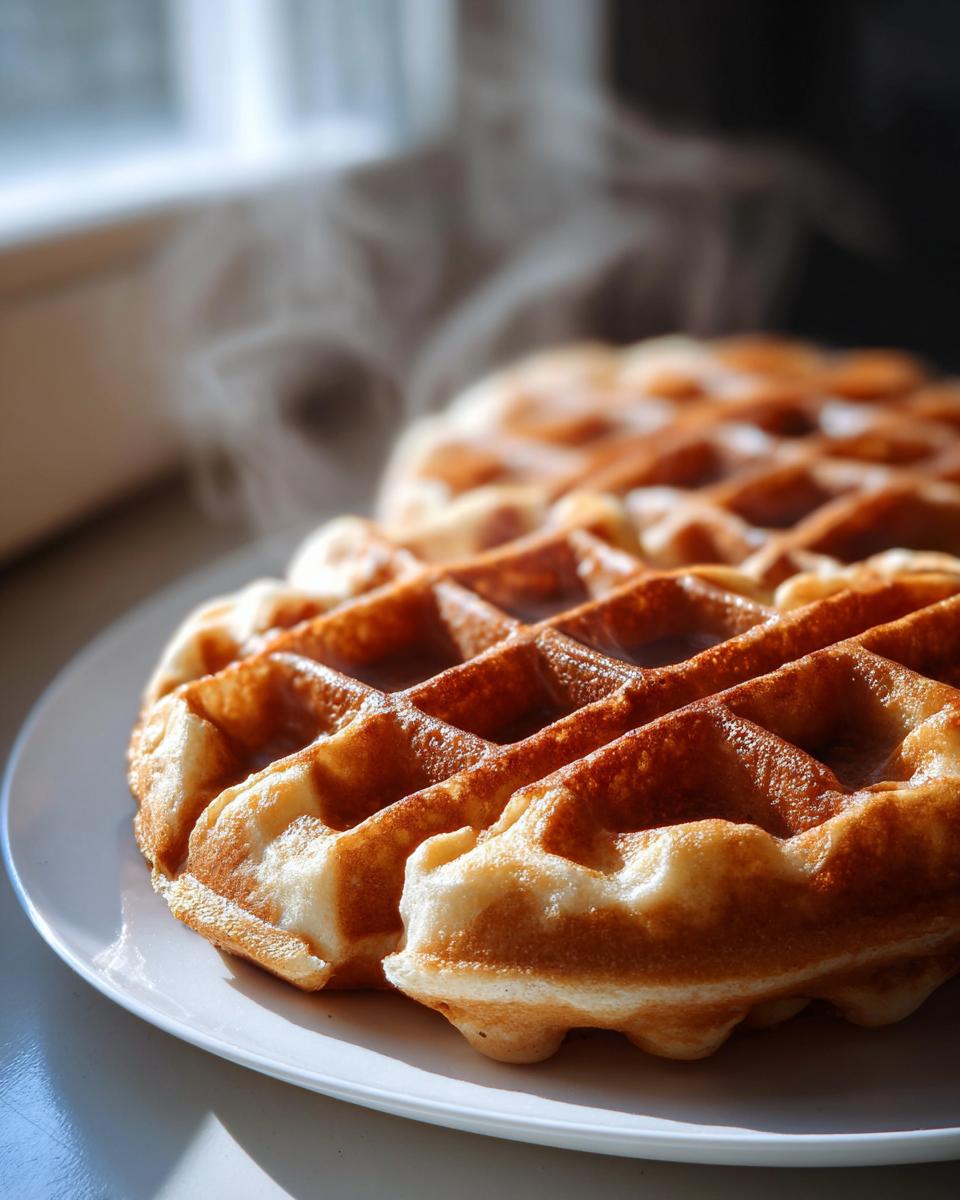
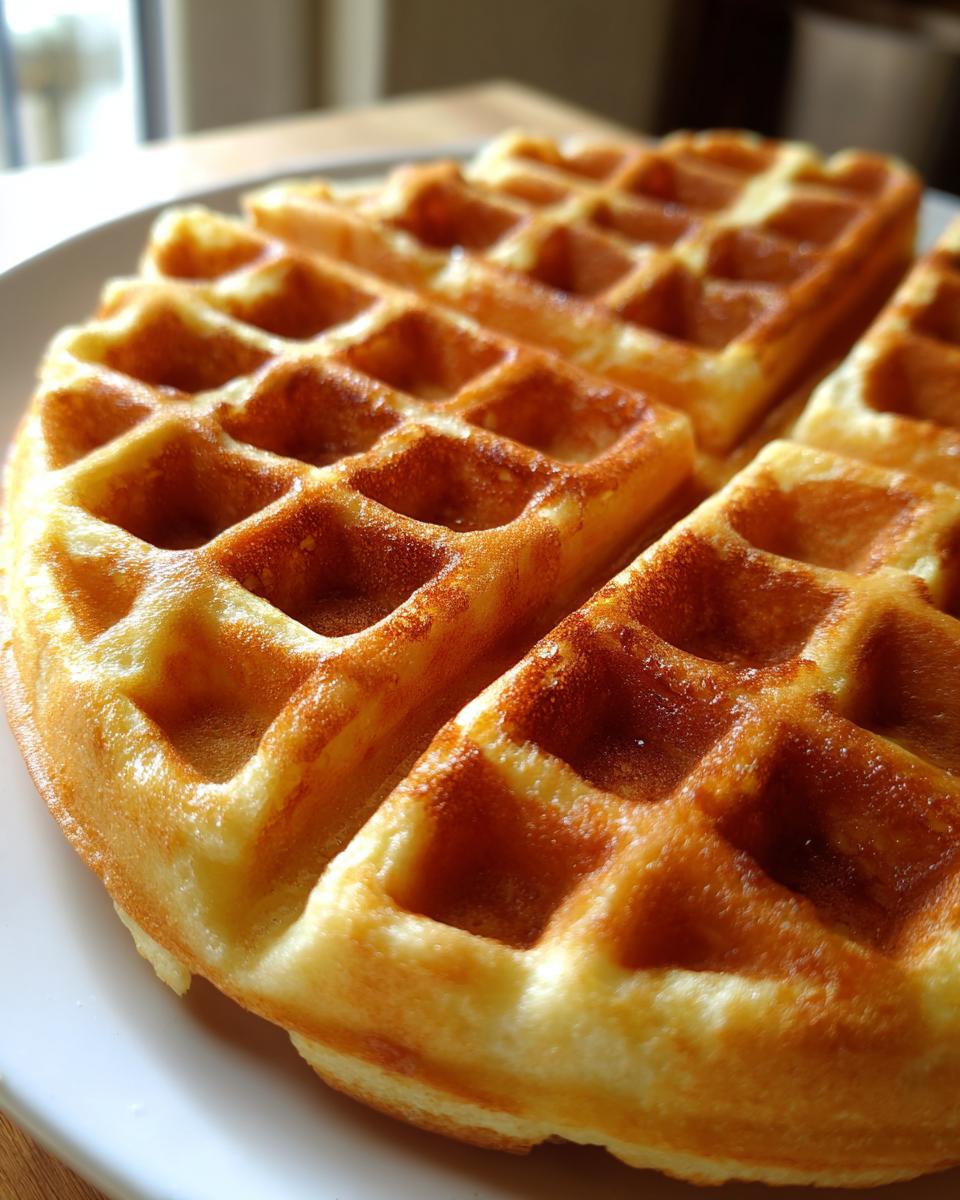
Now for the cooking! Lightly grease your waffle iron if it needs it (most modern ones don’t, but check your manual!). Pour in your batter – don’t go crazy and fill it all the way up, the waffles will expand. Cook them until they’re beautifully golden and crispy. Mine usually take about 3 to 5 minutes. Carefully lift out your perfect waffle and serve it up hot!
Waffle Iron Tips for Golden Perfection
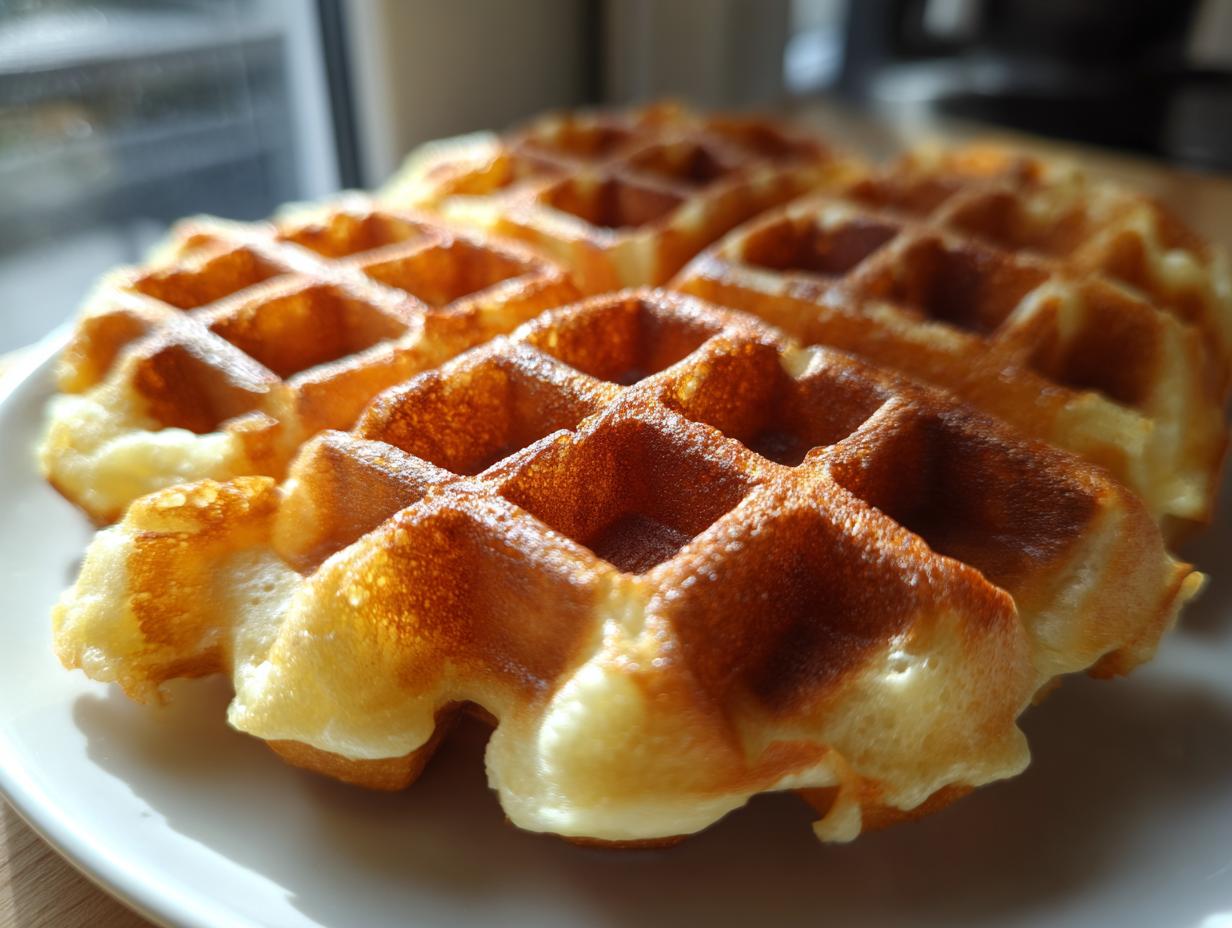
Your waffle iron is your best friend for making these dreamy waffles. First rule of thumb: preheat it properly. Really let it get hot; that initial blast of heat is what gives you those amazing crispy edges. If your iron tends to stick, give it a light brush of melted butter or cooking spray – just a thin layer! When you add the batter, spoon it into the center and let the iron do the spreading. Overfilling is a common mistake that leads to messy edges and uneven cooking. Aim for just enough batter to cover the bottom grid. And remember, resist the urge to peek too early; let it cook undisturbed until the steam starts to die down. That’s usually the sign they’re ready to be pulled out, perfectly golden and delightfully crispy!
Ingredient Notes and Substitutions
Let’s talk ingredients for a sec, because a few little things can make these waffles truly shine. That cornstarch? It might seem a bit odd in a waffle recipe, but trust me on this! It’s my little trick for getting them super crispy on the outside, like those fancy ones you get at a good diner or hotel. It just helps them hold that perfect crunch.
If you need to swap out the milk, no problem! Any kind of unsweetened plant-based milk will work just fine – almond, soy, or oat milk are all great choices. And if you don’t have unsalted butter, you can use salted, but you might want to cut back on the regular salt in the recipe just a tiny bit to balance it out. If eggs aren’t your thing, there are some awesome egg replacers out there these days, though separating them and whipping the whites really does add that signature fluffiness!
Serving Suggestions for Your Sweet Breakfast Treat
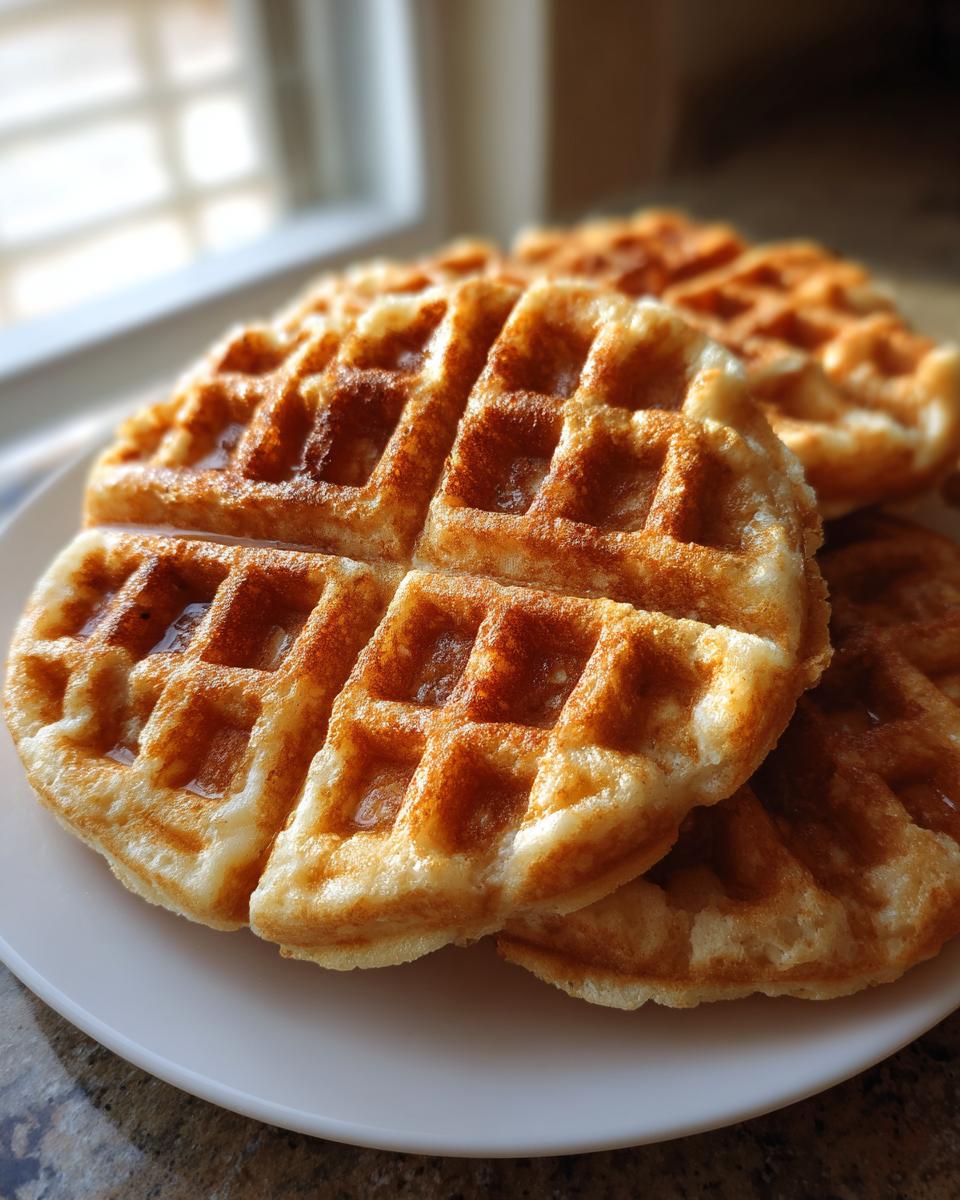
Okay, so you’ve got these amazing, crispy waffles hot off the iron. Now what? This is where the *real* fun begins! Making them a true sweet breakfast treat just involves a few perfect toppings. You absolutely can’t go wrong with a classic drizzle of warm maple syrup (or your favorite flavored syrup!) and a good pat of butter melting into those little pockets. Honestly, pure bliss! But why stop there? Pile on some fresh berries – strawberries, blueberries, raspberries – oh, and a big dollop of whipped cream is practically mandatory for that hotel-style feel. Feeling a little extra? Sprinkle on some chocolate chips while they’re still warm, or maybe a handful of crunchy homemade granola if you want some texture.
Make-Ahead and Storage for Waffles
Okay, so maybe you went a little crazy and made too many amazing waffles (is that even a thing?). Don’t even worry about it! These are actually pretty great for making ahead. Once they’ve cooled down completely, you can stash them in the fridge for a day or two in an airtight container, or even pop them in the freezer for a frosty treat later on. My trick for keeping them from getting soggy? Put a paper towel in the storage container with them to catch any extra moisture. When you’re ready to reheat, just pop them into a toaster or a warm oven for a few minutes to get that crispness back. Perfection!
Frequently Asked Questions About Waffles
Got questions about making these glorious waffles? I totally get it! Sometimes you just need a little extra nudge or confirmation. Here are a few things people often ask:
Why are my waffles not crispy?
Oh, the dreaded soggy waffle! This can happen for a few reasons. First, make sure your waffle iron is nice and hot before you add the batter – that initial sizzle is key for crispiness. Also, don’t overcrowd the iron! Too much batter will steam more than it fries, making them soft. And if you’re using a recipe without cornstarch or a similar trick, you might just need to add that for that extra golden crunch. Lastly, make sure you’re letting them cook fully; resist the urge to lift the lid too soon!
Can I make waffle batter ahead of time?
You *can*, but here’s the thing: for the fluffiest waffles, fresh is best. If you make the batter ahead, the baking powder starts losing its oomph, and your waffles won’t be as light and airy. If you *must* make it ahead, store it in the fridge for up to 24 hours. Just a gentle stir before using, and remember they might not puff up quite as much. Some people separate the eggs and add the whipped whites right before cooking, which helps a bit!
What’s the best way to reheat waffles and keep them crispy?
This is a crucial question for leftover waffles! The microwave is a big no-no if you want crispiness – it just makes them chewy. Your toaster or a toaster oven is your best friend here. Pop them in for a minute or two until they’re heated through and have regained some of their crunch. If you’re reheating a bunch, your regular oven at about 350°F (175°C) for a few minutes works wonders too, especially if you place them on a wire rack so air can circulate underneath.
Estimated Nutritional Information
Just a little heads-up, these numbers are estimates for one of these glorious waffles. What you put on top can, of course, change things wildly! But based on the recipe itself, you’re looking at roughly 250 calories, about 12g of fat (half of that’s good saturated fat since we’re using butter!), 7g of protein, and around 30g of carbs with 8g of sugar. Not too shabby for such a delicious treat!
Share Your Waffle Creations!
Okay, now it’s YOUR turn to create some magic! Give this recipe a whirl, and I can’t wait to hear all about it. Did you try new toppings? Did they come out super crispy just like hotel perfection? Leave a comment below, give it a rating, and maybe even share a pic on social media – I’d absolutely love to see your delicious waffle creations! You can also read more about our kitchen adventures on our About Page!
PrintCrispy Homemade Waffles

Enjoy hotel-style breakfast at home with these easy-to-make, crispy homemade waffles. Perfect for a sweet and indulgent start to your day.
- Prep Time: 15 min
- Cook Time: 5 min
- Total Time: 20 min
- Yield: 8 waffles 1x
- Category: Breakfast
- Method: Waffle Iron
- Cuisine: American
- Diet: Vegetarian
Ingredients
- 2 cups all-purpose flour
- 2 tablespoons granulated sugar
- 2 teaspoons baking powder
- 1 teaspoon salt
- 1/4 teaspoon baking soda
- 2 large eggs, separated
- 1 3/4 cups milk
- 1/2 cup unsalted butter, melted
- 1 teaspoon vanilla extract
- 1 tablespoon cornstarch (for extra crispness)
Instructions
- Preheat your waffle iron according to the manufacturer’s instructions.
- In a large bowl, whisk together the flour, sugar, baking powder, salt, baking soda, and cornstarch.
- In a separate medium bowl, whisk together the egg yolks, milk, melted butter, and vanilla extract.
- Pour the wet ingredients into the dry ingredients and mix until just combined. Do not overmix.
- In a clean bowl, beat the egg whites until stiff peaks form.
- Gently fold the beaten egg whites into the waffle batter.
- Lightly grease your waffle iron if needed. Pour the batter onto the hot waffle iron, using the amount recommended by your iron’s instructions.
- Cook until golden brown and crispy, typically 3-5 minutes, depending on your waffle iron.
- Carefully remove the waffle and serve immediately with your favorite toppings.
Notes
- For extra crispy waffles, ensure your waffle iron is fully preheated and don’t overcrowd the iron with batter.
- You can add a pinch of cinnamon to the dry ingredients for a warm spice note.
- Leftover batter can be stored in the refrigerator for up to 24 hours, but the waffles may not be as fluffy.
Nutrition
- Serving Size: 1 waffle
- Calories: 250
- Sugar: 8g
- Sodium: 350mg
- Fat: 12g
- Saturated Fat: 7g
- Unsaturated Fat: 5g
- Trans Fat: 0g
- Carbohydrates: 30g
- Fiber: 2g
- Protein: 7g
- Cholesterol: 70mg