
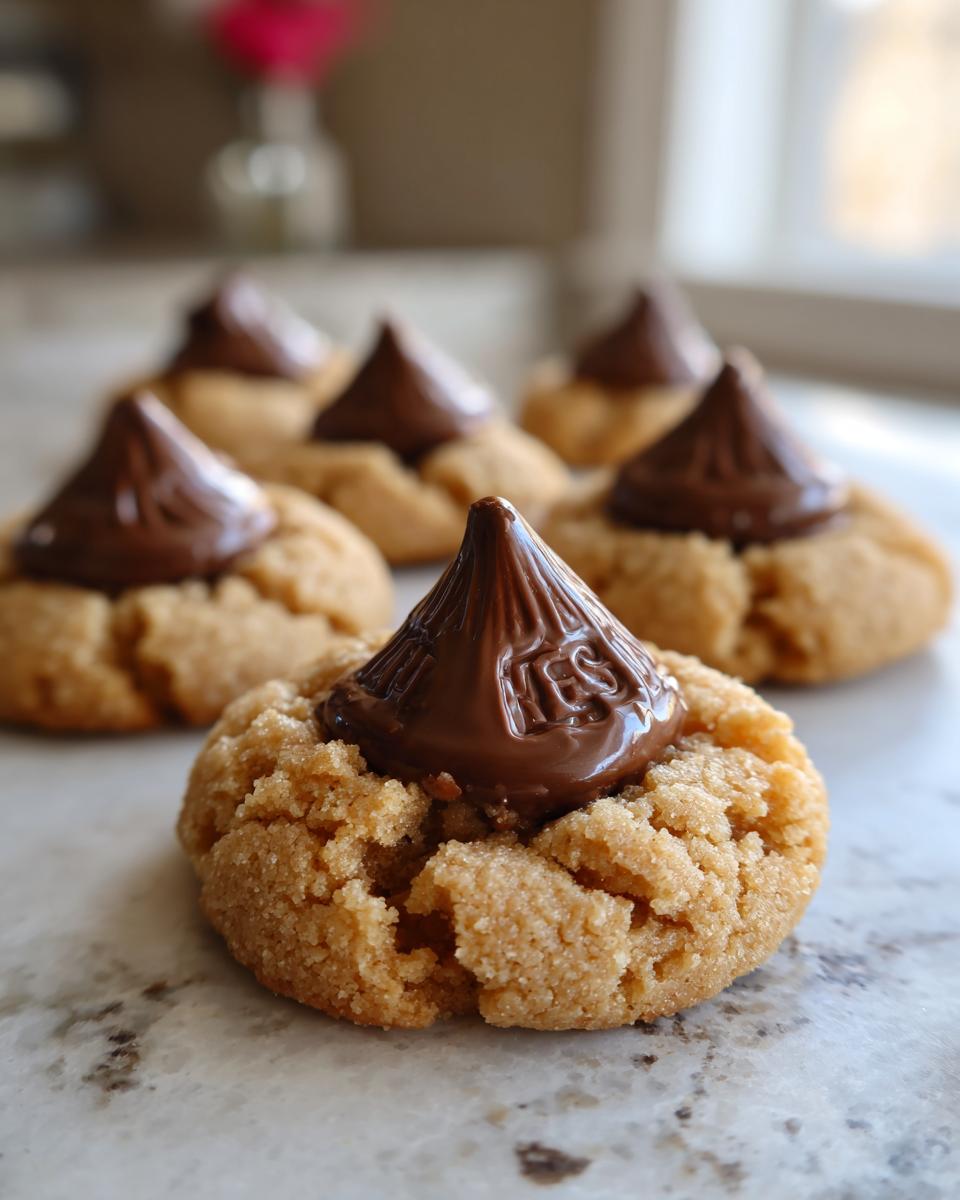
Oh, those classic peanut butter blossoms! Just thinking about them brings back the best memories of holiday cookie tins and the smell of pure joy baking in the kitchen. My mom used to make these every December without fail, and I’d hover around, waiting for the magic moment when she’d press those shiny Hershey’s Kisses right into the warm, soft peanut butter cookies. It feels like a hug in cookie form, doesn’t it? These aren’t just any cookies; they’re little moments of happiness, a tradition that never gets old and always makes everyone smile. Trust me, get ready to fall in love with baking them all over again!
- Why You'll Love These Peanut Butter Blossoms
- Gather Your Ingredients for Perfect Peanut Butter Blossoms
- Essential Equipment for Making Peanut Butter Blossoms
- Step-by-Step Guide to Perfect Peanut Butter Blossoms
- Tips for the Best Peanut Butter Blossoms
- Variations on Classic Peanut Butter Blossoms
- Serving and Storing Your Peanut Butter Blossoms
- Frequently Asked Questions About Peanut Butter Blossoms
- Nutritional Estimate for Peanut Butter Blossoms
Why You’ll Love These Peanut Butter Blossoms
Seriously, what’s not to love here? These cookies are:
- Super Easy to Make: Even if you’re new to baking, these come together in a snap.
- Irresistible Flavor Combo: That classic peanut butter and chocolate pairing? Pure magic!
- Nostalgia in Every Bite: They’re a taste of childhood for so many of us.
- Perfect for Any Occasion: Especially fantastic for holiday cookie swaps, but honestly, they’re great anytime!
Gather Your Ingredients for Perfect Peanut Butter Blossoms
Alright, let’s get down to business! To make these absolutely perfect peanut butter blossoms, you’ll need a few simple things from your pantry. Trust me, the quality of your ingredients really shines through here. You’ll want:
- 1 cup of creamy peanut butter – your favorite brand!
- 1/2 cup of unsalted butter, make sure it’s nice and softened.
- 1/2 cup of granulated sugar, for that perfect sweetness.
- 1/2 cup of packed brown sugar – this gives them a lovely depth of flavor.
- 1 large egg, at room temperature is best.
- 1 teaspoon of vanilla extract – don’t skip this for that warm aroma!
- 1 1/4 cups of all-purpose flour.
- 1 teaspoon of baking soda, our little leavening friend.
- 1/2 teaspoon of salt to balance everything out.
- And of course, about 36 Hershey’s Kisses – unwrapped and ready to go!
- Plus, about 1/4 cup of more granulated sugar for rolling.
See? Nothing too fancy, but it all adds up to cookie perfection!
Essential Equipment for Making Peanut Butter Blossoms
Okay, so you’ve got your ingredients lined up, right? Now let’s talk about what you’ll need to actually whip these up! It’s pretty standard kitchen stuff, honestly:
- A large mixing bowl for all that creamy goodness.
- A trusty hand mixer or a stand mixer makes creaming super easy.
- A couple of baking sheets – you’ll want space for them to spread a bit.
- Parchment paper is your best friend here for easy cleanup!
- A small bowl for the rolling sugar.
- A wire cooling rack so they cool off perfectly without getting soggy bottoms.
That’s really it! Simple tools for simple, delicious cookies.
Step-by-Step Guide to Perfect Peanut Butter Blossoms
Alright, let’s get these beauties made! Following these steps will make sure your peanut butter blossoms turn out just right—soft, chewy, and with that perfect chocolatey kiss on top. It’s really not complicated, just a few key things to get right! For more simple cookie goodness, check out our easy peanut butter cookies too!
Preparing the Dough for Peanut Butter Blossoms
First things first, get your oven preheating to 375°F (190°C) and line a couple of baking sheets with parchment paper. In a big bowl, you’ll want to cream together that peanut butter and softened butter until it’s all smooth and dreamy. Then, beat in your granulated and brown sugars until they’re good and combined. Next, whisk in your egg and vanilla extract. Now for the dry stuff: in a separate bowl, give your flour, baking soda, and salt a quick whisk together. Gradually add those dry ingredients to your wet mixture, mixing until it’s just *barely* combined. Seriously, don’t overmix here – that’s the secret to tender cookies!
Shaping and Baking Your Peanut Butter Blossoms
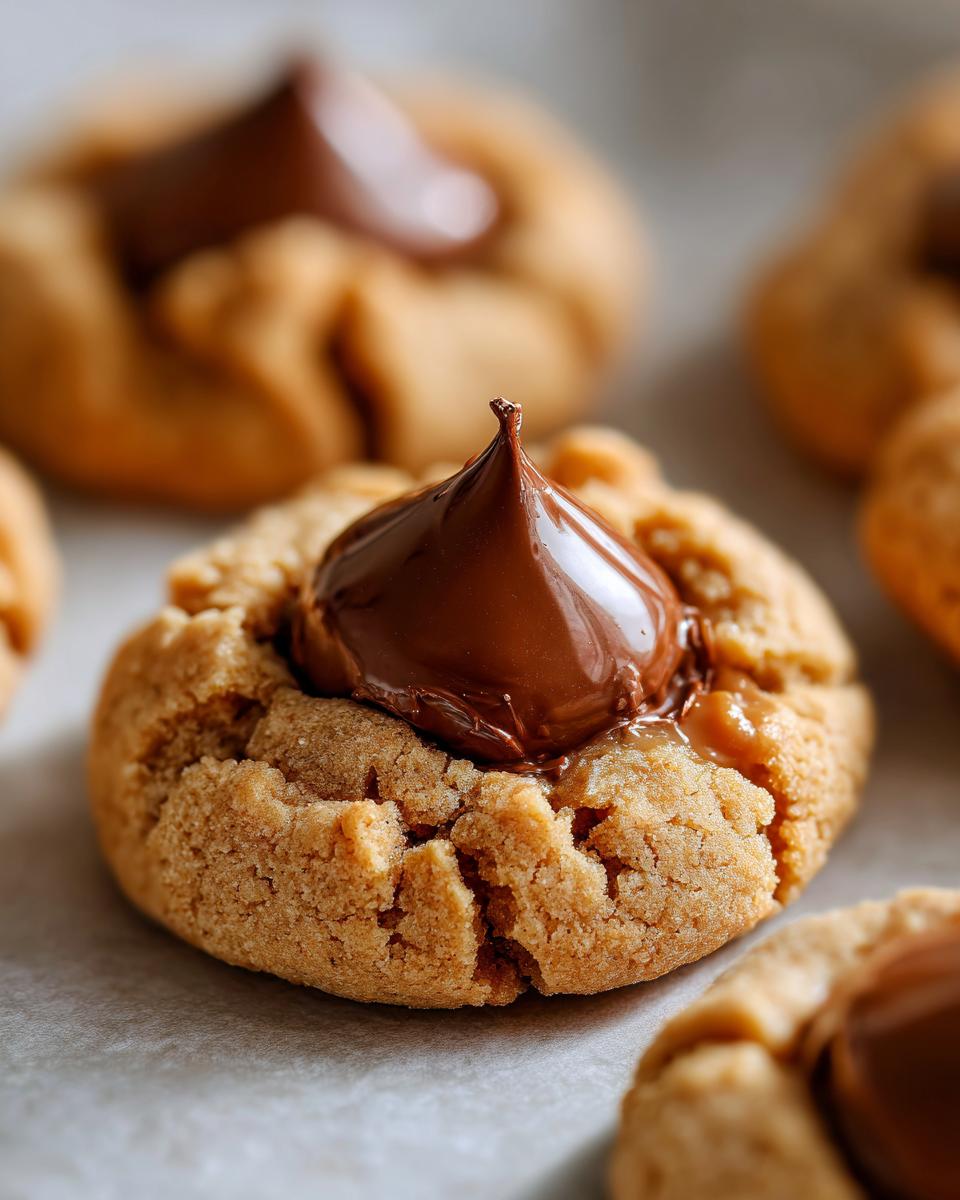
Okay, in one of those shallow dishes, put your extra granulated sugar for rolling. Now, grab about a tablespoon of the dough and roll it between your hands into a nice, even 1-inch ball. Give that little ball a good roll in the sugar until it’s coated all over. Place your sugar-coated dough balls about 2 inches apart on those parchment-lined baking sheets. Pop them into the preheated oven and bake for about 9 to 11 minutes. You want the edges to be just lightly golden, but the centers should still look a little soft and maybe even slightly puffy. Don’t bake them until they’re firm – trust me on this!
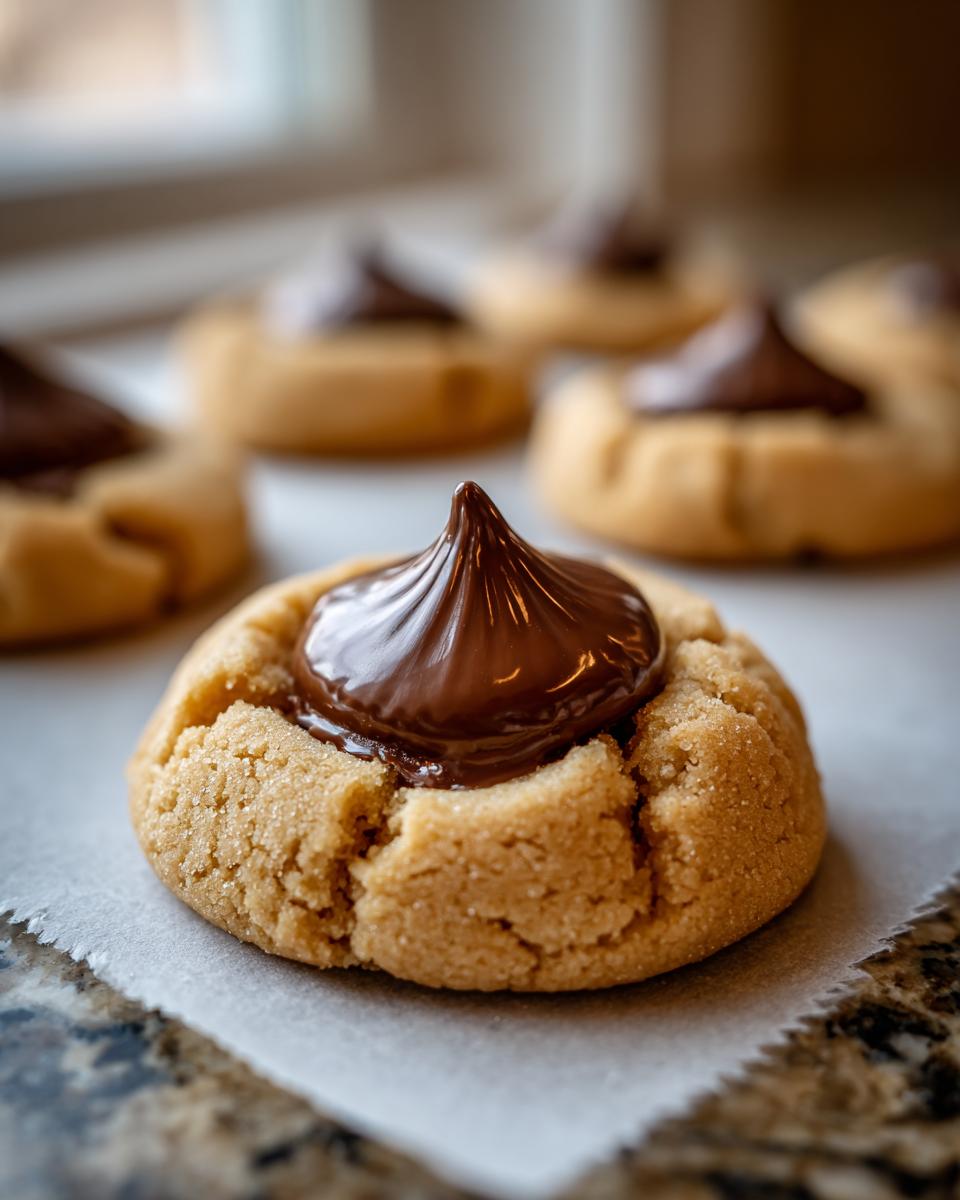
Adding the Hershey’s Kiss Center
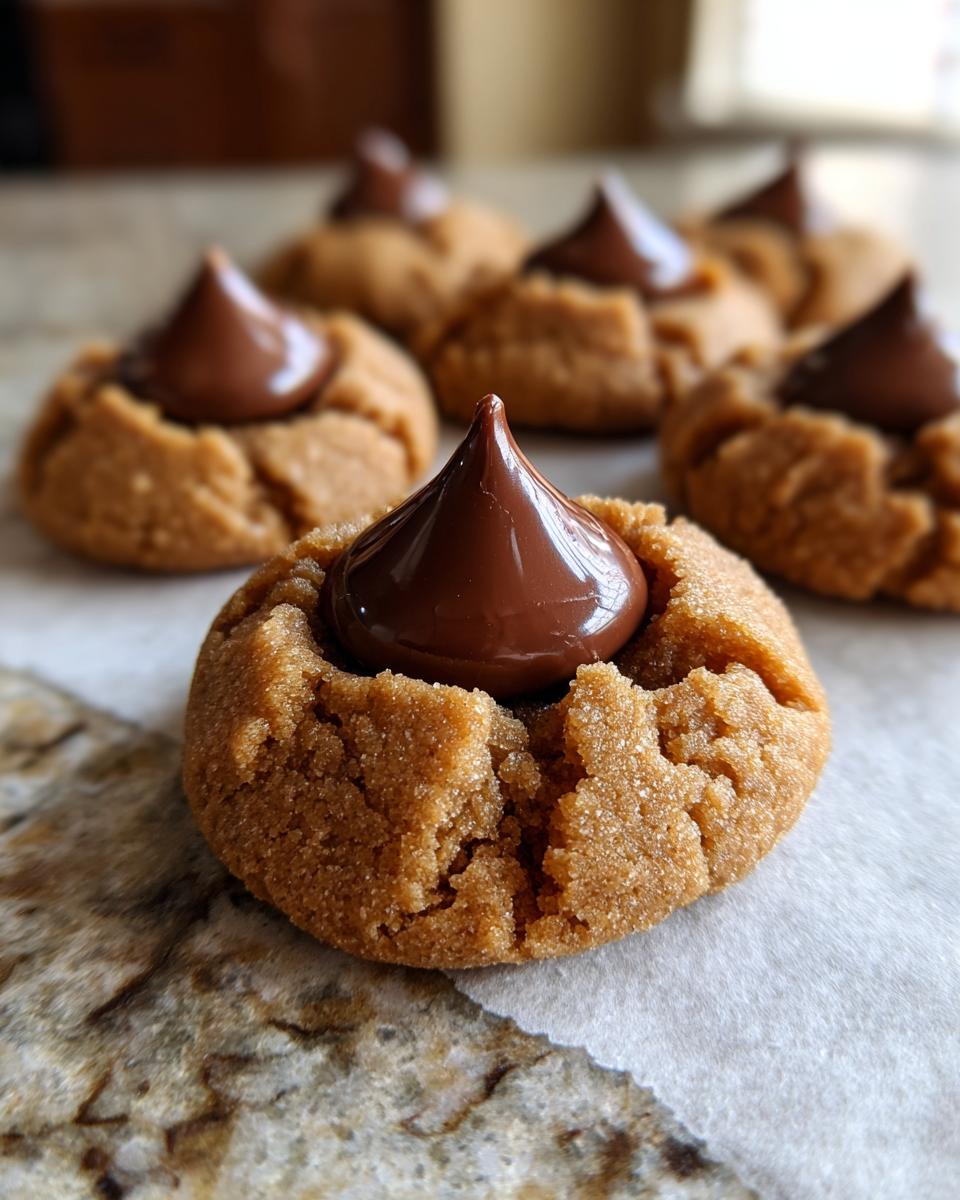
This is the fun part! As SOON as those cookies come out of the oven, while they’re still hot and soft, gently press one unwrapped Hershey’s Kiss right into the center of each one. The residual heat from the cookie will do all the work of softening that kiss just enough to make it hug the cookie perfectly. If your kisses get too melty or hard to handle, pop the bag in the fridge for a few minutes beforehand.
Tips for the Best Peanut Butter Blossoms
Okay, let’s talk about making these peanut butter blossoms absolutely perfect every single time. It’s all about a few little secrets that make a huge difference! You want that soft, chewy cookie that just melts in your mouth, right? And that chocolate kiss settling in just so? It’s totally doable!
Ingredient Quality Matters for Peanut Butter Blossoms
Seriously, the better your ingredients, the tastier your peanut butter blossoms will be. For the peanut butter, I usually go with a classic creamy one – not the super natural stuff that separates. You want that smooth, easy mix. And for the butter, make sure it’s softened, but not melted! That perfect temperature is key for creaming it just right with the sugars.
Achieving the Perfect Texture
The biggest trick to getting that amazing soft and chewy texture in your peanut butter blossoms is probably not overmixing the dough. Once you add the flour, just mix until it’s combined. Overmixing develops the gluten too much, which can make cookies tough or flat. Also, don’t overbake them! Pull them out when the edges look set but the center still looks a little soft. They’ll finish baking on the hot pan, and that’s how you get that lovely melt-in-your-mouth quality.
Variations on Classic Peanut Butter Blossoms
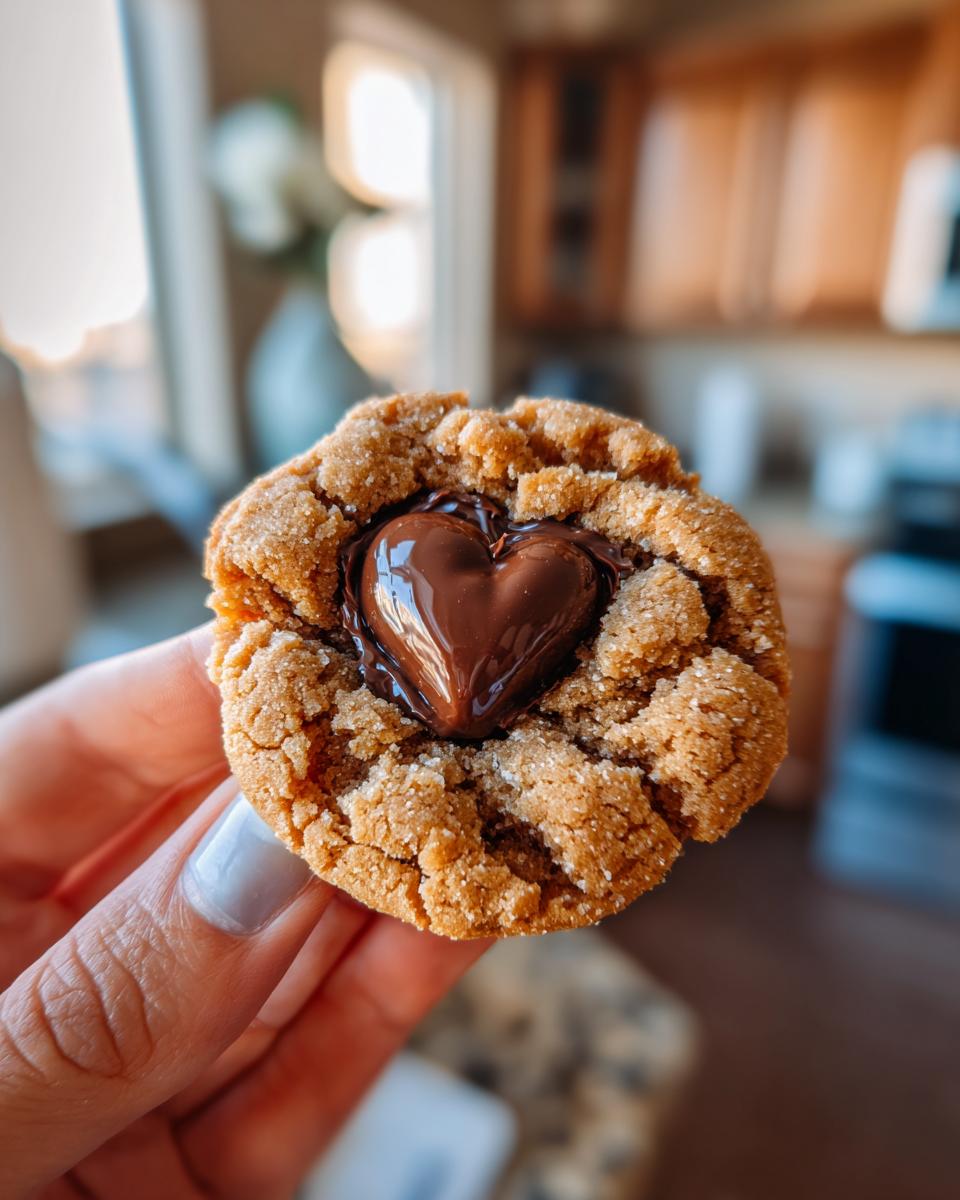
You know, these classic peanut butter blossoms are pretty darn perfect as they are, but sometimes it’s fun to shake things up just a little! Have you ever tried using different Hershey’s Kisses? They come out with all sorts of fun seasonal flavors, and imagine a caramel kiss or even a dark chocolate one nestled in there! Yum! Or, if you’re feeling fancy and want a little extra crunch, try adding about 1/4 cup of finely chopped peanuts or pecans right into the dough. It gives them such a nice texture. You could even swap out the vanilla extract for a splash of almond extract for a different, but still delicious, flavor profile. Get creative and make them your own!
Serving and Storing Your Peanut Butter Blossoms
Okay, so you’ve made a beautiful batch of peanut butter blossoms! They’re best served slightly warm with that melty chocolate kiss, or at room temperature. They’re fantastic alongside a glass of cold milk or a warm mug of coffee. To keep them tasting fresh, store them in an airtight container. They’ll stay wonderfully soft for about 3-4 days. If you’re making them for a holiday treat, you can actually tuck them away in their container a few days before you need them. They’re also pretty great with some other holiday goodies, like Christmas jam or apple pie cookies!
Frequently Asked Questions About Peanut Butter Blossoms
Got questions about these classic peanut butter cookies? I’ve got you covered! Here are a few things people often ask:
Can I use crunchy peanut butter instead of creamy?
You totally can! Using crunchy peanut butter will just give a bit more texture to your peanut butter blossoms. The flavor will still be amazing, and you’ll get little nutty surprises in each bite. Just make sure it’s a standard creamy or crunchy peanut butter, not the super natural kind that separates a lot.
Why did my peanut butter cookies spread too much?
Oh, that happens sometimes! Usually, it’s because the butter or peanut butter mixture was too warm when you added the dry ingredients, or maybe the dough sat out too long before baking. Also, if your oven isn’t quite hot enough, they can spread. Try chilling the dough balls for about 15-20 minutes before rolling them in sugar and baking. That usually does the trick for perfectly puffy peanut butter blossoms!
Can I make the dough for these peanut butter cookies ahead of time?
Yep, you sure can! You can mix up the dough and then cover it tightly and pop it in the fridge for up to 2 or 3 days. When you’re ready to bake, just let it sit at room temperature for about 20-30 minutes to soften up a bit before you roll it into balls. It’s a great way to get a head start!
How long do peanut butter blossoms last?
These classic Christmas cookies are best when they’re fresh, but they’ll stay delightfully soft for about 3 to 4 days when stored in an airtight container at room temperature. Seriously, they disappear quick, so that’s usually more than enough time!
Nutritional Estimate for Peanut Butter Blossoms
Alright, let’s talk about what you’re getting with each one of these yummy peanut butter blossoms. Keep in mind that these numbers are just estimates, you know? They can totally wiggle around a bit depending on the exact brands of peanut butter and butter you use and, of course, how big you roll those balls! But generally, you’re looking at about:
- Calories: Around 150 per cookie
- Fat: About 8g (with 3g of that being saturated fat)
- Carbohydrates: Roughly 16g
- Protein: About 3g
These are great little treats, and knowing the basics helps! If you’re looking for more protein-packed goodies, you might want to check out our high-protein cookie dough or our protein mug cake recipe!
PrintPeanut Butter Blossoms

Classic peanut butter cookies topped with a chocolate kiss, perfect for holidays and sharing.
- Prep Time: 20 min
- Cook Time: 10 min
- Total Time: 30 min
- Yield: 36 cookies 1x
- Category: Dessert
- Method: Baking
- Cuisine: American
- Diet: Vegetarian
Ingredients
- 1 cup peanut butter
- 1/2 cup unsalted butter, softened
- 1/2 cup granulated sugar
- 1/2 cup packed brown sugar
- 1 large egg
- 1 teaspoon vanilla extract
- 1 1/4 cups all-purpose flour
- 1 teaspoon baking soda
- 1/2 teaspoon salt
- About 36 Hershey’s Kisses
- 1/4 cup granulated sugar, for rolling
Instructions
- Preheat your oven to 375°F (190°C). Line baking sheets with parchment paper.
- In a large bowl, cream together the peanut butter and softened butter until smooth.
- Add the granulated sugar and brown sugar to the bowl and beat until well combined.
- Beat in the egg and vanilla extract until fully incorporated.
- In a separate medium bowl, whisk together the flour, baking soda, and salt.
- Gradually add the dry ingredients to the wet ingredients, mixing until just combined. Do not overmix.
- Place the 1/4 cup granulated sugar in a shallow dish.
- Roll the dough into 1-inch balls.
- Roll each ball in the sugar until evenly coated.
- Place the dough balls about 2 inches apart on the prepared baking sheets.
- Bake for 9-11 minutes, or until the edges are lightly golden but the centers are still soft.
- Immediately after removing from the oven, gently press one Hershey’s Kiss into the center of each cookie. The residual heat will soften the chocolate.
- Let the cookies cool on the baking sheets for a few minutes before transferring them to a wire rack to cool completely.
Notes
- For softer cookies, do not overbake. The centers should look slightly underdone when you remove them from the oven.
- If the chocolate kisses become too soft to handle, you can chill them briefly in the refrigerator before pressing them into the cookies.
- These cookies are best enjoyed within a few days of baking.
Nutrition
- Serving Size: 1 cookie
- Calories: 150
- Sugar: 12g
- Sodium: 60mg
- Fat: 8g
- Saturated Fat: 3g
- Unsaturated Fat: 5g
- Trans Fat: 0g
- Carbohydrates: 16g
- Fiber: 1g
- Protein: 3g
- Cholesterol: 10mg