
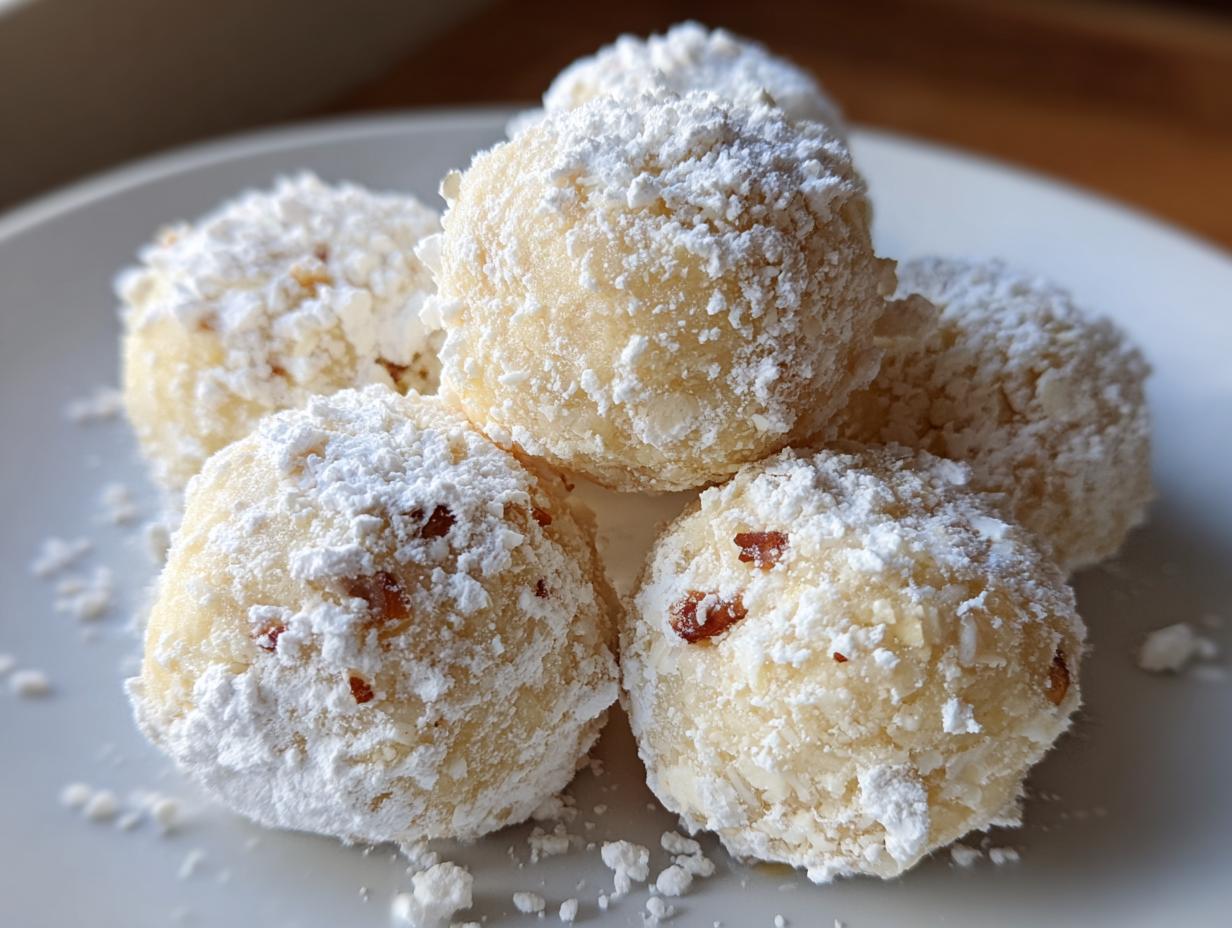
Ah, snowball cookies! Just saying the name makes me think of crisp winter days and cozy kitchen counters dusted with a fine layer of sugar. These little gems, also known as Russian Tea Cakes or Mexican Wedding Cookies, are pure magic in every bite. They have this amazing, delicate, melt-in-your-mouth texture that’s just out of this world, thanks to that buttery shortbread base and the subtle crunch from finely chopped nuts. I remember my grandma always making a big batch for Christmas; they looked like tiny, perfect snowdrifts on her antique dessert stand. Honestly, watching her roll them one by one felt like a special ceremony, a quiet promise of holiday cheer.
- Why You'll Love These Snowball Cookies
- Gather Your Ingredients for Perfect Snowball Cookies
- Step-by-Step Guide to Making Snowball Cookies
- Tips for Perfect Snowball Cookies Every Time
- Ingredient Notes and Substitutions
- Storing Your Delicious Snowball Cookies
- Frequently Asked Questions About Snowball Cookies
- Estimated Nutritional Information
- Estimated Nutritional Information
Why You’ll Love These Snowball Cookies
Seriously, these snowball cookies are the real deal. You’ll love them because:
- They’re ridiculously easy to whip up – perfect for when you need a sweet treat in a hurry!
- That melt-in-mouth texture? It’s pure comfort, like a buttery hug from the inside out.
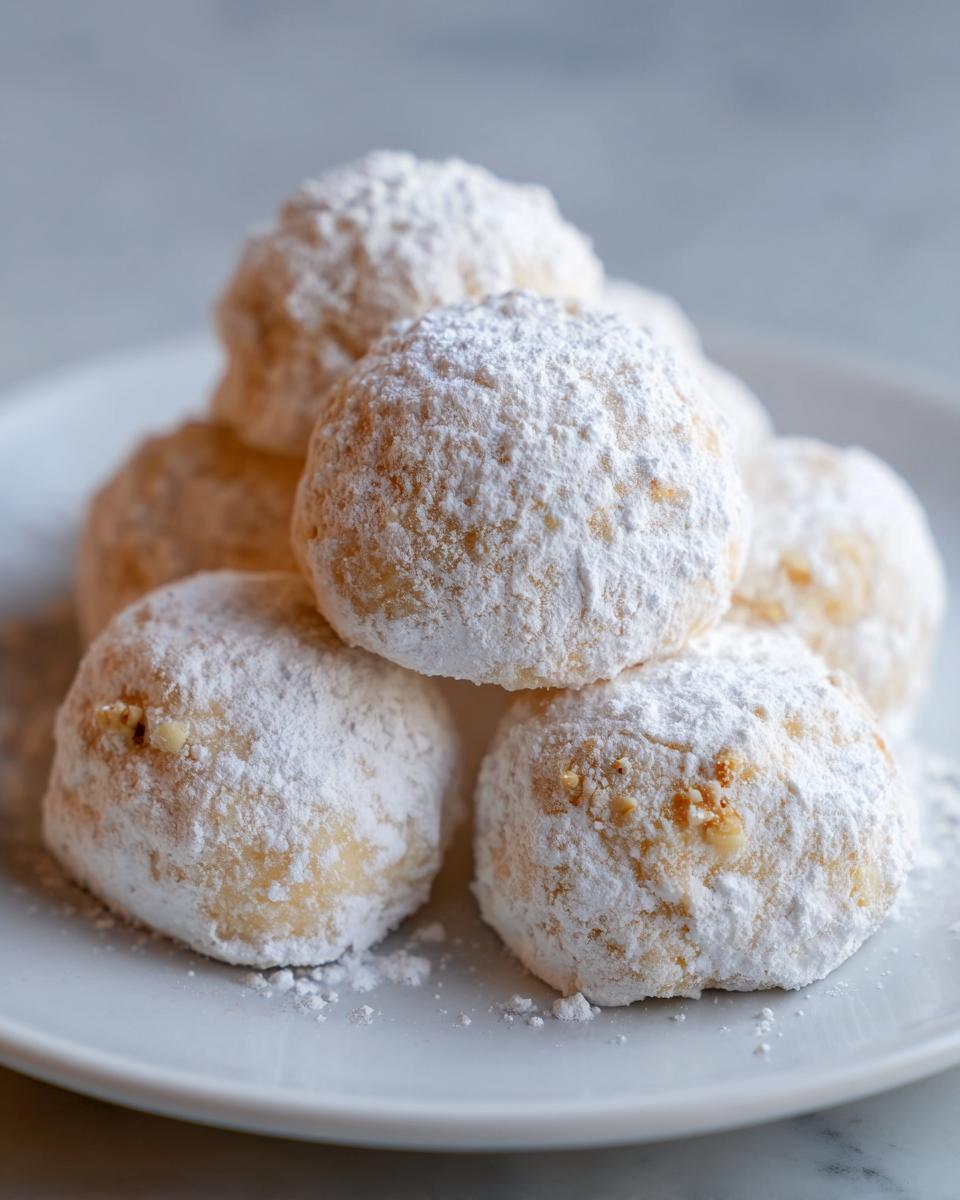
- They look so festive! That effortless powdered sugar dusted finish makes them look like they came straight from a winter wonderland.
- They hit that sweet spot between a delicate shortbread and a satisfyingly nutty bite.
Gather Your Ingredients for Perfect Snowball Cookies
Okay, so to get those perfect little snowy delights, you’ll need just a handful of things. Trust me, the quality of these few stars really shines through! You’ll want:
- 1 cup unsalted butter, make sure it’s nice and softened – this is key for that creamy texture!
- 1/2 cup powdered sugar, plus more for that all-important snowy coating later. Don’t skimp on the rolling sugar!
- 1 teaspoon vanilla extract – just a splash for that warm, cozy flavor.
- 1/4 teaspoon salt, to balance out all that sweetness.
- 2 cups all-purpose flour, the backbone of our nutty shortbread balls.
- 1/2 cup really finely chopped pecans or walnuts. You want them small enough so they don’t interrupt that melt-in-mouth texture too much, maybe even pulse them in a food processor if you like them extra fine.
Step-by-Step Guide to Making Snowball Cookies
Alright folks, let’s get baking! Making these perfect snowball cookies is a breeze, and honestly, it’s kinda meditative. Here’s how we get those little snowy delights ready for their close-up.
Creaming the Butter and Sugar for a Fluffy Base
First things first, grab your softened butter and that 1/2 cup of powdered sugar. We’re going to cream them together in a big bowl until they get nice, light, and fluffy. This step is super important because it’s what gives our snowball cookies that lovely, tender crumb. Think of it like building a fluffy foundation! For more tips on this, you might want to check out our whipped shortbread cookies recipe for more creaming secrets.
Incorporating Dry Ingredients and Nuts
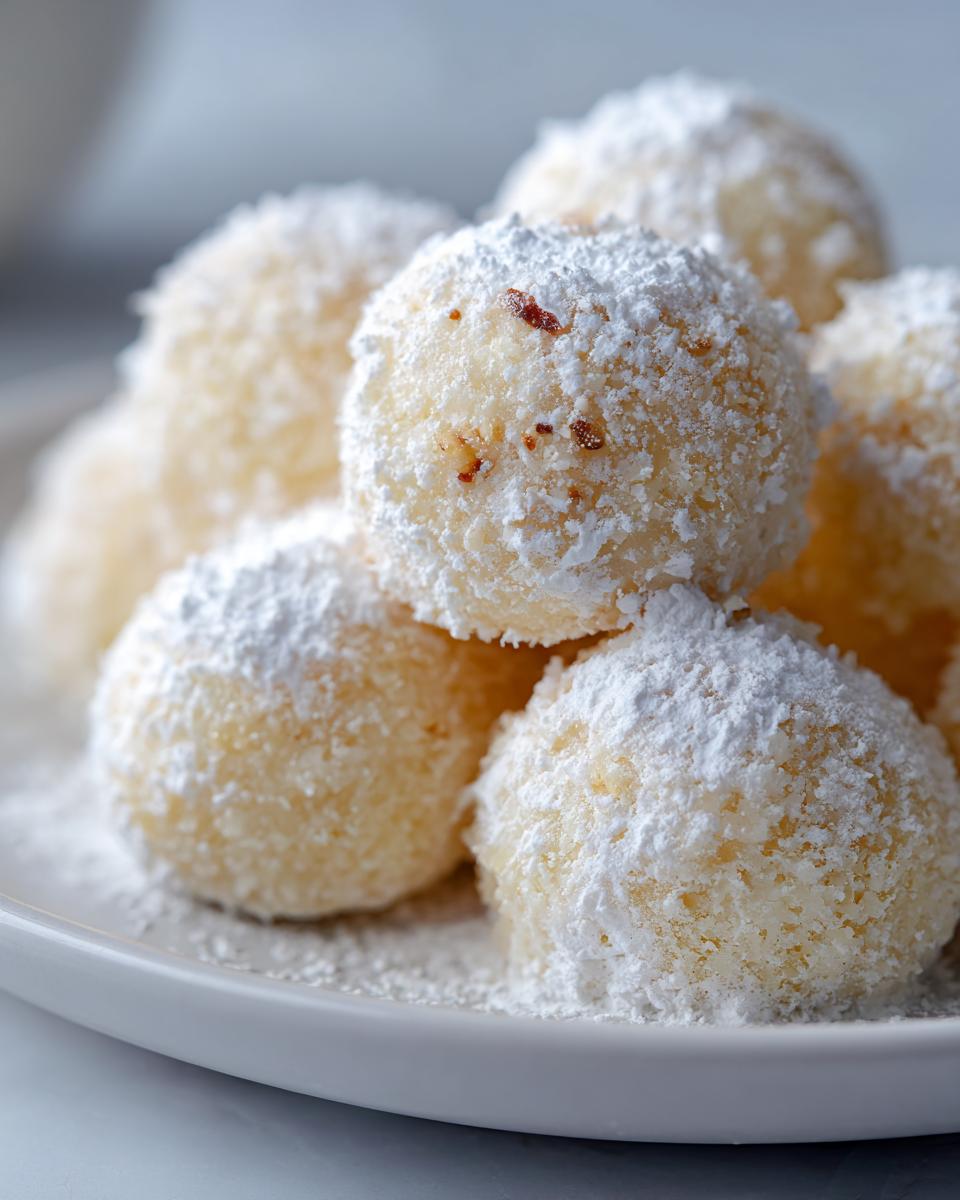
Now, it’s time to add in the vanilla extract and salt – just a little swirl and a pinch. Then, we’ll gradually add the flour. Mix it in until it’s *just* combined, okay? We don’t want to overmix here, or our cookies might get tough. Finally, gently stir in those finely chopped nuts. This is what gives us those wonderful nutty shortbread balls that are just *chef’s kiss*.
Shaping and Baking Your Snowball Cookies
Here’s where they start looking like actual snowballs! Grab your dough and roll it into little 1-inch balls. Pop them onto a baking sheet lined with parchment paper, giving them a little space to spread. Now, into a preheated 350°F (175°C) oven they go for about 10 to 12 minutes. You’re looking for lightly golden edges, but the centers should still look pretty pale. We want them to melt in your mouth, not turn into hard little rocks!

The Essential Powdered Sugar Dusting
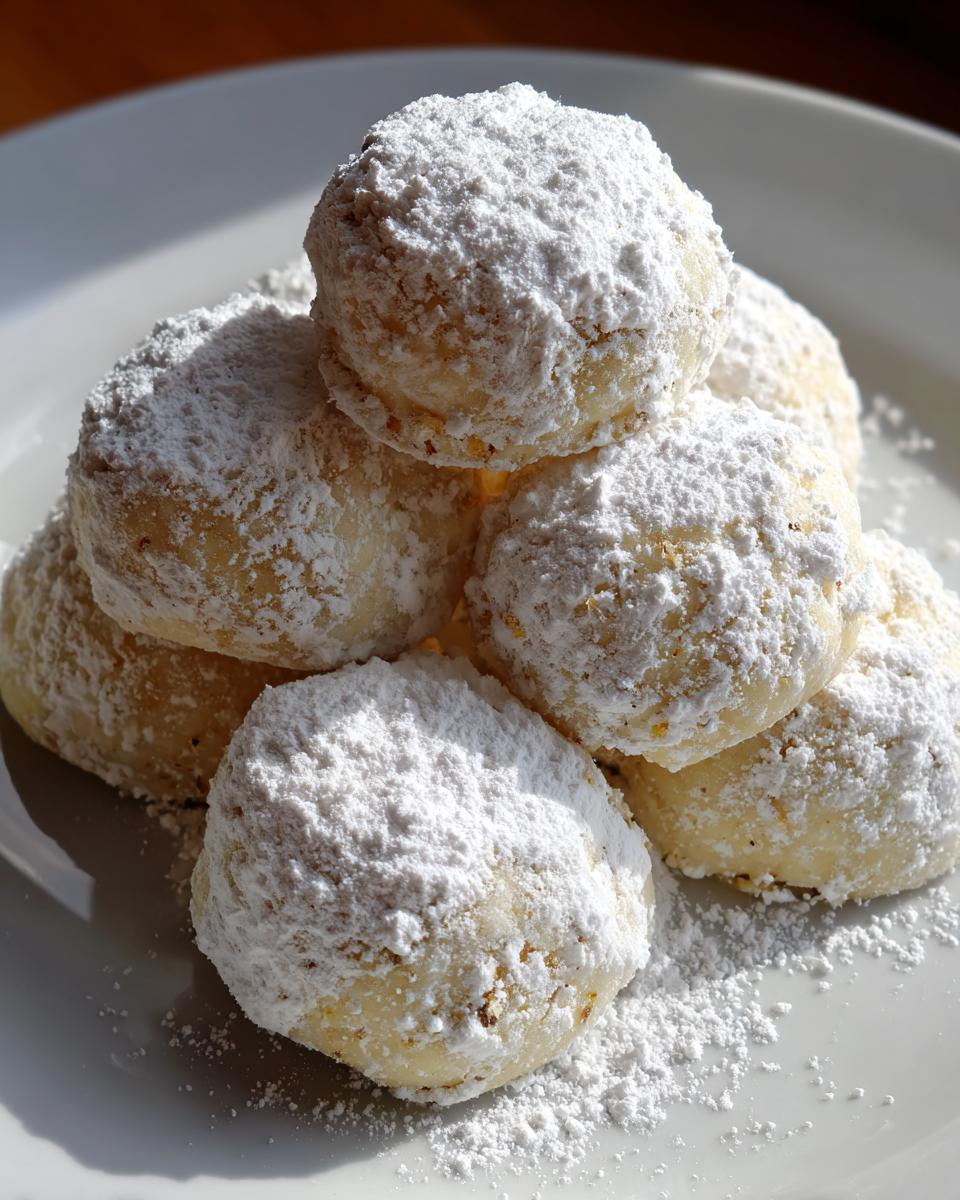
This is the grand finale! Once the cookies have cooled on the baking sheet for about 5 minutes, move them to a wire rack to cool *completely*. Seriously, wait until they’re totally cool. Then, and only then, roll those beautiful snowball cookies generously in more powdered sugar. You want them coated like they’ve just had a fresh snowfall! Doing this when they’re cool stops the sugar from melting right off.
Tips for Perfect Snowball Cookies Every Time
You know, getting these snowball cookies just right is all about a few little secrets that make a world of difference. It’s not just about throwing things in a bowl; it’s about understanding how every ingredient plays its part. For that signature melt-in-your-mouth texture, make sure your butter is truly softened – not melted! It should give just a little when you press it. And those nuts? Chop them *really* fine, or even pulse them in a food processor. Nobody wants a giant nut chunk taking over their delicate cookie, right? Overmixing the flour is another classic pitfall; just mix until it *barely* comes together. If you’ve ever struggled with cookies spreading too much, like with our easy peanut butter cookies, it’s often from overmixing or not chilling the dough enough, though for these, super soft butter is the main culprit. You want them to hold their shape and get that perfect delicate crinkle.
Ingredient Notes and Substitutions
Let’s chat about these ingredients real quick, because they really do make a difference in our snowball cookies. Using unsalted butter is best because it lets us control the saltiness ourselves. If you only have salted butter, just skip adding the 1/4 teaspoon of salt in the recipe. For the nuts, pecans and walnuts are totally classic, but hey, if you’re feeling adventurous, almonds or even macadamia nuts could work! Just make sure they’re chopped super, super fine for that perfect melt-in-your-mouth texture. Want to keep it dairy-free? You can totally swap the butter for a good quality dairy-free butter substitute. In fact, we’ve had great luck with dairy-free butter in our banana nut muffins, and I bet it’d be fab here too! These cookies are pretty forgiving once you nail the nut-to-dough ratio!
Storing Your Delicious Snowball Cookies
Alright, so you’ve made these perfect little snowballs, and you want them to stay that way, right? Here’s the scoop: these cookies are happiest in an airtight container at room temperature. Seriously, just pop them in, close the lid tight, and they’re good to go for a good 3-4 days, sometimes even longer! They keep their delicate texture and that lovely snowy coating without getting stale. Just don’t try chilling them; they like being at room temp. They’re perfect for a quick little treat anytime!
Frequently Asked Questions About Snowball Cookies
Got questions about these little balls of joy? I’ve got answers! These snowball cookies are pretty straightforward, but a little extra info never hurt anyone, right?
Can I make snowball cookies without nuts?
Totally! If you’ve got a nut allergy or just aren’t a fan, you can absolutely make these without them. The cookies will still be deliciously buttery and melt in your mouth, but you’ll miss that extra textural crunch. Just pack the dough into balls and proceed with the recipe as usual. They’ll still be fantastic!
Why are my snowball cookies spreading so much?
Oh, the dreaded spread! Usually, this happens if the butter was too warm or if you overmixed the dough after adding the flour. For these snowball cookies, make sure your butter is softened but still slightly cool to the touch. And remember, mix that flour in *just* until it’s combined – don’t go crazy! It helps make them those perfect nutty shortbread balls.
How do I get the powdered sugar to stick perfectly?
The trick to that beautiful powdered sugar dusted finish is making sure the cookies are 100% cool before you roll them. If they’re even a little warm, the sugar will just melt into a sticky mess. Let them cool completely on the wire rack! Also, a generous rolling in the sugar is key – don’t be shy! For extra staying power, you can even do a second dusting after the first layer sets a bit.
Can I make these ahead of time?
Yes, you can! These snowball cookies are totally make-ahead friendly. You can bake them and then store them in an airtight container for a day or two before rolling them in powdered sugar. Or, you can bake them completely, roll them in sugar, and store them for up to 3-4 days. They’re fantastic for holiday parties or get-togethers where you need to prepare things in advance. Think of them as perfect make-ahead treats, just like some of our baked goods from the homemade granola recipe!
Are there any other cookie recipes you recommend?
If you’re in a cookie-making mood, we have tons of amazing recipes! If you’re looking for something savory and delicious, our easy chili recipe is always a hit, or maybe you want something sweet but a little different? Our granola recipe is fantastic too. But truly, these snowball cookies are a classic for a reason! They’re just so reliably delightful.
Estimated Nutritional Information
Per cookie (estimated):
- Calories: 100
- Sugar: 6g
- Fat: 7g
- Carbohydrates: 9g
Estimated Nutritional Information
Just so you know, these little beauties are estimated to be about 100 calories per cookie. You’re looking at around 7g of fat, 9g of carbohydrates, and 1g of protein. Keep in mind these numbers can wiggle a bit depending on the exact butter and nuts you use!
PrintSnowball Cookies

Delicate, buttery cookies with a nutty crunch, rolled in powdered sugar for a festive, melt-in-your-mouth treat.
- Prep Time: 20 min
- Cook Time: 12 min
- Total Time: 32 min
- Yield: 3 dozen 1x
- Category: Dessert
- Method: Baking
- Cuisine: American
- Diet: Vegetarian
Ingredients
- 1 cup unsalted butter, softened
- 1/2 cup powdered sugar, plus more for rolling
- 1 teaspoon vanilla extract
- 1/4 teaspoon salt
- 2 cups all-purpose flour
- 1/2 cup finely chopped pecans or walnuts
Instructions
- Preheat your oven to 350°F (175°C). Line baking sheets with parchment paper.
- In a large bowl, cream together the softened butter and 1/2 cup powdered sugar until light and fluffy.
- Beat in the vanilla extract and salt.
- Gradually add the flour, mixing until just combined.
- Stir in the finely chopped nuts.
- Roll the dough into 1-inch balls and place them on the prepared baking sheets, about 2 inches apart.
- Bake for 10-12 minutes, or until the edges are lightly golden. The centers should still be pale.
- Let the cookies cool on the baking sheets for 5 minutes before transferring them to a wire rack to cool completely.
- Once cooled, roll the cookies generously in additional powdered sugar until they are fully coated.
Notes
- For a smoother texture, you can pulse the nuts in a food processor until finely ground.
- Ensure the cookies are completely cool before rolling in powdered sugar to prevent them from becoming sticky.
- These cookies are best stored in an airtight container at room temperature.
Nutrition
- Serving Size: 1 cookie
- Calories: 100
- Sugar: 6g
- Sodium: 20mg
- Fat: 7g
- Saturated Fat: 4g
- Unsaturated Fat: 3g
- Trans Fat: 0g
- Carbohydrates: 9g
- Fiber: 0.5g
- Protein: 1g
- Cholesterol: 15mg