
I know that craving. You want that deep, golden crunch, that satisfying snap you get from the restaurant version of your favorite Tex-Mex dish, but you absolutely do not want to deal with a vat of hot oil on a Tuesday night. That’s where the lingo comes in. What chefs know—and what I’m translating for you today—is how to trick the oven into delivering that same crispness. Forget soggy results; we are making Baked Chicken Chimichangas that genuinely crisp up. This recipe gets you that restaurant-style texture using simple prep, making it my favorite go-to when I need a fast, flavorful fix without the mess. This is proof that you don’t need the fryer to nail that perfect crunch.
- Why You Will Make These Baked Chicken Chimichangas Every Week
- The Ingredients for Crispy Baked Chicken Chimichangas
- Expert Tips for Perfect Baked Chicken Chimichangas Assembly
- Step-by-Step Instructions for Crispy Baked Chicken Chimichangas
- How to Make Baked Chimichangas Crispy Every Time
- Serving Suggestions for Your Baked Chicken Chimichangas Dinner
- Storage and Reheating Your Leftover Baked Chicken Chimichangas
- Frequently Asked Questions About Easy Chimichangas Recipe
- What Readers Say About Our Baked Chicken Chimichangas
Why You Will Make These Baked Chicken Chimichangas Every Week
Look, I get it. Life is busy, but we still deserve seriously good food. These are the reasons these chimichangas earn a permanent spot on my rotation:
- The Crunch Factor: They achieve that *crispy baked* texture we all crave, zero deep-frying required. Say goodbye to heavy oil!
- Weeknight Chicken Dinner Hero: They come together so fast—we’re talking under 40 minutes total.
- Guilt Free Chimichangas: All the flavor you love, but lightened up enough that you can serve them again next week.
The Ingredients for Crispy Baked Chicken Chimichangas
This isn’t complicated. That’s the beauty of it. When you’re aiming for the perfect quick Tex-Mex meal, you need high-impact ingredients that deliver maximum flavor without layers of fuss. The filling is truly just a creamy, savory dream that holds together beautifully. If you need a head start on the chicken, check out my easy shredded chicken recipe, but honestly, even a good rotisserie chicken works wonders here.
You need:
- 2 cups cooked, shredded chicken
- 1/2 cup cream cheese, softened (make sure this is soft, trust me!)
- 1/4 cup sour cream
- 1/2 cup shredded Monterey Jack cheese
- 1/4 cup chopped green chiles, drained (don’t skip draining them; we don’t want soup!)
- 1 teaspoon ground cumin
- 1/2 teaspoon chili powder
- 1/4 teaspoon garlic powder
- Salt and black pepper to taste
- 8 (8-inch) flour tortillas
- 2 tablespoons olive oil or cooking spray (this is key for the crisp!)
- 1/2 cup shredded cheddar cheese (for topping later)
Expert Tips for Perfect Baked Chicken Chimichangas Assembly
Listen up, because this is where most people mess up their Baked Chicken Chimichangas and end up with a leaky, messy disaster. We are translating a pro line technique here: assembly matters just as much as the filling itself. If your tortilla isn’t ready to roll, it’s just going to crack the second you try to fold it.
How to Warm Tortillas So They Do Not Tear
You absolutely must make your flour tortillas soft, right before you start rolling. Don’t try to use them straight from the package! I stack mine up—maybe five or six at a time—and give them a quick zap in the microwave for about 15 seconds total. They should be warm and flexible, almost like soft leather. If they start to look dry again, just hit them for another three seconds.
Achieving the Tightest Roll for Your Baked Chicken Chimichangas
When loading up your tortilla, keep the filling concentrated near the bottom edge, leaving a good two-inch border on the sides. Fold those sides in first, just like you would a standard burrito. Then, start that bottom edge up and over the filling, tucking it in tightly as you roll forward. You want zero air space inside! If you’re worried about them uncurling in the oven, don’t stress—a little toothpick right through the seam holds everything together perfectly until they bake. That tight roll is what guarantees that amazing crunch on your Baked Chicken Chimichangas.
Step-by-Step Instructions for Crispy Baked Chicken Chimichangas
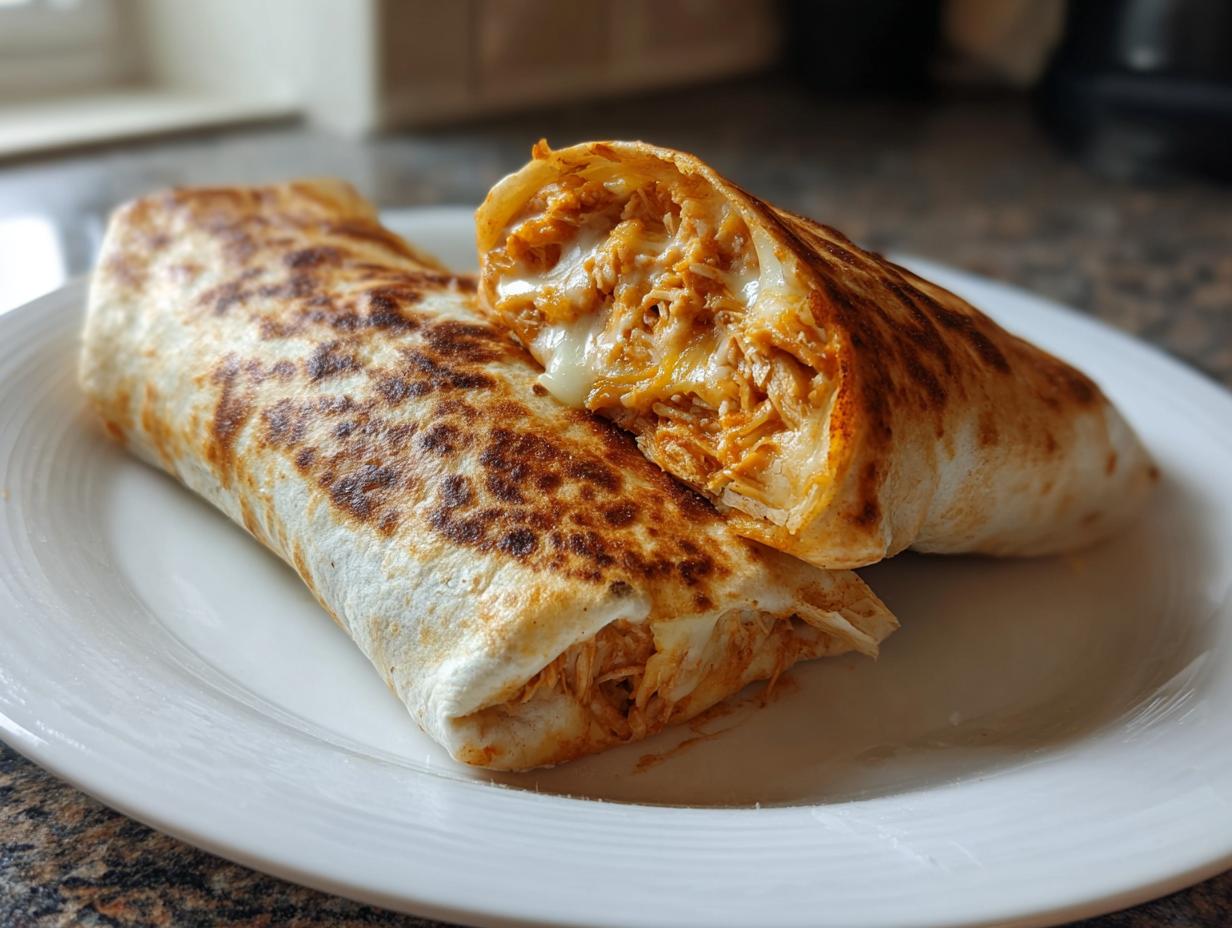
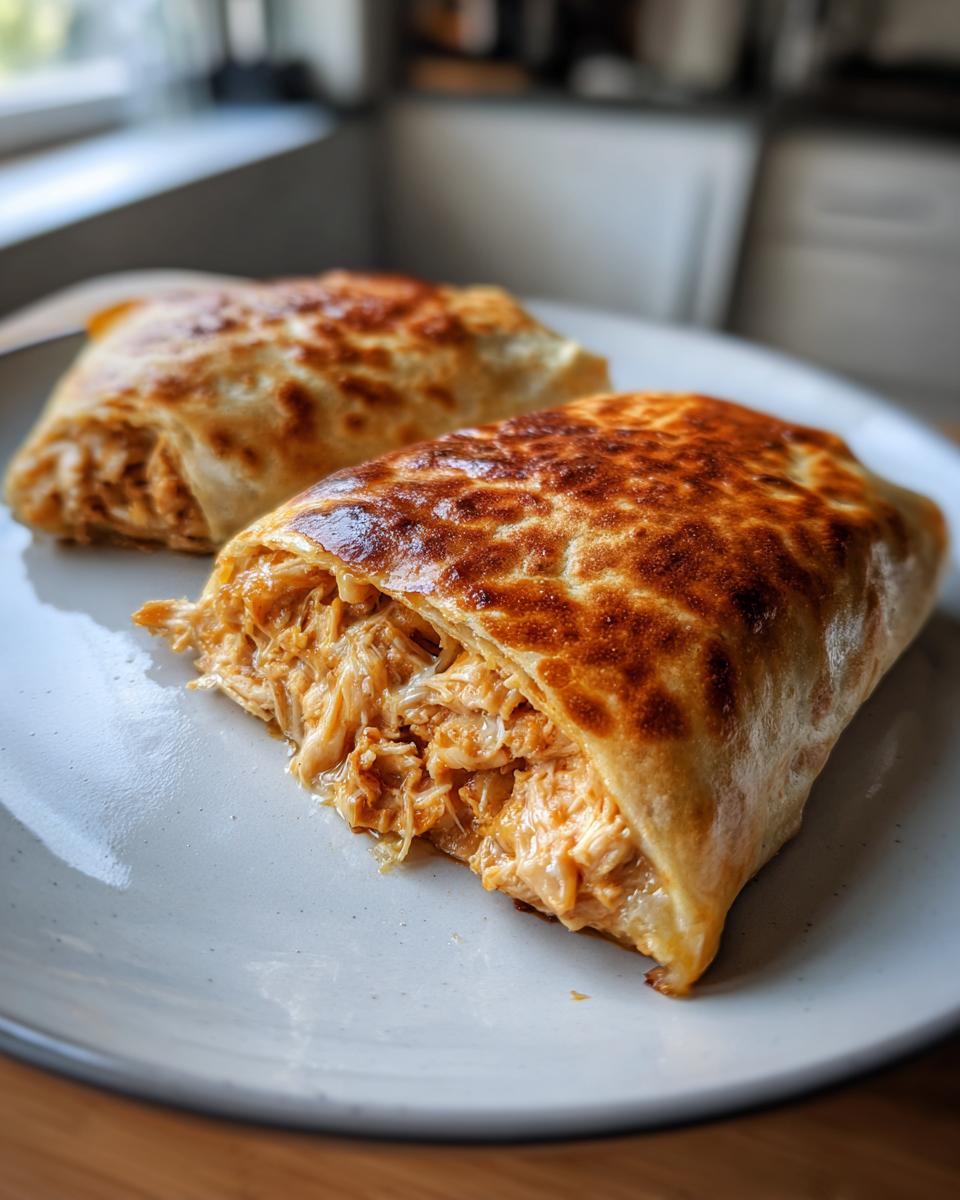
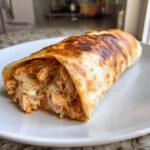
Okay, assembly is done, and now we talk heat. This is the payoff moment where we take that snugly wrapped package and transform it. Remember, the goal here is maximum crisp and zero deep fryer grease. Preheat your oven to 400°F (200°C) and get your baking sheet ready. I always line mine with parchment paper because clean-up is part of the victory, right?
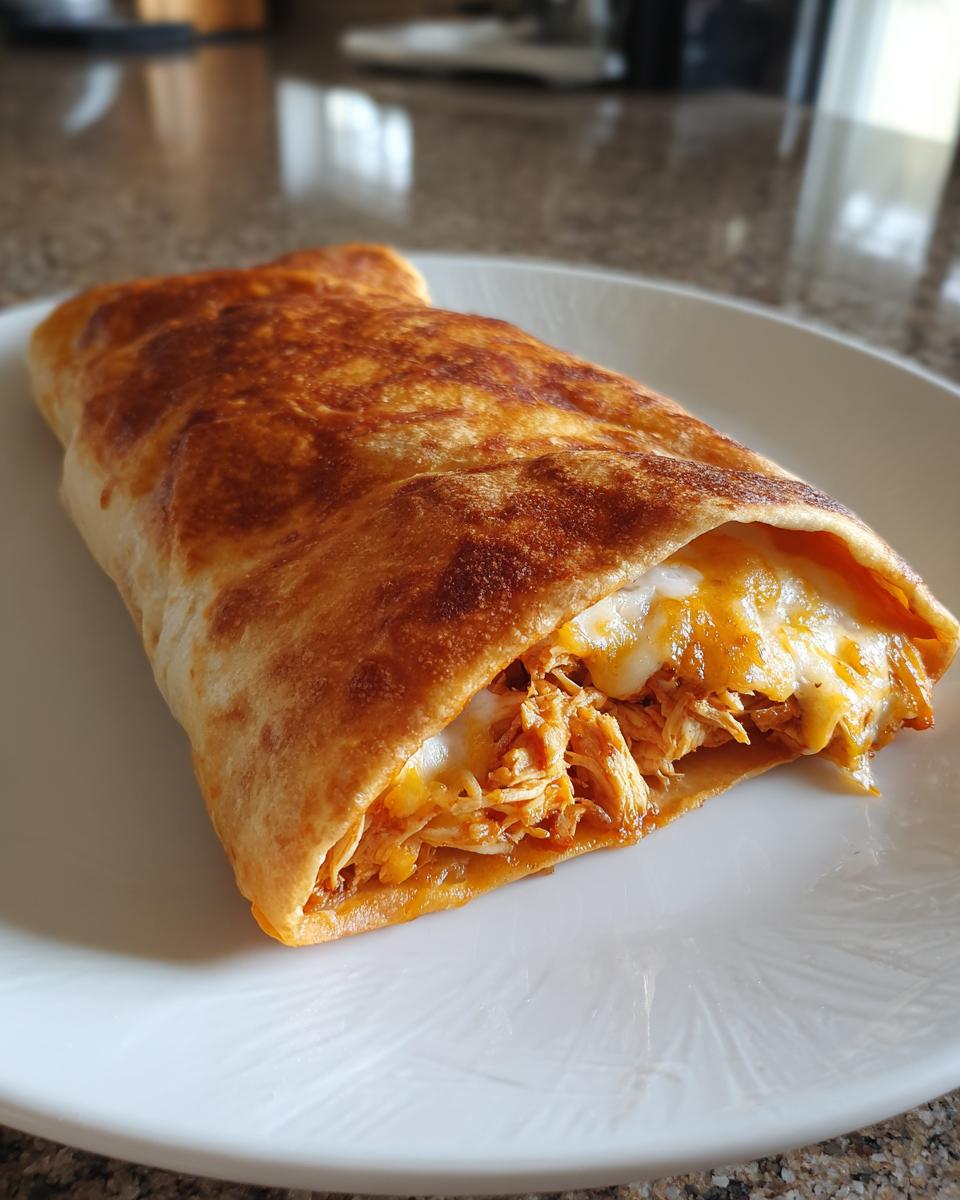
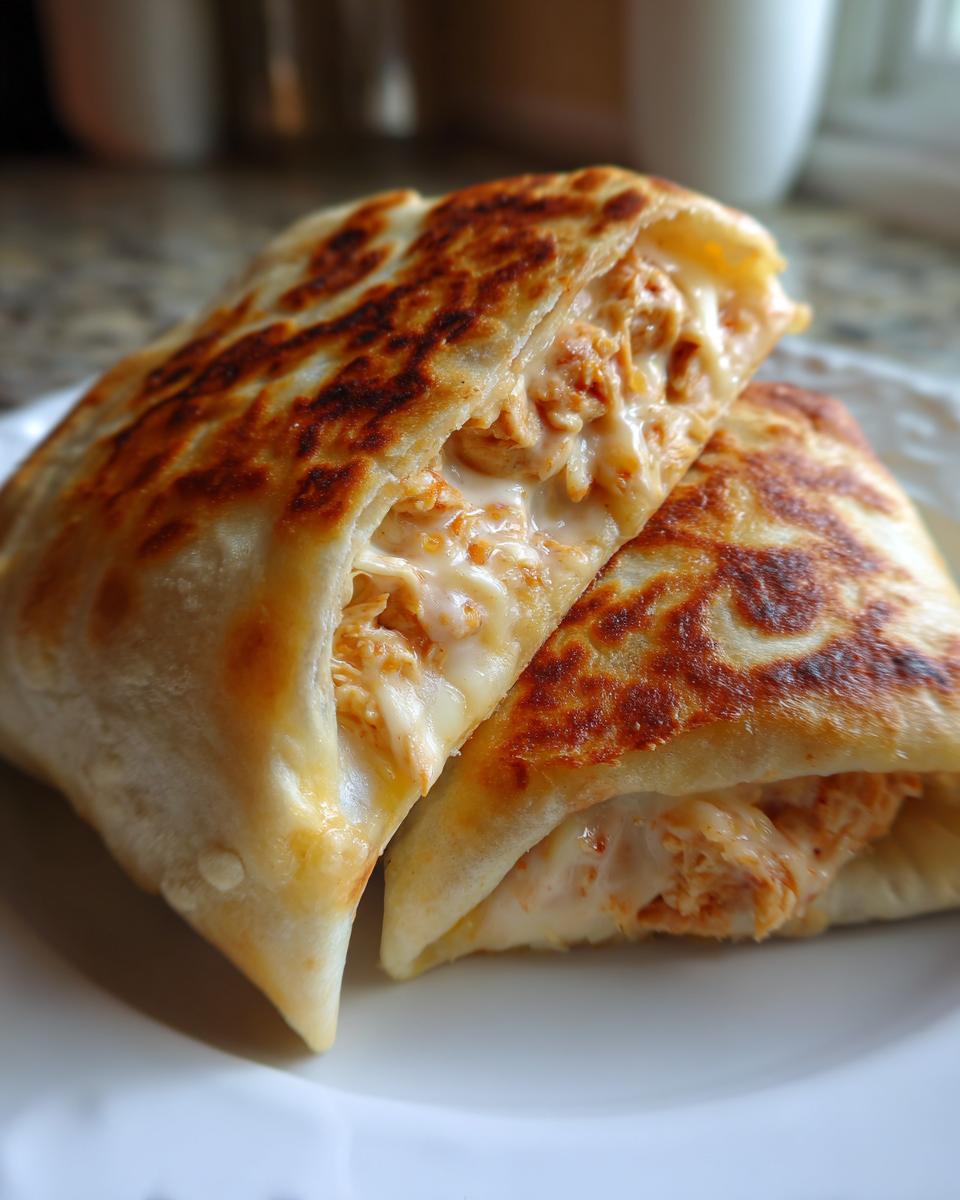
Once your chimichangas are tucked in seam-side down, you need to make contact with fat. This is the single biggest secret to getting those beautiful Oven Crisped Tortillas. Brush the tops lightly with olive oil or hit them aggressively with cooking spray—I usually use spray because it gets into every little crevice. Give them about 15 minutes in the oven.
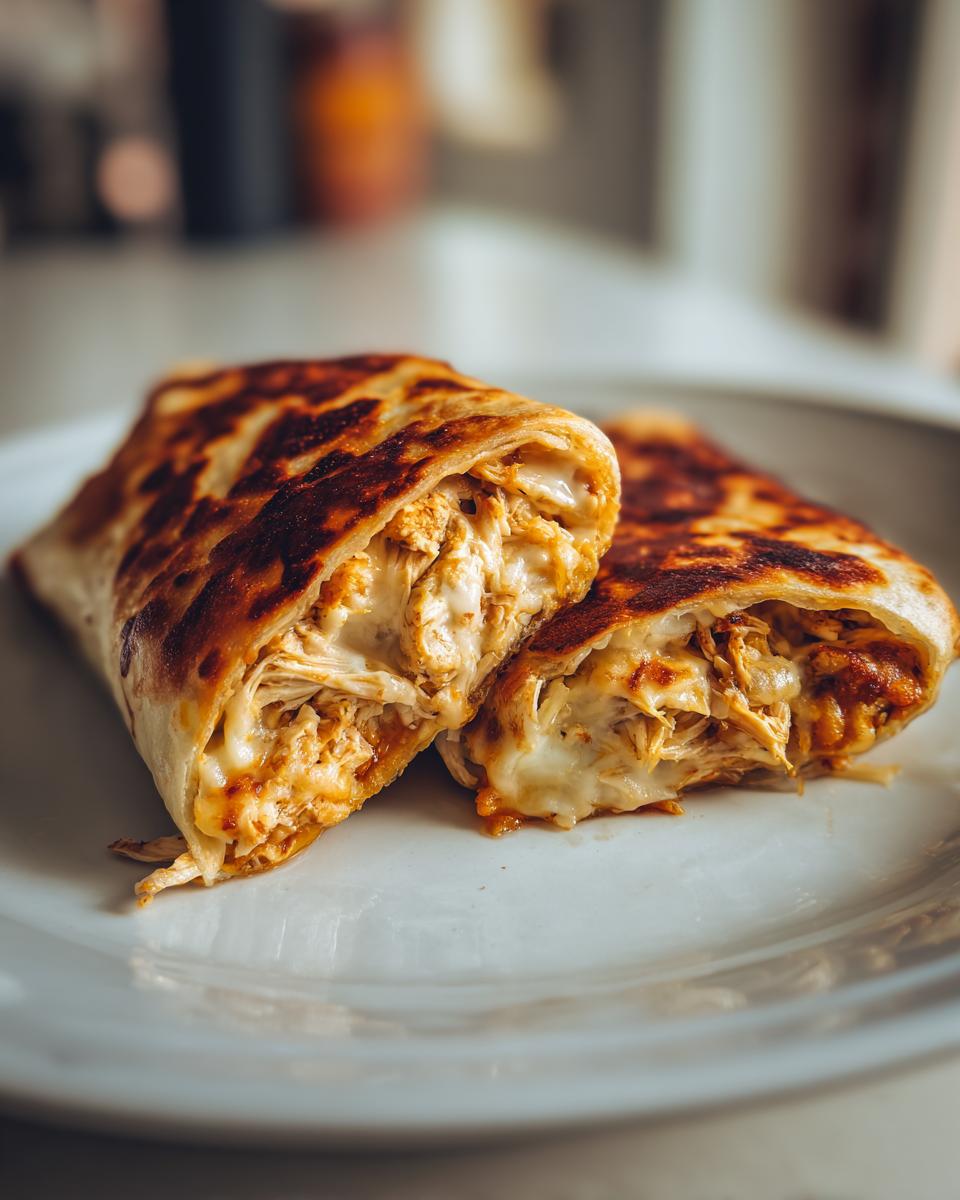
When you pull them out (carefully, they’re hot!), flip them over. Now, that cheddar cheese comes out to play! Sprinkle it over the top side and pop them back in for another 5 to 10 minutes. They are done when they are gorgeous golden brown and that cheese is bubbly. Don’t forget to pull out the toothpicks before you dig in! If you need extra inspiration on timing your weeknight meals, check out my guide on quick dinners.
How to Make Baked Chimichangas Crispy Every Time
Listen, if you’re making Baked Chicken Chimichangas, the biggest mistake people make is assuming the oven heat alone will deliver the crunch. Nope. We need to build that texture on the exterior, just like a professional chef builds a sauce.
The secret sauce for crispness is fat contact. You must thoroughly brush or spray the tops—really saturate them—with olive oil or cooking spray before they ever go in. Because we aren’t deep-frying, this thin layer of fat is what interacts with the 400-degree heat to give you those beautiful, crunchy, golden edges. That golden shell is the goal!
Pro translator tip: If you pull your chimichangas out at the 15-minute mark and they look pale instead of deeply golden, kick the oven into broiler mode for the last 60 to 90 seconds. Watch them like a hawk, though—broilers are fast and furious—but that flash of direct heat will give you that restaurant-quality crispiness instantly.
Serving Suggestions for Your Baked Chicken Chimichangas Dinner
These chimichangas are fabulous straight out of the oven, but let’s be real—Tex-Mex demands toppings. This is where you add that last layer of flavor and cooling contrast. Think of the crispy shell and the rich, cheesy filling as the canvas, and the dips as your vibrant paint.
You can’t go wrong with the classics. A big dollop of cool sour cream cuts right through the savory spices beautifully. Grab your favorite jarred salsa, or if you’re feeling ambitious, make a batch of my fresh pico de gallo—you can start here with my super simple salsa recipe.
But if you want to level up your entire dinner experience, you need fresh guac. Seriously, making your own avocado dip is a game-changer, and it takes about three minutes. Forget those pre-made tubs! I’ve broken down my favorite way to make it chunky and bright over on my guacamole post. Trust me, once you serve these lightened-up chimichangas with fresh dips, you won’t go back.
Storage and Reheating Your Leftover Baked Chicken Chimichangas
You might have leftovers because, frankly, this recipe makes a bunch, and they are great for meal prep! If you have leftovers of the filling mix—or even fully assembled but unbaked Baked Chicken Chimichangas—wrap them up tight. The recipe notes explain that you can freeze the uncooked bundles easily. For already baked ones, store them in an airtight container in the fridge for up to three days.
Now, how do we get the crunch back? Do NOT use the microwave! That’s instant sogginess. The best trick for reheating is using that 400-degree oven again. Pop them directly on a baking sheet at 375°F for about 10 to 12 minutes. If they were frozen, give them closer to 25 minutes, flipping halfway through. You restore that wonderful, crispy exterior every time!
Frequently Asked Questions About Easy Chimichangas Recipe
I always get so many great questions when people try this out for the first time! It means you’re thinking like a cook, which I love. Here are the top ones I hear when people are switching over to making this a lighter Mexican Food staple.
Can I use store-bought rotisserie chicken for these Baked Chicken Chimichangas?
Absolutely, yes! In fact, that’s one of my top shortcuts when I need a true Easy Chimichangas Recipe dump-and-go meal. Pre-cooked, shredded chicken is a lifesaver. Just make sure you shred it finely and allow it to cool slightly before mixing it into the cheese filling so it doesn’t melt everything prematurely. It saves a whole step!
What is the best way to make these a Healthy Chimichangas Dinner?
If you’re aiming for a truly Lightened Up Mexican Food option, focus on what you combine with the chicken. I swap out standard sour cream for plain Greek yogurt—it gives you the same tangy creaminess but bumps up the protein way high. And when it comes to the cheese in the filling, stick to a reduced-fat Monterey Jack if you want, but honestly, the cheese is what holds the structure together, so don’t cut back too drastically. Remember, baking instead of frying cuts so much fat already!
Can I use corn tortillas instead of flour tortillas?
I strongly advise against it for this specific recipe, and here’s the chef translation: Corn tortillas do not have the same pliable gluten structure that flour tortillas have. When you try to roll them tightly—especially around a moist filling—corn tortillas tend to crack immediately, or they just get crumbly when baked. This recipe needs the flexibility of flour to wrap up tight and achieve that perfect, even, crispy exterior we are chasing.
What Readers Say About Our Baked Chicken Chimichangas
This is where the real fun begins! I love hearing what you think when you put this translation to work in your own kitchens. When you swap out the fryer for the oven and still manage to get that incredible crunch, that’s a kitchen language win right there.
I need your feedback so I can keep refining these kitchen translations for everyone else. Did you manage to keep your rolls tight? Did your chimichangas get as golden as you hoped? Be honest!
If you made these Crispy Baked Chicken Chimichangas, please take a second to leave a comment below letting me know how it went and give the recipe a star rating. It helps other home cooks know they can trust this method.
If you have detailed questions or want to share a picture of your spread, you can always reach out directly through my contact page. Happy cooking, and I hope this one becomes a go-to weeknight chicken dinner for you too!
PrintCrispy Oven-Baked Shredded Chicken Chimichangas
You get the flavor of a fried favorite without the extra oil. These baked chicken chimichangas use tender, seasoned chicken wrapped in tortillas and baked until golden and crunchy. This is a guilt-free, easy weeknight chicken dinner.
- Prep Time: 15 min
- Cook Time: 25 min
- Total Time: 40 min
- Yield: 8 servings 1x
- Category: Dinner
- Method: Baking
- Cuisine: Tex-Mex
- Diet: Vegetarian
Ingredients
- 2 cups cooked, shredded chicken
- 1/2 cup cream cheese, softened
- 1/4 cup sour cream
- 1/2 cup shredded Monterey Jack cheese
- 1/4 cup chopped green chiles, drained
- 1 teaspoon ground cumin
- 1/2 teaspoon chili powder
- 1/4 teaspoon garlic powder
- Salt and black pepper to taste
- 8 (8-inch) flour tortillas
- 2 tablespoons olive oil or cooking spray
- 1/2 cup shredded cheddar cheese (for topping)
Instructions
- Preheat your oven to 400°F (200°C). Lightly grease a baking sheet or line it with parchment paper.
- In a medium bowl, combine the shredded chicken, softened cream cheese, sour cream, Monterey Jack cheese, green chiles, cumin, chili powder, and garlic powder. Mix until everything is well combined. Season with salt and pepper. This is your chimichanga filling.
- Warm the flour tortillas briefly in the microwave (about 15 seconds) to make them pliable. This prevents tearing when rolling.
- Place about 1/3 cup of the chicken mixture near the bottom edge of one tortilla. Fold the sides inward over the filling, then tightly roll the tortilla up from the bottom, like a burrito. Secure the seam with a toothpick if necessary.
- Place the rolled chimichanga seam-side down on the prepared baking sheet. Repeat with the remaining filling and tortillas.
- Brush the tops and sides of the chimichangas lightly with olive oil or spray them generously with cooking spray. This step is key for getting that crispy texture.
- Bake for 15 minutes. Flip the chimichangas over, sprinkle the tops with the cheddar cheese, and bake for another 5 to 10 minutes, or until the tortillas are golden brown and crispy.
- Remove toothpicks before serving. Serve immediately with your favorite toppings like salsa or guacamole.
Notes
- To make the chicken ahead of time, cook and shred chicken breasts or use rotisserie chicken for an even quicker meal.
- For extra crispiness, you can briefly broil the chimichangas for the last 1-2 minutes, watching them closely so they do not burn.
- If you are meal prepping, assemble the chimichangas but skip the oil/spray and baking. Store them tightly wrapped in the refrigerator or freezer. Bake from frozen at 375°F for about 30 minutes, flipping halfway.
Nutrition
- Serving Size: 1 chimichanga
- Calories: 350
- Sugar: 3
- Sodium: 550
- Fat: 15
- Saturated Fat: 7
- Unsaturated Fat: 8
- Trans Fat: 0
- Carbohydrates: 35
- Fiber: 2
- Protein: 22
- Cholesterol: 65