
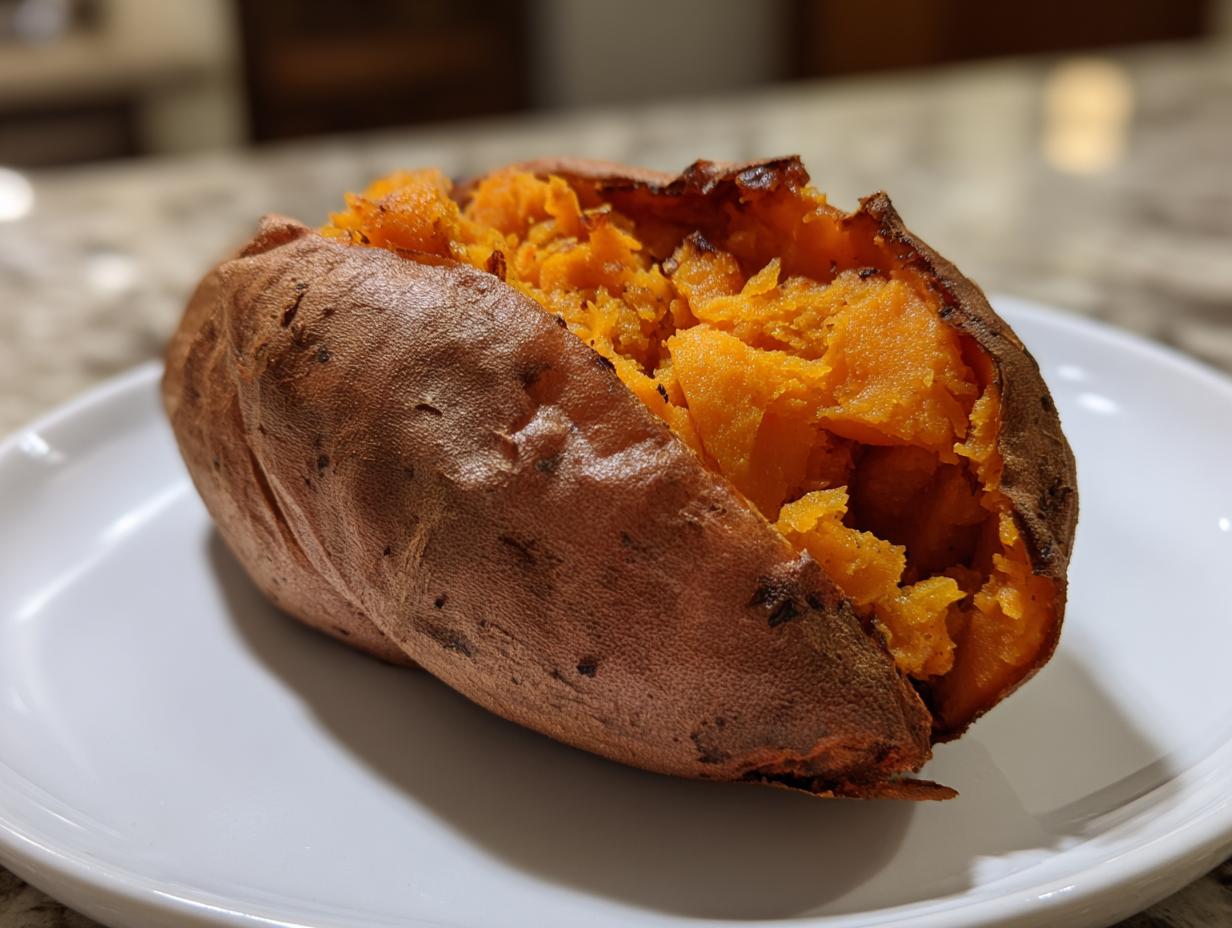
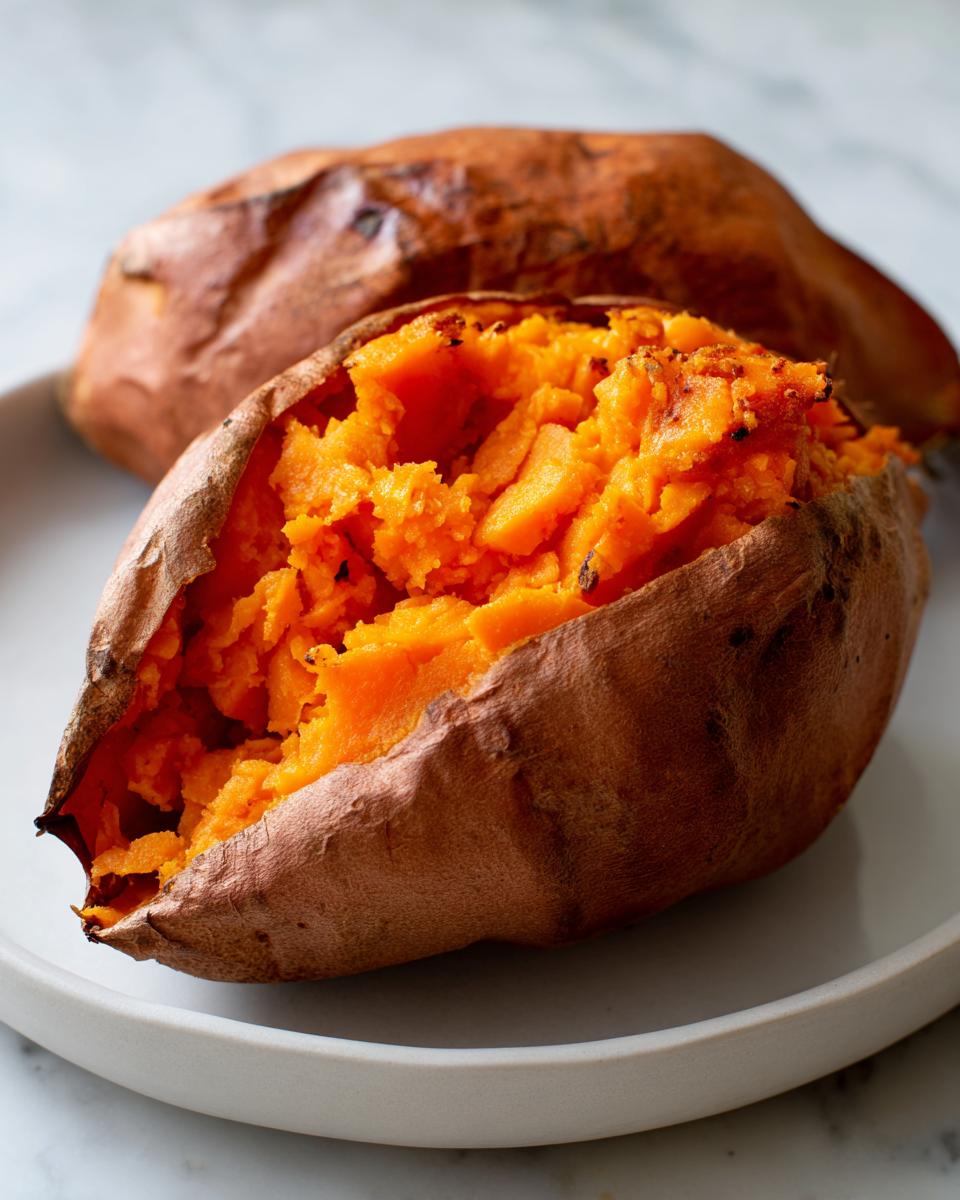
Okay, let’s talk texture. Are you tired of pulling a sweet potato out of the oven, slicing it open, and finding this sad, dense middle part that just refuses to get fluffy? Me too! That used to happen all the time until I figured out the chef’s secret handshake for this veggie. This foolproof method I’m sharing guarantees you that perfect bite every single time: a slightly caramelized, crackly skin and the fluffiest, tender interior you can imagine. Trust me, getting the baked sweet potatoes right is crucial. I learned these tricks watching line cooks whip out perfect sides in bulk, and now I’m translating that kitchen slang so you can rock this easy, healthy side dish without stress.
- Why This Is the Best Baked Sweet Potato Technique
- Gathering Ingredients for Perfect Baked Sweet Potatoes
- How to Prepare Easy Oven Sweet Potatoes: Step-by-Step
- Mastering the Sweet Potato Baking Guide: Tips for Perfection
- Meal Prep Ideas for Your Baked Sweet Potatoes
- Savory vs Sweet Baked Potato Toppings for Your Baked Sweet Potatoes
- Serving Suggestions for this Simple Baked Vegetable Side
- Frequently Asked Questions About Baked Sweet Potatoes
- Nutritional Snapshot for Baked Sweet Potatoes
Why This Is the Best Baked Sweet Potato Technique
If everyone else is wrapping their spuds in foil, you need to just walk away. Seriously. Foil steams the potato, which makes the skin soggy and the inside gummy. The Best Baked Sweet Potato Technique is all about direct heat exposure. We want that beautiful contrast: rugged, crispy exterior meeting a cloud-like center.
This method is foolproof because it relies on high, dry heat. We’re not steaming the moisture in; we’re pushing the moisture *out* of the skin while concentrating the starches inside for that perfect fluff. It’s remarkably easy, too. You don’t need complicated seasonings or extra steps—just a little oil and high heat. Honestly, mastering this simple step will change how you look at vegetables forever; it’s even better than when I make my oven-roasted potatoes and carrots!
Achieving the Crispy Skin Baked Sweet Potato Method
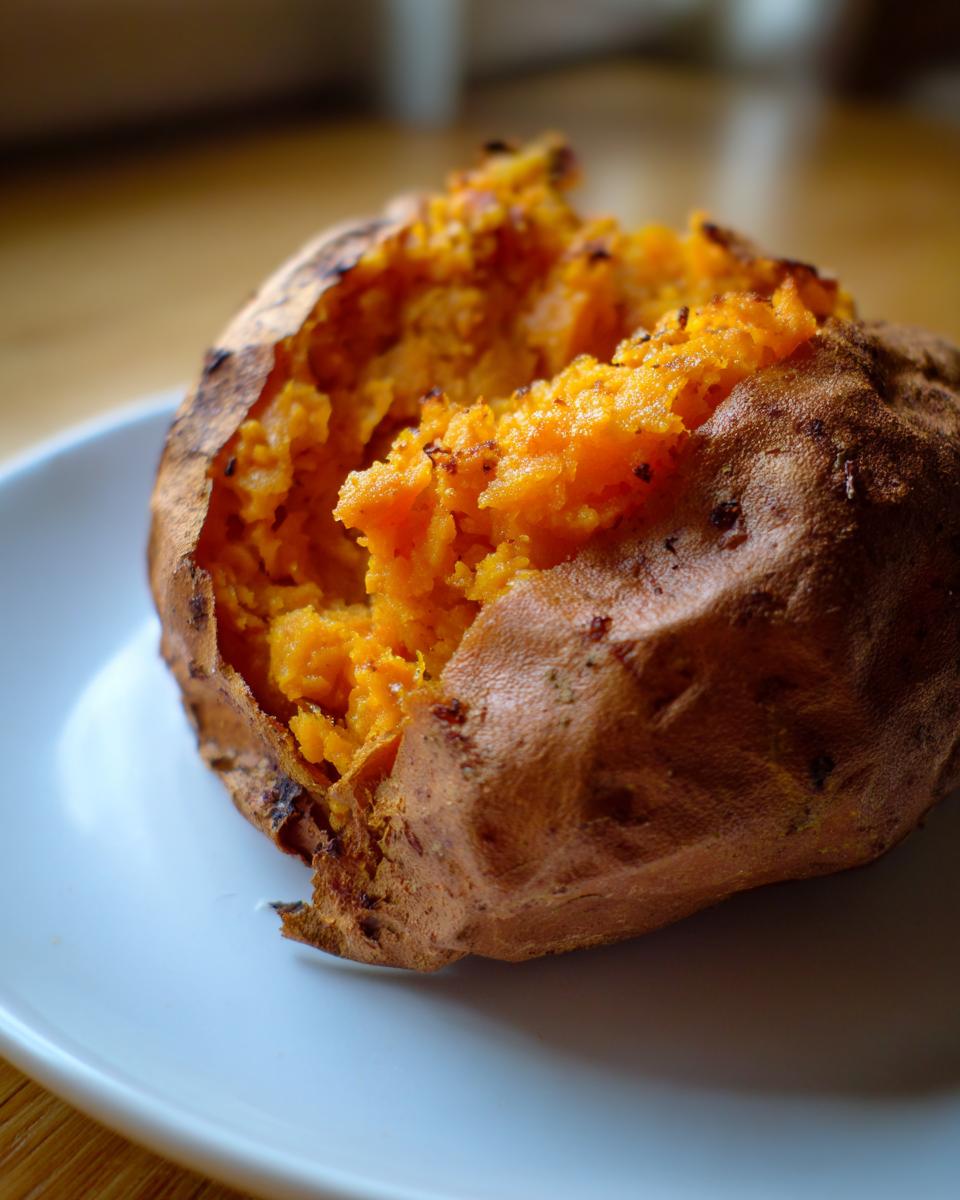
The secret to the coveted Crispy Skin Baked Sweet Potato Method? Two things: oil and direct contact. You have to treat the skin like you’re roasting a chicken wing—it needs rendered fat and air circulation to crisp up. Rubbing them down with olive oil prevents the skin from drying out too much but allows the surface moisture to fully evaporate. Then, we put them directly on the oven rack. No sheet pan, no foil cover. That direct contact with the 400-degree air is what caramelizes the sugars on the outside and builds that perfect protective crust.
Gathering Ingredients for Perfect Baked Sweet Potatoes
Okay, before we get this thing in the hot seat, let’s talk about what you need. The beauty of these baked sweet potatoes is that they require next to nothing fussy. We’re talking basic pantry staples here, which means you can whip these up any Tuesday night when you realize you need a killer side dish fast. We’re aiming for a lightning-quick 5 minutes of prep time, followed by about 50 minutes of hands-off baking.
Here is what you need for four perfect servings:
- 4 medium sweet potatoes, scrubbed clean
- 1 tablespoon olive oil
- 1 teaspoon coarse salt
- 1/2 teaspoon black pepper
That’s it! See? We’re keeping it light. We don’t want to weigh the skin down before it has a chance to crisp up. These simple ingredients are the foundation for the best texture and flavor balance.
Ingredient Notes and Simple Substitutions
When you’re selecting your sweet potatoes, try to grab ones that are roughly the same size. This isn’t absolutely mandatory, but if you have one tiny one and one giant one, the tiny one is going to burn while the big one is still raw in the middle. Consistency is our friend here!
About the salt: I absolutely insist on coarse salt here. If you use fine table salt, it dissolves too quickly and can actually draw moisture out of the skin we are trying so hard to crisp. Coarse salt sits on the exterior just long enough to season everything perfectly as the potato bakes. If you only have fine salt, use about half the amount or you might find them too salty.
And the oil? Olive oil works great for flavor, but if you’re worried about high heat scorching it, feel free to swap in avocado oil. Both deliver the necessary fat content to get that skin looking incredible. Remember, this is your base! Once they come out, you can do whatever you want to them flavor-wise.
How to Prepare Easy Oven Sweet Potatoes: Step-by-Step
Alright, time to get these beauties into the oven so we can enjoy some Easy Oven Sweet Potatoes soon. The process is super straightforward, but listen closely to the one non-negotiable item: we are not using foil, ever! The biggest mistake people make is trying to rush things by wrapping them up. That just traps the steam and gives you mush. We need that high heat hitting the skin directly to get that gorgeous caramelization we talked about.
Once they’re scrubbed and oiled, it’s just a matter of getting them up on the rack. I promise, once you see how simple this core method is, you’ll never go back. If you want to see another dish where direct heat makes all the difference, check out my guide on how to make oven-roasted potatoes crispy!
Preheating and Pricking for Fluffy Inside Sweet Potato Recipe
First, you need to get your oven screaming hot to 400 degrees Fahrenheit. That temperature is essential for achieving that **Fluffy Inside Sweet Potato Recipe** outcome. Next up—and this is important for safety and texture—grab a fork and prick each potato several times, all over its surface. Don’t skip this step! Those little holes are vital release valves. They let the internal steam escape as the potato cooks, preventing a potato explosion on your oven floor and ensuring that inside turns airy instead of dense and heavy. You can see why Chef Claire loves this no-foil approach so much; it just works! (See her secret here, though I think ours is easier!)
Baking Time and Checking Doneness for Baked Sweet Potatoes
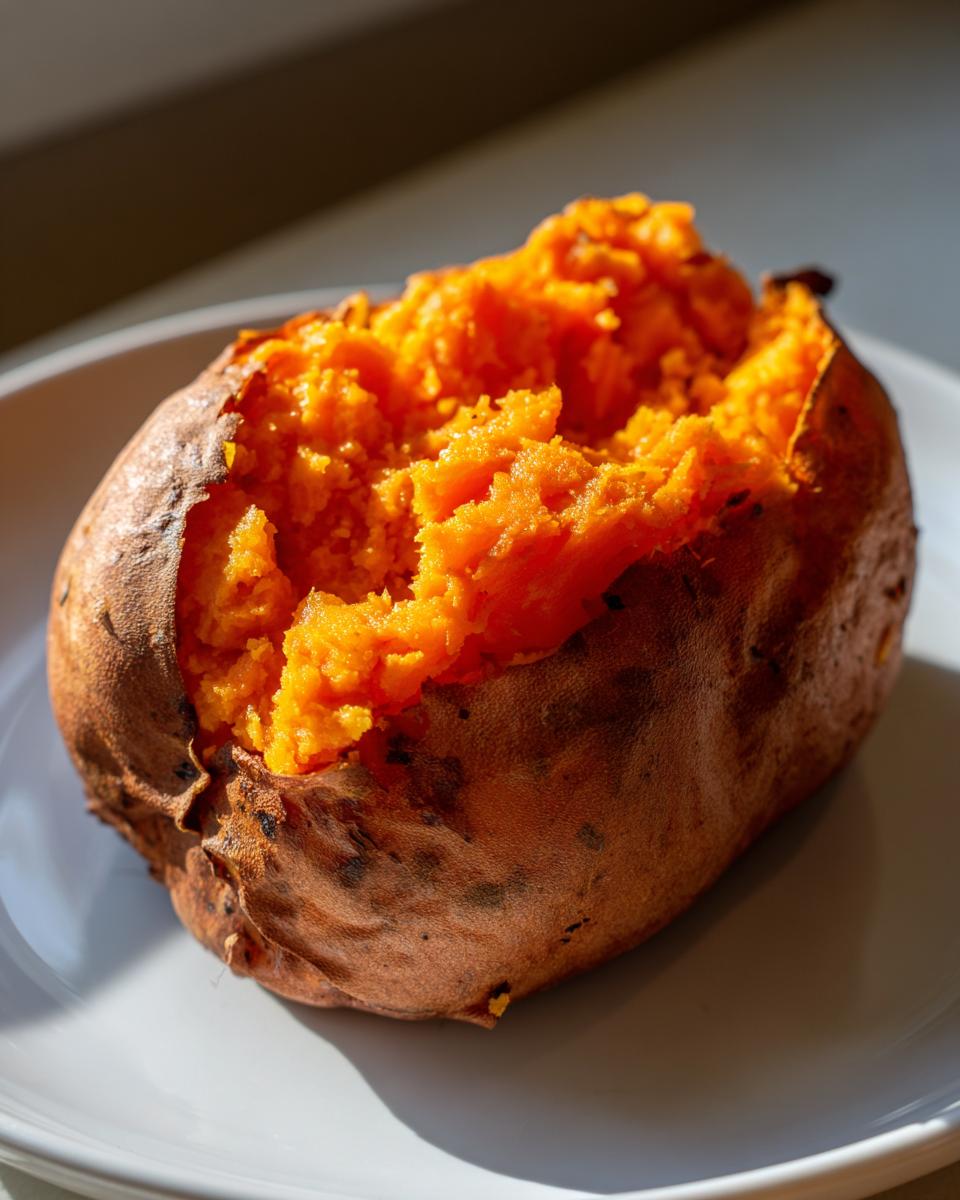
Pop those oiled and seasoned taters directly onto the middle oven rack. For medium-sized ones, the baking window is usually 40 to 55 minutes. Keep an eye on them around the 40-minute mark. You’re looking for two main indicators that your baked sweet potatoes are done. First, the skin should look a little wrinkly on the sides and feel firm when you gently nudge it. Second, the real test: slide a dry fork or a thin knife right into the center. If it sinks in with zero resistance, you nailed it! If you feel any hard spots, just give them another 5 to 10 minutes. We want perfectly cooked, fluffy centers, remember?
Mastering the Sweet Potato Baking Guide: Tips for Perfection
Now that you know the basic steps, let’s dive into the real insider knowledge—the things that separate the ‘pretty good’ potatoes from the ‘oh my gosh, what did you do to these?’ potatoes. This is my definitive Sweet Potato Baking Guide, built on plenty of trial and error. Years ago, I tried to rush a batch for a potluck, used tiny potatoes, and basically steamed them in a pan underneath the foil—pure disaster! They came out damp inside, zero crust. Never again! This high-heat, direct-rack method is how we fix those rookie mistakes.
The fundamental goal here is even distribution of heat. Since sweet potatoes have varying densities, sometimes you need a quick mid-bake check-in. It’s about building confidence so you can walk away and trust your oven without checking every five minutes!
Troubleshooting Common Issues with Baked Sweet Potatoes
If you’ve followed the steps and things still feel a little off, don’t panic. That’s usually just physics fighting thermodynamics in your oven!
- If your skin is looking dry before the inside is done, it means your oven is running slightly too hot, or your potatoes are small. Next time, try dropping the temp by 25 degrees. For this batch, just quickly slide a sheet of aluminum foil *under* the rack holding the potatoes. You aren’t covering them, just shielding the bottoms slightly to slow the moisture escape there.
- Uneven cooking happens if the potatoes aren’t uniform in size. If one is done but the other isn’t, pull the finished one out! Don’t let it sit there baking until it shrivels. You can wrap the finished potato tightly in foil (yes, foil is now allowed after they are done!) to keep it warm and slightly tenderize the skin while the bigger one catches up in the oven.
- If, despite everything, your skin is soggy? It’s probably because you didn’t prick them enough, or you put them on a sheet pan. The fix right now is to transfer the cooked potato directly onto the oven rack for the last 5 minutes of baking time—no oil needed, just blast it with dry heat to see if you can salvage any crispness.
See? Even in the kitchen, we have comebacks! Honestly, learning when to pivot is half the battle. If you’re looking for another easy vegetable side that benefits from a little high-heat treatment, check out my tips for garlic parmesan green beans—same principle, massive flavor payoff.
Meal Prep Ideas for Your Baked Sweet Potatoes
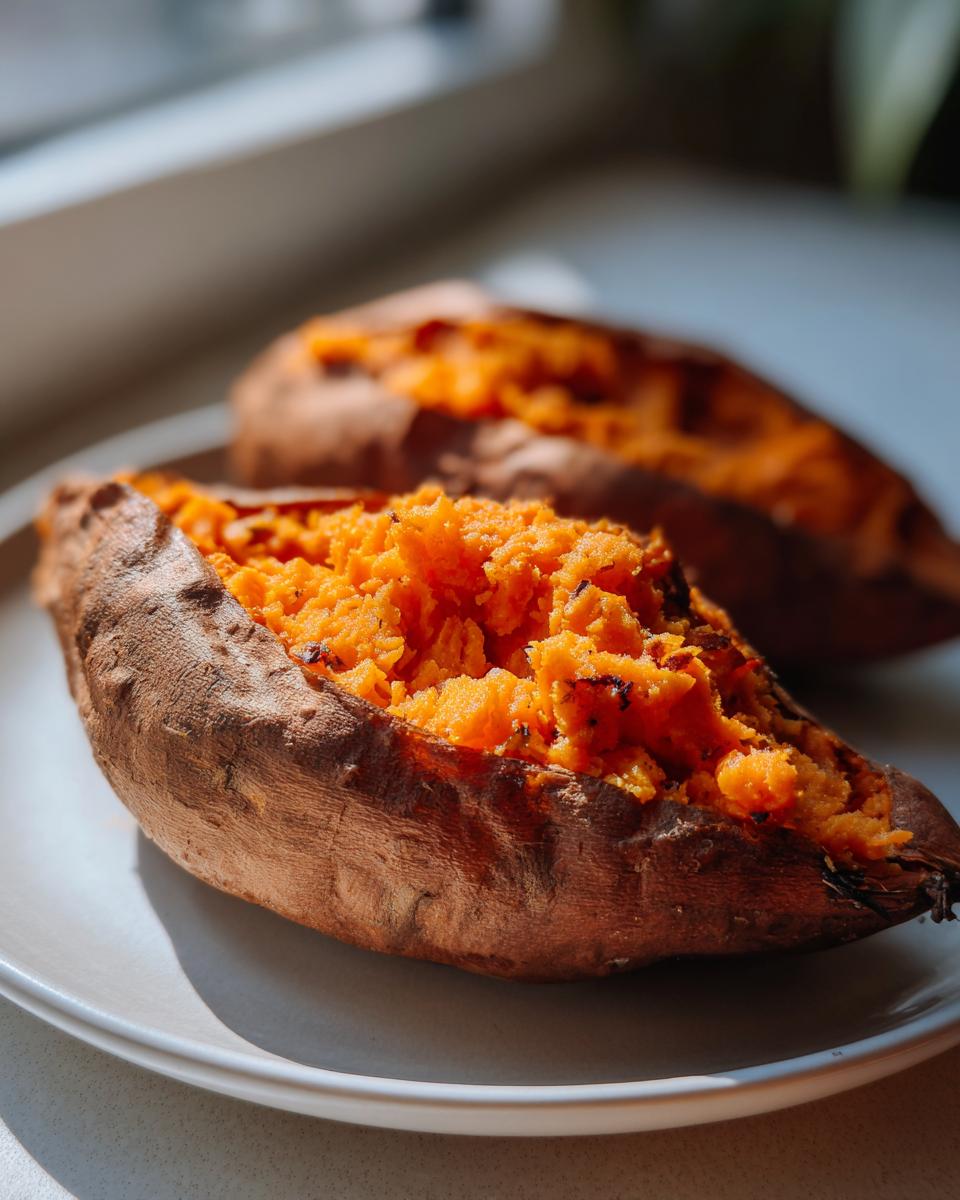
If you love these things as much as I do—and trust me, you will—then baking a double batch is non-negotiable. This is where the Sweet Potato Meal Prep Ideas come in handy. Having these on standby is a total game-changer for weeknights when you want something healthy but have zero energy to actually cook!
The best part about cooking them this way is that they store like total champs. After you bake them using our crispy-skin method, let them cool completely to room temperature before you seal them up. You can store them whole, skin and all, in an airtight container in the fridge for up to four days. Don’t slice them open beforehand; we want to protect that fluffy texture. Slicing them introduces air and moisture, which speeds up deterioration.
When you’re ready to eat one for a **Quick Weeknight Sweet Potato** meal, you need to reheat them properly. Forget the microwave if you can, okay? The microwave will instantly turn that crispy skin back into rubber. Instead, pop the whole potato into a 350 degree oven for about 10 minutes. This rapid heating refreshes the interior, making it fluffy again, and often re-crisps the exterior just enough so it feels freshly baked!
This prep trick makes it easy to turn them into lunch bowls or quick side dishes. You can use the cooked flesh as a base for chili, toss it with some black beans and lime, or even mash it up slightly for a quick, sweet side. It saves so much time when you’re trying to get dinner on the table fast. Speaking of quick meals, if you ever need an emergency dinner solution, you have to try my quick English muffin pizzas—they are my go-to sanity saver!
Savory vs Sweet Baked Potato Toppings for Your Baked Sweet Potatoes
Now that you’ve mastered the perfect sweet potato bake—crispy skin, fluffy center—it’s time for the fun part: loading it up! This base recipe is so neutral and inherently delicious that it begs to be customized. This is where you decide if you’re going for comfort indulgence or savory smartness. Deciding between Savory vs Sweet Baked Potato Toppings is my favorite part of the whole process; it depends entirely on what else is on the dinner table!
Remember in the notes, I mentioned you could dust the skin with brown sugar before baking if you want that caramelized sweetness hitting right away? That’s your gateway to the sweet side. A simple drizzle of maple syrup, a pat of butter, and a sprinkle of cinnamon turns this into a dessert-level side dish. It pairs unbelievably well with roasted chicken or pork loin if you’re leaning into cozy comfort food territory.
But listen, if you’re like me and usually want your vegetables to complement a hearty main course, we go savory! Mix a little minced garlic, smoked paprika, a pinch of cayenne, and dried herbs like thyme, then mix that into your olive oil before coating the potatoes. That savory rub creates an amazing crust flavor. If you want real savory inspiration, you have to see how these folks treat their potatoes—it looks incredible: check out this garlic butter version!
For a final, slightly spicy kick to your savory side, you can never go wrong by topping the fluff with a dollop of my jalapeño popper dip. Trust me; that creamy, spicy topping melts right into the hot, fluffy flesh. It turns a simple side dish into the star of the show, no contest!
Serving Suggestions for this Simple Baked Vegetable Side
So you’ve got your perfect baked sweet potatoes—crispy skin, that amazing fluffy interior—and now you need to know what to serve them with! This isn’t just a side dish; it’s the foundation for half your weekly menu planning, honestly. Since we kept the seasoning super basic (just salt, pepper, and oil), these potatoes are ready to play nice with basically anything on your plate. They fit perfectly into that box of needing a wholesome, delicious, and genuinely **Healthy Baked Side Dish**.
The easiest route, if you’re thinking about weeknight dinners, is pairing them with a simple roasted protein. Think about slow-cooked pork shoulder or a rotisserie chicken you snagged from the store. They balance out salty or rich meats beautifully because the sweet potato flavor is naturally clean and earthy.
But my favorite way to use these for meal prep is turning them into a base for a full lunch bowl. Scoop out that fluffy inside, leave the skin on the plate (or eat it, whatever!), and layer on whatever leftover cooked grains you have—quinoa, farro, whatever. Then top it with black beans, some chopped cilantro, maybe a squeeze of lime, and that’s a lunch that fuels you all afternoon. This works great if you’re looking to bulk up a plant-based meal without adding heavy starches. If you’re going the chili route for dinner, you HAVE to have a freshly baked sweet potato on the side; it soaks up the broth like a dream. Check out my easy chili recipe—it’s the perfect partner for these potatoes!
Don’t overthink it; use that inherent sweetness to cut through spice or richness, or use its neutral flavor as a platform for brighter toppings. It’s the ultimate versatile **Simple Baked Vegetable Side**!
Frequently Asked Questions About Baked Sweet Potatoes
I get so many questions about these guys because, let’s be real, baking them seems simple until you end up with a dud! People just want the secret, the foolproof method that finally gives them those creamy insides. Here are the things I hear most often when talking about making the best baked sweet potato technique work in your own oven.
Can I use foil when making baked sweet potatoes?
Oh, honey, if you use foil, you’re basically making mashed potatoes in disguise! The direct answer is no, not if you want the crispy skin we worked so hard for. Foil traps the steam that rises from the potato as it cooks. That steam needs to escape so the skin can dry out and get that crackly texture. Foil turns the outside into sad, soft skin. We want direct, dry heat circulation hitting that oiled surface. If you’re prepping ahead for storage, you can wrap them *after* they come out of the oven, but never during the cooking process!
What temperature is best for baking sweet potatoes for a fluffy inside?
You want high heat for that perfect texture—that’s the secret to a successful **Fluffy Inside Sweet Potato Recipe**. I push mine to 400 degrees Fahrenheit. This high temperature accomplishes two big things: it rapidly cooks the starches inside, making them break down into that light, airy fluff we love, and it quickly evaporates surface moisture to get that skin crisping right away. If you try to bake them lower, say at 350 degrees, they’ll take forever and they usually turn out dense because the heat creeps in too slowly.
What if my potato is absolutely massive, like one of those giant sweet potatoes restaurant chefs use? Well, size matters! If your potato is bigger than about 10 ounces, you’re probably going to need closer to an hour to an hour and 15 minutes, even at 400 degrees. Just keep checking it with a fork. If the outside starts looking overly dark before the center is soft, take it out, wrap it loosely in foil to keep the heat in, and finish it in the microwave for a minute or two just to shock the center into softness. It’s cheating, but sometimes you just gotta save dinner! If you want to explore transforming these into something totally different, check out my guide on making sweet potato toasts!
Nutritional Snapshot for Baked Sweet Potatoes
So, you want to know what good choices you’re making when you eat these awesome baked sweet potatoes? That’s smart thinking! Part of cooking better is knowing what you’re putting into your body, and these little orange dynamos are packed with good stuff. They are naturally sweet, filling, and genuinely good for you when you skip the sugary toppings.
Keep in mind that the numbers below are just for the potato itself—scrubbed, oiled, salted, and baked perfectly, just like we made them. What you pile on top afterward, like butter or marshmallows (I won’t tell!), will change these stats quickly. This is just the baseline for our simple, healthy recipe.
- Serving Size: 1 potato
- Calories: 180
- Fat: 5g (1g Saturated, 4g Unsaturated)
- Trans Fat: 0g
- Cholesterol: 0mg
- Sodium: 230mg
- Carbohydrates: 33g
- Fiber: 5g
- Protein: 4g
- Sugar: 13g
See that fiber count? Five grams is fantastic in just one side dish! That’s helping keep you full and keeping your digestion humming along nicely. And zero cholesterol, naturally. These are really a powerhouse vegetable when you treat them well. Eat up!
PrintFoolproof Oven Baked Sweet Potatoes: Crispy Skin & Fluffy Inside

This method guarantees perfectly baked sweet potatoes with a crispy exterior skin and a tender, fluffy interior. It is a simple, healthy side dish perfect for weeknight meals or meal prep.
- Prep Time: 5 min
- Cook Time: 50 min
- Total Time: 55 min
- Yield: 4 servings 1x
- Category: Side Dish
- Method: Baking
- Cuisine: American
- Diet: Vegetarian
Ingredients
- 4 medium sweet potatoes, scrubbed clean
- 1 tablespoon olive oil
- 1 teaspoon coarse salt
- 1/2 teaspoon black pepper
Instructions
- Preheat your oven to 400 degrees Fahrenheit (200 degrees Celsius). This high heat helps crisp the skin.
- Prick each sweet potato several times all over using a fork. This allows steam to escape and prevents bursting.
- Rub the entire surface of each potato with olive oil. This is key for achieving crispy skin.
- Sprinkle the potatoes evenly with salt and pepper.
- Place the seasoned potatoes directly onto the oven rack. Do not use foil; direct heat contact is necessary for crisping the skin.
- Bake for 40 to 55 minutes, depending on the size of the potatoes. Start checking for doneness around 40 minutes.
- The sweet potatoes are done when the skin is slightly wrinkled and crispy, and you can easily pierce the center with a fork.
- Remove from the oven. Slice open lengthwise and fluff the inside with a fork before serving with your preferred toppings.
Notes
- For meal prep, bake the potatoes ahead of time, store them whole in the refrigerator for up to four days, and reheat them in a 350 degree oven for 10 minutes to refresh the texture.
- To achieve a sweeter flavor profile, you can add a light sprinkle of brown sugar over the skin before baking.
- If you prefer a savory variation, rub the potatoes with garlic powder and a pinch of smoked paprika along with the salt and pepper.
Nutrition
- Serving Size: 1 potato
- Calories: 180
- Sugar: 13g
- Sodium: 230mg
- Fat: 5g
- Saturated Fat: 1g
- Unsaturated Fat: 4g
- Trans Fat: 0g
- Carbohydrates: 33g
- Fiber: 5g
- Protein: 4g
- Cholesterol: 0mg