
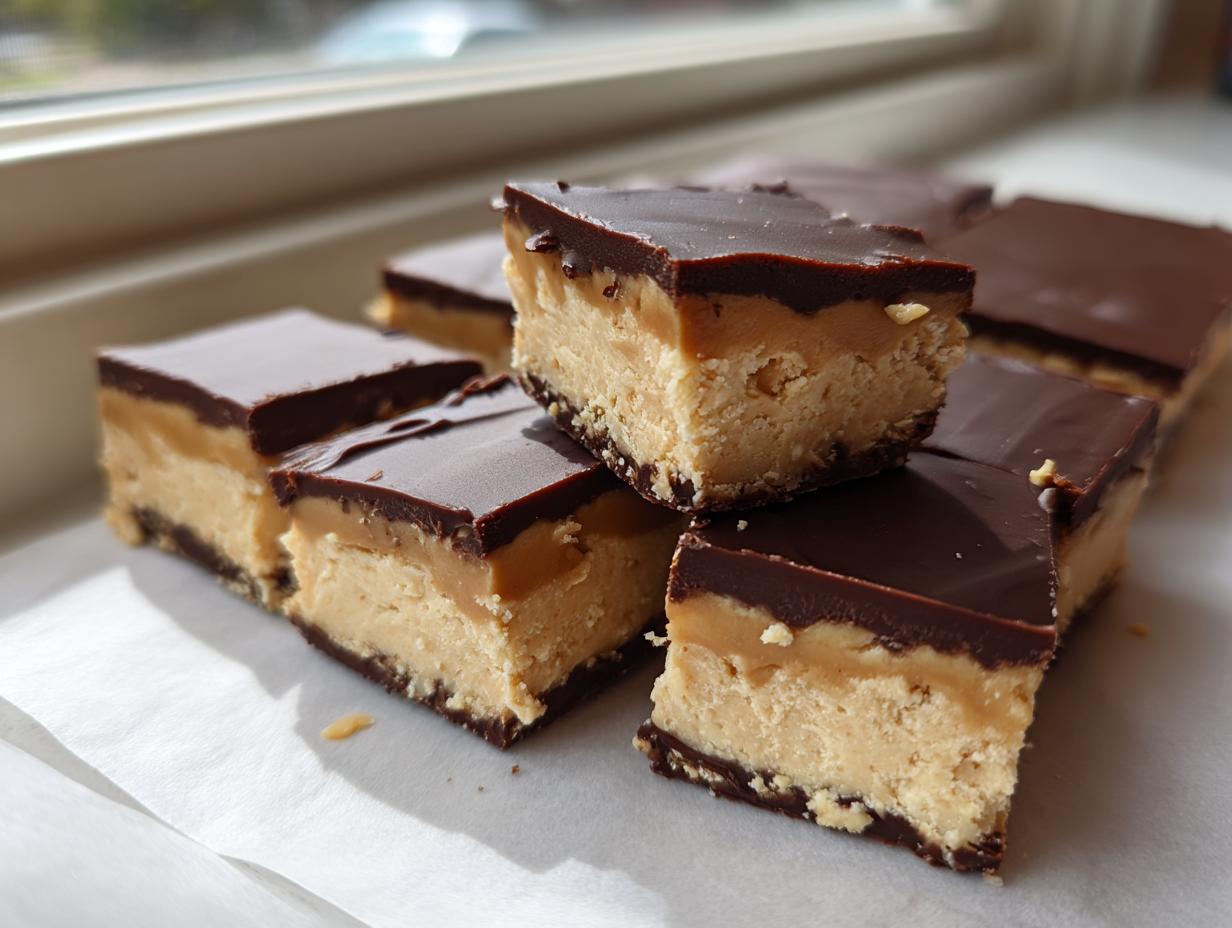
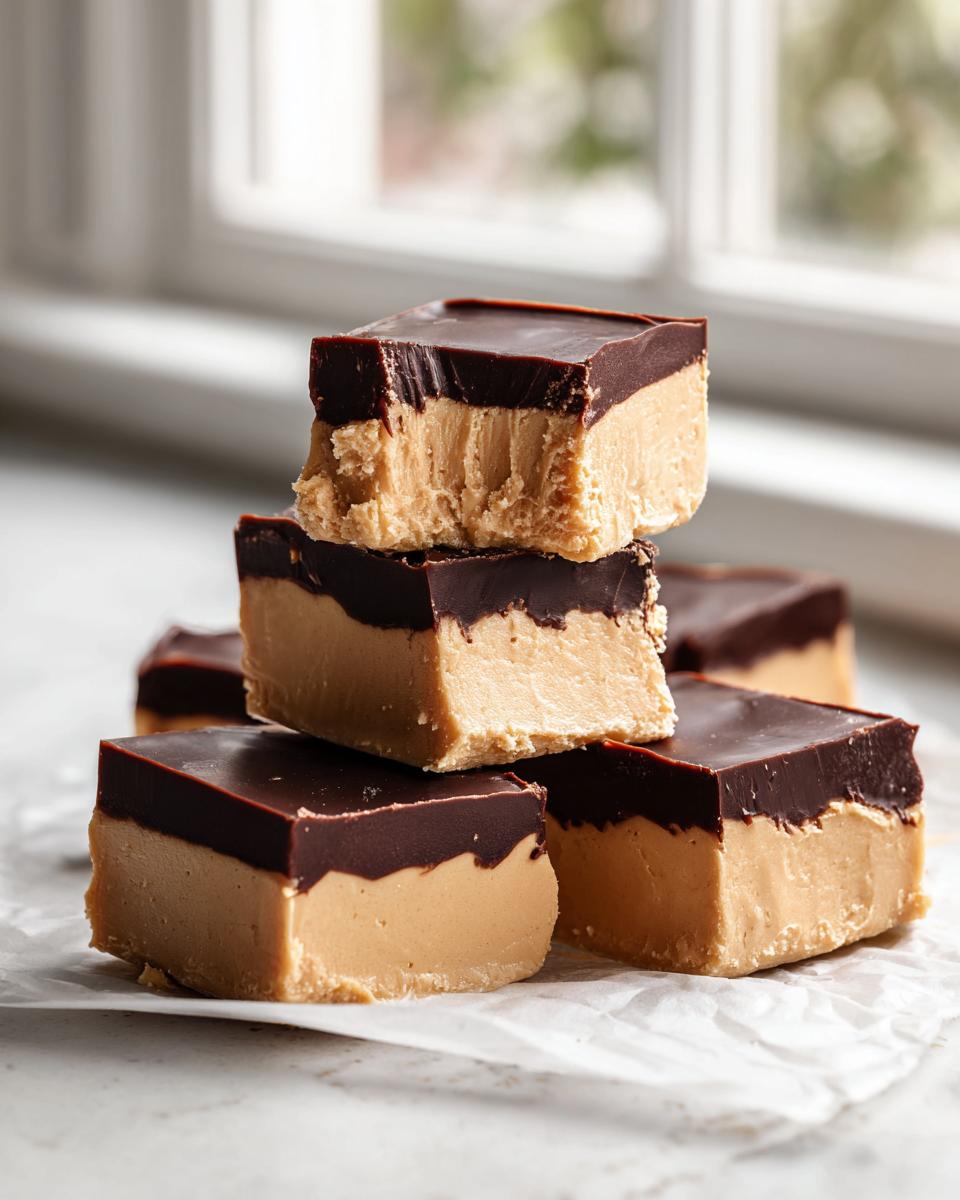
You know that flavor explosion? The perfect marriage of deep, dark chocolate melted over the sweetest, creamiest peanut butter core? That’s the taste of pure nostalgia driving Americans wild, usually in the form of those little ball candies we call buckeyes. Well, I’m Zoe Thompson, and my job here at Kitchen Slang is translating the confusing language of professional chefs into things you can absolutely nail at home. Forget rolling and dipping; that’s a technique that takes forever! What we’ve got today is the ultimate shortcut: rich, decadent buckeye fudge. This is the classic flavor profile, simplified into an easy, no-bake bar that sets up perfectly roughing it in the fridge. Trust me, this method is pure gold for quick holiday baking.
- Why This is the Best Buckeye Fudge Recipe You Will Make
- Gathering Your Ingredients for Buckeye Fudge
- Step-by-Step Instructions for Easy No-Bake Buckeye Fudge
- Tips for Perfect Buckeye Fudge Texture and Cutting
- Storage and Making Ahead for Holiday Fudge Treats
- Variations on the Classic Peanut Butter Fudge
- Frequently Asked Questions About Buckeye Fudge
- Nutritional Estimates for this Rich Chocolate Dessert
- Share Your Buckeye Fudge Success
Why This is the Best Buckeye Fudge Recipe You Will Make
I promise this isn’t just internet hype. When you’re looking for quick party sweets, you need results without babysitting a hot oven. This recipe is the definition of reliable deliciousness. Because it’s a completely no bake fudge recipe, it cuts your active time way down. If you love those simple mix-ins, check out how easy it is to make easy peanut butter cookies too!
- It’s an incredibly simple dessert recipe—basically just mix, press, and chill.
- The texture is exactly what you want: buttery smooth peanut butter topped with a firm, snappy chocolate layer.
- It’s one of those recipes that tastes way more complicated than it really is.
No Oven Dessert Perfection
Seriously, put the oven mitts away. This is a hands-off winner once you mix the layers. We skip all the fussy tempering or sugar boiling. You get all the reward of homemade candy with zero oven time, which is a major win, especially when the holidays get hectic.
Crowd Pleaser Fudge Flavor Profile
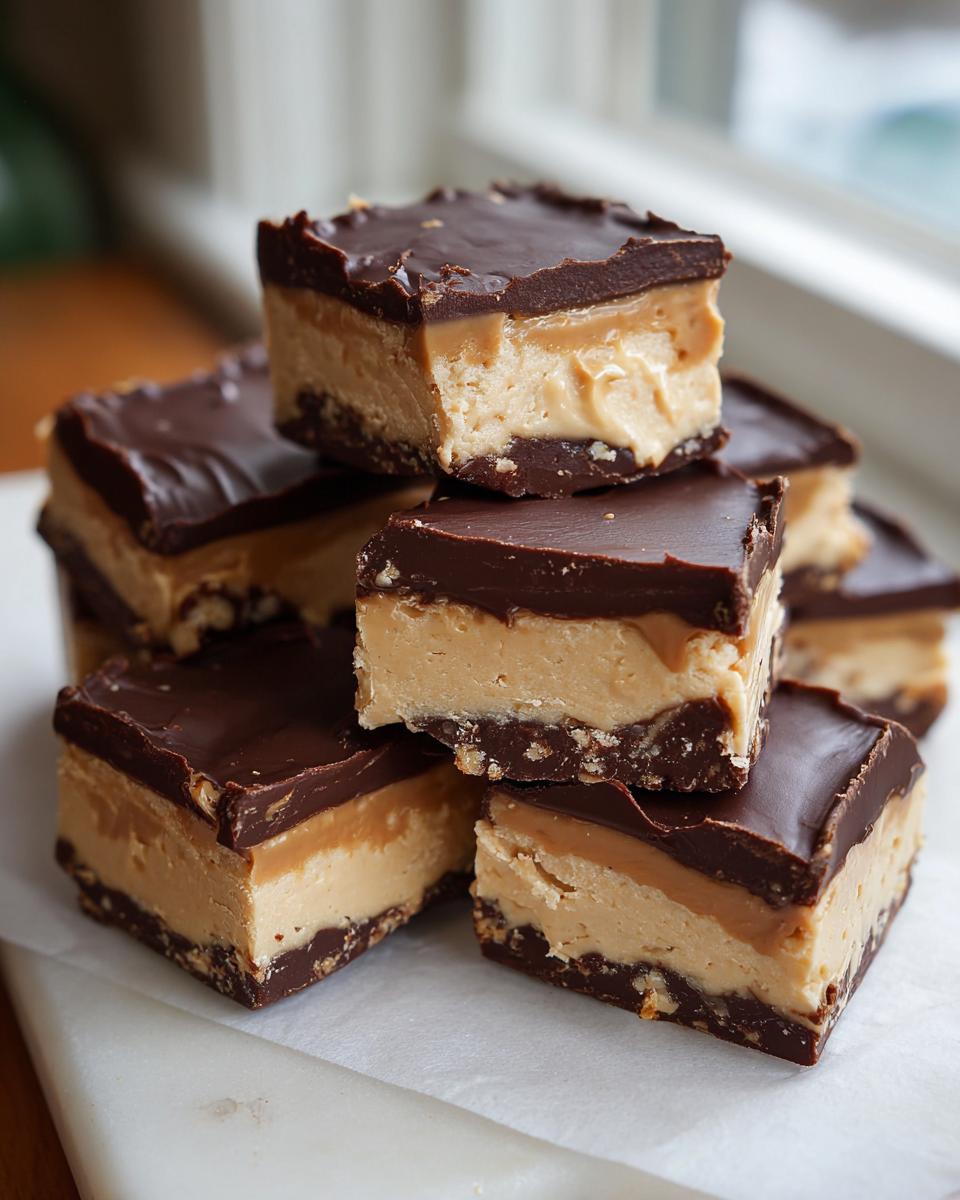
When I make this buckeye fudge, it disappears first, every single time. It has that classic, comforting flavor we all crave. The payoff is a melt in your mouth fudge experience that’s incredibly rich without being heavy. It stands up perfectly as a go-to holiday fudge treat.
Gathering Your Ingredients for Buckeye Fudge
Okay, for the best buckeye fudge, we need precision, especially since we aren’t cooking anything. No fancy professional equipment needed here, just solid ingredients and making sure they are prepped right. If you start with cold butter or unsifted sugar, you’ll end up with lumps, and lumps are the enemy when you are aiming for that silky texture. This is where a lot of home cooks go wrong, but we’re translating that chef’s attention to detail for you right now!
If you’re already thinking about other quick desserts, you should check out my notes on easy rocky road fudge—it uses a similar mix-and-press method.
Peanut Butter Fudge Base Components
This creamy layer is the heart of the bar. Get these things ready and measured before you even touch the mixer. Remember that “softened” butter rule? It means you can press a finger into it easily, but it absolutely shouldn’t look greasy or melted on the counter.
- 1 cup (2 sticks) unsalted butter, and I mean softened, not melted!
- 4 cups powdered sugar, and you must sift it. Trust me on the sifting; it keeps the fudge from getting gritty.
- 1 1/2 cups creamy peanut butter—use the standard jar stuff, not the natural kind that separates.
- 1 teaspoon vanilla extract.
- 1/4 teaspoon salt, just to balance out all that sweetness.
Rich Chocolate Topping for Buckeye Fudge
This chocolate layer sets up beautifully because we add in a little helper fat. This keeps the topping soft enough to cut easily but firm enough once chilled. Don’t skip the shortening or coconut oil!
- 1 1/2 cups semi-sweet chocolate chips.
- 2 tablespoons shortening or coconut oil. (This is key for that smooth, pourable ganache effect.)
Step-by-Step Instructions for Easy No-Bake Buckeye Fudge
Alright, time to get messy! Since this is a no bake fudge recipe, the secret isn’t baking time, it’s technique when mixing the layers smooth. When I worked those long bistro shifts, we always prepped the base first, making sure everything was incorporated before moving to the finish. We’ll follow that logic here. You’ll see how quickly this comes together if you have your ingredients ready to go. If you want more easy mix-and-press recipes, you should check out my guide on easy fudge recipe ideas!
Preparing the Pan and Peanut Butter Layer
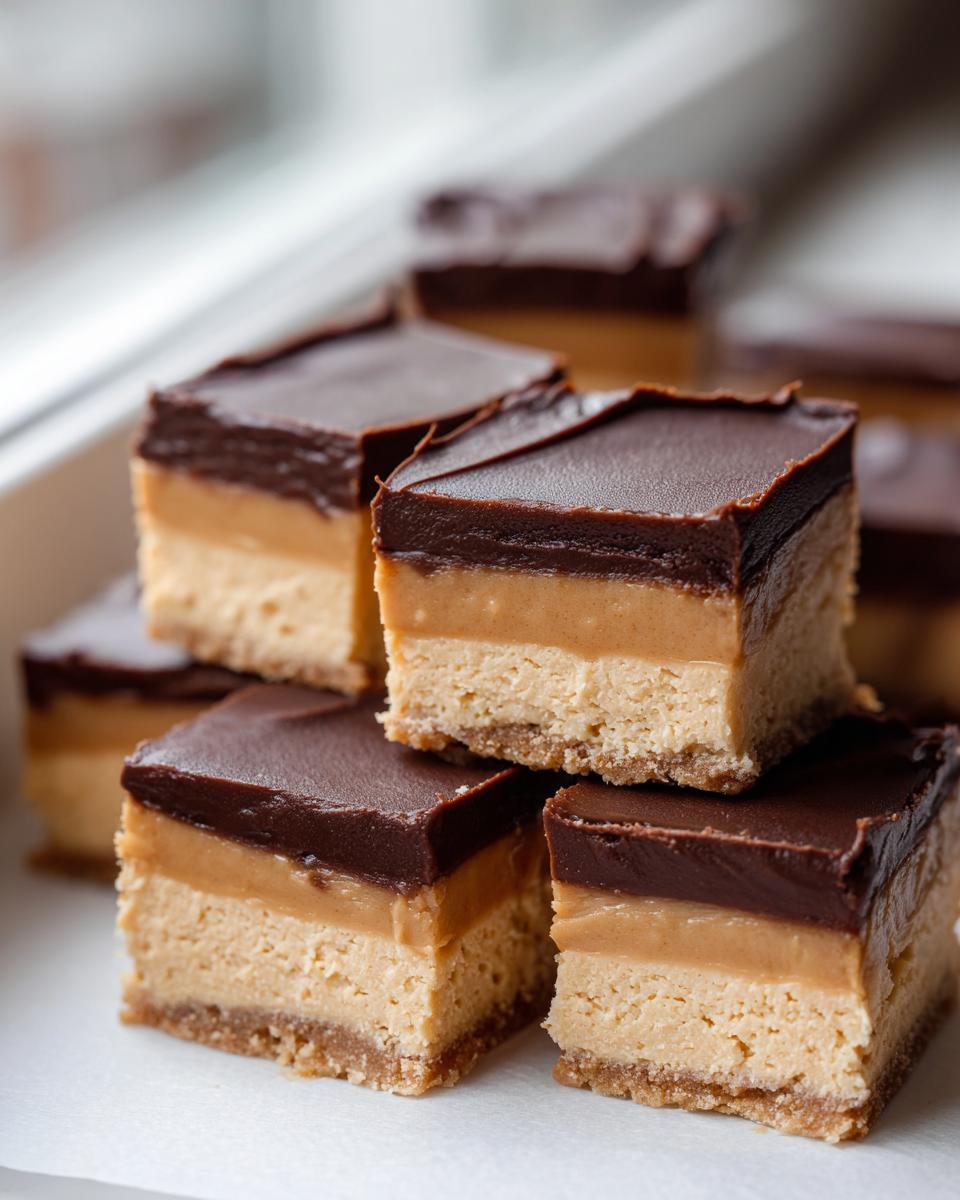
First thing’s first: grab that 8×8 inch pan. You need to line it with parchment paper, but listen closely—leave an overhang on the sides. That overhang is your handle, your lifesaver when it’s time to pull this whole thing out later. Don’t skip it! Now, using your electric mixer, beat that softened butter until it looks happy and creamy. That’s Step 2 done. Then, dump in the sifted powdered sugar, the peanut butter, salt, and vanilla. Start slow, or you’ll wear sugar dust for an hour! Once it’s mostly combined, kick up the speed and beat until it’s light. You’re looking for that fluffy, classic peanut butter fudge look. Press that layer firmly and evenly into your prepared pan.
Melting the Chocolate Topping for Buckeye Fudge
This is where professional cooks always stress patience: don’t rush the chocolate. Put your chips and that little bit of shortening or coconut oil into a microwave-safe bowl. We’re not trying to scorch that beautiful chocolate. Zap it for 30 seconds, stir it really well—even if it doesn’t look melted yet—and then go again in 30-second bursts. Stirring between each burst is the trick here. Eventually, it will all smooth out into a gorgeous, glossy river ready for pouring. This method guarantees you avoid hardening the chocolate prematurely.
Assembly and Setting the Creamy Chocolate Peanut Butter Bars
When that chocolate is perfectly smooth, pour it straight over the peanut butter base. Use a spatula to gently spread it to the edges. You want that lovely, seamless two-layer fudge look. Now, we wait. Slide the whole pan into the fridge. You need a solid 3 hours minimum, but honestly, overnight is even better for that firm set. If this needs to come together fast, remember that chilling is crucial for cutting cleanly. This hardening stage turns your mix into the perfect buckeye fudge squares.
For more quick treats, check out my post on easy creamy homemade maple fudge recipe!
Tips for Perfect Buckeye Fudge Texture and Cutting
Getting that amazing creamy chocolate peanut butter bars texture is all about respecting the butter and the chill time. If you want that true melt in your mouth fudge quality, listen up, because these are the rules I learned from watching pros work fast.
First, the butter. I can’t stress this enough: it has to be softened, but not oily! If you use melted butter for that peanut butter interior, you’re not going to get the light, fluffy texture we want; you’ll get dense sludge. We need that structure trapped in there, which comes from correctly integrating the room-temperature fat.
Also, don’t skip sifting the powdered sugar. In high-volume candy making, efficiency means not having to stop and crush sugar lumps mid-mix. Sifting gets rid of them instantly, ensuring every bite of your buckeye fudge is perfectly smooth. For another great, no-fuss dessert, take a look at my tips for making brownie refrigerator cake.
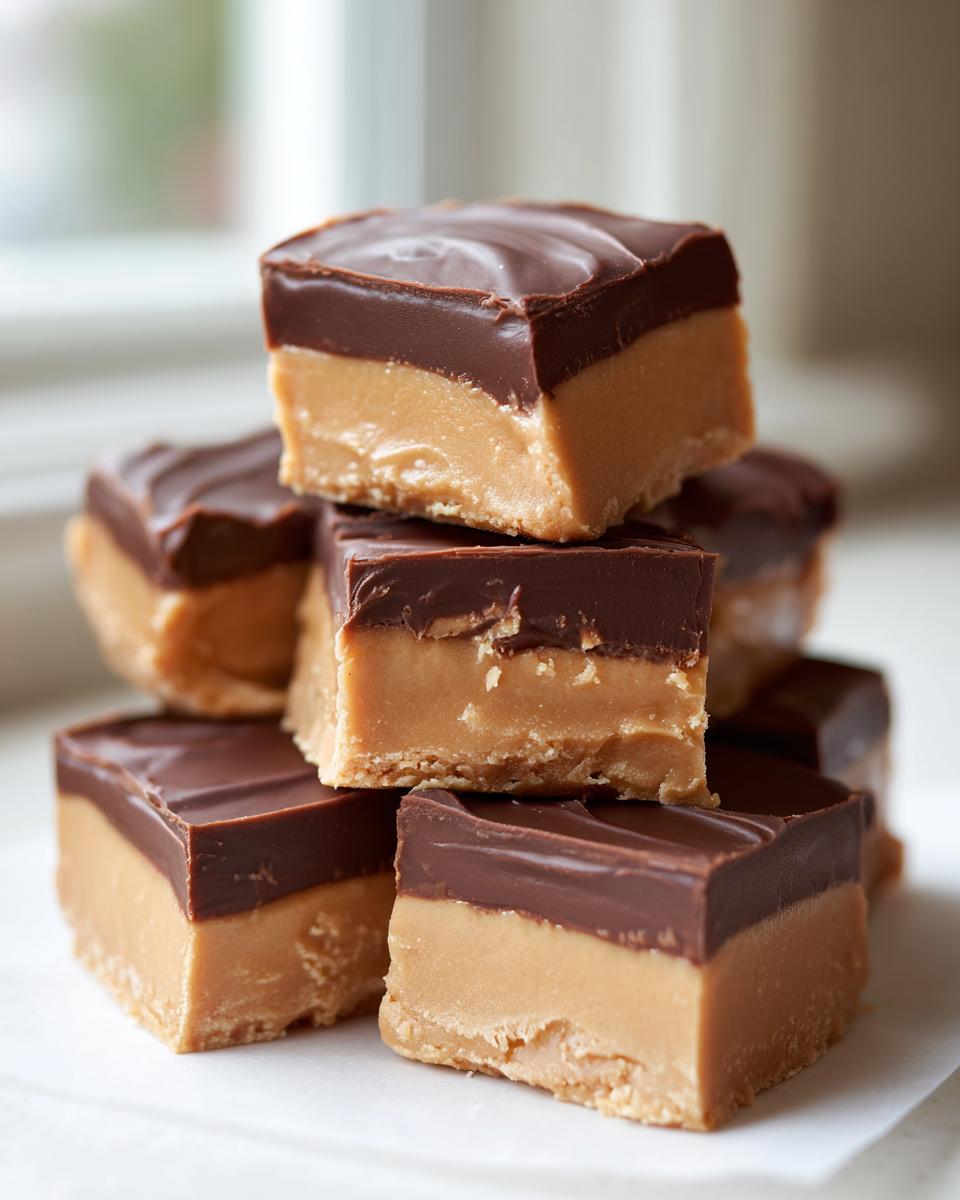
Finally, when you cut? If you try to slice it straight out of the fridge when it’s stone cold, the chocolate layer might crack or crumble. Let it sit on the counter for about ten minutes. Just ten! That slight temper makes it so much easier to get those beautiful, clean squares that scream ‘holiday perfection.’
Storage and Making Ahead for Holiday Fudge Treats
The best part about this buckeye fudge is that it functions perfectly as a quick holiday candy staple because you make it totally ahead of time. You absolutely need to keep these guys chilled. Store your finished, cut squares in an airtight container right in the refrigerator. The cold keeps that peanut butter layer firm and prevents the chocolate from getting soft at room temperature—especially important if your kitchen tends to run warm!
You can easily whip up a batch a full week before you need them. In fact, they taste even better after they’ve had a few days to really settle and meld together in the cool air. This makes them ideal for setting aside when things get chaotic right before a big party. If you’re looking into other easy make-ahead treats, you’ve got to see how simple my easy freezer jam recipe is for summer!
Variations on the Classic Peanut Butter Fudge
I love sticking to the basics, but sometimes you need to jazz things up a little, right? Good news: since this buckeye fudge is so simple, it takes well to minor upgrades. If you prefer a deeper, less sweet note in your chocolate, swap out those semi-sweet chips for dark chocolate chips in the topping. Instant flavor upgrade!
My favorite little trick for adding depth is taking a page from my coffee-loving friends: throw in just a tiny pinch—like, half a coffee-stirrer’s worth—of espresso powder with your chocolate chips when you melt them. It won’t taste like coffee, I promise, but it absolutely boosts the richness of the chocolate fighting against that creamy peanut butter. It’s a professional move that takes zero extra time. Speaking of fast, fun holiday candy, you absolutely have to see how I make my chocolate rum balls!
Frequently Asked Questions About Buckeye Fudge
I get so many messages after people try this recipe, mostly saying, “Zoe, why didn’t I think of putting it in a pan?!” Here are some of the questions I hear most often about making this buckeye fudge. It’s all about making this simple dessert recipe foolproof!
Can I use natural peanut butter in this Easy Fudge Recipe?
Oh, that healthy-sounding stuff! Look, I know natural peanut butter is wonderful for toast, but for this specific easy fudge recipe, I strongly advise against it. Natural peanut butter separates way too easily. If you introduce that oily separated mess into the peanut butter base, it totally throws off our smooth texture. You won’t get that perfect, light volume; you’ll likely end up with something greasy. Stick to creamy, conventional peanut butter for these creamy chocolate peanut butter bars.
How do I get a clean cut on the Two Layer Fudge?
This is where patience pays off! If you try to slice the fudge straight out of the fridge, the chocolate layer can seize up and crack, leaving jagged edges. Nobody wants messy squares! Before you pull it out to slice, just let the pan sit on the counter for about ten minutes. That little bit of tempering softens the chocolate just enough. You can also try wiping a long, sharp knife under hot water and drying it quickly between each cut. That trick makes slicing any two layer fudge incredibly clean.
What makes this a better alternative to Homemade Buckeye Candy?
Honestly? It’s the effort level. Traditional homemade buckeye candy involves making the filling, rolling *every single piece* into a perfect little ball, chilling them, and then dipping them one by one into melted chocolate. That’s an afternoon project! This no bake fudge is basically the dip done for you and spread over the top. You get the same amazing flavor combo but in a much faster, thicker bar format that’s easier to serve at parties. You can find more quick baking tips over on my no-bake pumpkin cheesecake page if you’re on a streak!
If you want to see a great example of someone else making this treat, check out this specific recipe for Buckeye Fudge Candy Recipe when you’re done here!
Nutritional Estimates for this Rich Chocolate Dessert
Now, let’s talk numbers, because while this buckeye fudge is pure indulgence, it’s good to have a ballpark idea of what you’re diving into. Keep in mind that since this is a simple dessert recipe using pantry staples, the exact counts can shift based on the brand of peanut butter or chocolate chips you grab.
For one small square, here are the rough estimates breaking down this incredibly rich chocolate dessert. These numbers assume a standard yield of 36 squares.
- Calories: Around 185
- Total Fat: About 11g
- Total Carbohydrates: Roughly 20g
- Protein: About 4g
- Sugar: Around 18g
Remember, these are just estimates, but they give you a good idea of why this is best served as a special treat! Enjoy every bite!
Share Your Buckeye Fudge Success
That’s it on the assembly end! Now that you’ve mastered this no oven dessert technique, I really want to see what you whipped up. Whether you kept it classic or added a little twist, I want to know how this buckeye fudge performed at your house. Did it disappear instantly? Did you manage to save any leftovers?
Head down to the comments section right now and let me know what you thought. Give this recipe a rating so others know it’s the real deal for easy fudge recipes! When you share photos online, tag us so we can see your work in action. Learning this lingo is all about building your confidence, and seeing your success is the best part of my job here at Kitchen Slang. For more recipes that bring the comfort of the kitchen to your countertop, check out all the delicious dessert recipes we have lined up!
PrintEasy No-Bake Buckeye Fudge
This recipe gives you the classic chocolate and peanut butter flavor of buckeyes in a simple, no-bake fudge bar format. It is a rich, creamy dessert that requires minimal effort.
- Prep Time: 15 min
- Cook Time: 5 min
- Total Time: 3 hours 20 min
- Yield: 36 small squares 1x
- Category: Dessert
- Method: No Bake
- Cuisine: American
- Diet: Vegetarian
Ingredients
- 1 cup (2 sticks) unsalted butter, softened
- 4 cups powdered sugar, sifted
- 1 1/2 cups creamy peanut butter
- 1 teaspoon vanilla extract
- 1/4 teaspoon salt
- 1 1/2 cups semi-sweet chocolate chips
- 2 tablespoons shortening or coconut oil
Instructions
- Line an 8×8 inch baking pan with parchment paper, leaving an overhang on the sides for easy removal.
- In a large bowl, beat the softened butter until smooth using an electric mixer.
- Add the sifted powdered sugar, peanut butter, vanilla extract, and salt to the butter. Beat on low speed until combined, then increase speed to medium and beat until the mixture is light and creamy. This is your peanut butter layer.
- Press the peanut butter mixture evenly into the bottom of the prepared pan.
- In a microwave-safe bowl, combine the chocolate chips and shortening (or coconut oil). Microwave in 30-second intervals, stirring well after each interval, until the chocolate is completely smooth.
- Pour the melted chocolate mixture evenly over the peanut butter layer. Gently spread it to cover the entire surface.
- Refrigerate the fudge for at least 3 hours, or until the chocolate layer is firm.
- Use the parchment paper overhang to lift the fudge from the pan. Place it on a cutting board and cut into small squares.
Notes
- For the best texture, make sure your butter is truly softened, not melted.
- Sifting the powdered sugar prevents lumps in your peanut butter layer.
- If you want a cleaner cut, let the fudge sit at room temperature for about 10 minutes before slicing.
- This recipe makes a great homemade candy for holiday fudge treats.
Nutrition
- Serving Size: 1 square
- Calories: 185
- Sugar: 18
- Sodium: 75
- Fat: 11
- Saturated Fat: 5
- Unsaturated Fat: 6
- Trans Fat: 0
- Carbohydrates: 20
- Fiber: 1
- Protein: 4
- Cholesterol: 15