
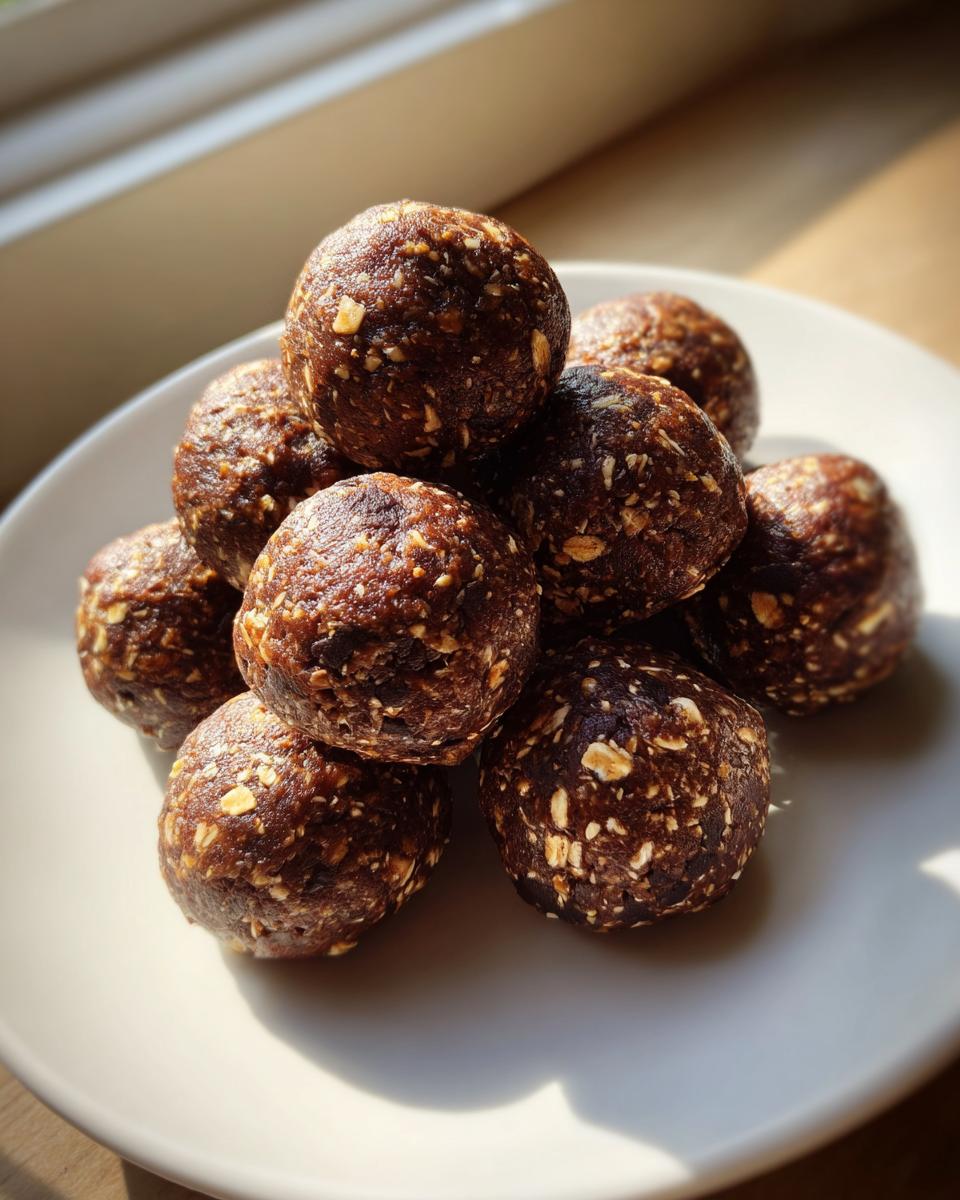
Look, between work, life, and trying to remember what day it is, sometimes you just need fuel, fast. You’re scrolling around looking for something that’s actually good for you—maybe something packed with protein for after you’ve squeezed in a workout—and you land on the search for easy protein balls. I get it. You don’t need a recipe that requires fancy gadgets or hours of your time. That’s where I come in. My whole mission here at Kitchen Slang, built from my time translating the hustle of a bistro kitchen for the home cook, is making complicated things simple. This No Bake Chocolate Peanut Butter recipe is your new MVP for meal prep. It’s practically instant gratification without the guilt.
- Why You Need These No Bake Chocolate Peanut Butter protein balls
- Gathering Ingredients for Your protein balls
- Equipment Needed for Making protein balls
- How to Prepare These No Bake energy bites Step-by-Step
- Storage and Make-Ahead Tips for Your high protein snacks
- Variations on Classic protein balls
- Serving Suggestions: When to Eat These protein balls
- Frequently Asked Questions About Making protein balls
- Understanding the Nutrition in These protein snacks for working out
Why You Need These No Bake Chocolate Peanut Butter protein balls
Seriously, these little guys are a game-changer when you’re running on fumes but still want something tasty and functional. We’re talking about turning pantry staples into delicious, high-impact snacks in under fifteen minutes. Forget turning on the oven! That’s the ultimate shortcut.
- They deliver serious, high-protein fuel perfect for meal prep snacks for the whole week.
- They satisfy that craving for something sweet, yet keep you feeling full until your next meal.
- Zero cooking time means you can make them right before you run out the door.
- They’re fantastic for tossing into your gym bag as quick protein snacks for working out.
The Kitchen Slang Translation: Quick Healthy Snacks
When I’m streamlining things, I think about what takes the longest. For most treats, it’s the heating and cooling. Since these are no bake energy bites, we skip all that! It’s the true translation of speed: mixing ingredients means you’re done as soon as it all comes together. It’s the definition of an easy protein ball recipe, guaranteed.
Gathering Ingredients for Your protein balls
Alright, let’s talk about assembling the goods for these incredible peanut butter protein balls. The beauty here is the short list—we’re aiming for speed and simplicity, right? Grab your:
- 1 cup rolled oats (And I mean rolled, not the instant kind! The texture matters here, folks.)
- 1 cup peanut butter (The smoother the better for mixing!)
- 1/2 cup protein powder (Vanilla or chocolate are your best bets.)
- 1/2 cup mini chocolate chips
- 2 tablespoons honey or maple syrup (This is optional, but it really helps everything stick, especially if your kitchen is warm.)
Ingredient Notes and Substitutions for peanut butter protein balls
The quality of your main binding agent matters a lot! If you use a natural peanut butter that’s really oily, you might need to skip the optional sweetener entirely because the fats will do the binding work. On the flip side, if you use a highly processed, dry peanut butter, that honey or maple syrup is going to become your best friend.
If peanuts aren’t your jam, swap in almond butter or sunflower seed butter—it works every time. And listen, protein powder is usually what dictates the final flavor complexity. If you use a really sweet vanilla powder, you definitely won’t need that optional sweetener. Always taste your mix before you roll!
Equipment Needed for Making protein balls
Since these are no bake energy bites, the equipment list is short and sweet, which I absolutely love for a quick snack run. You aren’t going to pull out a fancy stand mixer for this job! Honestly, any time you can avoid major cleanup, I’m all for it.
You just need the basics:
- A sturdy medium mixing bowl.
- A reliable spoon or spatula for mixing—though your hands work best for the final smash-together stage!
- A baking sheet or plate.
- Parchment paper. Don’t skip this! It keeps your homemade energy balls from sticking to the plate while they chill.
That’s it! See? Nothing intimidating here. This is real kitchen slang speed we’re talking about—get in, mix it up, and get it chilling.
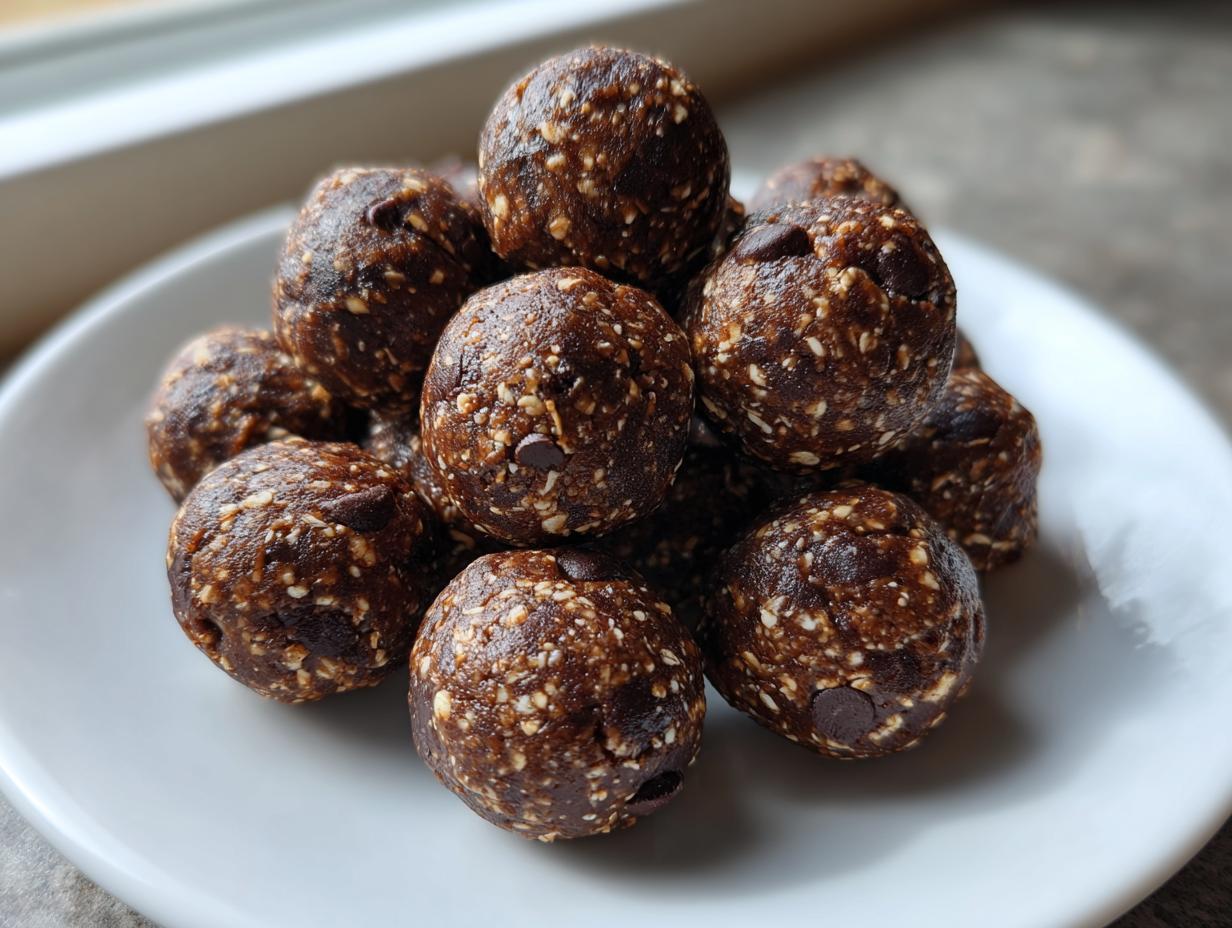
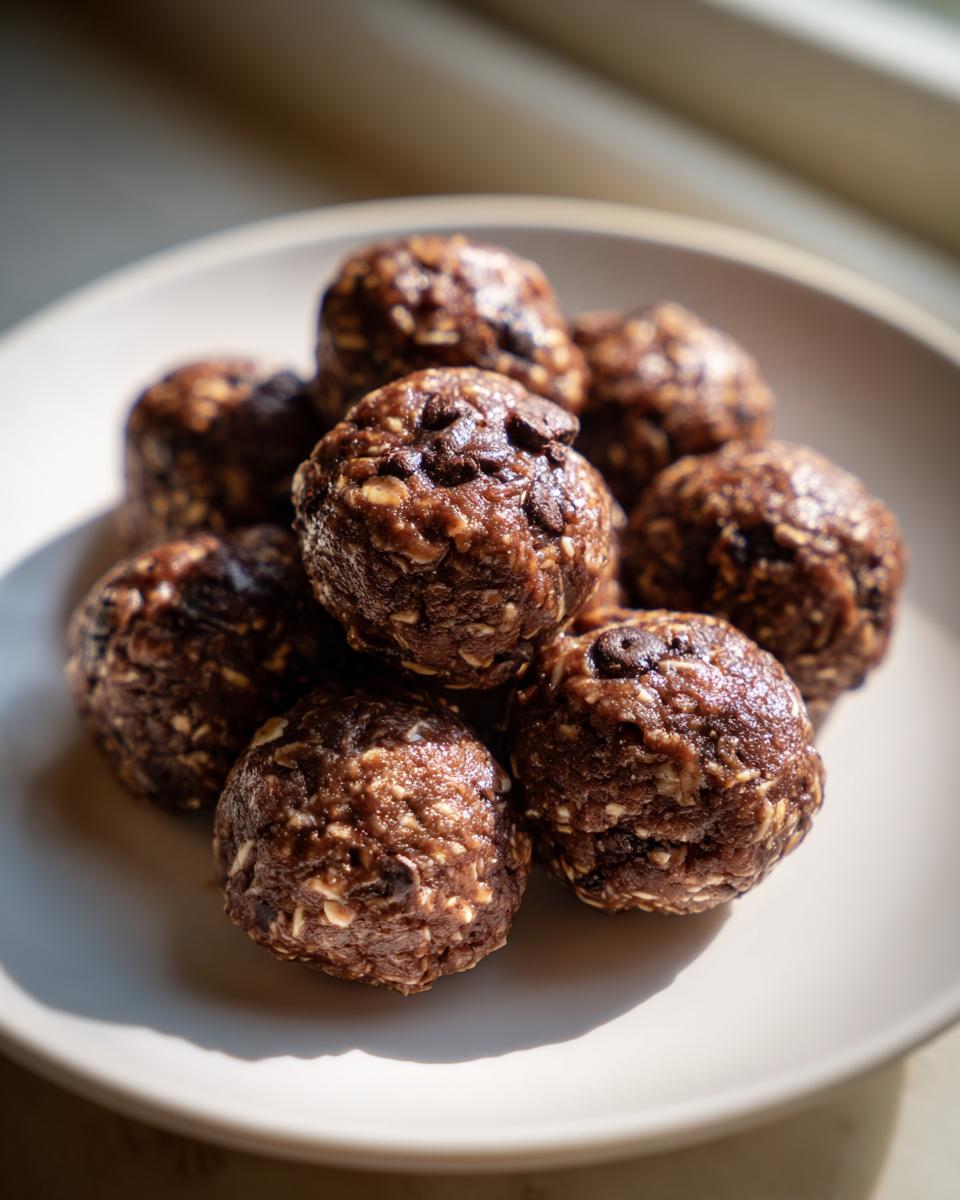
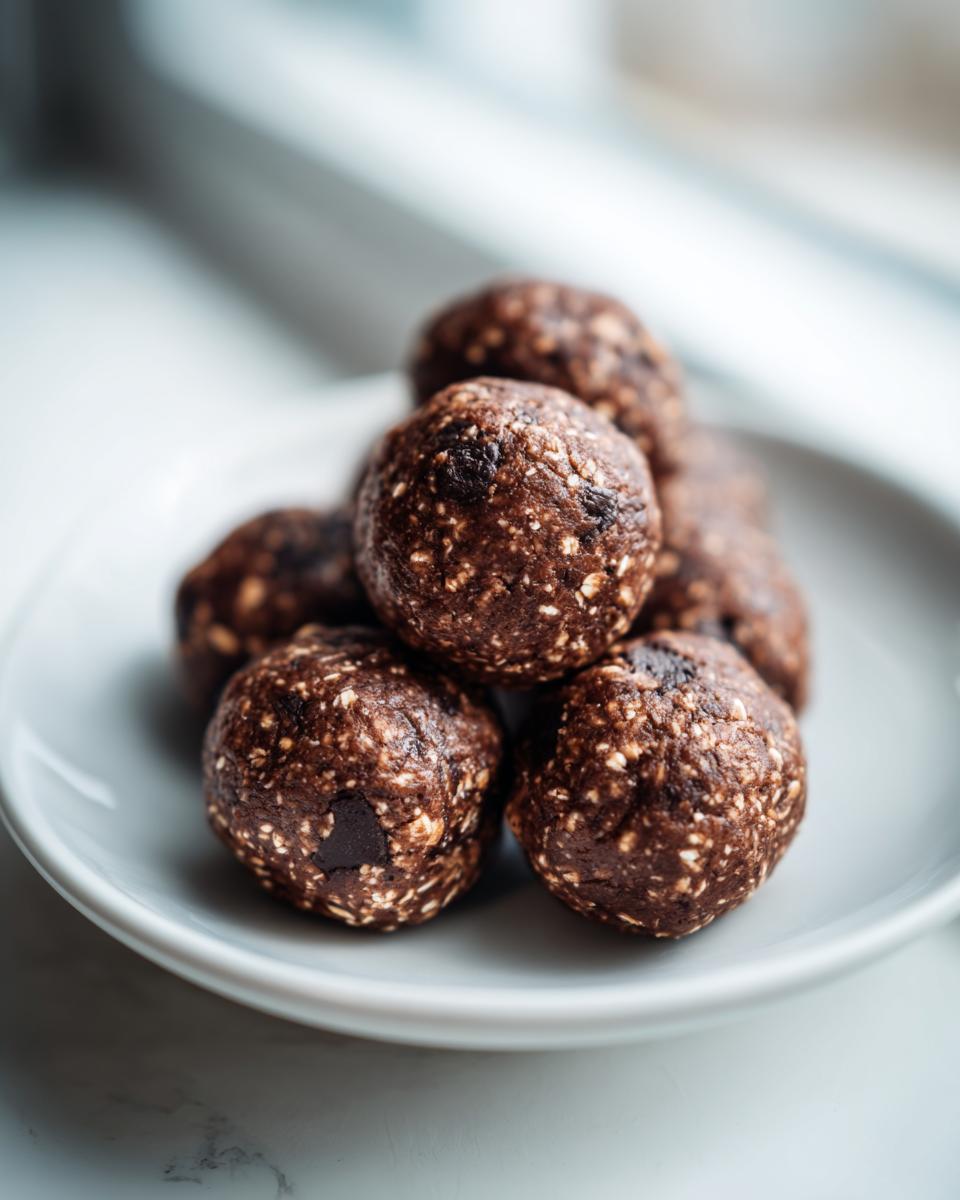
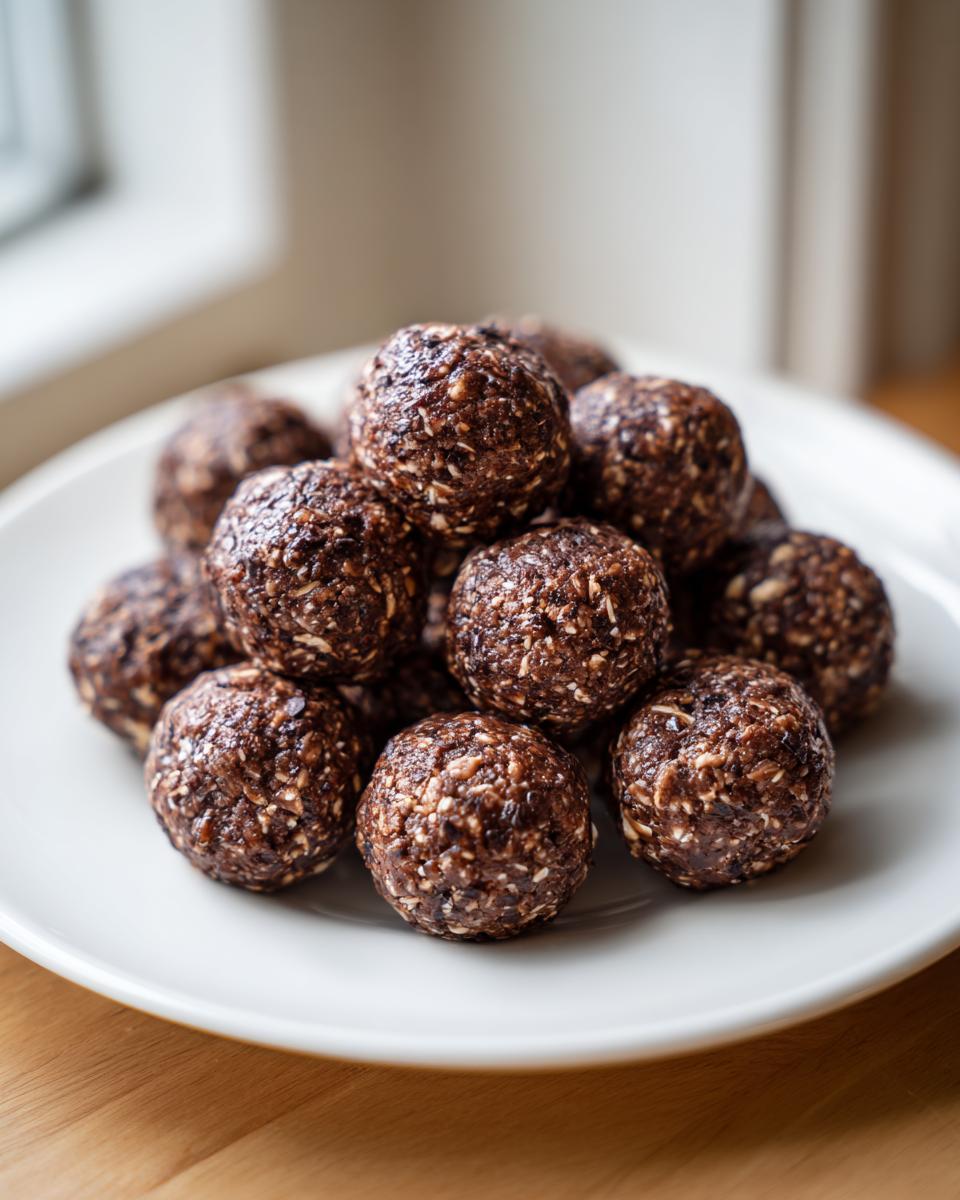
How to Prepare These No Bake energy bites Step-by-Step
Okay, this is where the magic happens, and it happens fast. Remember that this easy protein ball recipe is all about speed, so have your bowl ready. First, dump everything that isn’t the optional sweetener—the oats, your powders, the peanut butter, and the chips—right into that mixing bowl. Start stirring with a strong spoon. Trust me, it’ll look like a disaster at first, like it’s never going to come together.
This is the exact point where you taste-test. If it’s too dry to even hold its shape when you squeeze a bit between your fingers, *then* you drizzle in that honey or maple syrup. Mix it until it feels uniform, like a thick cookie dough. Now, get your hands in there! It’s messy, but it’s the best way to ensure every bit of protein powder gets incorporated. Roll them into roughly one-inch spheres—aiming for uniformity is part of the professional translation we do here—and put them on that parchment-lined tray.
Here’s the important part: they must chill. Fifteen minutes is minimum, but honestly, thirty minutes in the fridge is what makes these homemade energy balls firm up into that perfect, satisfying, non-gooey texture. Don’t try to sneak one before they chill!
Pro Tips for Perfect protein balls Texture
We’ve all been there: the dough is either too sticky or it crumbles apart like sand. If your dough is super sticky, just pop the whole bowl into the freezer for five minutes instead of the fridge—that cold shock helps the fats solidify quickly, making rolling easier. If it’s crumbling, your protein powder might be extra absorbent; add maybe a half-teaspoon of water or an extra tiny splash of nut butter until it just starts holding.
For perfect uniformity, use a melon baller or a small teaspoon to measure out the portions before you start rolling. This keeps them consistent in size, which is important if you’re tracking your macros. Consistency means consistency in fueling, right?
Storage and Make-Ahead Tips for Your high protein snacks
This is my favorite part about these oatmeal protein balls—they practically live in my fridge, waiting for me. Since we didn’t use any eggs or any weird stabilizers, these are fantastic for longer storage. They really shine as a staple for your meal prep snacks rotation.
You absolutely must keep these chilled. Heat is the enemy of these healthy protein balls because the peanut butter gets too soft, and suddenly, you’ve got a puddle instead of a treat. Scoop them onto a plate, cover it tightly with plastic wrap, and pop it straight into the refrigerator. They’ll hold their perfect shape this way for up to a week, no problem.
Can you freeze them? Yes, you totally can! If you’re making a massive batch, lay them out on a sheet tray first—don’t let them touch—and freeze them solid for about an hour. Once they’re hard little rocks, you can transfer them all into a freezer bag. They thaw super fast on the counter, maybe ten minutes, and they are still perfect. That’s how I make sure I always have quick healthy snacks on hand when life gets hectic!
Variations on Classic protein balls
So, you’ve nailed the base recipe, and now you’re looking to jazz things up a bit? That’s the fun part of mastering any easy protein ball recipe—once you understand the binding mechanics, you can customize the flavor profile endlessly. I always encourage people in my classes to play around because these shouldn’t be stuffy or rigid. They should taste like *your* favorite thing!
Here are a couple of little translation tweaks I use when I’m tired of the regular chocolate chip version. Remember, we’re keeping it simple; no need for extra steps here because we’re busy people!
Swap the Chips for Crunch: If you’re trying to cut down on added sugar, or just want a different texture, skip the mini chocolate chips altogether. Instead, use about an extra one-quarter cup of either chopped walnuts or slivered almonds. This pushes them hard into the high protein snacks category and gives them a great, satisfying little crunch. Make sure you chop those nuts slightly smaller than the oats so they mix in evenly.
Spice it Up: Sometimes I want a flavor that reminds me of fall, even in July. You can totally add ground spices to this base without changing the structure at all. Whisk in just a quarter teaspoon of ground cinnamon and a pinch of nutmeg right in with your dry ingredients. It pairs beautifully with the peanut butter and makes them smell amazing while they chill. It’s like a tiny, guilt-free sweet treat!
Change the Protein Flavor: The recipe calls for vanilla or chocolate protein powder, but why stop there? If you have strawberry or lightly flavored unflavored powder, give it a try! If you switch to an unflavored powder, you might need that optional honey or maple syrup to boost the sweetness back up a hair, so test your dough before rolling as always.
Serving Suggestions: When to Eat These protein balls
One of the best parts about having these ready in the fridge is that you never have to think twice about what snack to grab. We translated this recipe specifically so it fits into the busiest parts of your day. These aren’t high-hour-of-the-day snacks; they are functional, real-life fuel!
You can genuinely use these protein snacks for working out in the morning, at noon, or even late at night. They are designed to be versatile, which is why they’re a staple in my kitchen year-round.
Think of them as your anytime energy rescue. They’re perfect because they don’t rely on a burst of sugar that leaves you crashing an hour later. That steady protein and complex carb hit from the oats holds you over nicely.
- The Post-Workout MVP: Right after a tough session, your body needs protein to get moving on recovery, but you don’t want to gulp down a heavy shake. Grab one or two of these! They deliver that quick hit of protein alongside some carbs to replenish your stores. It’s the perfect little recovery bite.
- The Office Lifesaver: You know that 3 PM slump where you’re eyeing the vending machine? Don’t do it! Pull one of these little quick healthy snacks out of your desk drawer. They keep you focused without that jittery feeling. They’re an excellent component for your meal prep snacks rotation.
- The Guilt-Free Dessert: Sometimes you just want your sweet fix, but you don’t want to derail your whole healthy eating plan. These protein packed treats satisfy that chocolate craving perfectly. They are definitely what I reach for when I want a dessert that actually supports my energy goals.
- The Grab-and-Go Breakfast Booster: Running out the door and forgot to eat? Pop two or three of these along with a coffee. They absolutely function as a base for a healthy grab and go breakfast when speed is the only option. It beats skipping it entirely!
Frequently Asked Questions About Making protein balls
I know when you try a new recipe, especially one that relies on a perfect texture like these protein balls, you’re going to have questions. That’s smart cooking! It’s about understanding the *why* behind the steps. Here is the lingo I use when troubleshooting these protein packed treats:
Can I freeze these no bake energy bites?
Yes, absolutely! I actually prefer them slightly chilled, so refrigerating them for at least 30 minutes before eating them is mandatory for structure. But if you’re making a huge batch for future eating, freezing works great. Lay them out on a parchment-lined tray without touching, freeze until solid (about an hour), and then transfer them to a zip-top freezer bag. They’ll last for about two months in the freezer and thaw out super fast on the counter when you need one of those quick healthy snacks!
What if I don’t have protein powder? Can I still make these?
This is a big one, because the protein powder is what makes them official protein balls! If you skip it, you’re essentially making standard oatmeal energy bites, which are still delicious but won’t have that high protein count we’re aiming for. If you absolutely must skip it, you’ll probably need to substitute that volume with more oats (maybe an extra half-cup) and possibly add a binding liquid like a splash of milk or water, because the powder sucks up moisture while mixing.
Are these truly sugar-free, or how can I make them sugar-free?
In the version I gave you above, we used an optional honey or maple syrup, and we included mini chocolate chips. So, no, the default recipe isn’t strictly sugar-free. If you need it to be truly sugar-free—to fit strict dietary needs—you need two swaps. First, replace the honey/syrup with a zero-calorie liquid sweetener like a monk fruit blend or stevia, adding just enough to bind. Second, make sure you swap out the standard mini chocolate chips for a sugar-free brand. It’s totally doable, but you’ll need to taste-test that binding stage very carefully!
Can I use a different nut butter, like cashew or almond butter?
Please do! That’s the beauty of learning the language of these recipes. If you have a nut allergy or just prefer a different flavor, cashew butter and almond butter function exactly like peanut butter in this structure. They are all fats that bind the oats and powder together beautifully. Just make sure whatever you use is creamy and smooth to get the best results for your healthy protein balls. Sunflower seed butter is a great nut-free translation if needed!
What makes these better than store-bought protein snacks?
In my professional translation world, store-bought stuff is full of stabilizers and fillers so they can sit on a shelf for six months. When you make these high protein snacks at home, you control the quality. You get fresh oats, real peanut butter, and you add zero preservatives. They taste infinitely better, the texture is chewier, and you know exactly what you’re eating to fuel your afternoon!
Understanding the Nutrition in These protein snacks for working out
Okay, we’ve mixed, we’ve rolled, and we’ve chilled—now let’s talk about what you’re actually putting into your body. Understanding the real numbers behind your protein packed treats is just as important as knowing how to make them taste good. When you see these numbers, you realize these aren’t just candy; they are serious, functional fuel for your day!
Here is the nutritional breakdown based on my testing of the standard recipe (using vanilla protein powder and a small amount of honey for binding). Remember, this is always an estimate because protein powders vary wildly, and your scoop size can change everything! This is the translation of what these no bake energy bites offer you per ball:
- Serving Size: 1 ball (Yields about 16 total)
- Calories: 150
- Protein: 8g
- Fat: 10g (The good kind from peanut butter!)
- Carbohydrates: 12g
- Sugar: 5g (Mostly naturally occurring or from the optional sweetener/chips)
- Fiber: 2g
See that 8 grams of protein? That’s why these are top-tier protein snacks for working out! It’s clean energy without leaving you with a massive sugar crash later in the day. If you use a sugar-free chocolate chip and skip the added honey, you can drive that sugar count down even further, making them even friendlier for those low-carb days. It’s all about adjusting the language of the recipe to fit your needs!
PrintNo Bake Chocolate Peanut Butter Protein Balls
Make these simple, no bake protein balls for a quick, high protein snack. They use four main ingredients and are perfect for meal prepping or post-workout fuel.
- Prep Time: 10 min
- Cook Time: 0 min
- Total Time: 10 min
- Yield: About 16 servings 1x
- Category: Snack
- Method: No Bake
- Cuisine: American
- Diet: Vegetarian
Ingredients
- 1 cup rolled oats
- 1 cup peanut butter
- 1/2 cup protein powder (vanilla or chocolate)
- 1/2 cup mini chocolate chips
- 2 tablespoons honey or maple syrup (optional, for binding)
Instructions
- Place the rolled oats, peanut butter, protein powder, and chocolate chips into a medium bowl.
- If the mixture seems too dry to hold together, add the honey or maple syrup.
- Mix all ingredients thoroughly using a sturdy spoon or your hands until a uniform dough forms.
- Roll the mixture into small, bite-sized balls, about 1 inch in diameter.
- Place the finished protein balls on a plate or baking sheet lined with parchment paper.
- Refrigerate for at least 30 minutes to firm up before serving.
Notes
- You can substitute almond butter for peanut butter if you have a preference.
- Store these homemade energy bites in an airtight container in the refrigerator for up to one week.
- For a lower sugar option, skip the optional sweetener and use sugar-free chocolate chips.
Nutrition
- Serving Size: 1 ball
- Calories: 150
- Sugar: 5g
- Sodium: 80mg
- Fat: 10g
- Saturated Fat: 3g
- Unsaturated Fat: 7g
- Trans Fat: 0g
- Carbohydrates: 12g
- Fiber: 2g
- Protein: 8g
- Cholesterol: 0mg