
Okay, let’s talk honestly about cookie decorating. I swear, if I have to scrape one more batch of sticky, cracked frosting off a perfectly baked sugar cookie, I’m going to lose it! We’ve all been there—you spend all that time cutting, baking, waiting for them to cool, and then the decoration either runs everywhere or stays tacky for days. It’s frustrating! But here’s the professional translation: the stuff they use in bakeries isn’t some mad-scientist formula. It’s just a few smart ingredients mixed the right way. That’s why I’m handing over my best-kept secret for making a proper sugar cookie icing. This isn’t just a glaze; this is a 4-ingredient recipe that sets firm, dries glossy, and gives you those crisp, professional lines every single time. You’re going to love how easy this is.
- Why This Sugar Cookie Icing Recipe Sets Firm and Glossy
- Gathering Ingredients for Your Perfect Sugar Cookie Icing Recipe
- Step-by-Step Guide: How to Make Icing That Dries Hard
- Coloring and Applying Your Durable Sugar Cookie Frosting
- Tips for Success with This Quick Sugar Cookie Frosting
- Storage and Reheating Instructions for Your Sugar Cookie Icing
- Troubleshooting Common Issues with Royal Icing That Hardens
- Serving Suggestions for Decorated Cookies
- Estimated Nutritional Data for This Sugar Cookie Icing
Why This Sugar Cookie Icing Recipe Sets Firm and Glossy
When you look at those professional cookies that stack perfectly for gifting, you aren’t looking at simple powdered sugar and milk glaze. That stuff stays sticky! What you are seeing is a version of royal icing that hardens. And that hardening ability? That’s the key difference. My goal here, translating the chef talk for you, is to give you that durable finish without any of the fuss or raw egg worries. Trust me, once you learn this trick, you won’t go back to runny frosting.
The reason this batch works so reliably is all down to one ingredient that transforms the texture. If you want cookies that look like they came from a high-end bakery, this is the secret handshake. It’s what moves you from making a simple glaze to making an actual decorating medium.
The Power of Meringue Powder in Your Sugar Cookie Icing
Here’s the big translation: we use meringue powder instead of raw egg whites. Why? Safety first, obviously. But more importantly for consistency, meringue powder gives us the perfect protein structure every single time the bowl is washed. Raw eggs are tricky; the size of the egg changes everything! Meringue powder ensures you get that perfectly reliable structure that allows your icing to dry hard and crisp. It’s stability in a can, and that’s what builds confidence in cookie decorating.
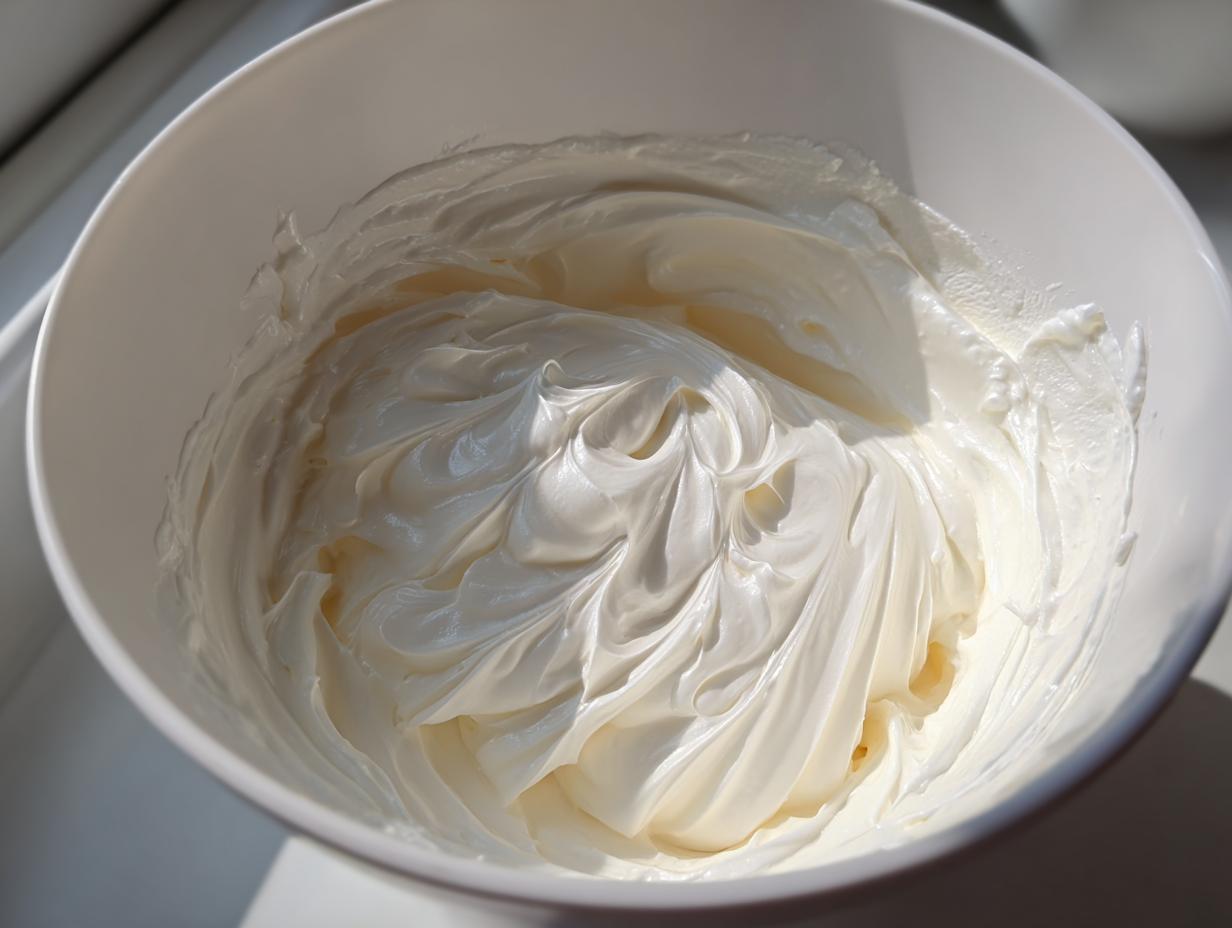
Achieving Velvety Smooth Icing Consistency
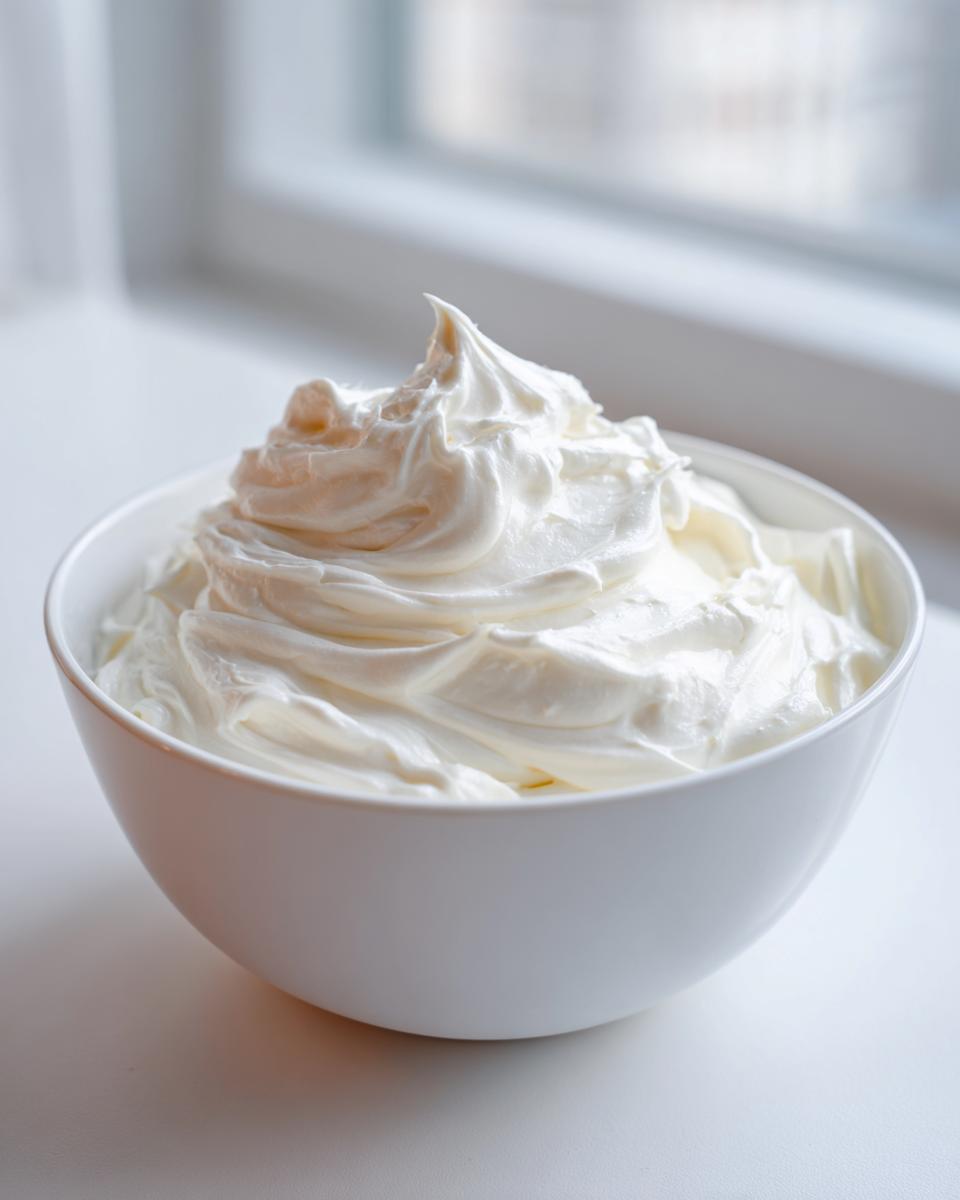
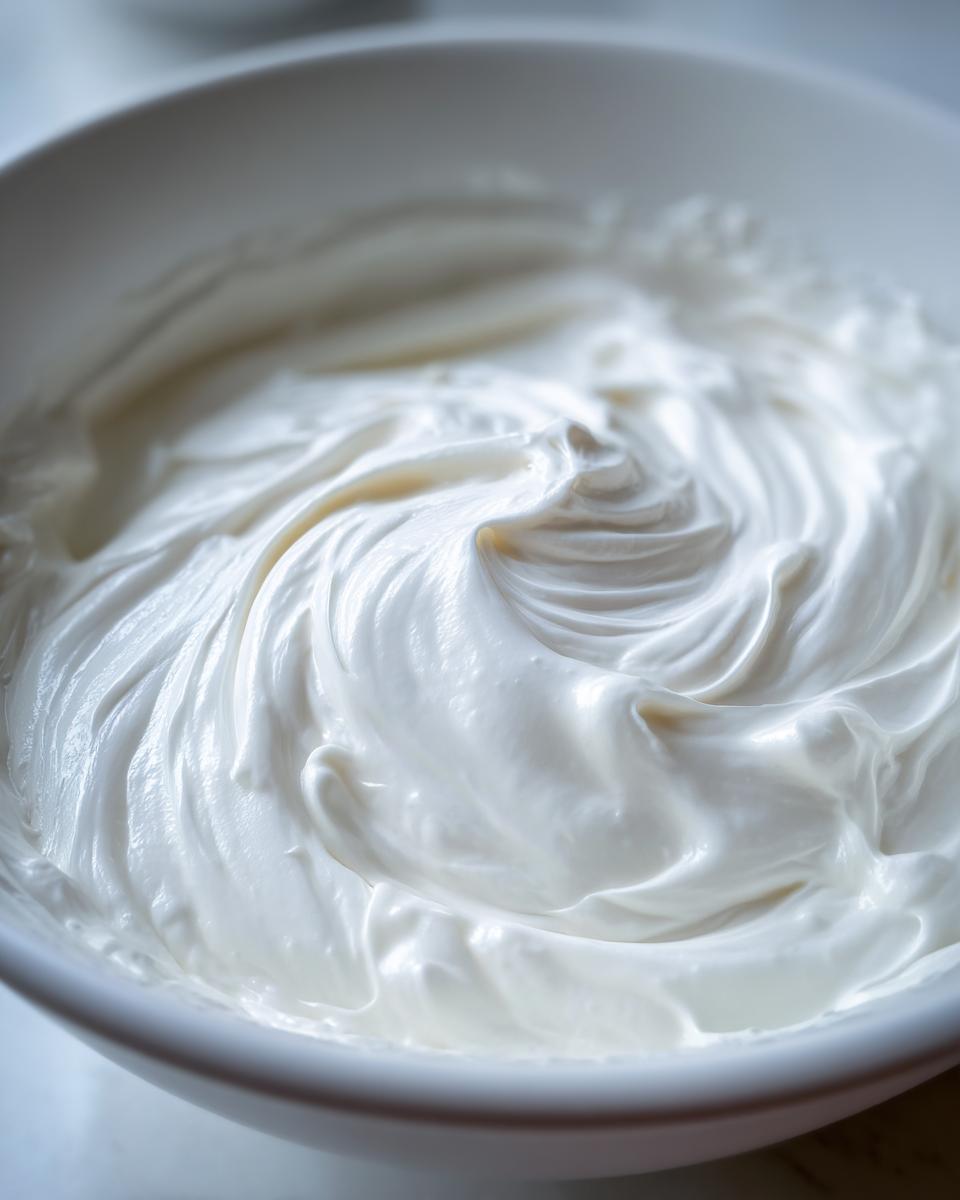
Don’t just mix until it’s combined—that’s the amateur move, and it often leaves you with a grainy mess. For truly velvety smooth icing, you need to beat it like you mean it. We run the mixer on medium-high for a solid three to five minutes after everything is incorporated. That whipping time incorporates air, but more importantly, it breaks down every speck of sugar, turning dull putty into something bright, glossy, and perfectly smooth. It’s worth the extra few minutes on the mixer; you’ll see the texture change right before your eyes.
Gathering Ingredients for Your Perfect Sugar Cookie Icing Recipe
Before we get into the technique, we need the players on the field. This is where we talk about the essentials for my favorite sugar cookie icing recipe—the one that actually sets firm! You’ll only need four things, but pay attention to how we prep them, because those little details matter for that professional shine.
First, we absolutely must sift the powdered sugar. Do not skip this step! If you don’t sift, you’re asking for lumps when you try to pipe fine details later. Second, we use meringue powder, not egg whites, for that hard set we love. And for the gloss? Skip the regular vanilla extract because it has coloring that dulls the finish. We want clear vanilla extract here for maximum shine, even if it seems weird!
- 4 cups powdered sugar, sifted
- 3 tablespoons meringue powder
- 6 tablespoons warm water
- 1 teaspoon clear vanilla extract
Step-by-Step Guide: How to Make Icing That Dries Hard
Alright, now we put the theory into action. This is where many people panic, thinking they need twenty different bowls for twenty different textures. Nope! We’re going to make one batch and teach you how to adjust it for the two essential jobs in cookie decorating: the outline and the flood. Keep your mixer handy because getting the right texture depends heavily on incorporating air at the right speed.
Start by mixing the dry stuff—the sifted sugar and the meringue powder—slowly. Keep the mixer on low speed so you aren’t immediately blasting powdered sugar dust all over your lovely kitchen. Once it looks combined, dump in your warm water and that clear vanilla. Now, turn the speed up to medium-high and let it run for a good three to five minutes. This is non-negotiable; it’s what incorporates the air to make it glossy later. When it’s done, it should look thick and gorgeous. After this step, you’re basically ready to follow the exact guidance found over at Anas’s tutorial for setting everything up.
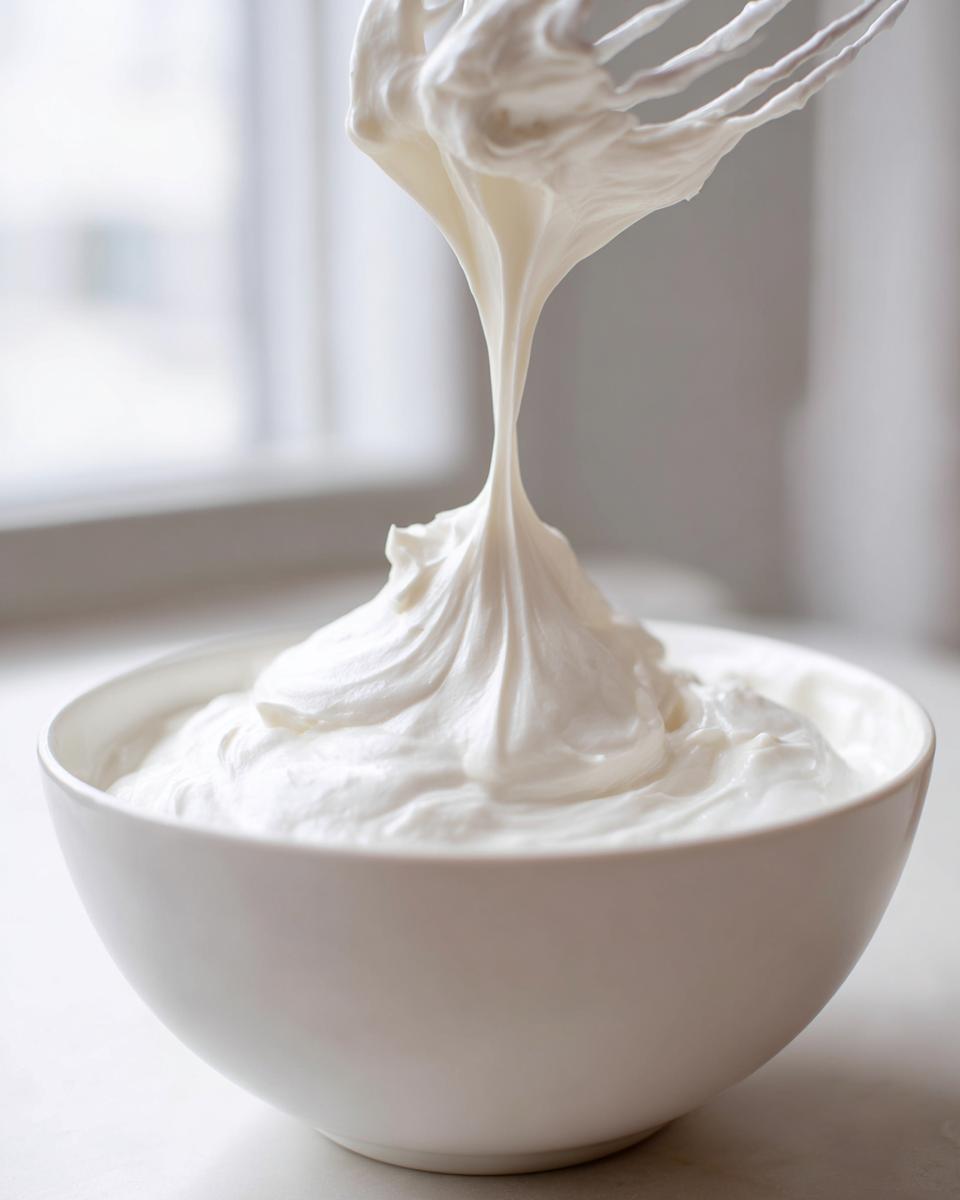
Mixing for Outline Consistency: The Border Job
The first consistency we need is for drawing the walls—the outline. This needs to be thick enough that it doesn’t immediately collapse when you pipe it onto the cookie. If it’s too thin, you get sad, flat borders. Start by seeing how it falls off your beaters. If it’s falling in big blobs, you need to thin it out just slightly. Add water one teaspoon at a time, mixing just until the icing falls slowly from the beater but still holds its shape on top for a second.
This is strong enough to define your shape for any detailed work you plan to do. Once that border is set up, the cookie is ready for its main filling. If you’re doing intricate designs, this outline has to dry for about fifteen minutes first. It’s all about layering that durable sugar cookie frosting!
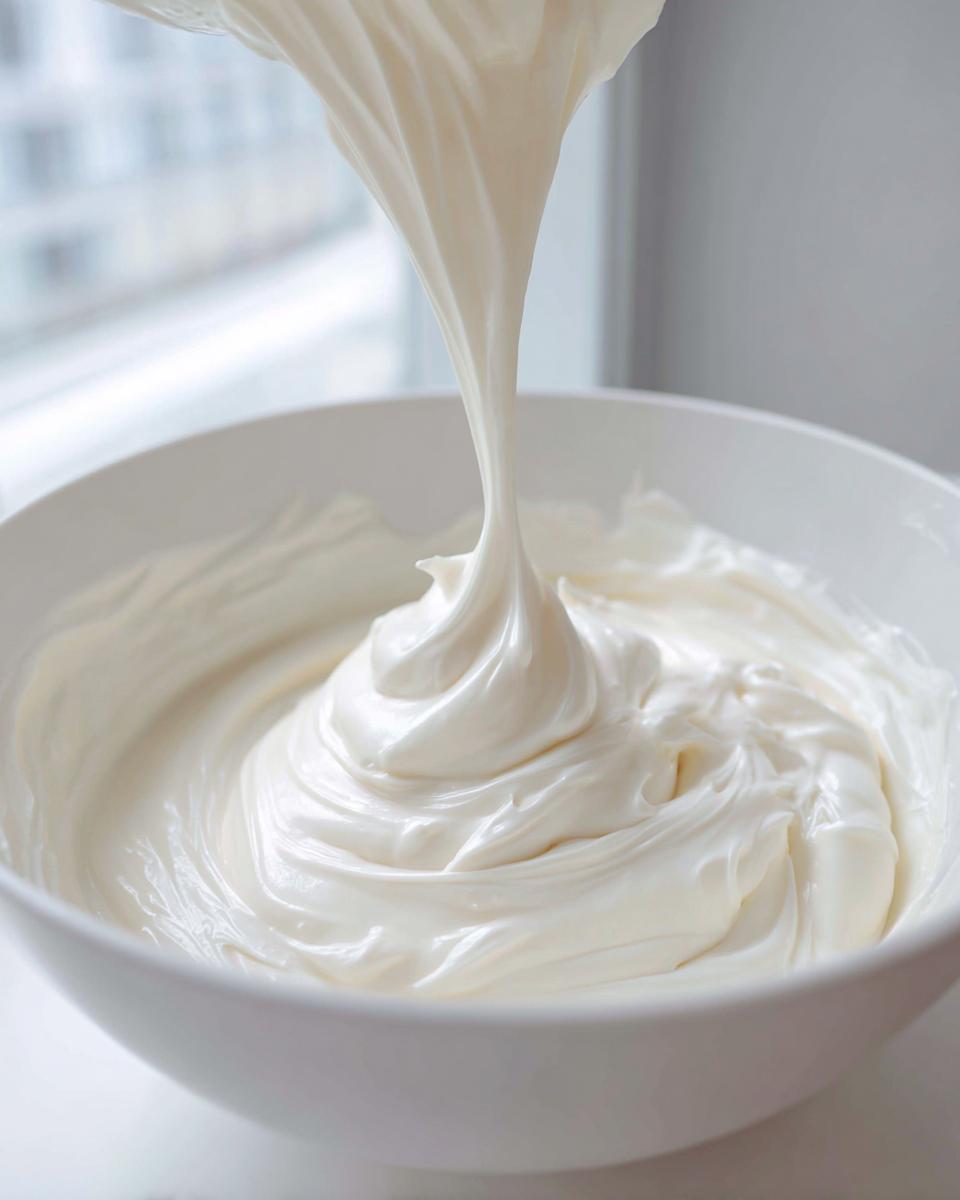
Achieving Flooding Consistency for Your Easy Cookie Decorating Icing
Flooding is when you fill in that beautiful border you just made. This stuff needs to be much looser so it settles smoothly. Take your outline consistency icing and thin it down by adding water just a few drops at a time. Don’t just dump water in! You need to rely on the 10-second rule here. Dip a small spoon into the icing, lift it, and let the icing drip back into the bowl. If that little dollop sinks back into the main bowl surface completely within about ten seconds, you’ve hit the magic mark for that easy cookie decorating icing. If it takes longer, keep adding drops of water until it flows beautifully. This technique ensures a perfectly smooth surface that will dry rock-solid.
Coloring and Applying Your Durable Sugar Cookie Frosting
Now that you have your outline icing and your slightly thinner flood icing, it’s time to make them pretty! Coloring is where people mess up easily. If you use liquid food coloring, you’re basically adding more water to the mix, and guess what happens with too much water? It goes runny, and you lose that beautiful hard set. So, my advice? Use gel colors exclusively for this recipe. A tiny bit goes a long way, which means your beautiful durable sugar cookie frosting stays structurally sound.
When it comes to application, remember the professional rhythm: outline first, wait, then flood. You want to pipe your borders and let them sit for maybe 10 to 15 minutes while you color your flood batch. Once the border feels firm—not rock hard, but you can lightly touch it without denting it—you flood it in. This two-step approach prevents seepage and gives you those sharp, clean lines you see in pictures. For getting those fantastic swirling or feathered looks, check out the technique I use for pinwheel cookies; the concept of manipulating wet icing is the same!
Tips for Sugar Cookie Food Coloring Tips
Seriously, less is more with the gel. Grab a toothpick, dip it *very* lightly into the gel pot, and swirl it into your icing. Mix until it totally disappears. If you need it darker, grab another toothpick or wipe the first one clean and go again. If you try to mix in a huge glob of color, you’ve just introduced excess liquid, and you’ll end up having to add a tablespoon of powdered sugar just to bring it back to that perfect flood consistency. That defeats the purpose of this quick formula, so be patient with the coloring process!
Tips for Success with This Quick Sugar Cookie Frosting
Now that you have the recipe down, let’s talk about those little tweaks that turn a good batch of quick sugar cookie frosting into your go-to favorite. I remember one Christmas when I ran out of meringue powder five minutes before the big decorating session. Total panic! I tried using an egg white, but my icing went completely limp half an hour later. Stick to the powder if you can, but if you absolutely have to swap it out—like I did that day—you can use one large egg white. Just know that you might need to let that batch sit out for a bit longer to dry, and the texture might not feel quite as stable.
Also, remember that note about the gloss? If you want that incredible shine that truly looks professional, that clear vanilla extract isn’t just a suggestion; it’s key! Standard vanilla is brownish and dulls the brightness of your colors and your finish. If your icing seems too thick after it’s been sitting on the counter for an hour (it happens!), don’t panic and add more water right away. Give it a gentle stir first. If it’s still too stiff to work with, *then* you can fight it with just a few drops of water. When I’m working on something that needs to be really stiff, like tiny details, I often think about how I handle the dough for my easy peanut butter cookies—a little bit too dry is better than too wet.
Ingredient Swaps: Meringue Powder Alternatives
Look, baking is supposed to be fun, so if you’re missing meringue powder, don’t throw in the towel! As I mentioned, substitute it with one large, fresh egg white. Just be super diligent when you mix it; you need to whip it to stiff peaks to incorporate as much air as possible before adding the sugar, which helps mimic the stabilizing power of the powder. You are trading perfect, guaranteed consistency for a little bit of manual effort here. It works, but it might require a slightly longer air-dry time since the composition is naturally different. If you’re planning on making a huge volume, though, try to stick to the powder for guaranteed results so you don’t have a huge bowl of sticky icing like the one I struggled with!
Storage and Reheating Instructions for Your Sugar Cookie Icing
Because this icing sets so hard, cleanup is slightly different than with a simple glaze. If you have leftovers, you need to seal it up tight. Pop any remaining icing into an airtight container—I mean *really* airtight, like one with a rubber seal—and keep it on the counter at room temperature. If you put it in the fridge, the sugar can seize up and get clumpy unless you keep it perfectly sealed against humidity.
If it does dry out a little after a day or two, don’t throw it out! That means it’s working! Just grab your mixer, add a few drops of water at a time, and whip it for thirty seconds before testing the consistency again. This little trick keeps your expensive powdered sugar right where it needs to be for your next batch of cookies.
Troubleshooting Common Issues with Royal Icing That Hardens
Even with the best recipe, sometimes decorating throws a curveball. This is where knowing how to fix your royal icing that hardens comes in handy! The two biggest headaches I run into are cracking and weeping—that frustrating moisture that sneaks out as the icing dries. Cracking usually means one thing: you over-flooded, or you let the outline dry too long before adding the flood layer. If the outline is rock-hard and the flood layer on top is still wet, the top layer dries too fast and shrinks, causing cracks.
If your icing is weeping (looking wet or shiny where it shouldn’t be), that usually points back to humidity or using too much water when thinning. If you’ve followed the steps, but it still won’t dry fully after 24 hours, it means you might have added too much vanilla extract or the icing layers are simply too thick. A little trick I learned from the line cooks? If you need to speed things up on a humid day, use a fan set on low, pointed *near* the cookies, not directly at them. It helps circulation without blasting the surface dry too quickly. For more deep dives into fixing royal icing problems, check out the tips shared over at Tasty by Ruby when you get stuck!
Serving Suggestions for Decorated Cookies
Okay, so you’ve spent the time, you’ve mastered the outline and flood, and now you have a platter of cookies that look absolutely stunning. What should you serve them with? This sugar cookie icing dries so firm, it means these cookies aren’t just for looking at—they are made to be eaten, stacked, and gifted!
Honestly, because the icing has that crisp, sugary snap, it pairs perfectly with something warm and slightly comforting. Think about setting up a beautiful platter during the holidays next to a fresh pot of coffee or a steaming mug of spiced tea. That combination of the hard, sweet crunch of the cookie against the warmth of the drink? Perfection. It’s simple, it’s cozy, and it lets the cookie be the star, which is exactly what we want.
If you’re putting them out as part of a larger spread, these decorated cut-outs look amazing alongside something soft and cakey, like my favorite coffee cake muffins. The texture contrast is texturally fascinating! You get the snap from the cookie and the soft, tender crumb from the muffin. They look great piled high in clear glass jars or arranged neatly on a tiered platter because that hard icing keeps everything looking sharp and professional, even hours after you set them out.
Estimated Nutritional Data for This Sugar Cookie Icing
Now, look, I’m a cook, not a nutritionist, so take this information with a grain of salt—or maybe a mountain of sugar, since we’re talking icing! The numbers below are just estimates based on the 4-ingredient recipe we used, assuming standard product measurements. This is what you can expect per serving, which we figured was about 1/4 cup of the final product.
This is pure celebratory food, right? It’s mostly sugar, which is why it tastes so good and sets so firm! But it’s good to know what you’re working with, especially when you’re making massive batches for the holidays. It helps planning if you are serving these alongside, say, something lighter.
Here’s the layout for a standard serving size:
- Serving Size: 1/4 cup
- Calories: 380
- Sugar: 95g
- Sodium: 15mg
- Fat: 0g
- Protein: 2g
Since we aren’t using anything fatty or complex, pretty much all those calories come straight from the powdered sugar—which is what makes it work so well as a hard-drying cookie icing! This data is based on the primary recipe structure, so if you swap in an egg white for the meringue powder, expect the protein numbers to shift a little. But seriously, enjoy it! Nobody is counting calories when the cookies look this good.
PrintEasy Sugar Cookie Icing That Hardens Perfectly

This recipe translates professional knowledge into a simple, 4-ingredient sugar cookie icing that sets firm, dries glossy, and is ideal for detailed decorating. Stop struggling with runny frosting; this is the durable glaze you need for perfect holiday cookies.
- Prep Time: 10 min
- Cook Time: 0 min
- Total Time: 10 min
- Yield: Covers about 2 dozen 3-inch cookies 1x
- Category: Baking
- Method: Mixing
- Cuisine: American
- Diet: Vegetarian
Ingredients
- 4 cups powdered sugar, sifted
- 3 tablespoons meringue powder
- 6 tablespoons warm water
- 1 teaspoon clear vanilla extract
Instructions
- In a medium bowl, whisk together the sifted powdered sugar and meringue powder. This step removes lumps and ensures a smooth base.
- Add the warm water and vanilla extract to the dry ingredients.
- Using an electric mixer on low speed, mix until the ingredients are just combined. Scrape down the sides of the bowl.
- Increase the mixer speed to medium-high and beat for 3 to 5 minutes until the icing is smooth, glossy, and holds stiff peaks. This incorporates air for a good set.
- To achieve outlining consistency (for borders), add water one teaspoon at a time until the icing falls slowly from the beater.
- To achieve flooding consistency (for filling in areas), thin the outlining consistency icing further by adding water a few drops at a time until it flows smoothly off a spoon and disappears back into the bowl surface in about 10 seconds.
- Color the icing using gel food coloring, mixing thoroughly until the color is uniform.
- Apply the icing to cooled cookies. Let the outline dry for 10 to 15 minutes before flooding the center, or flood immediately if using the one-step method.
- Allow the decorated cookies to air dry completely on a flat surface for several hours, or overnight, until the icing is completely hard to the touch.
Notes
- If you need to skip meringue powder, substitute with 1 large egg white, but be aware that the drying time and final texture may vary slightly.
- For a high-gloss finish, use clear vanilla extract instead of standard brown vanilla extract.
- If your icing seems too thick after sitting, stir in a few drops of water. If it is too thin, mix in a tablespoon of sifted powdered sugar.
- This icing sets firm, making it the best icing for detailed cookies that need stacking or gifting.
Nutrition
- Serving Size: 1/4 cup
- Calories: 380
- Sugar: 95
- Sodium: 15
- Fat: 0
- Saturated Fat: 0
- Unsaturated Fat: 0
- Trans Fat: 0
- Carbohydrates: 98
- Fiber: 0
- Protein: 2
- Cholesterol: 0