
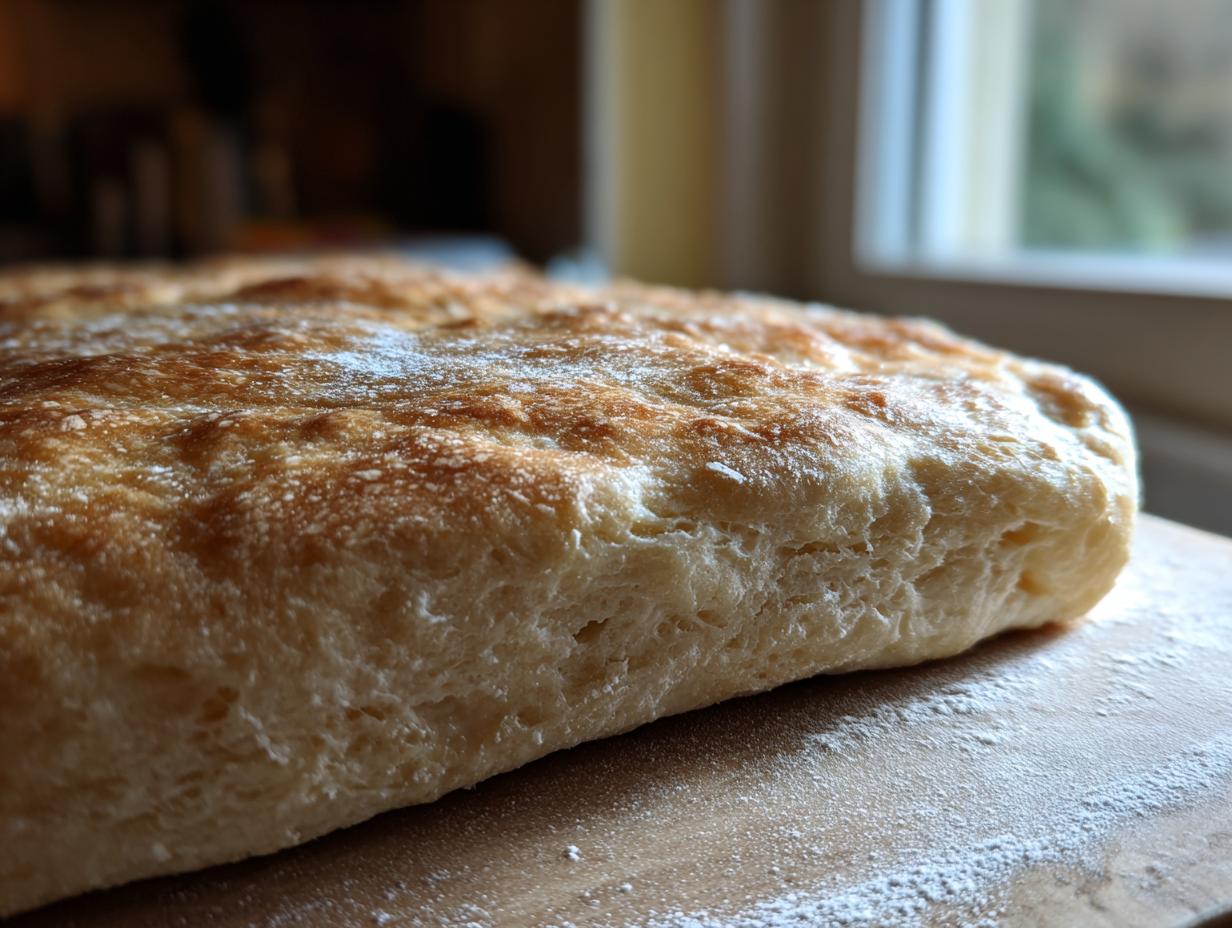
Okay, let’s talk pizza. That moment when you pull a glorious, golden pizza out of your own oven, the cheese bubbly and the crust *just right*? Pure magic. And it all starts with the foundation: the pizza dough. Forget those sad, floppy store-bought bases, because today we’re diving deep into making the kind of homemade pizza crust that’ll make you feel like a total kitchen rockstar. This recipe isn’t just about flour and water; it’s about unlocking that pizzeria-quality magic right in your own home. I remember my first attempt at homemade pizza dough – it was a sticky mess, but the thrill of *making it myself* was unforgettable. Get ready to master your dough game!
- Why You'll Love This Perfect Pizza Dough
- Essential Ingredients for Your Pizza Dough
- Step-by-Step Guide to Making Pizza Dough
- Tips for the Best Homemade Pizza Crust
- Storing and Reheating Your Pizza Dough
- Frequently Asked Questions About Pizza Dough
- Estimated Nutritional Information
- Share Your Pizza Night Creations!
Why You’ll Love This Perfect Pizza Dough
Seriously, get ready to become the hero of your own kitchen! This pizza dough recipe is a winner because:
- It’s ridiculously easy to make – think minimal fuss, maximum flavor!
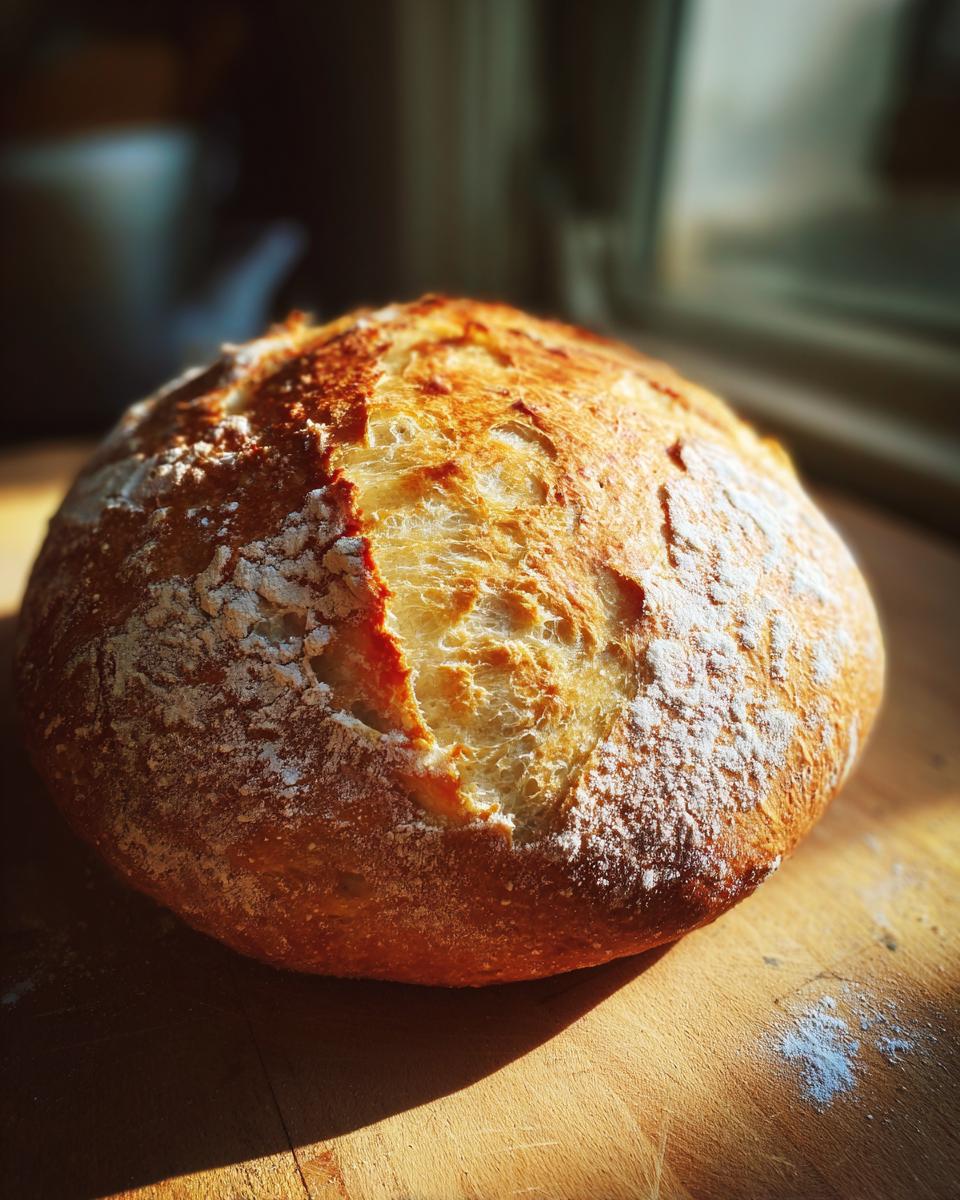
- You get that amazing, authentic pizzeria-style crust at home, every single time.
- It’s super versatile. Want a thin, crispy base or a thick, chewy one? This dough does it all.
- Homemade pizza night just leveled up big time. Get ready for happy sighs and empty plates.
Essential Ingredients for Your Pizza Dough
Alright, let’s get down to the nitty-gritty. Making fantastic pizza dough from scratch is all about quality ingredients and just a little bit of love. Here’s what you’ll need to grab:
- 1 ½ cups warm water: Make sure it’s not too hot, or you’ll kill the yeast! Think cozy bathwater temp, about 105-115°F.
- 2 ¼ teaspoons active dry yeast: This is what makes our dough nice and puffy.
- 1 teaspoon sugar: Just a little boost to wake up that yeastiness.
- 3 ½ cups all-purpose flour: Plus a bit extra for dusting, because dough can be sticky!
- 2 tablespoons olive oil: Good quality, if you have it! Plus a little more to give the bowl a slick coat.
- 1 teaspoon salt: For flavor, of course!
Trust me, using decent ingredients makes a difference. It’s like the difference between a whisper and a shout in terms of flavor!
Ingredient Spotlight: Flour for Pizza Dough
Flour is the backbone of your dough, folks. For this recipe, we’re going with good ol’ all-purpose flour. It’s reliable and gives you a great crust with a nice balance. Now, if you’re really chasing that chewy, bread-like texture you get in some pizzerias, you’ll want to try swapping in bread flour sometime. It has more protein, which means more gluten development, leading to that delightful elasticity. But for now, all-purpose is your best buddy for this easy pizza dough.
Step-by-Step Guide to Making Pizza Dough
Alright, ready to get your hands happily messy? Making pizza dough from scratch is way easier than you think, and honestly, truly rewarding. We’re going to break it down, step by step, so you can nail it every single time. It’s all about a little patience and trusting the process!
Activating the Yeast for Your Pizza Dough
First things first, let’s wake up that yeast! In a big bowl, whisk together your warm water, the active dry yeast, and that tiny bit of sugar. Don’t just dump it and run; give it a good stir and then just… let it hang out for about 5 to 10 minutes. What you’re looking for is a nice, foamy layer on top. If you see bubbles and it smells a little like a bakery, your yeast is happy and ready to go! If it looks sad and flat… well, you might need to start over with fresh yeast. That foam is the sign that magic is about to happen!
Kneading Your Pizza Dough to Perfection
Now for the part that feels really like you’re *making* pizza dough: kneading! This is where we build up the gluten, which gives your crust that lovely chew and structure. After you’ve got that foamy yeast mixture ready, toss in your flour, olive oil, and salt. Give it a good stir until it all comes together into a shaggy sort of lump. Then, tip that onto a lightly floured surface. Start kneading! Push, fold, turn, repeat. You’re aiming for about 8 to 10 minutes until it’s smooth and elastic. It should feel alive under your hands, not sticky anymore, and when you poke it, the dent should slowly spring back. If you’ve got a stand mixer, use that dough hook gadget for about 5 to 7 minutes. It’s a bit faster, but hand-kneading is so satisfying! Think of it like working with naan dough – that same satisfying stretch.
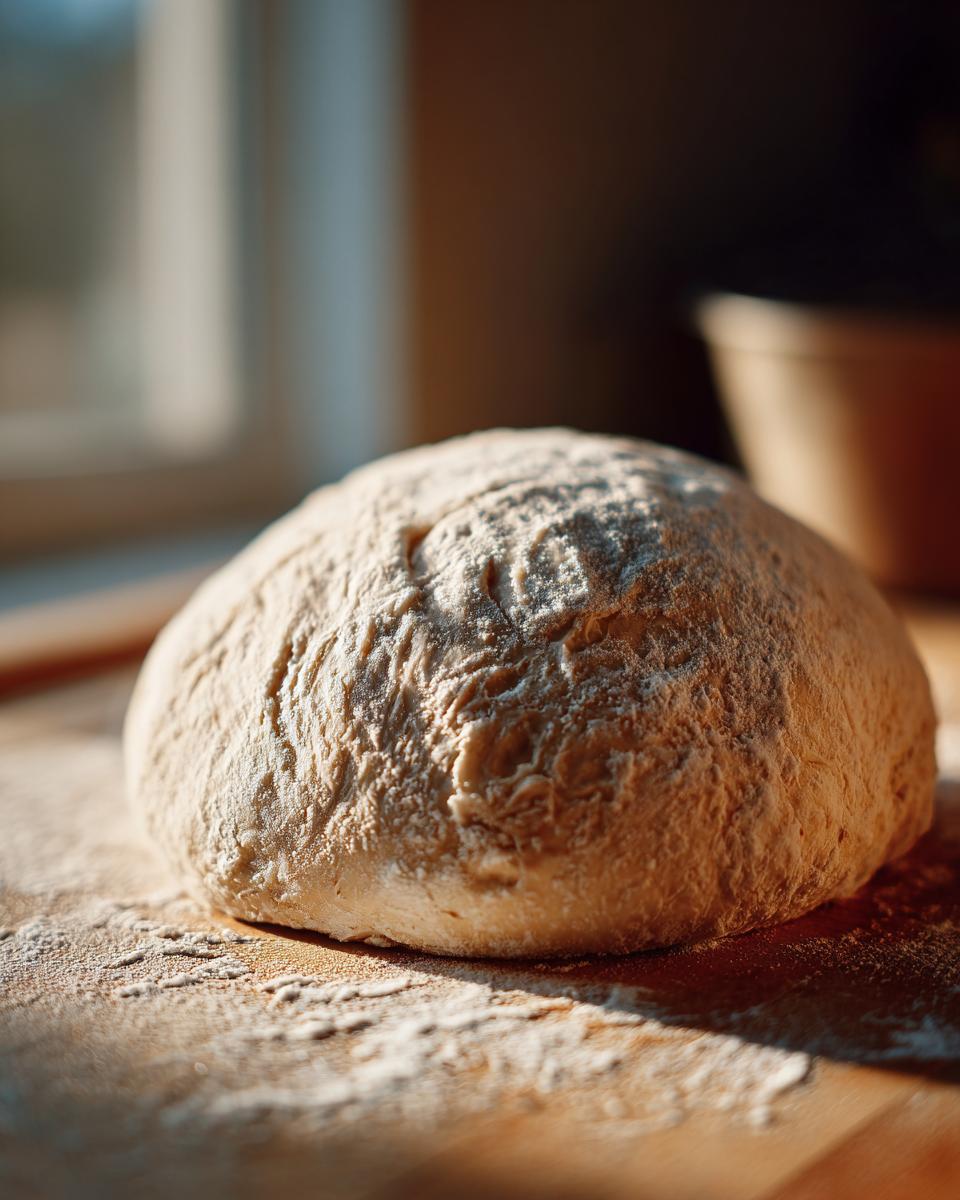
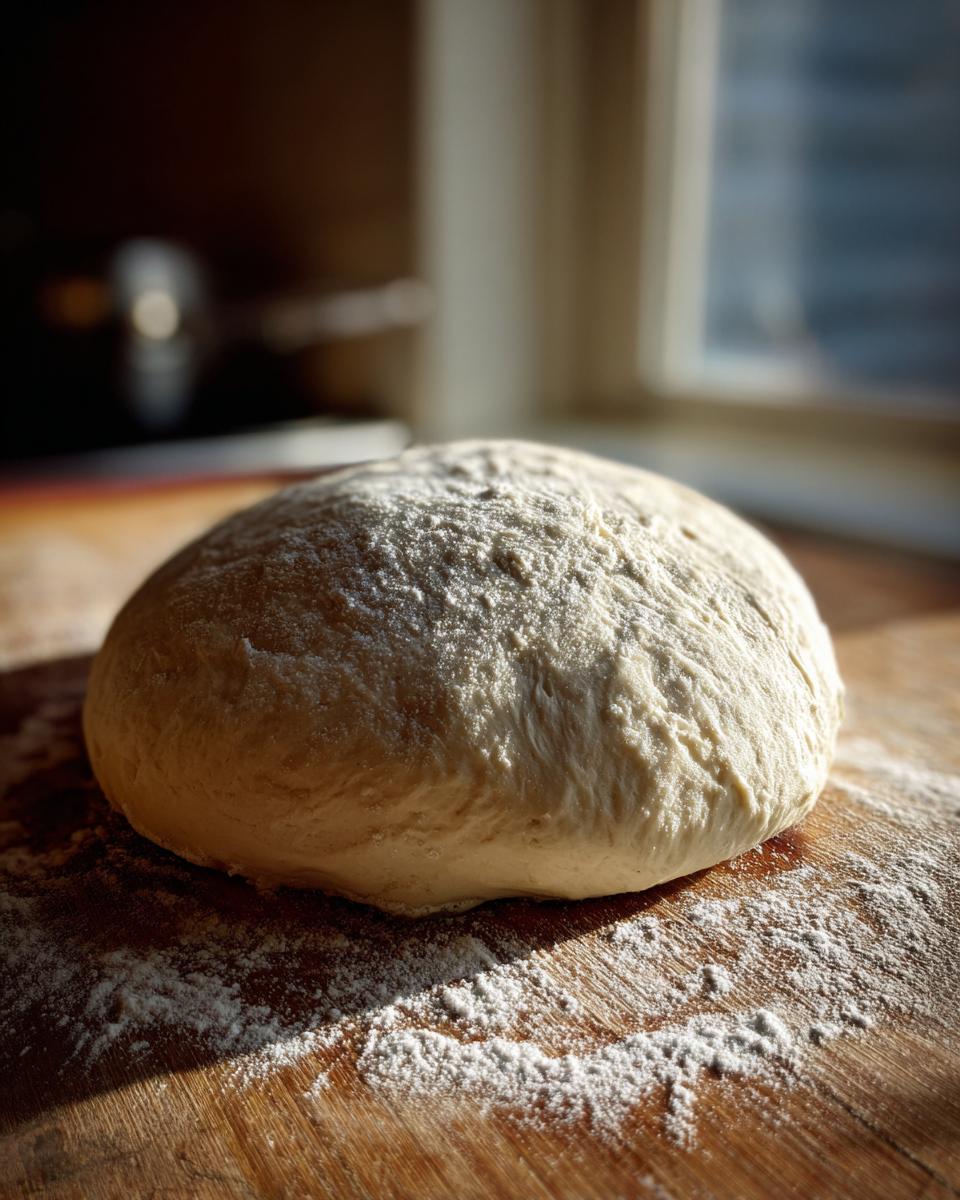
The Crucial Rise: Letting Your Pizza Dough Proof
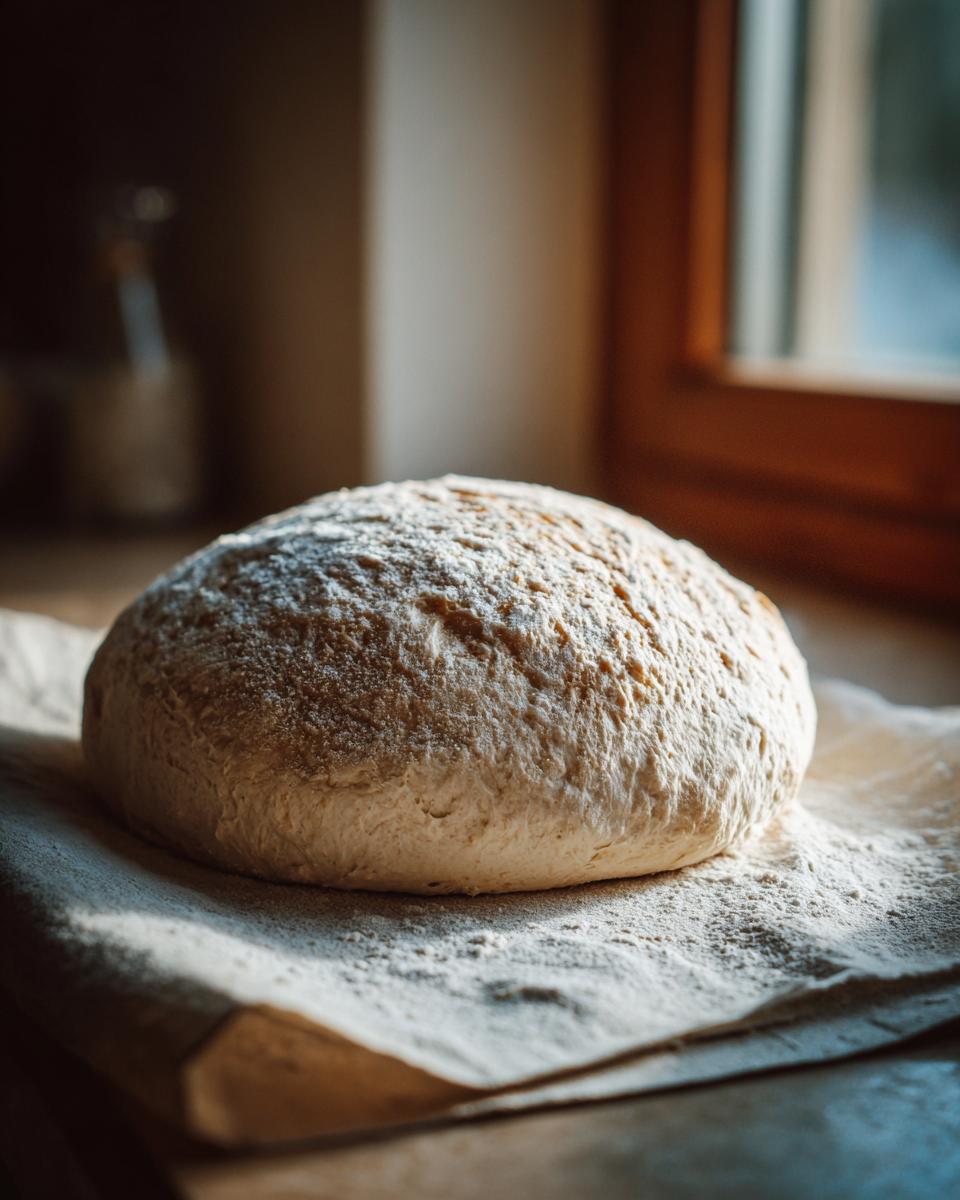
Okay, your dough is looking (and feeling!) amazing. Now it deserves a little break. Grab a clean bowl – give it a quick slick of olive oil so the dough doesn’t stick like glue. Pop your kneaded pizza dough ball in there, give it a little turn so it’s coated in oil all over. Cover it up with plastic wrap or a clean, damp kitchen towel. Find it a nice, warm spot – maybe near a sunny window, or even in a slightly warm, turned-off oven. Let it chill there for 1 to 1.5 hours. The goal? It should puff up and double in size. That’s your yeast working its delicious magic, creating all those air pockets for a light and airy crust.
Tips for the Best Homemade Pizza Crust
Alright, so your dough has risen beautifully – that’s awesome! Now comes the fun part: turning that puffy ball into a pizza. Here are a few little secrets I’ve picked up that’ll seriously level up your homemade pizza game, making it as good as any weeknight easy dinner. Remember that feeling you get when you handle things perfectly – like dough for dumplings? It’s that same tactile joy! Don’t be afraid to get in there and really feel the dough. It tells you what it needs.
Achieving Thin vs. Thick Crust Pizza Dough
This is where you become the pizza artist! For a thin, crispy crust, you want to gently punch down that risen dough (don’t be too rough!), then start pressing it out from the center towards the edges on a lightly floured surface. Keep going until it’s as thin as you like. For a thicker, chewier crust, you can be a bit gentler and let the dough rise a little bit more after you’ve shaped it on your pizza peel. It gives it that extra puff! If the dough keeps snapping back while you’re stretching it, just cover it up and let it rest for about 10 minutes. It relaxes, and you can try again. Easy peasy!
Storing and Reheating Your Pizza Dough
So, you’ve got some amazing pizza dough, but you’re not ready to make pizza just yet? No worries! You can totally stash this dough for later. After you’ve punched it down, wrap it up nice and tight in plastic wrap. Pop it in the fridge, and it’ll keep beautifully for up to 3 days. It actually gets even better with a little chill time, the flavor deepens! When you’re ready to use it, just let it sit on the counter for about 30 minutes to an hour to take the chill off. It’s almost as good as fresh, and seriously a lifesaver for spontaneous pizza nights! I love having this on hand, it’s almost as convenient as prepping granola for the week.
Frequently Asked Questions About Pizza Dough
Got questions about making awesome pizza dough? I get it! It’s like learning a new language, but don’t worry, I’m here to translate. Here are some things people often ask about this yeast dough. If you’ve made my easy chili and loved it, you’ll appreciate how these little tips make kitchen tasks so much smoother!
Can I make pizza dough ahead of time?
Oh, absolutely! That’s one of my favorite tricks. Just wrap your securely punched-down dough in plastic wrap and pop it in the fridge for up to 3 days. The flavor actually gets even better as it sits! Just let it warm up on the counter a bit before you use it.
What’s the best flour for homemade pizza crust?
For this recipe, all-purpose flour is fantastic and super accessible. But, if you want that *extra* chewy, satisfying bite, try using bread flour sometime! It has a higher protein content, which gives you more gluten, making your homemade pizza crust really stretchy and satisfying. It’s a fun experiment similar to trying different flours in our chili recipe.
Estimated Nutritional Information
Now, keep in mind these numbers are just estimates, okay? They can totally change depending on the exact brands you use or if you get fancy with your flour. But generally, a serving (about 1/8th of the dough) comes out to roughly:
- Calories: Around 150
- Fat: About 3g
- Carbohydrates: Around 27g
- Protein: About 5g
It’s pretty darn good for something that’s going to be the base of your amazing pizza creation, right? If you’re looking for more ideas on healthy eats, you might want to check out our high-protein overnight oats!
Share Your Pizza Night Creations!
Alright, pizza wizards! I absolutely love seeing what you whip up in your own kitchens. Did you make this dough and end up with a crispy thin crust, or did you go for a thick, chewy slice? Snap a pic and share it in the comments, or tell me about any fun toppings you tried! And hey, if you loved this recipe, a quick rating would make my day. Don’t forget to check out our About Us page for more kitchen secrets, or hit us up on the Contact page with any questions!
PrintClassic Homemade Pizza Dough
Create a perfect pizza crust from scratch for your next homemade pizza night.
- Prep Time: 20 minutes
- Cook Time: 0 minutes
- Total Time: 1 hour 20 minutes
- Yield: 2 large pizzas 1x
- Category: Main Course
- Method: Baking
- Cuisine: American
- Diet: Vegetarian
Ingredients
- 1 ½ cups warm water (105-115°F)
- 2 ¼ teaspoons active dry yeast
- 1 teaspoon sugar
- 3 ½ cups all-purpose flour, plus more for dusting
- 2 tablespoons olive oil, plus more for greasing
- 1 teaspoon salt
Instructions
- In a large bowl, combine the warm water, yeast, and sugar. Let it sit for 5-10 minutes until foamy.
- Add the flour, olive oil, and salt to the yeast mixture.
- Mix with a spoon or in a stand mixer with a dough hook until a shaggy dough forms.
- Turn the dough out onto a lightly floured surface and knead for 8-10 minutes until smooth and elastic. If using a stand mixer, knead for 5-7 minutes.
- Lightly grease a clean bowl with olive oil. Place the dough in the bowl, turning to coat. Cover the bowl with plastic wrap or a damp towel.
- Let the dough rise in a warm place for 1-1.5 hours, or until doubled in size.
- Punch down the dough and divide it into portions for your desired pizza size.
- You can use the dough immediately, or wrap it tightly and refrigerate for up to 3 days.
Notes
- For a crispier crust, let the dough rise for a second time after shaping it on your pizza peel.
- If your dough tears when stretching, let it rest for 10 minutes and try again.
- Experiment with different flours like bread flour for a chewier crust.
Nutrition
- Serving Size: 1/8th of dough
- Calories: 150
- Sugar: 1g
- Sodium: 200mg
- Fat: 3g
- Saturated Fat: 0.5g
- Unsaturated Fat: 2.5g
- Trans Fat: 0g
- Carbohydrates: 27g
- Fiber: 1g
- Protein: 5g
- Cholesterol: 0mg