
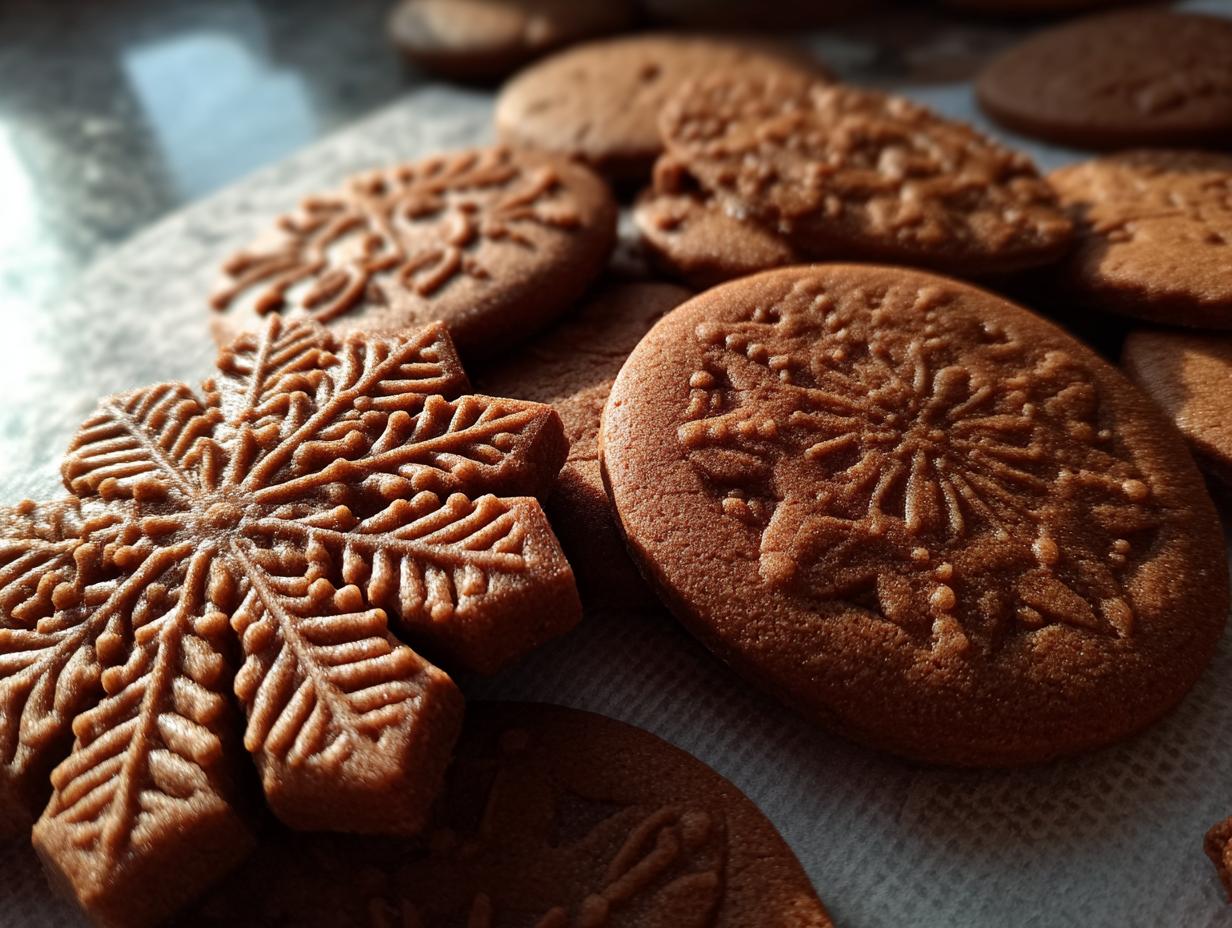
Oh, the smell of holidays! There’s just something magical when the air starts to get a little chilly and you pull out the big tins of spices. For me, nothing screams “Christmas is here!” quite like a fresh batch of gingerbread cookies. Forget those crumbly ones that shatter when you look at them wrong – my recipe is the secret to gingerbread that’s sturdy enough for a whole village of gingerbread men, but still has that perfect, delightful chew. I remember decorating these with my best friend when we were little, laughing until our sides hurt as icing dripped everywhere. It’s those moments, that pure joy, that makes these cookies so special to me. Trust me, these gingerbread cookies are destined to become your new holiday tradition.
- Why You'll Love These Gingerbread Cookies
- Gather Your Ingredients for Perfect Gingerbread Cookies
- Crafting Your Gingerbread Men Dough: Step-by-Step
- Rolling and Cutting Your Gingerbread Cookies
- Baking Gingerbread Cookies to Perfection
- Cooling and Holiday Cookie Decorating
- Tips for Success with Gingerbread Cookies
- Frequently Asked Questions about Gingerbread Cookies
- Estimated Nutritional Information
Why You’ll Love These Gingerbread Cookies
These aren’t just any gingerbread cookies; they’re little edible bundles of holiday cheer! Here’s why you’ll be making these year after year:
- Perfectly Firm for Decorating: They hold their shape beautifully, so your gingerbread people won’t lose their heads (or arms!) when you’re adding icing.
- Delightfully Chewy: No one likes a cookie that snaps like a twig! These bake up with that oh-so-satisfying chew.
- Incredible Spicy Flavor: That warm, cozy blend of ginger, cinnamon, and molasses is pure holiday comfort in every bite.
- Super Easy Dough: Seriously, it comes together so quickly, even with little helpers in the kitchen.
- Festive Fragrance: Your whole house will smell like Christmas!
Gather Your Ingredients for Perfect Gingerbread Cookies
Alright, let’s get our holiday baking station ready! To make gingerbread cookies that are just heavenly – firm enough to decorate but still wonderfully chewy – you’ll want to have these goodies on hand. Picking the right ingredients is half the battle, trust me! For instance, using unsulfured molasses makes a huge difference. It gives our gingerbread that deep, rich, spicy flavor and beautiful dark color that you just can’t get any other way. And make sure your butter is softened, not melted! It really affects how the cookie dough whips up.
Here’s the lineup:
- 3 cups all-purpose flour
- 1 teaspoon baking soda
- 1/2 teaspoon salt
- 1 tablespoon ground ginger (yes, a full tablespoon!)
- 1 teaspoon ground cinnamon
- 1/2 teaspoon ground cloves
- 1/4 teaspoon ground nutmeg
- 3/4 cup (that’s 1 1/2 sticks!) unsalted butter, softened
- 3/4 cup packed light brown sugar
- 1 large egg
- 1 cup unsulfured molasses (the good stuff!)
- 1 teaspoon vanilla extract
Crafting Your Gingerbread Men Dough: Step-by-Step
Now for the fun part – making the actual dough! This is where the magic really starts to happen. Don’t worry if the dough looks a little soft; that’s totally normal. We’ve got a few simple steps to get it just right for rolling and cutting later. These tips are what make these gingerbread cookies truly fantastic, so pay attention!
Mixing the Dry Ingredients
First things first, grab a medium bowl. In it, you’ll whisk together your all-purpose flour, baking soda, salt, and all those lovely warm spices: ginger, cinnamon, cloves, and nutmeg. Give it a good whisking to make sure everything is evenly distributed. Nobody wants a bite that’s all ginger and no cinnamon!
Creaming Butter and Sugar
Next, in a big bowl, we’re going to cream together your softened butter and packed light brown sugar. You want to beat them until they’re super light and fluffy. This step is crucial for giving our cookies that perfect texture, not too crumbly, not too crisp. Make sure your butter is properly softened – you should be able to easily press a finger into it, but it shouldn’t be melted at all.
Incorporating Wet Ingredients for Gingerbread Cookies
Now, let’s bring in the wet ingredients! Beat in that large egg until everything is nicely combined. Then, stir in the unsulfured molasses and the vanilla extract. Keep mixing until it’s all smooth and gorgeous. This is where the deep, signature flavor of our gingerbread cookies really starts to bloom. If you’re looking for a festive jam to go with your cookies, check out our Christmas jam recipe—it’s a perfect pairing!

Combining Wet and Dry Mixtures
Time to join forces! Gradually add your dry flour mixture to the wet ingredients. Mix until it’s *just* combined. Seriously, don’t go crazy mixing here. Overmixing makes cookies tough, and we want tender chewiness! The dough will still be pretty soft at this point, and that’s exactly what we’re looking for. It’s supposed to be a bit sticky.
Chilling Your Gingerbread Men Dough
This is probably the most important step for success! Divide your soft dough in half. Flatten each half into a disk – this makes it easier to roll out later. Wrap each disk up tightly in plastic wrap. Now, pop them in the fridge for AT LEAST 2 hours. I usually let mine chill overnight! Chilling is what makes your gingerbread men dough firm enough to handle without sticking like crazy. If it gets too soft when you’re rolling it out, just stick it back in the fridge for a quick 15-minute chill session.
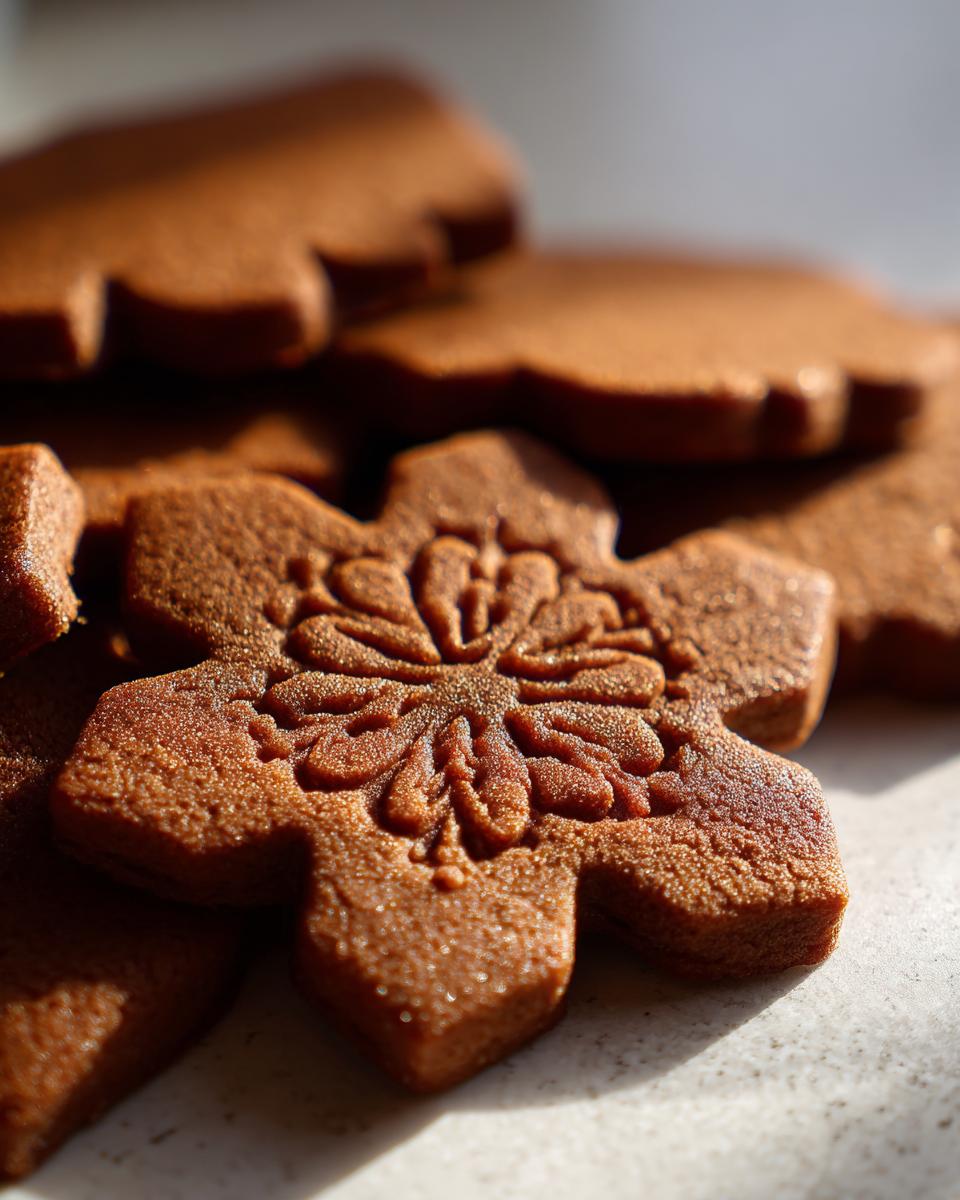
Rolling and Cutting Your Gingerbread Cookies
Okay, your gingerbread dough has had a nice, long nap in the fridge! Now for the really fun part – turning that cold, firm dough into adorable cookies. This is where they start to look like actual gingerbread men (or stars, or trees!). Remember, patience is key here. We want our gingerbread cookies to look Pinterest-perfect, right?
First, get your surface ready. I like to lightly flour my countertop, but you can also use parchment paper if you’re worried about sticking. Now, take one disk of that chilled dough. You want to roll it out to about 1/4-inch thickness. Don’t go too thin, or they’ll be fragile, and don’t go too thick, or they’ll take forever to bake. A nice, even 1/4 inch is perfect. If it starts to get sticky while you’re rolling, just pop it back in the fridge for 10-15 minutes. Once it’s rolled out, grab your favorite cookie cutters! Press them down firmly to get a clean cut. To get nice, sharp edges for decorating later, give your cutter a little twist before lifting it away. Carefully transfer your cute shapes to those parchment-lined baking sheets. Give them a little space, about an inch apart, so they don’t puff up and meld together.
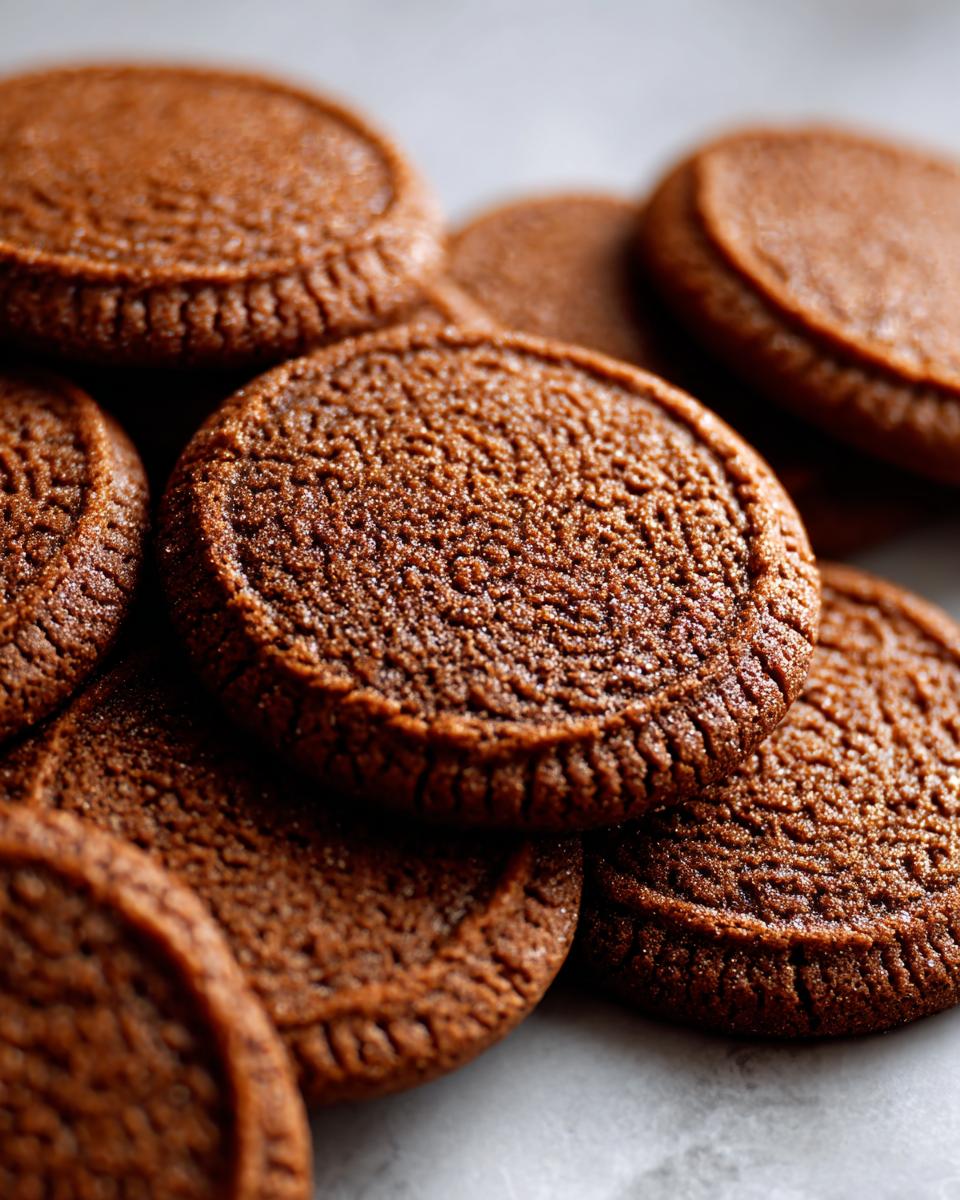
Baking Gingerbread Cookies to Perfection
Alright, superstar baker, your gingerbread dough is rolled, cut, and looking mighty fine on the baking sheets! Now it’s time for the oven. Getting these gingerbread cookies baked just right is the difference between a chewy delight and a crunchy disappointment. So, let’s get this done!
First, make sure your oven is nice and toasty. Preheat it to 350°F (175°C). While it’s heating up, make sure your baking sheets are lined with parchment paper. This is a lifesaver for easy cleanup and makes sure your cookies slide right off. Now, pop those sheets into the oven. Depending on the size and thickness of your gingerbread cut-outs, they’ll need about 8 to 12 minutes. You’re looking for the edges to just start looking set and maybe a *tiny* bit browned. Don’t you dare overbake them! That’s the quickest way to lose that delightful chewiness. We want them firm enough to hold decorations, but still soft enough to be dreamy.
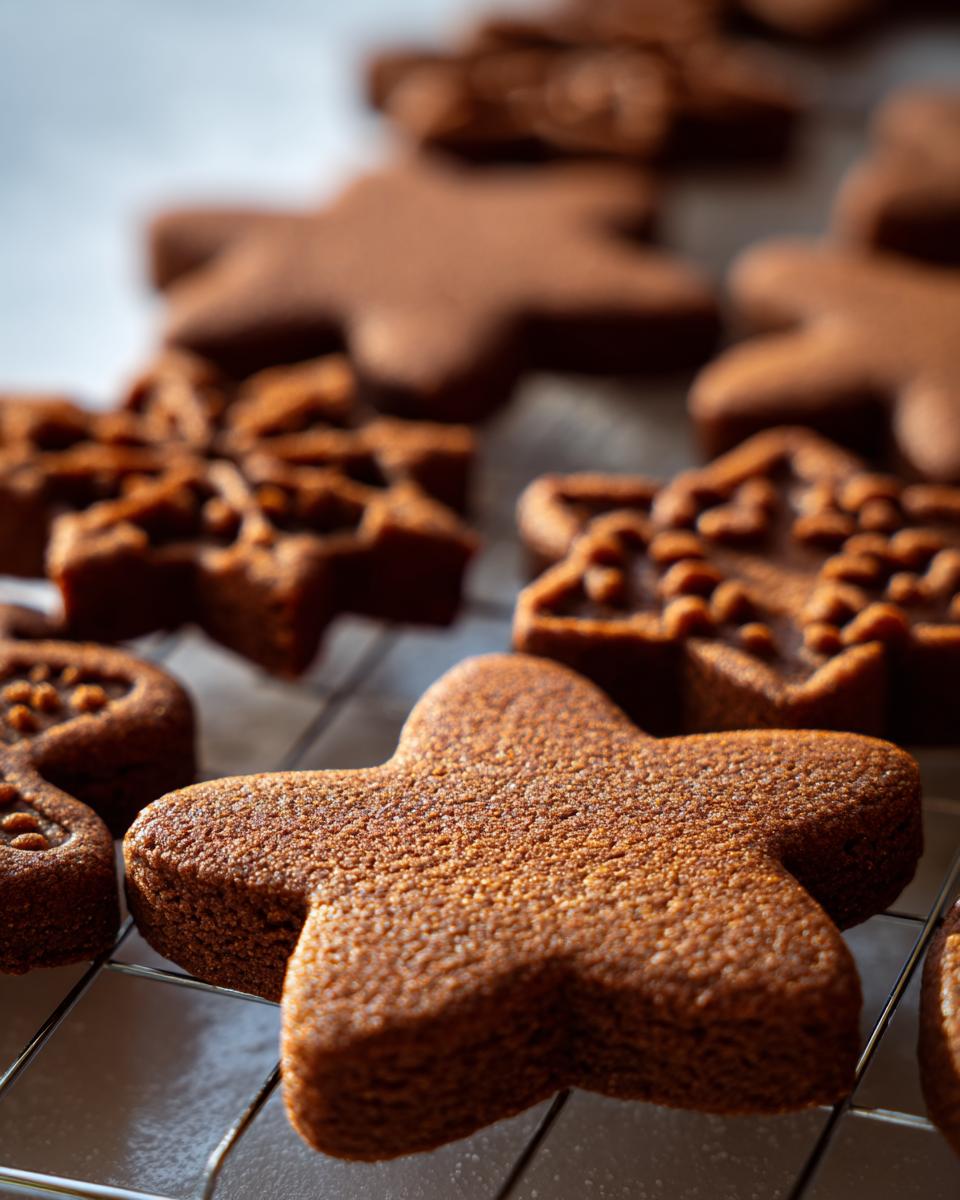
Cooling and Holiday Cookie Decorating
Okay, your gingerbread cookies are out of the oven and looking amazing! Don’t touch them just yet! Let them cool on the still-warm baking sheets for a few minutes. This is super important because they’re still a bit delicate right out of the heat. Once they’ve firmed up a little, carefully transfer them to a wire rack to cool completely. This is where the real fun begins – prepping them for some serious holiday cookie decorating! Oh, I just love this part. My kitchen always turns into a bit of a glitter-bomb zone, but it’s so worth it. The base of these cookies, with that awesome spicy molasses flavor, is just begging for some colorful icing and sprinkles. I love using royal icing because it dries hard, making my gingerbread people super stable. Sometimes I even make little apple pie cookies or whipped shortbread cookies to go alongside these festive guys, you know, for variety! It’s just pure joy seeing all the designs come to life.
Tips for Success with Gingerbread Cookies
Want your gingerbread cookies to be showstoppers every time? I’ve picked up a few tricks over the years from watching the pros and, let’s be honest, a few kitchen fails of my own! That perfect, firm-yet-chewy texture and those crisp edges for decorating aren’t just luck, they’re the result of a few simple secrets. Remember, dough spreading can be a bummer if you want sharp shapes. My best advice? Really nail that chilling time – I can’t stress it enough!
Another little bit of ‘kitchen slang’ for you: when cutting, try to work quickly so the dough doesn’t warm up too much. If your cutters start sticking, a quick wipe and a dip back into flour usually does the trick. And for consistent sizes, a ruler is your best pal! These little tips make all the difference for perfect gingerbread cookies.
Frequently Asked Questions about Gingerbread Cookies
Got questions about whipping up the best gingerbread? I’ve got answers! Baking should be fun, not frustrating, so let’s tackle some common worries about these festive treats.
Can I make gingerbread dough ahead of time?
Absolutely! This is one of my favorite things about this gingerbread men dough. You can totally make the dough a day or two in advance. Just wrap it up tight in plastic wrap and keep it in the fridge. It actually makes it easier to handle and roll when it’s nice and cold, so it’s a total win-win!
Why do my gingerbread cookies spread so much?
Oh, the dreaded spread! This usually happens for a couple of reasons with gingerbread cookies. Make sure your butter wasn’t too soft or melted when you creamed it – that’s a biggie. Also, chilling the dough is non-negotiable! If it’s too warm, it’ll spread like crazy in the oven. Keep that dough cold, and you should see much better results for your holiday cookie decorating.
How do I store decorated gingerbread cookies?
Once your beautiful gingerbread creations are fully decorated and the icing is dry (give it a good few hours, or even overnight!), you can store them in an airtight container. Between layers, I like to put a piece of parchment paper to keep the decorations from smudging. They’ll stay lovely and fresh for about a week, keeping that wonderful spicy molasses flavor intact!
Estimated Nutritional Information
So, about those numbers! These are just estimates, of course, since everyone’s cookies might turn out a tiny bit different. Decorations like icing and sprinkles can really change things up! But for a single, unadorned cookie, you’re looking at roughly:
- Calories: 150
- Fat: 6g
- Protein: 2g
- Carbohydrates: 22g
- Sugar: 15g
It’s good to know, but honestly, during the holidays, I try not to sweat the small stuff too much! Enjoy your delicious gingerbread cookies!
PrintClassic Gingerbread Cut-Out Cookies

A recipe for firm yet chewy gingerbread cookies, perfect for holiday baking and decorating.
- Prep Time: 30 min
- Cook Time: 12 min
- Total Time: 2 hours 42 min
- Yield: 36 cookies 1x
- Category: Dessert
- Method: Baking
- Cuisine: American
- Diet: Vegetarian
Ingredients
- 3 cups all-purpose flour
- 1 teaspoon baking soda
- 1/2 teaspoon salt
- 1 tablespoon ground ginger
- 1 teaspoon ground cinnamon
- 1/2 teaspoon ground cloves
- 1/4 teaspoon ground nutmeg
- 3/4 cup (1 1/2 sticks) unsalted butter, softened
- 3/4 cup packed light brown sugar
- 1 large egg
- 1 cup unsulfured molasses
- 1 teaspoon vanilla extract
Instructions
- In a medium bowl, whisk together the flour, baking soda, salt, ginger, cinnamon, cloves, and nutmeg.
- In a large bowl, cream together the softened butter and brown sugar until light and fluffy.
- Beat in the egg until well combined.
- Stir in the molasses and vanilla extract until smooth.
- Gradually add the dry ingredients to the wet ingredients, mixing until just combined. The dough will be soft.
- Divide the dough in half, flatten each half into a disk, wrap in plastic wrap, and refrigerate for at least 2 hours, or until firm.
- Preheat your oven to 350°F (175°C). Line baking sheets with parchment paper.
- On a lightly floured surface, roll out one disk of dough to about 1/4-inch thickness.
- Cut out shapes using cookie cutters.
- Carefully transfer the cookies to the prepared baking sheets, spacing them about 1 inch apart.
- Bake for 8-12 minutes, or until the edges are set and lightly browned. Baking time will vary depending on the size and thickness of your cookies.
- Let the cookies cool on the baking sheets for a few minutes before transferring them to a wire rack to cool completely.
- Decorate with your favorite royal icing and sprinkles once fully cooled.
Notes
- For best results, chill the dough thoroughly. This makes it easier to roll and cut.
- If your dough becomes too soft while working with it, return it to the refrigerator for a short period.
- Avoid overbaking to maintain a chewy texture.
- Store decorated cookies in an airtight container at room temperature.
Nutrition
- Serving Size: 1 cookie
- Calories: 150
- Sugar: 15g
- Sodium: 80mg
- Fat: 6g
- Saturated Fat: 4g
- Unsaturated Fat: 2g
- Trans Fat: 0g
- Carbohydrates: 22g
- Fiber: 1g
- Protein: 2g
- Cholesterol: 25mg