
Okay, let’s talk real talk. If you’ve ever tried to make classic cut-out sugar cookies without butter or eggs, you know the drill. They either puff up into sad little domes that lose their shape, or they turn out tasting like cardboard when you bake them long enough to stay flat. It’s frustrating, right? That’s where Kitchen Slang steps in. We translate the chef’s secret—the ratio of fat to flour that prevents spread—into something you can nail at home. Trust me, this recipe for vegan sugar cookies is the blueprint you need when you want perfect, sturdy shapes ready for that royal icing. We’re skipping the intimidation factor and delivering guaranteed results.
- Why These are the Best Vegan Sugar Cookies for Cutting and Decorating
- Essential Ingredients for Sturdy Vegan Cut Out Cookies Recipe
- How to Prepare Your Eggless Sugar Cookie Recipe
- Tips for Perfect Vegan Sugar Cookies for Decorating
- Serving Suggestions for Dairy Free Holiday Cookies
- Storage and Reheating Instructions for Buttery Vegan Sugar Cookies
- Troubleshooting Common Issues with Easy Vegan Cookie Recipes
- Frequently Asked Questions About Vegan Sugar Cookies
- Estimated Nutritional Data for This Simple Vegan Dessert Idea
- Estimated Nutritional Data for This Simple Vegan Dessert Idea
Why These are the Best Vegan Sugar Cookies for Cutting and Decorating
The real challenge with vegan sugar cookies isn’t the flavor—it’s the structure. Too much liquid or the wrong type of fat, and poof! Your perfectly cut reindeer spreads out into a blurry blob while baking. That’s why we focused intensely on the fat ratio here. We use a high percentage of quality vegan butter. If you use one of those tub margarines, you’re going to get spread, period. You need that block-style butter; it mimics dairy fat structure best and gives you those wonderfully buttery vegan sugar cookies you crave.
This recipe is engineered to be one of those plant based cookie recipes that hold shape beautifully when chilled. We’ve taken the core principles of stability used in professional kitchens and applied them here. It’s not complicated, it’s just knowing the rules of vegan baking chemistry. This is how you get cookies that are decorated masterpieces but still taste amazing when you bite into them.
Achieving That Perfect Texture: Soft Middle, Crisp Edge
Getting that coveted texture—crisp on the edge, but super tender right in the middle—is all about timing and temperature control. We aren’t aiming for a rock-hard cracker, nope. The magic word is chilling. When the dough is deeply chilled, those fat molecules seize up. When the cold dough hits the hot oven, the exterior sets up really fast, locking in the shape. But because we aren’t over-baking them, the center stays soft and chewy. That’s why you’ll see me pull these vegan sugar cookies out when the edges are only *just* kissing golden brown. Don’t be scared to pull them early; residual heat does the rest of the work.
If you want more tips on making things buttery and light, check out my secrets for whipped shortbread. It’s the same idea!
Essential Ingredients for Sturdy Vegan Cut Out Cookies Recipe
Alright, time to talk supply list. When you’re aiming for a cookie that acts like a professional canvas—meaning it stays put when you cut it—the ingredients matter way more than you think. You cannot skimp here; this is where we translate basic pantry items into structural success. We need balance! Remember, in the baking world, every single item has a job to do. If you swap out the wrong thing, the whole structure wobbles. Pay close attention to the butter and the milk specs below; that’s the stuff the pros watch for. If you’re planning on decorating these later, you might want to peek at my notes on getting your icing just right.
- 1 cup vegan butter, softened (Must be softened, not melted!
- 1 cup granulated sugar
- 2 teaspoons vanilla extract
- 1 teaspoon almond extract
- 1/4 cup unsweetened plant milk (Soy or oat is best, seriously)
- 3 1/2 cups all-purpose flour, plus more for dusting
- 1 teaspoon baking powder
- 1/2 teaspoon salt
Ingredient Notes and Substitutions
Let’s dive into the specifics so you don’t run into trouble. First up, the butter: use block butter, not the soft spreadable stuff. If it comes in a tub, it’s too wet for this job! For the extracts, vanilla is non-negotiable, but I sneak in almond extract because it really makes the ‘sugar cookie’ flavor pop—it gives that bakery feel. If you can’t do almond, just bump up the vanilla to 3 teaspoons total; it’ll still be yummy.
When it comes to plant milk, I insist on unsweetened oat or soy milk. These tend to have a neutral flavor and a decent fat content compared to, say, almond milk, which can be too watery and throw off our structure. If you use a really rich, high-fat milk like Ripple, you might only need 3 tablespoons instead of the full 1/4 cup. Taste and texture are always the final arbiters!
How to Prepare Your Eggless Sugar Cookie Recipe
Okay, let’s get this dough mixed! Getting this part right is 90% of the battle, especially since we aren’t working with traditional eggs to bind everything. We need to mimic that binding and aeration using our technique. You’re going to start by creaming the vegan butter and sugar until it looks fluffy—I mean really light and pale. That fluffiness is key; those are air pockets that will give structure later on, so don’t rush that first step! Once the extracts and plant milk go in, just mix until they disappear. Then, we tackle the dry stuff. We add the flour mixture gradually, and this is vital: mix it on low until *just* combined. If you overmix vegan dough, you develop too much protein structure and you end up with tough, chewy cookies that don’t cut cleanly. Stop when you still see a few flour streaks left, seriously.
After it forms a soft dough, we divide it. You’ll wrap those disks up tight—no air gets in! Then, they go straight into the cold environment. If you’re making these ahead, this is where you stop. If you’re baking today, don’t even think about skipping the long chill. These babies need time to firm up before they meet the hot oven. If you need a really quick make-ahead tip for jams or sauces while you wait, check out my guide for no-cook freezer jam.
The Crucial Step: Chilling Dough for Vegan Sugar Cookies
Listen up, because this is the non-negotiable step for getting those sharp edges on your vegan sugar cookies. Vegan fats, even the good block kind, soften faster than dairy butter. If you roll warm dough, it spreads like you poured liquid on hot pavement. Chilling solidifies those vegan fats, making the dough sturdy enough to handle the roller and cutters without losing its crisp lines. We need at least an hour, but honestly, two hours is better if you have the patience!
How do you know when it’s chilled enough? You press your knuckle gently onto the side of the chilled disk. It should feel firm and resist slightly, but it shouldn’t feel rock hard where you can’t make an indentation at all—rock hard means it’s too cold and might crack when you try to roll it out. If you find it getting sticky while you’re cutting shapes, just slide the whole mat of rolled dough onto a cookie sheet and pop it back in the fridge for 10 minutes. That little break keeps everything sharp.
Baking Times for Soft Vegan Sugar Cookies
Time to bake! Preheat that oven to 350°F (175°C) and use parchment paper on your sheets—always. Don’t try to bake these directly on a greased pan; it encourages spreading at the bottom. You want to aim for the 8 to 10-minute window for these vegan sugar cookies.
Here’s the translation for texture: If you bake them for the full 10 minutes, they will be crisp all the way through, which is fine, but not that soft bakery bite we want. For the true crisp edge/soft middle combo, watch carefully. Pull them out right when you see the very edge of the cookie start to show the faintest hint of light gold. They will look slightly underdone in the center, and that’s exactly the goal! Don’t panic! They finish cooking on that hot cookie sheet for about five minutes after they leave the oven, setting up that perfect internal softness.
Tips for Perfect Vegan Sugar Cookies for Decorating
So, you’ve got your perfectly chilled dough, and now it’s time to roll it out. This measurement is where a lot of home bakers lose the clean edge they worked so hard to achieve in the fridge. For cookies that are sturdy enough to be hauled to a party or iced heavily, you need a consistent thickness. I aim for 1/4 inch, no thinner, no thicker. Anything thinner risks snapping, and anything thicker puffs up too much in the center, creating a dome effect that messes up your icing job.
My pro tip for rolling is to cut the dough disk in half and only roll out one half at a time. Keep the other half tucked back into the fridge. Rolling out the whole batch at once guarantees the first half gets warm and floppy while you’re finishing the last few shapes. If you see that dough softening up mid-roll, stop immediately. Dust your surface and your rolling pin lightly with extra flour, or even better, slide the whole sheet you’re working on underneath the plastic wrap and roll that way. This keeps the fat locked in and prevents the dough from absorbing dry flour, which can make the final cookie taste dull.
Once you cut your shapes, move them to the baking sheet as quickly as possible. If you’re cutting a ton of shapes and the scraps are getting warm, just gather them, mush them back into a disk, and pop that back in the freezer for about 15 minutes before rerolling. This quick freeze resets the fat structure, and trust me, it’s the difference between a perfect star and a spread-out lemon shape on your tray. When you’re ready for the next stage, make sure your icing is ready to go because once these vegan sugar cookies cool completely, they want to be decorated!
If you need the master class on how to make an icing that sets up hard enough to stack without cracking, you’ve got to check out my guide to the perfect sugar cookie icing recipe. Mastering the cookie is only half the battle!
Serving Suggestions for Dairy Free Holiday Cookies
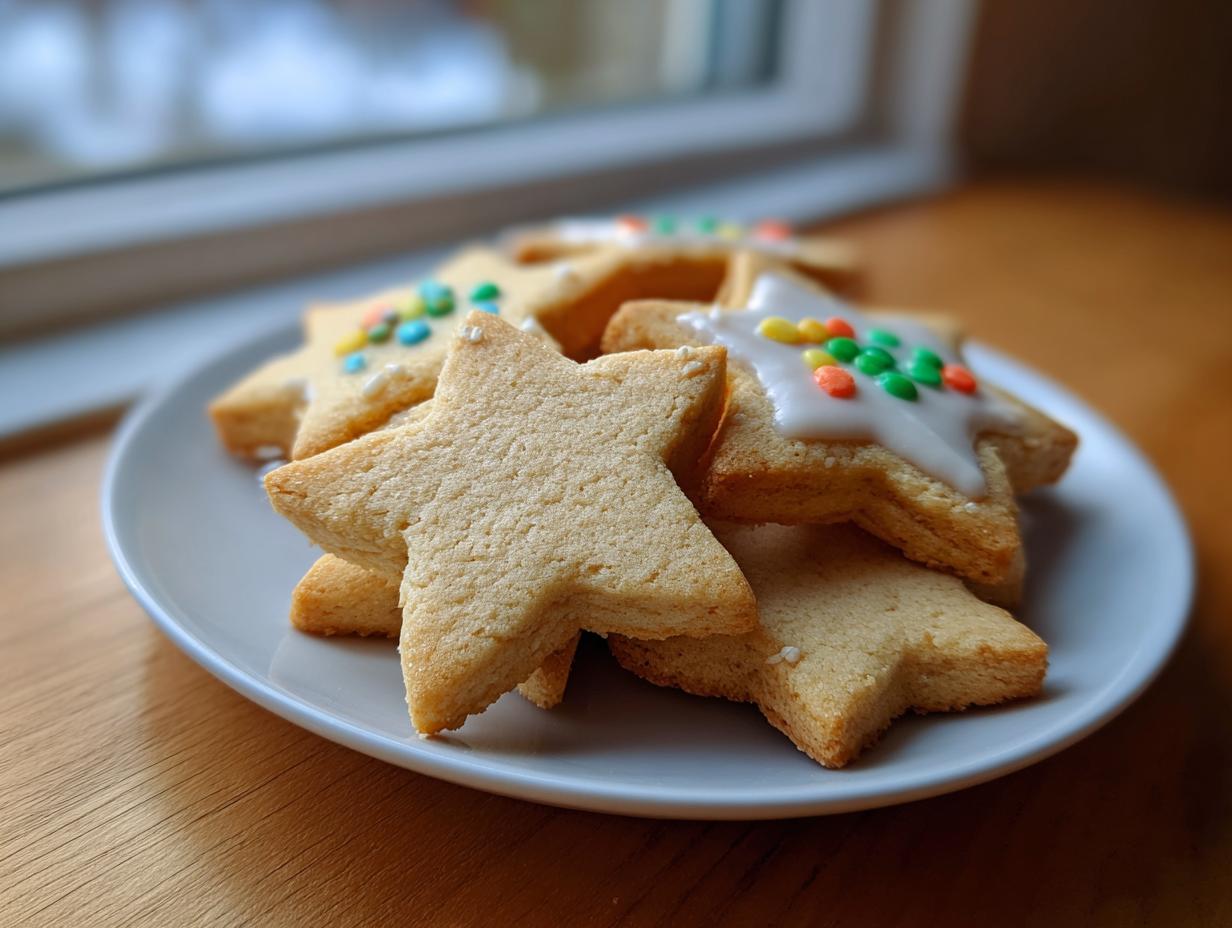
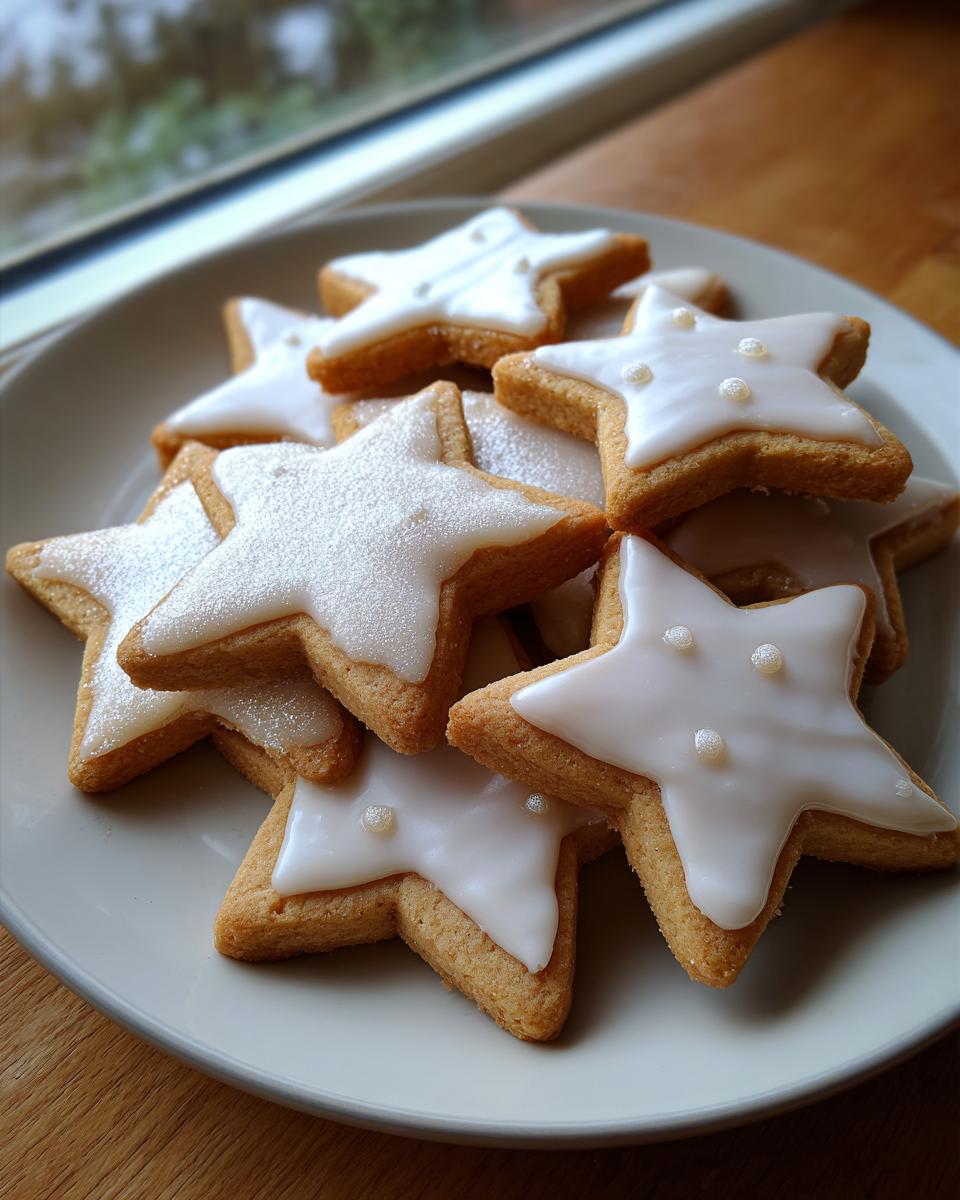
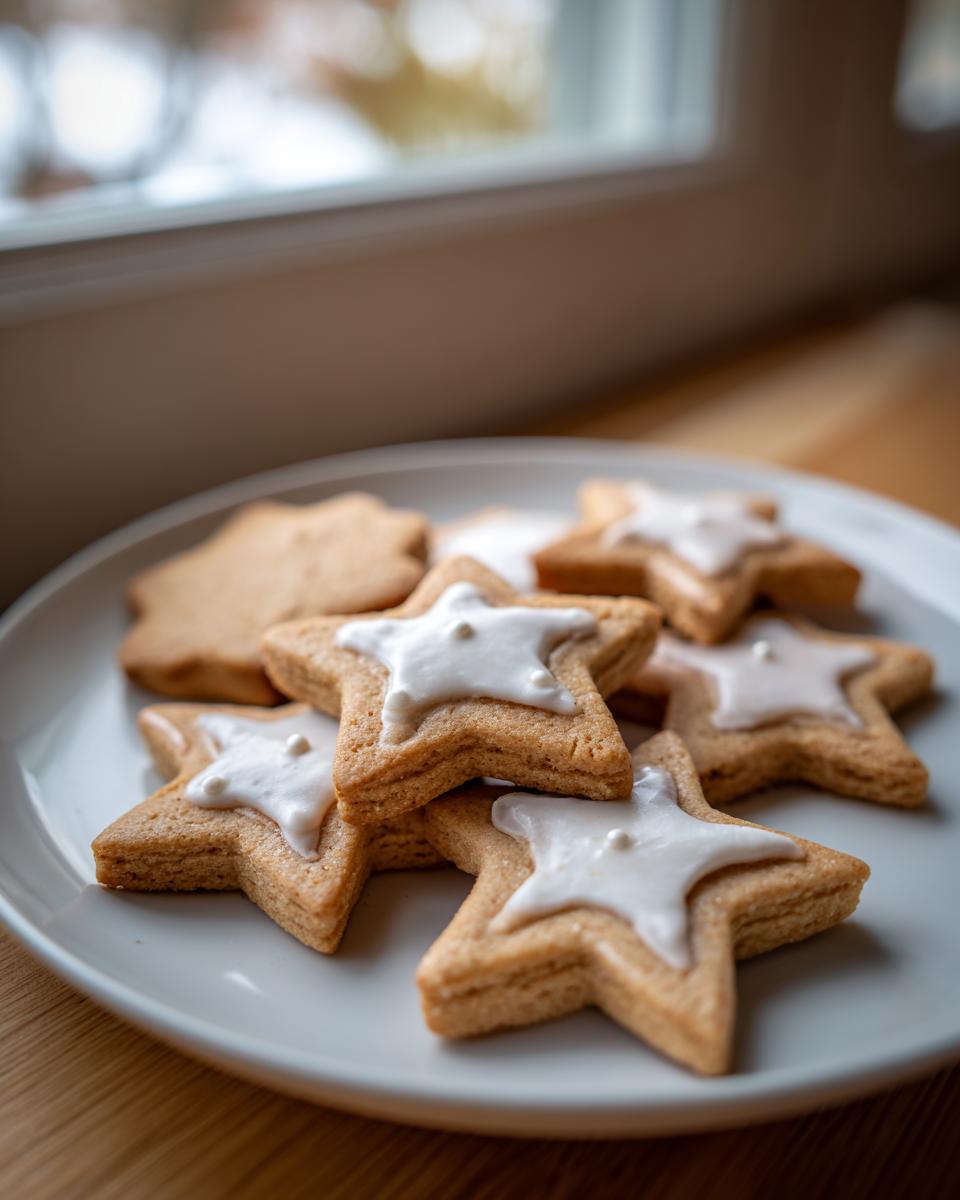
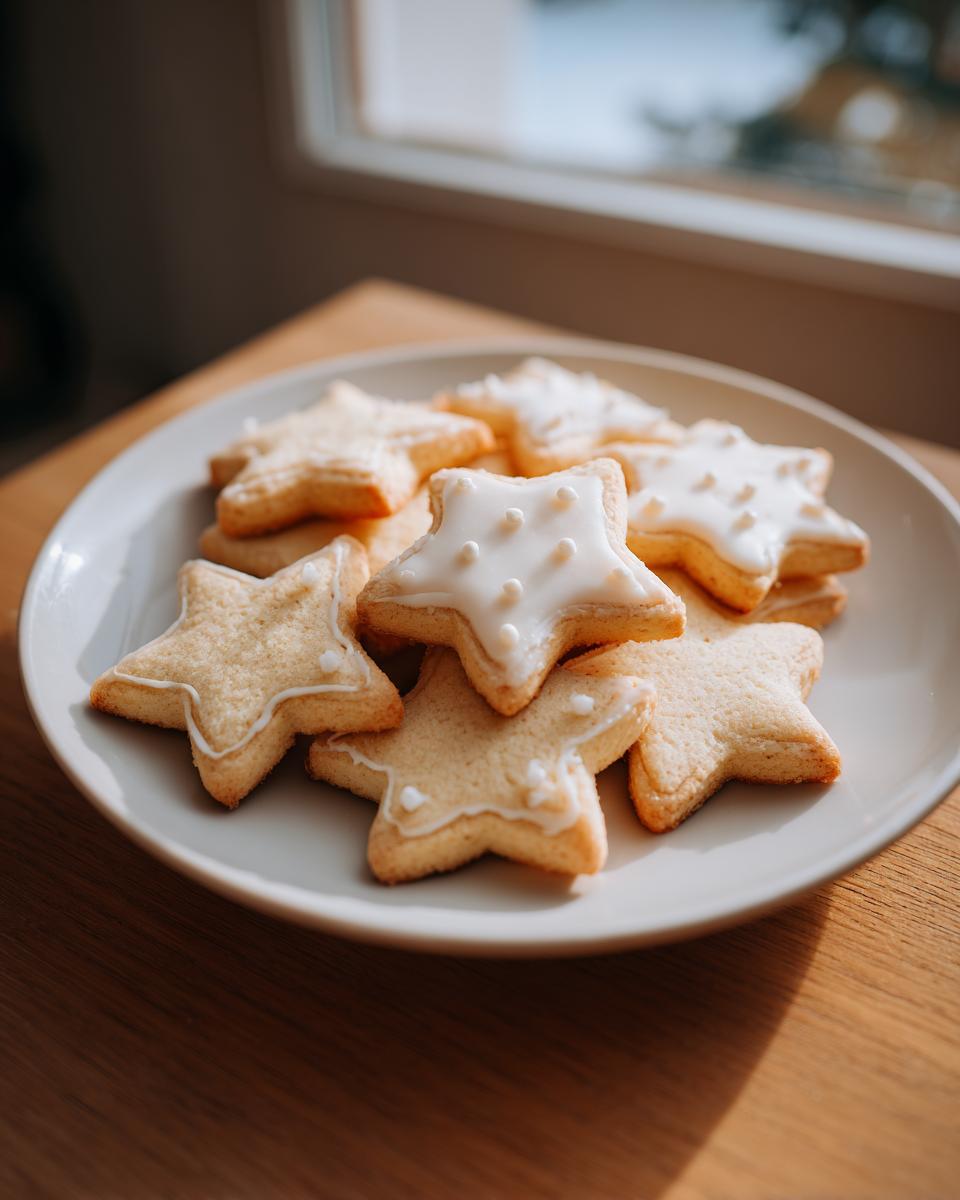
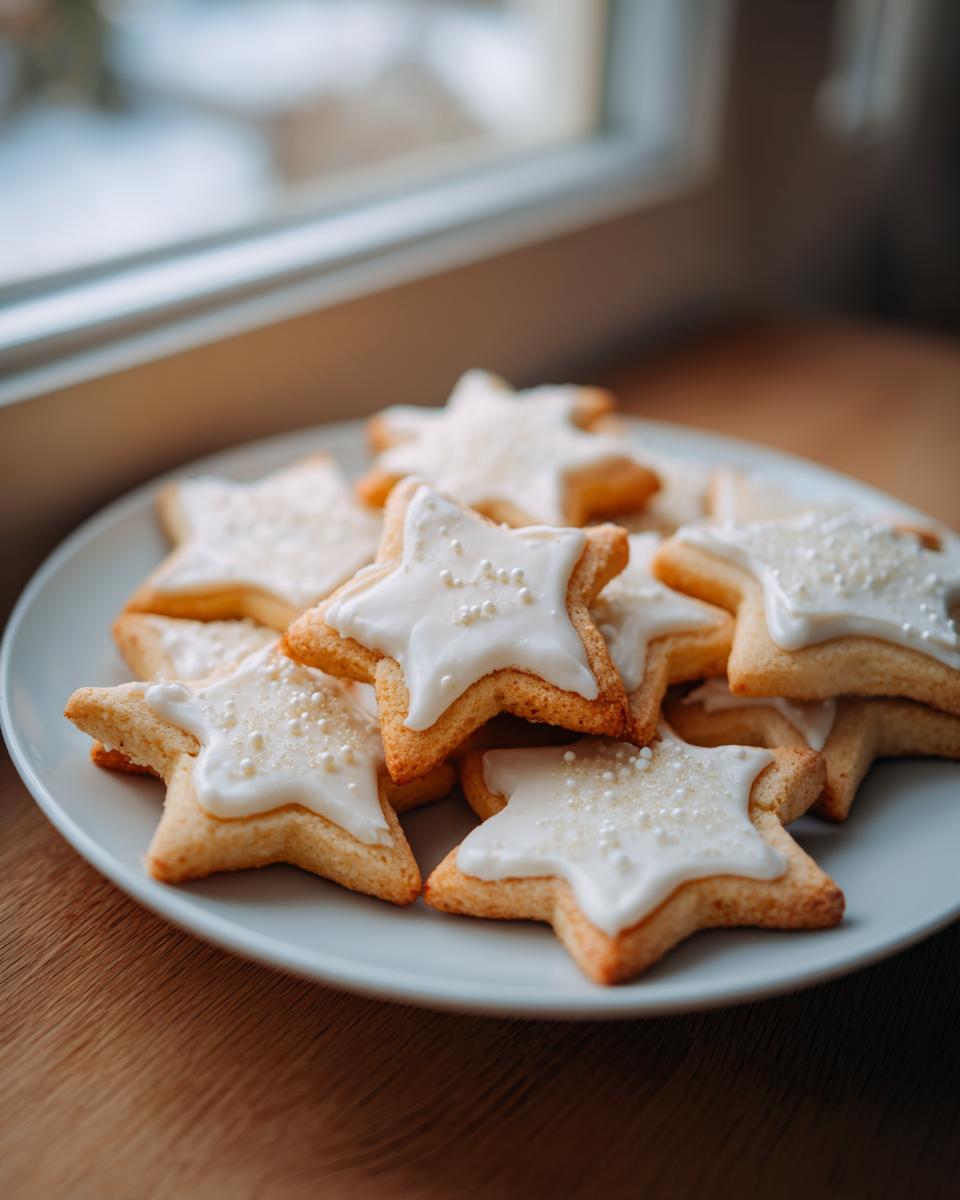
So, your vegan sugar cookies are perfectly baked and decorated—now what? Presentation matters, especially when they are meant to be festive dairy free holiday cookies. Since these are sturdy and handle beautiful icing, I love serving them stacked high on a simple white platter. They look gorgeous against the simple backdrop.
As for pairing, these cookies are rich enough to stand up to a great drink. Skip the overly sweet stuff. They are absolutely wonderful dipped into a mug of strong coffee or creamy Earl Grey tea. If you’re serving a crowd, you know I preach keeping the drinks simple but wonderful. My go-to cozy pairing is a rich, creamy hot chocolate—check out my recipe for creamy white hot chocolate if you want something truly special for your holiday spread. It makes these buttery treats shine!
Storage and Reheating Instructions for Buttery Vegan Sugar Cookies
Okay, you’ve done the hard work: the creaming, the chilling, the cutting, and the decorating. Now we need to make sure these beauties actually stay great until serving time. The good news about these buttery vegan sugar cookies is that since they are sturdy and use vegan butter (which holds up well), they store beautifully. The way you store them depends entirely on whether you’ve iced them yet.
If they are undecorated—just plain cut-outs—you have way more freedom. Store them stacked, with a piece of parchment paper between each layer, in an airtight container at room temperature. They’re good like this for almost a week. That’s the secret to getting a massive batch done ahead of time for holiday baking!
If you have already gone all out with the royal icing, you need to be a little more careful. Let that icing harden completely—and I mean rock solid—usually for a full 12 to 24 hours, depending on humidity. Once hard, stack them very gently, ensuring the icing has nothing to press against. Thin sheets of wax paper between the layers work better than parchment here because wax paper is less likely to stick to the dried sugar.
For long-term storage, these freeze like a dream, addressing that ‘make-ahead’ intent perfectly. You can freeze them either way. If they are decorated, stack them carefully with parchment, wrap the whole stack tightly in plastic wrap, then slide that into a freezer bag. They’ll taste fresh for up to three months. If you need to refresh them after thawing, just leave them out on the counter for an hour. If you’re ever using your freezer for fruit preserves instead of cookies, you should check out my notes on making no-cook freezer jam—you might find a new favorite way to use that space!
Troubleshooting Common Issues with Easy Vegan Cookie Recipes
Look, even when you follow the translation perfectly, sometimes things go sideways. That’s normal! The difference between what a chef calls a ‘mistake’ and what a home baker calls a ‘tragedy’ is usually just knowing the quick fix. When you’re dealing with easy vegan cookie recipes where the fats behave differently than dairy, you need to know what I call the ‘line cook reset.’ Don’t throw that dough out! Most issues stem from temperature or measurement, and we can fix both.
The Cookie Spread Disaster: If your beautiful shapes turned into flat puddles, I’m betting one of two things happened. Either your vegan butter was too warm when you started creaming, or you didn’t chill the dough long enough (or at all). If they spread in the oven, pull them out immediately when the edges are just starting to brown. If they are still too soft to move, slide the entire baking sheet straight into the freezer for five minutes. A quick chill can sometimes save the shape before they bake all the way through. If you suspect your ratio was off, you can try adding just one more tablespoon of flour to the remaining dough; mix until it *just* comes together.
The Crumbly Dough Nightmare: On the flip side, if your dough felt like dry sand and wouldn’t hold together when you tried to press it into a disk, that means you didn’t have enough moisture binding the structure. This usually happens if your plant milk measurement was slightly off, or if your flour was too absorbent that day. Don’t add a whole splash of milk, though! That will ruin the structure for cutting. Instead, take about a quarter of the dough—just a small piece—and put it in a separate bowl. Add half a teaspoon of plant milk to that small piece, knead it gently until it binds, and then use that slightly softer dough to work the rest of the large batch back together. A little bit of extra moisture worked in gently fixes the structural issue without turning the entire batch into a sticky mess.
Frequently Asked Questions About Vegan Sugar Cookies
I know you probably have a notebook full of questions when you dive into a new recipe, especially one that relies on structure, like these vegan sugar cookies. Baking plant-based is great, but mastering the technique takes a little translation work. That’s why I pulled together the common queries that pop up right before people dive into the creaming step. Ask away, I’ve got the answers!
Can I skip chilling the dough?
Oh, I wish I could tell you yes, but for cut-outs, you absolutely cannot skip chilling if you want success. If you try to make these easy vegan cookie recipes without chilling, the vegan butter won’t be firm enough. The heat from the rolling pin and your hands softens it up instantly. You’ll end up pushing flour into the dough and getting spread in the oven. If you need a fix right now, try freezing the dough disks for 20 minutes instead of chilling for an hour. It’s not ideal, but freezing buys you time against spread!
Can I use oil instead of vegan butter?
This is a classic question, and the short answer is no, not if you want them to hold their shape. Oil is liquid fat, and we need solid fat that melts *in the oven*, not on the counter. Oil will make these instantly spread too thin. If you are trying to make a drop-style cookie that’s soft vegan sugar cookies, you *might* get away with a mix of oil and shortening, but for anything you plan to cut, you need that block of vegan butter. This is the secret to the buttery vegan sugar cookies flavor without the dairy.
How long do these hold up? (Good for making ahead!)
These are fantastic for making ahead, which makes them perfect dairy free holiday cookies! Undecorated, they stay fresh in an airtight container at room temperature for about seven days. If you want an even longer lead time, they freeze beautifully—unbaked or baked. This is the ultimate plant-based solution for prepping for parties months in advance. If you need other simple vegan dessert ideas that are great for stocking the freezer, you should check out my tips on what else freezes well over on my guide to easy freezer breakfasts; sometimes we need make-ahead ideas for more than just dessert!
Can I use a gluten-free flour blend for these vegan cut out cookies recipe?
This is where technique turns into troubleshooting fast. Gluten-free flour blends behave differently because they lack the natural elasticity that wheat gluten provides. For a vegan cut out cookies recipe, you must use a blend that DOES contain xanthan gum, or you need to add it yourself (usually about 1 teaspoon per 3 cups of flour blend). Without that binder, your dough will crumble when you try to roll it, or it will look fine but fall apart when you try to move the raw shapes to the sheet pan. A good GF blend is key to mimicking the structure we rely on here!
Estimated Nutritional Data for This Simple Vegan Dessert Idea
Since we’re talking real food here, I always like to give you a general idea of what’s in the final product, although remember, exact numbers move around depending on the brand of vegan butter you use. These estimates are based on using standard measurements and result in about 24 cookies. This section should give you a helpful baseline for your meal planning, even if you’re just sneaking a cookie after dinner!
- Serving Size: 1 cookie
- Calories: 160
- Sugar: 14g
- Fat: 8g
- Protein: 2g
- Cholesterol: 0mg
It’s worth noting that the fat content (8g) is the secret sauce that makes these buttery vegan sugar cookies work so well structurally, so don’t skip the full-fat vegan butter!
Estimated Nutritional Data for This Simple Vegan Dessert Idea
Since we’re talking real food here, I always like to give you a general idea of what’s in the final product, although remember, exact numbers move around depending on the brand of vegan butter you use. These estimates are based on using standard measurements and result in about 24 cookies. This section should give you a helpful baseline for your meal planning, even if you’re just sneaking a cookie after dinner!
- Serving Size: 1 cookie
- Calories: 160
- Sugar: 14g
- Fat: 8g
- Protein: 2g
- Cholesterol: 0mg
It’s worth noting that the fat content (8g) is the secret sauce that makes these **buttery vegan sugar cookies** work so well structurally, so don’t skip the full-fat vegan butter! If you were making the drop-style version, those numbers would change slightly, but for our sturdy cut-outs, this is what you can expect.
PrintBest Vegan Sugar Cookies That Hold Their Shape

This recipe gives you the ultimate vegan sugar cookies. They are buttery, tender, and hold their shape perfectly for cutting and decorating, making them ideal for holidays or parties.
- Prep Time: 20 min
- Cook Time: 10 min
- Total Time: 80 min
- Yield: 2 dozen 1x
- Category: Dessert
- Method: Baking
- Cuisine: American
- Diet: Vegan
Ingredients
- 1 cup vegan butter, softened
- 1 cup granulated sugar
- 2 teaspoons vanilla extract
- 1 teaspoon almond extract
- 1/4 cup unsweetened plant milk (like soy or oat)
- 3 1/2 cups all-purpose flour, plus more for dusting
- 1 teaspoon baking powder
- 1/2 teaspoon salt
Instructions
- In a large bowl, cream together the softened vegan butter and granulated sugar until the mixture is light and fluffy. This is your base flavor builder.
- Beat in the vanilla extract, almond extract, and plant milk until just combined.
- In a separate bowl, whisk together the flour, baking powder, and salt. This step ensures even leavening.
- Gradually add the dry ingredients to the wet ingredients, mixing on low speed until a soft dough forms. Do not overmix; stop when the flour disappears.
- Divide the dough in half, flatten each half into a disk, wrap tightly, and chill in the refrigerator for at least 1 hour. Chilling is key for cut-out cookies that hold their shape.
- Preheat your oven to 350°F (175°C). Line baking sheets with parchment paper.
- On a lightly floured surface, roll out one disk of dough to about 1/4-inch thickness. Use your favorite cookie cutters to cut shapes.
- Transfer the cut-outs to the prepared baking sheets. If the dough softens too much while cutting, return the shapes to the fridge briefly.
- Bake for 8 to 10 minutes. For cookies that hold their shape and have slightly crisp edges, bake until the edges are just beginning to turn light golden brown.
- Let the cookies cool on the baking sheet for 5 minutes before moving them to a wire rack to cool completely. Decorate once fully cool.
Notes
- For decorating, use a simple vegan royal icing or a thick vegan buttercream. These cookies are sturdy enough for detailed work.
- If you prefer a softer, chewier cookie (Lofthouse style), reduce the flour by 1/4 cup and bake for only 7 minutes.
- If you are making drop-style vegan sugar cookies, skip the chilling and bake immediately for about 10 minutes.
Nutrition
- Serving Size: 1 cookie
- Calories: 160
- Sugar: 14g
- Sodium: 110mg
- Fat: 8g
- Saturated Fat: 2g
- Unsaturated Fat: 6g
- Trans Fat: 0g
- Carbohydrates: 21g
- Fiber: 0g
- Protein: 2g
- Cholesterol: 0mg