
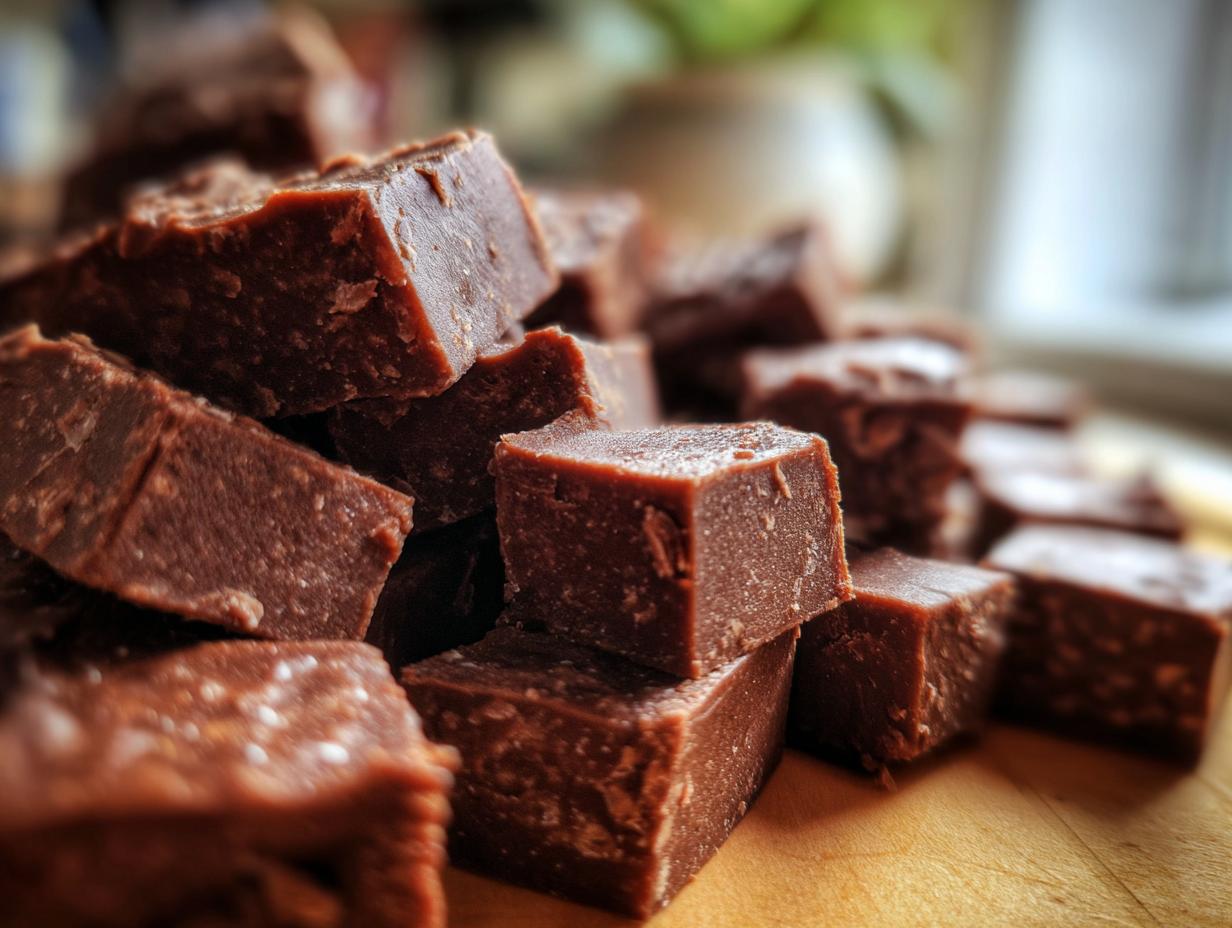
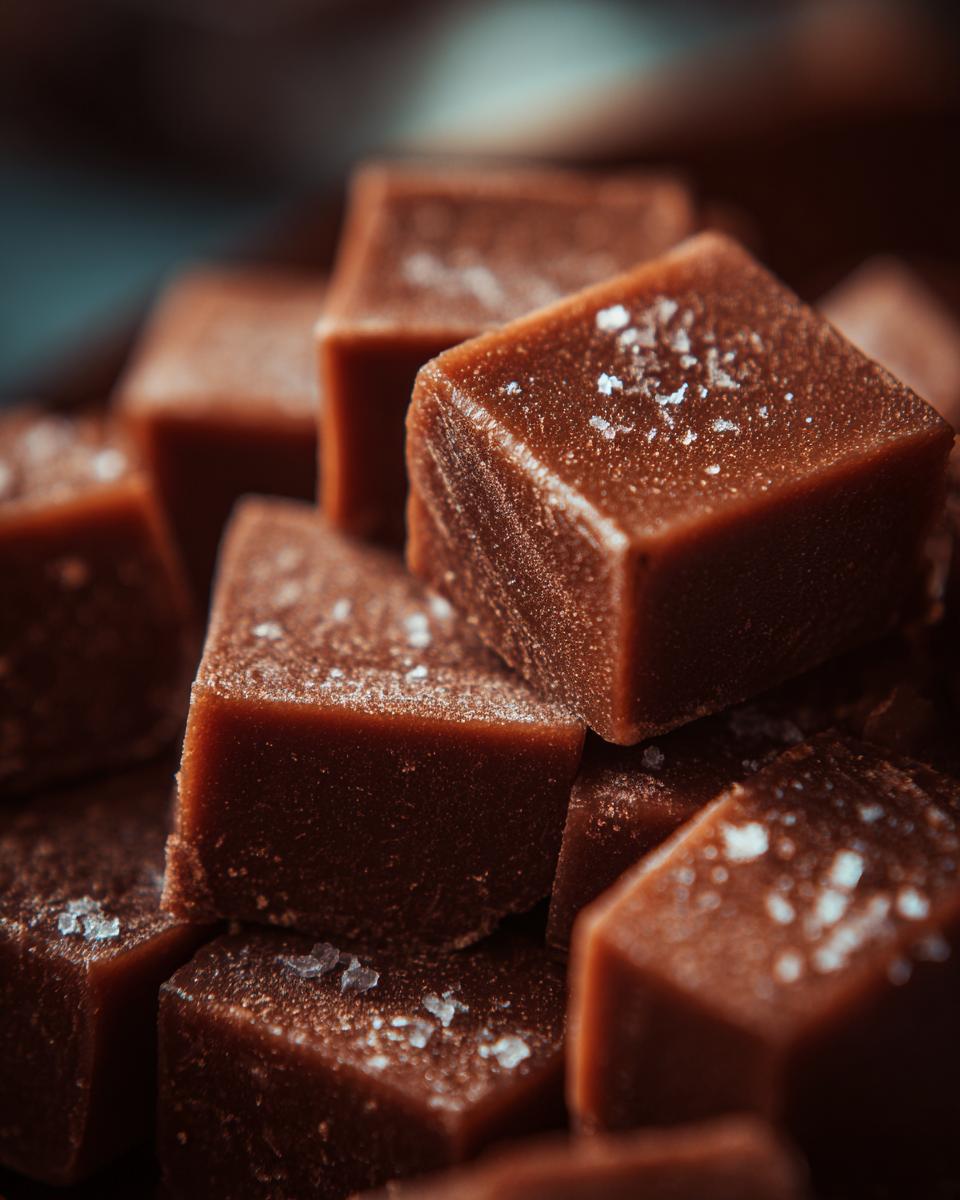
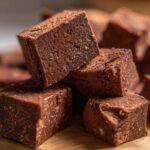
Oh, National Chocolate Day, my favorite kind of holiday! If you’re anything like me, that means it’s time to dive headfirst into everything chocolate, and what’s more classic than a batch of perfect, old-fashioned chocolate fudge? Forget those store-bought squares that taste like disappointment. We’re talking rich, melt-in-your-mouth fudge made right in your own kitchen, and trust me, it’s way easier than you think. Here at Kitchen Slang, we’re all about breaking down those chef secrets into language you can actually use. Ready to make the best chocolate fudge ever?
- Why You'll Love This Old-Fashioned Chocolate Fudge
- Ingredients for Perfect Chocolate Fudge
- Equipment Needed for Your Chocolate Fudge
- Step-by-Step Guide to Making Chocolate Fudge
- Tips for No-Fail Chocolate Fudge
- Ingredient Substitutions for Chocolate Fudge
- Serving and Storing Your Homemade Chocolate Fudge
- Frequently Asked Questions About Chocolate Fudge
- Estimated Nutritional Information for Chocolate Fudge
- Share Your Chocolate Fudge Creations!
Why You’ll Love This Old-Fashioned Chocolate Fudge
Seriously, this chocolate fudge recipe is a game-changer! You’ll love it because:
- It’s super easy to whip up – honestly, minimal fuss!
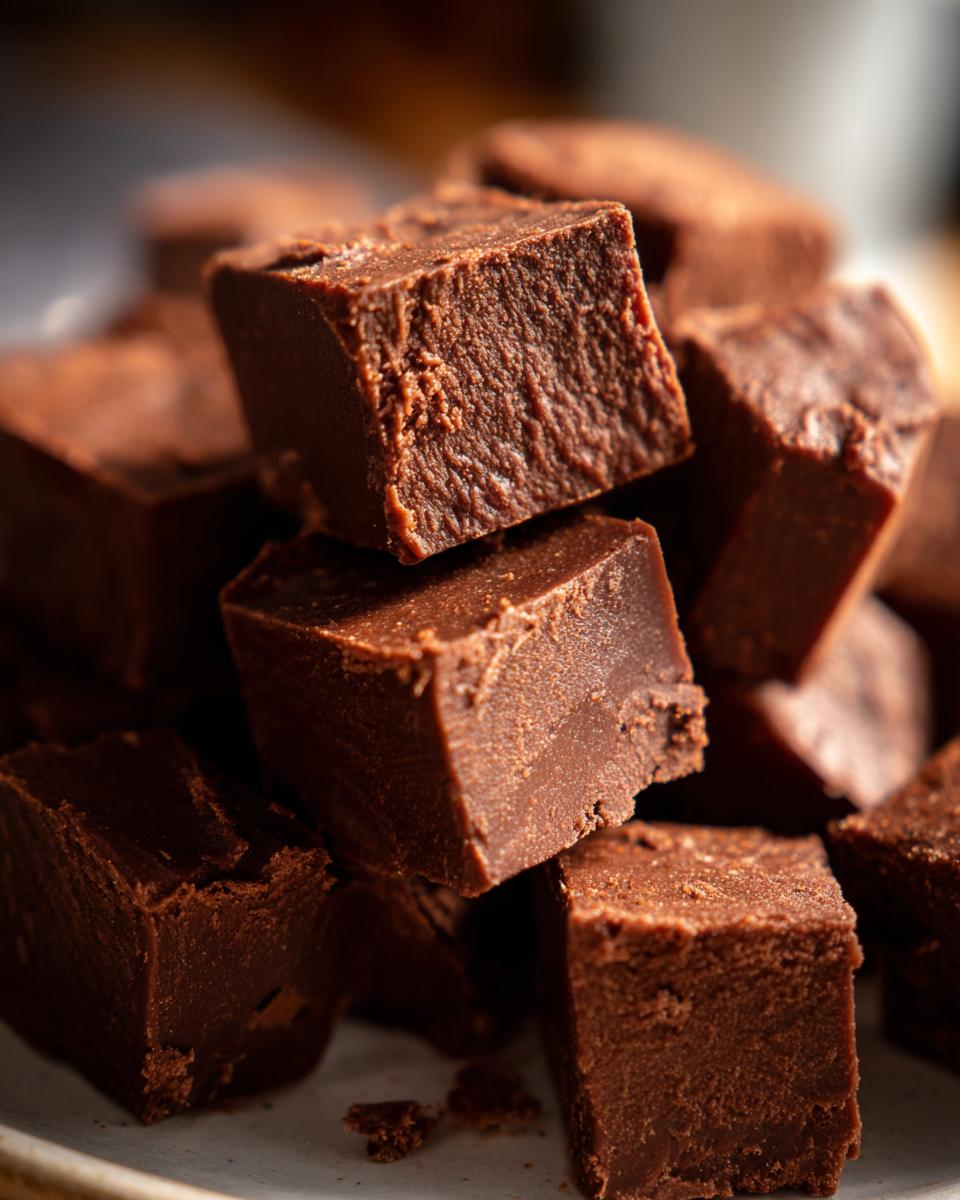
- The texture is out-of-this-world creamy with just that tiny bit of classic fudge grain.
- It tastes like pure, rich chocolate bliss.
- It’s perfect for holiday fudge gifts or just treating yourself (because you deserve it!).
- Makes old-fashioned fudge candy that tastes like the good old days.
Ingredients for Perfect Chocolate Fudge
Alright, let’s talk about what makes this chocolate fudge recipe so darn good. It’s all about quality ingredients, and thankfully, we don’t need anything too fancy. For this recipe, you’ll need:
2 cups granulated sugar: This is the backbone of our fudge, giving it that sweetness and structure. Make sure it’s regular granulated sugar, not powdered!
1/2 cup unsalted butter: Using unsalted lets you control the saltiness, and butter brings that rich, creamy flavor and smooth texture. Let it come to room temperature so it mixes in easily.
1 cup milk: Whole milk is best here for extra richness, but 2% will work in a pinch. This is what helps dissolve the sugar and create that classic fudge consistency.
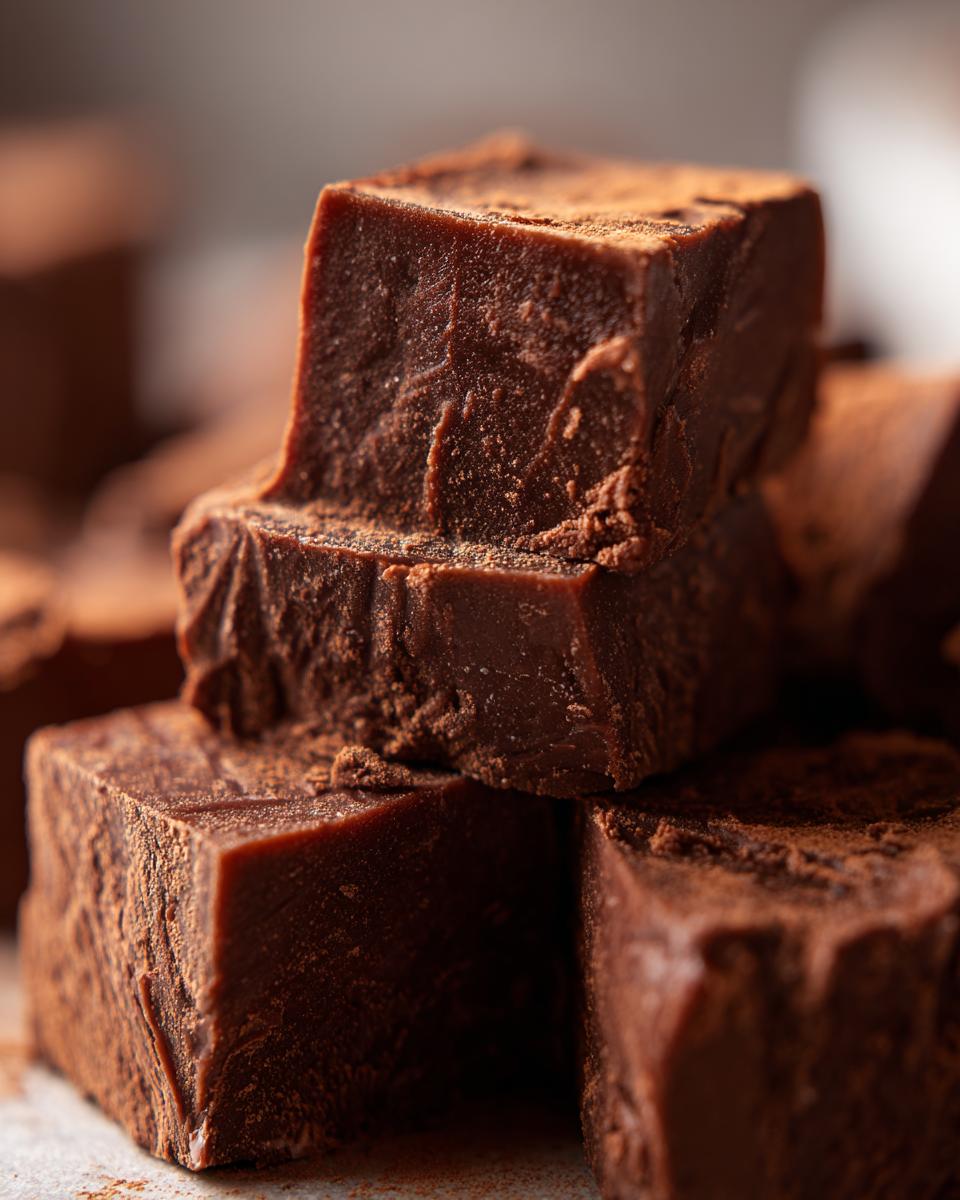
1/3 cup unsweetened cocoa powder: This is where our deep chocolate flavor comes from! Use a good quality unsweetened cocoa powder – it makes a world of difference compared to sweetened versions.
1 teaspoon vanilla extract: A little splash of vanilla really wakes up the chocolate flavor and adds that little something extra. Use pure vanilla extract if you can!
Equipment Needed for Your Chocolate Fudge
Honestly, you probably have most of this stuff already! For this delicious chocolate fudge, you’ll just need a good, heavy-bottomed saucepan so your sugar doesn’t scorch. An 8×8 inch baking pan is perfect for getting those nice, thick squares. And a trusty candy thermometer will be your best friend for making sure you hit that perfect soft-ball stage. Oh, and a sturdy spoon or an electric mixer for the beating part later!
Step-by-Step Guide to Making Chocolate Fudge
Alright, let’s get this delicious chocolate fudge made! Don’t worry, it’s way more straightforward than you might think. Just follow these steps carefully, and you’ll be wowing everyone with your homemade candy. Remember how we talked about translating chef secrets? This is one of those moments where a simple technique makes all the difference.
Preparing Your Pan for Chocolate Fudge
First things first, let’s get your pan ready. Grab an 8×8 inch baking pan and give it a good greasing. I like to use a little bit of butter or cooking spray to make sure the fudge slides right out later. This stops any frustrating sticking, just like making sure your dumpling sauce doesn’t stick to the pan!
Combining Ingredients for the Chocolate Fudge Base
Now, take your nice, heavy-bottomed saucepan. Toss in the sugar, butter, and milk. Place it over medium heat and stir everything gently until the butter all melts and the sugar looks like it’s completely dissolved. We don’t want any gritty sugar bits in our fudge!
Reaching the Soft-Ball Stage for Fudge
Okay, this part is super important for that perfect fudge texture. Bring that sugary mixture to a rolling boil. Keep it boiling, stirring now and then, until it hits exactly 238°F (114°C) on your candy thermometer. This is what we call the “soft-ball stage.” If you don’t have a thermometer, no worries! Drop a tiny bit into a glass of ice-cold water. If it forms a soft, pliable ball that you can squish with your fingers, you’ve nailed it! This usually takes about 10-15 minutes of boiling. Getting this temperature just right is key to controlling how your fudge sets up.
Adding Cocoa and Vanilla to Your Chocolate Fudge
Once you’ve hit that magic soft-ball temperature, carefully take the saucepan *off* the heat. Now, stir in your unsweetened cocoa powder and that teaspoon of pure vanilla extract. Give it a good mix until it’s all smooth and chocolatey.
The Crucial Cooling and Beating Process for Fudge Texture
This is where the magic really happens for that creamy, slightly grainy texture everyone loves in old-fashioned fudge candy. Let the mixture cool down, completely undisturbed, until it reaches about 110°F (43°C). Then, get ready to beat it! Grab a sturdy wooden spoon or an electric mixer and go at it. You need to beat it vigorously until it starts to thicken up and loses that shiny look. It’ll look like it’s sort of crystallizing – that’s exactly what we want! Fast and furious is the name of the game here. This beating phase helps create tiny sugar crystals, which gives fudge its signature texture instead of being one solid, hard brick.
Spreading and Setting Your Chocolate Fudge
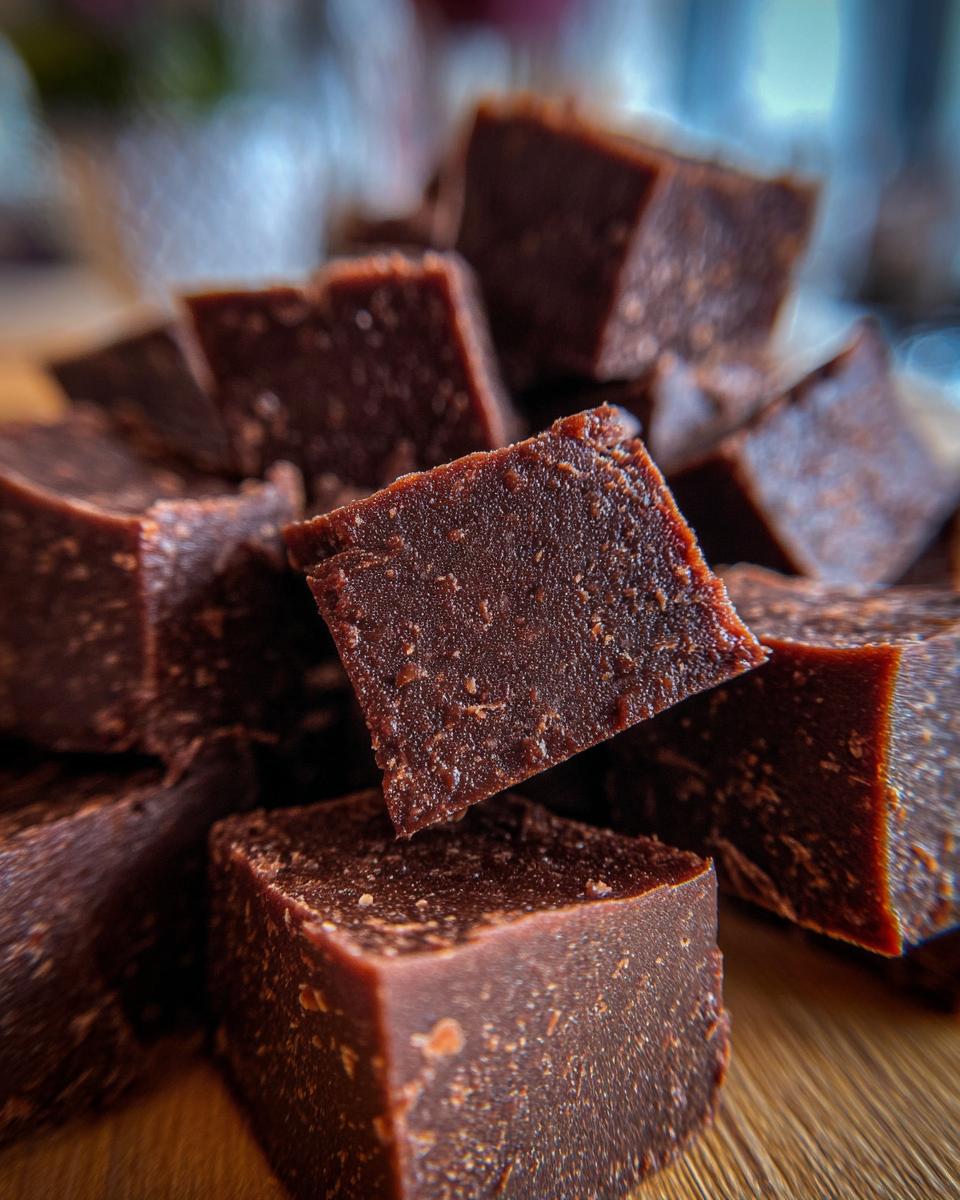
As soon as it’s thickened and lost its gloss, quickly spread the fudge into your greased pan. You want to work fast before it sets up too much! Let it cool completely at room temperature. Seriously, resist the urge to poke it! Once it’s totally solid, then you can cut it into perfect little squares.
Tips for No-Fail Chocolate Fudge
Making amazing chocolate fudge really is doable, and a few little tricks can make all the difference. Trust me, I’ve learned a thing or two over the years! These tips will help you avoid common hiccups and nail that perfect, melt-in-your-mouth texture every single time. It’s all about precision, just like whipping up some easy weeknight dinners!
Understanding the Candy Thermometer for Fudge
A good candy thermometer is your absolute best friend here. It takes the guesswork out of hitting that crucial soft-ball stage. Clip it to the side of your pan so the tip is submerged in the mixture, but not touching the bottom. Keep an eye on it as it heats up, and make sure you remove it from the heat *promptly* once it reaches 238°F (114°C).
The Art of Beating Your Chocolate Fudge
That beating part after cooling? It’s not just ‘stirring’; it’s *beating*! You want to agitate the sugars and liquids enough to encourage tiny crystal formation, which gives fudgy its signature creamy yet slightly granular feel. When it starts to lose its shine and thicken, you’re on the right track. It should look a little dull and spreadable, not pourable anymore. That’s the sign of perfectly tempered fudge!
Ingredient Substitutions for Chocolate Fudge
Now, I know sometimes you might be missing an ingredient or looking for a little shortcut. That’s totally okay! For this chocolate fudge, the biggest shortcut I can suggest is using a can of sweetened condensed milk instead of the sugar and regular milk. Just remember, sweet ‘n’ condensed milk is already super sugary, so it cooks down faster and can make the fudge even sweeter. You’ll still need to cook it to that soft-ball stage, but keep a close eye because it happens quicker! This change can make your fudge a bit smoother and sometimes even a little richer. If you’re playing around with sweeteners, just be aware that different types can totally change how fudge sets up, so stick with the classic sugar combo for the most reliable, old-fashioned results.
Serving and Storing Your Homemade Chocolate Fudge
Alright, you’ve made this glorious chocolate fudge – now what? Serving it is simple! Just cut those perfect squares using a sharp knife. They’re absolutely divine on their own, maybe with a warm mug of coffee or tea. If you’re feeling fancy, maybe pair them with some coffee cake muffins! To keep your fudge tasting amazing, store it in an airtight container at room temperature for up to a week. If it’s really warm where you are, popping it in the fridge is okay, but just know it might get a tiny bit firmer.
Frequently Asked Questions About Chocolate Fudge
Got questions about making this dreamy chocolate fudge? I’ve got answers! Making candy can feel a little tricky sometimes, but don’t sweat it. We’ll get you sorted so you can enjoy perfect homemade fudge every time.
Why is my chocolate fudge grainy?
Oh boy, the dreaded grainy fudge! This usually happens because the sugar crystals didn’t form the right way. It could be that you didn’t cook the mixture long enough, or maybe you stirred it too much while it was still hot. For that super smooth, melt-in-your-mouth texture, you really need to let it cool properly before you start beating it. Undisturbed cooling is your friend here!
Can I make chocolate fudge without a candy thermometer?
Absolutely! While a candy thermometer is super helpful, you can totally use the cold-water test. Just drop a little spoonful of the boiling mixture into a glass of ice water. If it forms a soft, pliable ball that you can squish, you’re golden! It takes a bit more practice, but it works. Think of it like improvising a simple chili without a strict recipe – you use your senses!
How long does homemade chocolate fudge last?
This is great news – homemade chocolate fudge actually keeps pretty well! Stored in an airtight container at cool room temperature, it should stay delicious for about a week. If your kitchen gets super warm, you can pop it in the fridge, but it might get a little firmer. It’s best to eat it fairly fresh though, because that gooey, melty texture is just unbeatable!
My fudge didn’t set up properly, what went wrong?
The most common reason fudge doesn’t set is temperature. If you didn’t cook it to that critical 238°F (soft-ball stage), it won’t firm up correctly. It might stay too gooey. On the flip side, if you cook it *too* far, it can get hard and crumbly. This is why that candy thermometer or the cold-water test is so clutch! It’s similar to getting the right stage when you’re making homemade salsa for canning – precise temperature matters.
Estimated Nutritional Information for Chocolate Fudge
Just a heads-up, this is an estimate, of course! The exact numbers for your homemade chocolate fudge can hop around a bit depending on the brands you use and your portion sizes. But generally, for one yummy square, you’re looking at around 100 calories, about 4g of fat (with 2.5g being saturated), 16g of carbs, and a good chunk of that is sugar (around 18g). It also has a little bit of protein. It’s always fun to track this if you’re following a specific meal plan, but for a special treat, I don’t stress too much about the details!
Share Your Chocolate Fudge Creations!
Alright, now that you’ve got the lowdown on making incredible chocolate fudge, I’m dying to hear how it turns out! Did you try it? Did you love it? Please, drop a comment below and tell me all about your fudge adventures! If you share a photo on social media, tag us so I can see your amazing work. Your feedback really helps other cooks decide to give this recipe a whirl. And if you have any questions, don’t hesitate to reach out via our contact page!
PrintOld-Fashioned Chocolate Fudge
Make classic, melt-in-your-mouth chocolate fudge squares with this easy recipe. Perfect for gifts or personal indulgence.
- Prep Time: 15 min
- Cook Time: 20 min
- Total Time: 35 min
- Yield: 36 squares 1x
- Category: Dessert
- Method: Stovetop
- Cuisine: American
- Diet: Vegetarian
Ingredients
- 2 cups granulated sugar
- 1/2 cup unsalted butter
- 1 cup milk
- 1/3 cup unsweetened cocoa powder
- 1 teaspoon vanilla extract
Instructions
- Grease an 8×8 inch baking pan.
- In a heavy-bottomed saucepan, combine sugar, butter, and milk.
- Cook over medium heat, stirring constantly, until butter is melted and sugar is dissolved.
- Bring the mixture to a boil and cook, stirring occasionally, until it reaches 238°F (114°C) on a candy thermometer (soft-ball stage). This takes about 10-15 minutes.
- Remove the saucepan from the heat. Add the cocoa powder and vanilla extract.
- Let the mixture cool, undisturbed, until it reaches 110°F (43°C). This is crucial for texture.
- Beat the mixture vigorously with a wooden spoon or electric mixer until it thickens and loses its gloss. You will see it start to crystallize.
- Quickly spread the fudge into the prepared pan.
- Let it cool completely before cutting into squares.
Notes
- For a shortcut, you can use sweetened condensed milk instead of sugar and milk. Adjust cooking time accordingly.
- Testing for soft-ball stage without a thermometer: Drop a small amount of the mixture into cold water. If it forms a soft, pliable ball, it’s ready.
- Beating the fudge as it cools is key to achieving the creamy, slightly grainy texture.
- This recipe is a great option if you are looking for easy holiday fudge.
Nutrition
- Serving Size: 1 square
- Calories: 100
- Sugar: 18g
- Sodium: 15mg
- Fat: 4g
- Saturated Fat: 2.5g
- Unsaturated Fat: 1.5g
- Trans Fat: 0g
- Carbohydrates: 16g
- Fiber: 1g
- Protein: 1g
- Cholesterol: 10mg