
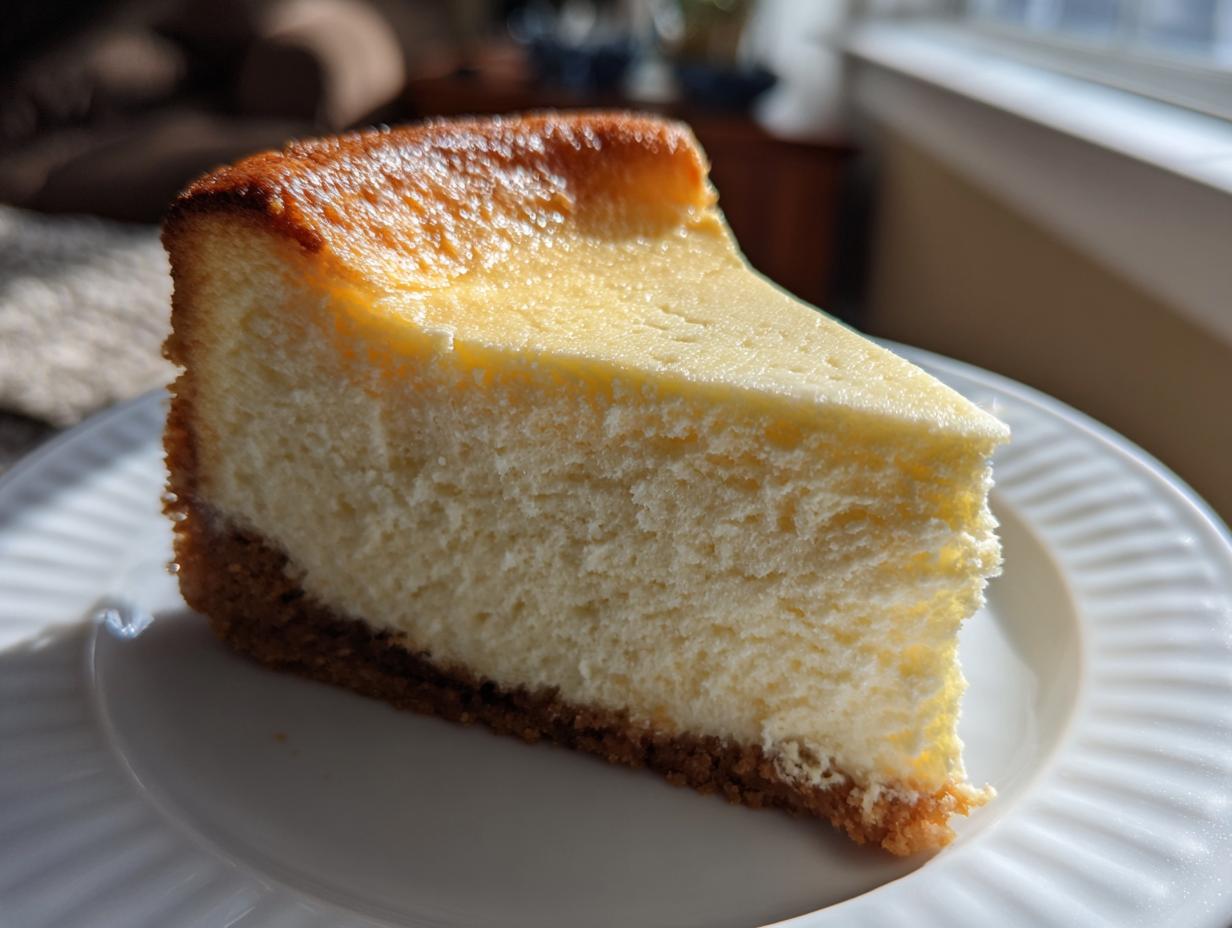
Let’s be real: the word “cheesecake” usually conjures up images of massive restaurant slices—rich, tall, and utterly decadent. But then comes the fear, right? The cracking, the water bath drama, the sad, sunken center. Forget all that noise. I’m here to translate what the chefs know into language your home kitchen understands. This isn’t just a cheesecake recipe; this is our ultimate, no-fuss **cheesecake recipe** for a genuine, tall, New York style result. We cut out the complicated steps but kept all that creamy indulgence. Seriously, you’re about to lock down the technique for a velvety smooth, no-crack finish that tastes like you spent all day wrestling with aluminum foil. Ready to learn the lingo?
- Why This Is the Best Cheesecake Recipe You Will Make
- Gathering Ingredients for Your Classic Cheesecake Recipe
- Step-by-Step: Graham Cracker Crust for Your Cheesecake Recipe
- Mixing the Creamy Cheesecake Filling: Secrets to Success
- Baking and Cooling: The No Crack Cheesecake Secrets
- Ingredient Notes and Substitutions for This Cheesecake Recipe
- Serving Suggestions for Your New York Cheesecake
- Storage and Reheating Instructions for Your Cheesecake Recipe
- Frequently Asked Questions About This Cheesecake Recipe
Why This Is the Best Cheesecake Recipe You Will Make
When I learned this method, it stopped feeling like an intimidating bake and started feeling like foolproof science. It’s the same core concept I saw used in restaurants to pump out those incredible, rich desserts every night. This **cheesecake recipe** delivers that high-end experience without the high-end struggle. I promise, you’ll feel like you skipped a culinary school class.
- Guaranteed **Creamy Cheesecake** consistency, every single time.
- We walk you through all the **No Crack Cheesecake Secrets** without the drama.
- It’s built for **Cheesecake for Beginners**—if you can measure, you can nail this.
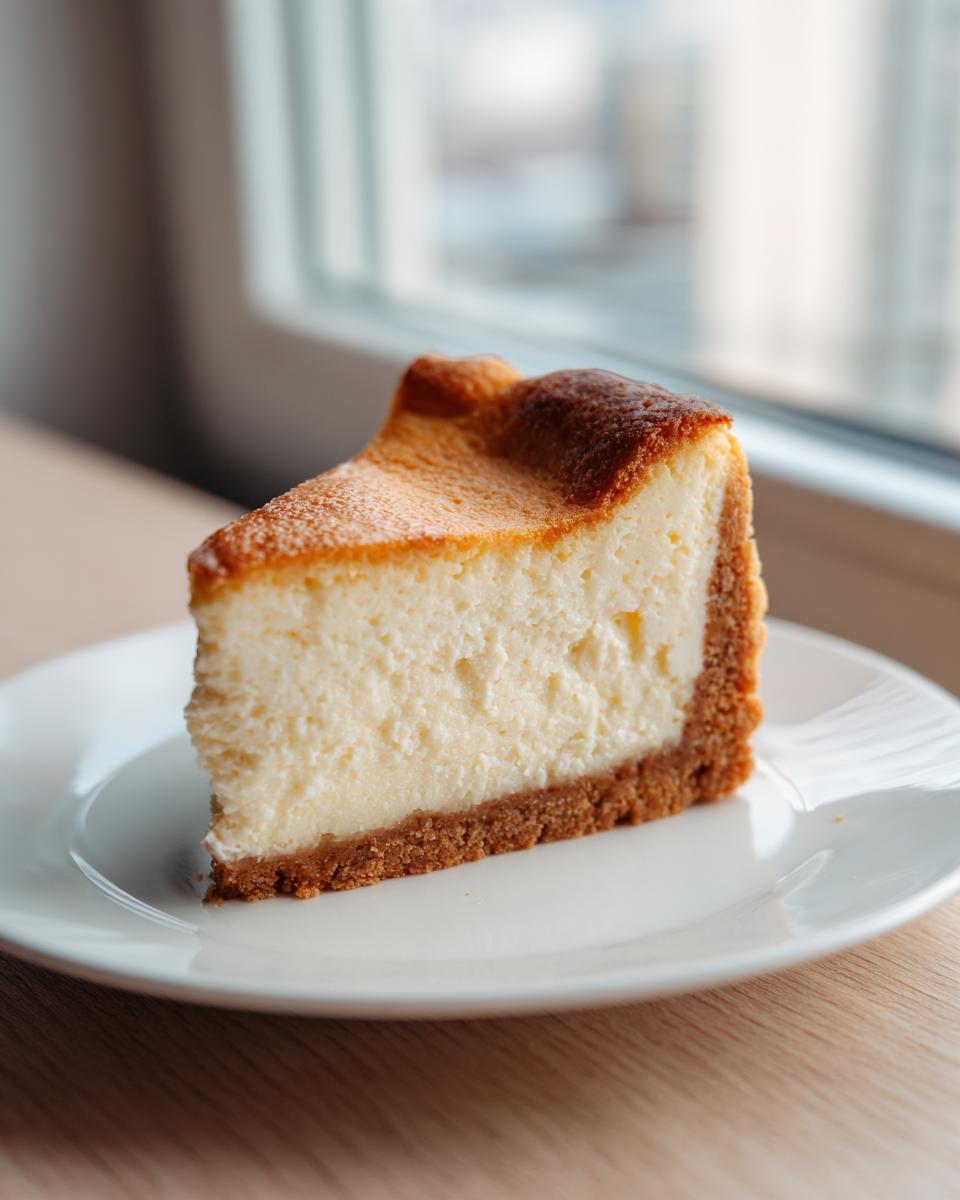
- The **Graham Cracker Crust** is buttery, crisp, and perfectly balanced.
Achieving Perfect Cheesecake Texture Every Time
The secret to that famously **Perfect Cheesecake Texture** isn’t just the four bricks of cream cheese; it’s the temperature. Chefs obsess over room temperature ingredients because lumps mean you have to overmix to fix them. Overmixing whips air into the batter, and air causes bubbles, and bubbles cause cracks. We keep the mixer on low speed, treating those ingredients gently to keep it smooth and dense.
Simple Cheesecake Instructions Without a Water Bath
Look, I know the water bath sounds fancy, but let’s be honest, it’s just messy clean-up for home cooks. This **cheesecake recipe** relies on the slow, steady cool-down right in the turned-off oven. It’s my translation of the chef trick for temperature stabilization. This simple change makes your baking less stressful and definitely counts as **Simple Cheesecake Instructions**.
Gathering Ingredients for Your Classic Cheesecake Recipe
Before we get into the action, let’s talk set-up. Your mission, should you choose to accept it, is to have every single cold component—that’s the cream cheese, the eggs, and the sour cream—sitting on the counter for at least an hour before you even think about turning on the mixer. I can’t stress this enough for that amazing **Tangy Cheesecake Filling**! Warm ingredients blend seamlessly, which is half the battle won. When the batter is uniform from the start, we can avoid overmixing later, keeping our cake crack-free and truly decadent. Here’s the list for our **cheesecake recipe**.
- 1 1/2 cups graham cracker crumbs
- 1/4 cup granulated sugar (for crust)
- 6 tablespoons unsalted butter, melted
- 4 (8 ounce) packages full-fat cream cheese, softened to room temperature
- 1 1/2 cups granulated sugar (for filling)
- 1/4 cup all-purpose flour
- 1 teaspoon vanilla extract
- 1/4 teaspoon salt
- 4 large eggs, room temperature
- 1/2 cup sour cream, room temperature
It sounds like a lot of cream cheese, but trust me, it’s what gives you that stunning height and richness. Don’t even think about grabbing the low-fat stuff; we need that fat content for structure! If you’re looking for a great way to snack while you wait for that butter to soften, maybe check out my graham cracker toffee recipe—it uses similar base flavors!
Step-by-Step: Graham Cracker Crust for Your Cheesecake Recipe
Okay, the filling is waiting for its moment, but we have to build the stage for it first! The crust is the base of stability for this whole operation, so we need to treat it right. This is the easy part of our **cheesecake recipe**, but pay attention to the firmness.
First thing: 325°F (160°C). We’re getting that 9-inch springform pan prepped. Whisk your graham cracker crumbs, that quarter cup of sugar, and the melted butter until it looks like wet sand—you know, the kind that holds its shape when you squeeze it. Press that mixture down into the bottom of your pan. And I mean *press*! Use the bottom of a measuring cup; you want it compact. No loose edges allowed.
Pop that crust into the preheated oven for exactly 10 minutes. This pre-bake sets it up so it doesn’t get soggy under that heavy filling. When the ten minutes are up, pull it out to cool completely. It needs to be calm before the main event!
Mixing the Creamy Cheesecake Filling: Secrets to Success
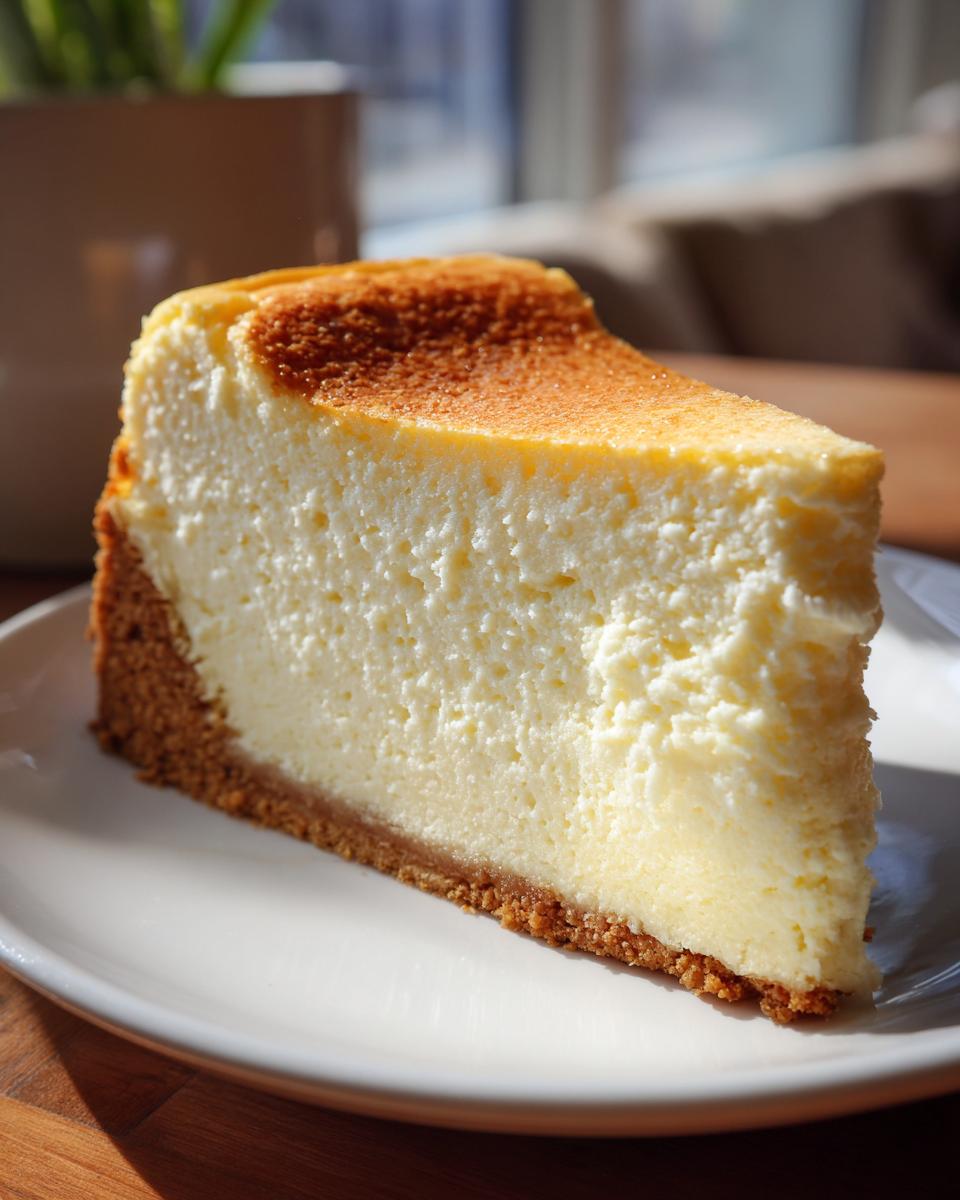
Now for the main event! This is where we translate the intimidating professional moves into totally doable kitchen tasks for your **cheesecake recipe**. The goal here is pure, unadulterated richness—that **Velvety Smooth Cheesecake** we all crave. Remember that rule about room temp ingredients? It pays off huge right now because we need zero lumps.
First up, the cream cheese. Put that softened cheese in your mixer first. Beat it on medium speed until it’s absolutely, positively smooth. I mean, you should see your reflection in it—no little lumps hiding in the corners! Once it looks like liquid silk, THEN you add the 1 1/2 cups of sugar, the flour, vanilla, and salt. Mix that on low speed just until it *comes together*. Scrape those sides down! We need everything incorporated, but we aren’t trying to whip meringue here.
Here’s the biggest translation from the bistro line to your home: the eggs. Add those four big guys one at a time. You beat just long enough for the previous egg to disappear into the batter before adding the next one. Overdoing this step is the number one reason people call me panicked about cracks! Once the eggs are in, switch to the lowest speed and gently fold in the sour cream until it’s just one color. That’s it. Pour that gorgeous, thick batter over your cooled crust. If you want to see how I make a really hearty casserole while the cheesecake chills, check out my creamy baked spaghetti casserole!
Baking and Cooling: The No Crack Cheesecake Secrets
Alright, we’ve mastered the smooth batter, now we move onto the bake. This is where the magic solidifies, and honestly, where most people accidentally cause surface drama. We aren’t messing around with a water bath for this **cheesecake recipe**, because I believe in **Simple Cheesecake Instructions**. Set your oven to 325°F (160°C). Bake that beauty for about 60 to 75 minutes.
How do you know it’s done? Don’t look for bone-dry! The edges should look firm, but the inner two inches should still have a gentle shimmy—like Jell-O that’s almost set. That slight jiggle means the interior is still creamy. Now, here’s the non-negotiable chef move to prevent cracking: DO NOT PULL IT OUT. Turn the oven off completely. Prop the door open by about two inches using a wooden spoon. Let it just sit there inside the warming oven for a full hour. This gradual temperature drop is the real secret to a perfect, flat top.
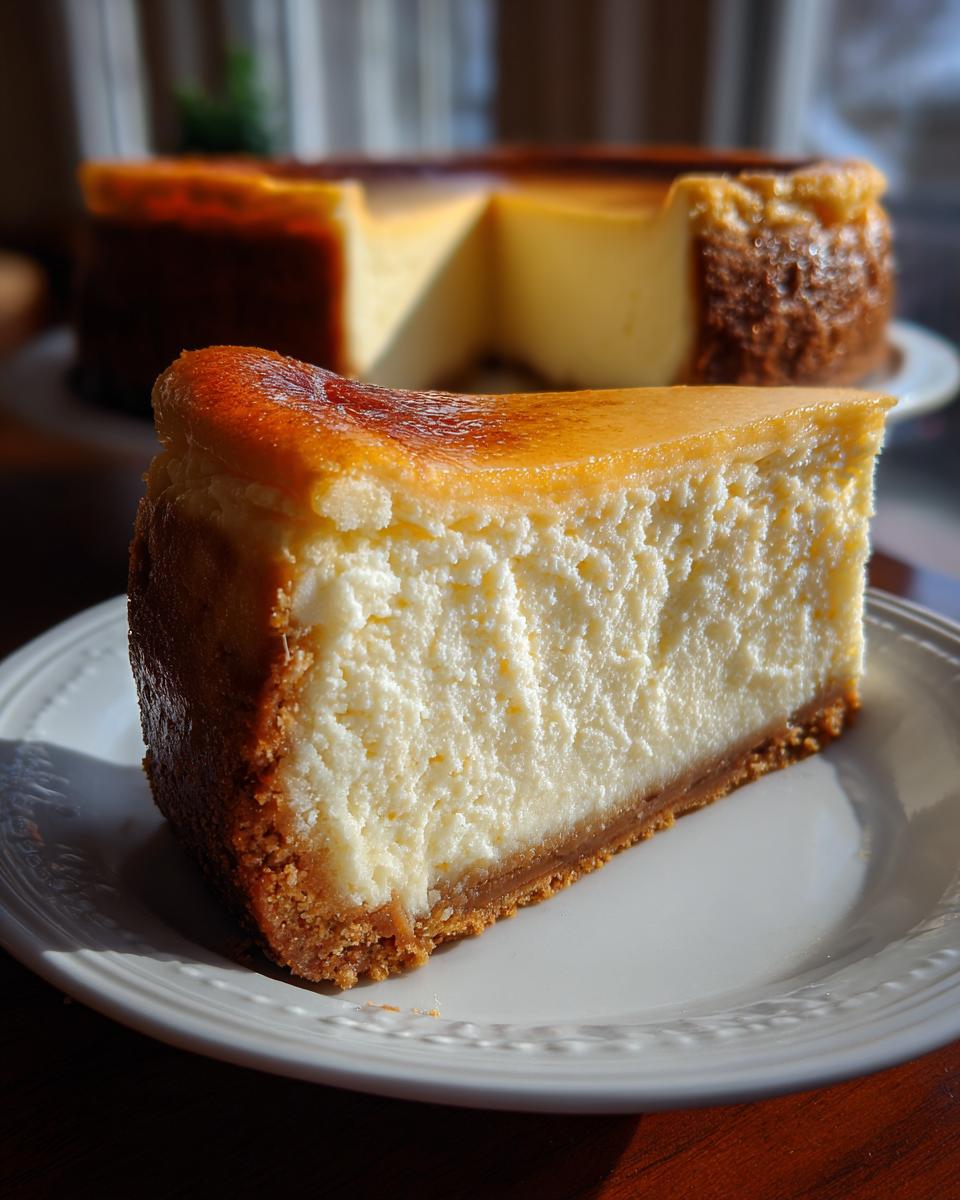
The Essential Final Chill for Tall and Creamy Cheesecake
Once that hour is up, pull it out onto the counter, let it come down to room temperature—maybe another hour—and then it needs its final rest. Seriously, this is torture, but patience pays off. You must chill this cake for a minimum of six hours, but if you can hold out until the next day, that’s even better. Overnight chilling is what really lets that **Tall and Creamy Cheesecake** structure set up firm, and it deepens that rich, tangy flavor. If you’re looking for another decadent recipe to try while you wait, my crème brûlée cheesecake is an amazing follow-up!
Ingredient Notes and Substitutions for This Cheesecake Recipe
Okay, we nailed the mixing order, but let’s circle back to those temperature notes because they are non-negotiable for this **cheesecake recipe**. I know life is busy, but keeping your cream cheese, eggs, and sour cream out on the counter until they feel like room temperature—not fridge cold—is crucial. Why? Because cold cream cheese won’t blend smoothly. You end up beating it forever trying to smooth out the lumps, which, as we know, means we’re introducing too much air. Smooth ingredients equal a dense, **Velvety Smooth Cheesecake** structure! It’s that simple translation from the professional kitchen.
Also, while this recipe calls for sour cream for that perfect bit of tang, sometimes you’re a cup short, right? If you absolutely must substitute it, you can use an equal amount of full-fat Greek yogurt or even heavy cream mixed with a teaspoon of lemon juice. Just make sure those substitutes are also at room temperature before folding them in gently at the end.
And finally, a quick note on that knife trick mentioned way back in the instructions: when you release the springform latch after chilling, take a thin, sharp knife and run it all the way around the edge one last time. This ensures the cake hasn’t suctioned itself slightly to the metal sides. Trust me, watching that beautiful creation lift out perfectly makes all this patience worth it! If you’re looking for another dessert that surprised me with its ease, you have to check out my cottage cheese microwave brownie recipe.
Serving Suggestions for Your New York Cheesecake
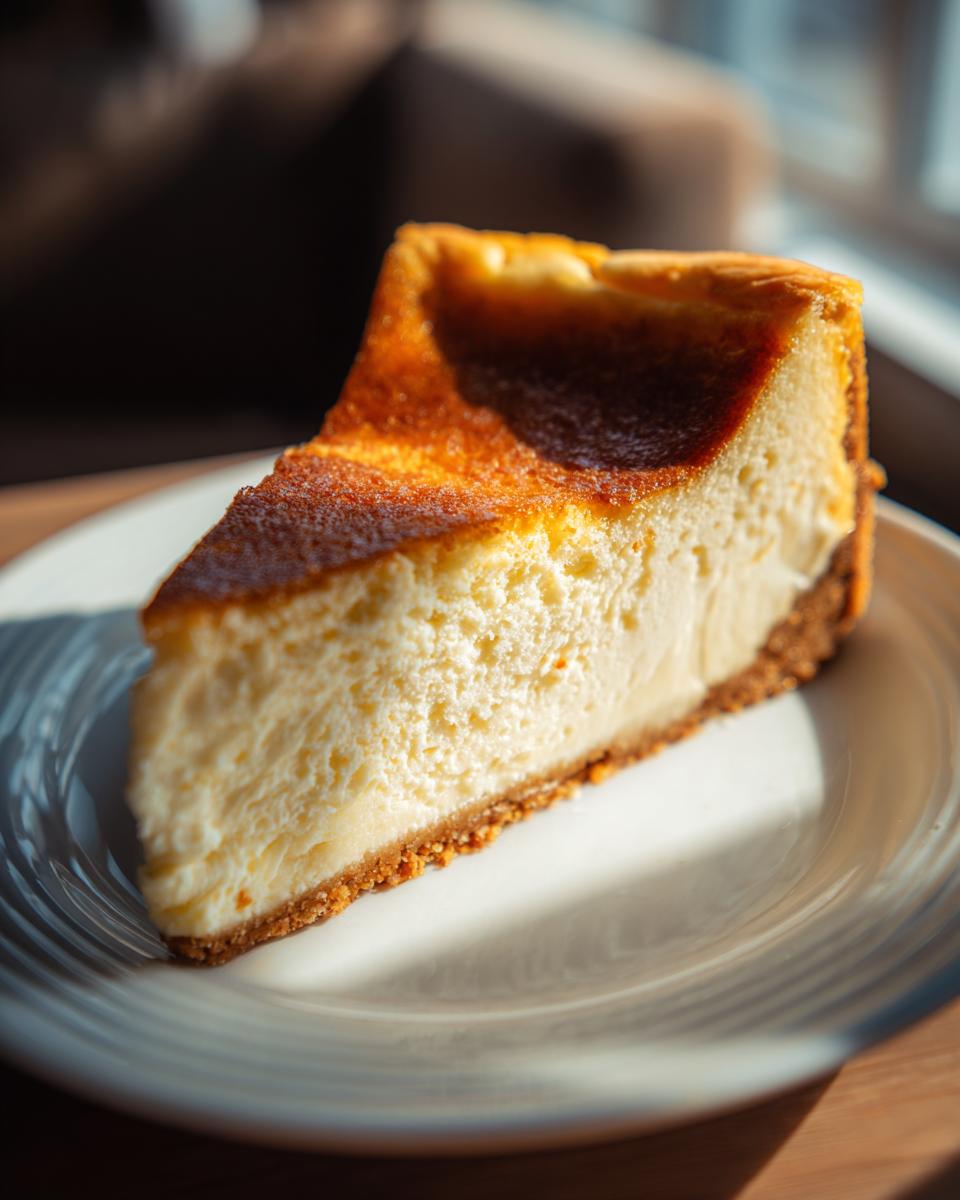
You’ve done the work. You’ve mastered the slow cool-down, you’ve waited the obligatory chilling time, and now you have this gorgeous, towering dessert. Congratulations! This is what making truly **Rich Desserts** at home looks like. That dense, creamy texture of the New York style means it stands up wonderfully to contrast, but honestly, it barely needs anything.
My personal favorite way to serve it—and the one my family always asks for—is just a simple dusting of powdered sugar right before it hits the table. It gives it that classic, elegant finish without hiding the clean look of that perfectly baked top.
If you need a little color, fresh, slightly tart fruit is the perfect companion. Think bright raspberries or sliced strawberries that have macerated for just 15 minutes with a tiny pinch of sugar. That acidity just cuts through the richness so beautifully. You don’t want heavy sauces that mask the flavor of that perfect cream cheese base we worked so hard on.
For a real showstopper when hosting, you can offer simple accompaniments on the side. Think small bowls of homemade salted caramel sauce or a bright lemon curd. It lets everyone customize their slice of heaven. If you need a lighter side item for an appetizer spread before this heavy hitter comes out, you absolutely have to try my easy apple dip recipe—it’s a totally different vibe!
Storage and Reheating Instructions for Your Cheesecake Recipe
This **cheesecake recipe** is actually one of those decadent desserts that tastes *better* the next day. Once it’s fully chilled, cover the springform pan loosely with plastic wrap or foil—I usually just place the pan lid loosely on top so nothing touches the surface. Keep it in the fridge! It stays fresh and creamy for about four or five days tucked away in there.
Now, about reheating: Honestly? Don’t. This is a cold game. If you warm up this rich structure, you risk ruining that delicate **Perfect Cheesecake Texture** we worked so hard on. Serve it straight from the fridge, or let it sit on the counter for maybe 20 minutes ahead of time to take the hard chill off. That’s the best way to enjoy it!
If you’re interested in canning things—maybe your summer salsa—I have a great guide on water bath canning for preserving flavors!
Frequently Asked Questions About This Cheesecake Recipe
I totally get it. You follow the whole **cheesecake recipe** perfectly, and then a little question pops up right before serving. That’s normal! Usually, the issues people run into are simple fixes or ingredient swaps. Here are the things I get asked most often about achieving that ultimate **Classic Cheesecake Recipe** result.
Can I use low-fat cream cheese in this cheesecake recipe?
Oh, honey, no. Don’t do it to yourself! If we’re chasing that **Creamy Cheesecake** dream, we need the full-fat version. Low-fat or Neufchâtel cream cheese just doesn’t have enough real fat content to create the right structure when baked. It will likely end up soft, weeping liquid, and honestly, it just won’t set up right. Stick to the full-fat blocks for this recipe to guarantee that dense, rich texture.
What is the best way to prevent my cheesecake from sticking to the sides?
This is where that final step comes in handy, even after the long chill. When the cake is completely cold—like rock solid from the fridge—you need to reassure it gently that it’s free to go. Before you unlatch the clamp on that springform pan, take a really thin, sharp knife, and just run it carefully around the entire inside edge where the cake meets the metal. Just a gentle sweep. It breaks the seal without messing up your gorgeous sides. That’s the trick to keeping those edges looking sharp!
Can I adapt this recipe for Mini Cheesecake Ideas?
You absolutely can! Making **Mini Cheesecake Ideas** is a fantastic way to control portions for parties. You’ll line a standard muffin tin with paper liners or grease them really well. The batter amounts will work, but you have to watch the timing like a hawk because they bake so much faster. We bake the big one for 60–75 minutes, but your mini ones will likely be done between 20 to 25 minutes. Check them at 20 minutes—you want the edges set and just a tiny little wobble left in the very center. Then, follow the same slow-cool process in the turned-off oven!
If you want another fun little dessert idea, check out my recipe for easy mini cheesecake which uses a slightly different, simpler base if you’re in a rush! We look at other amazing **Decadent Dessert Recipes** all the time, but this classic stands above the rest. If you want to see a New York style recipe that has tons of saves, check out what the folks over at Sweetly Cakes are doing in their New York Style Cheesecake guide!
PrintClassic New York Cheesecake Recipe: Creamy, No-Crack Finish

This is the best cheesecake recipe for a rich, creamy, and tall New York style dessert. We translate the chef secrets for a perfect, no-crack finish using a simple graham cracker crust.
- Prep Time: 25 min
- Cook Time: 75 min
- Total Time: 8 hours 40 min
- Yield: 12 servings 1x
- Category: Dessert
- Method: Baking
- Cuisine: American
- Diet: Vegetarian
Ingredients
- 1 1/2 cups graham cracker crumbs
- 1/4 cup granulated sugar (for crust)
- 6 tablespoons unsalted butter, melted
- 4 (8 ounce) packages full-fat cream cheese, softened to room temperature
- 1 1/2 cups granulated sugar (for filling)
- 1/4 cup all-purpose flour
- 1 teaspoon vanilla extract
- 1/4 teaspoon salt
- 4 large eggs, room temperature
- 1/2 cup sour cream, room temperature
Instructions
- Preheat your oven to 325°F (160°C). Get a 9-inch springform pan ready. Do not use a water bath; we are using temperature control for a no-crack result.
- Make the graham cracker crust: In a bowl, mix the graham cracker crumbs, 1/4 cup sugar, and melted butter until evenly moistened. Press this mixture firmly and evenly into the bottom of the springform pan. Bake the crust for 10 minutes. Remove and let it cool while you prepare the filling.
- Prepare the filling: In a large bowl, use an electric mixer on medium speed to beat the softened cream cheese until it is completely smooth, with no lumps remaining. This step is key for that velvety smooth cheesecake texture.
- Add the 1 1/2 cups sugar, flour, vanilla extract, and salt to the cream cheese mixture. Beat on low speed until just combined. Scrape down the sides of the bowl often.
- Add the eggs one at a time, beating only until each egg is incorporated before adding the next. Do not overmix once the eggs are added; this introduces air that causes cracking.
- Gently mix in the sour cream until the batter is uniform.
- Pour the filling over the cooled crust in the springform pan. Tap the pan gently on the counter a few times to release any large air bubbles.
- Bake for 60 to 75 minutes. The edges should look set, but the center 2 inches should still have a slight jiggle when you gently shake the pan.
- Turn off the oven, prop the oven door open about 2 inches (use a wooden spoon), and let the cheesecake cool inside the oven for 1 hour. This slow cooling prevents temperature shock, which causes cracks.
- Remove the cheesecake from the oven and let it cool completely on a wire rack. Once cool, cover the pan loosely with plastic wrap and chill in the refrigerator for at least 6 hours, or preferably overnight, before serving.
Notes
- Room temperature ingredients (cream cheese, eggs, sour cream) mix together without lumps, giving you that rich, creamy filling.
- For the best rise and texture, mix the filling on low speed and stop mixing as soon as the ingredients combine.
- To release the cheesecake from the pan without tearing, run a thin, sharp knife around the edge of the cake before releasing the spring latch.
Nutrition
- Serving Size: 1 slice
- Calories: 450
- Sugar: 35g
- Sodium: 300mg
- Fat: 30g
- Saturated Fat: 18g
- Unsaturated Fat: 12g
- Trans Fat: 0.5g
- Carbohydrates: 40g
- Fiber: 1g
- Protein: 8g
- Cholesterol: 120mg